
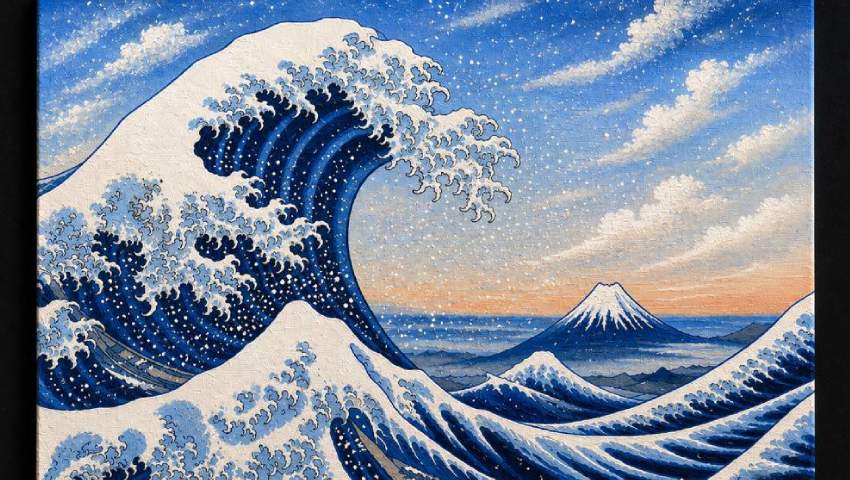
Learn how to paint ocean waves in a Hokusai style with acrylic paints.
Step 1: Sketch Your Composition & Base Layer
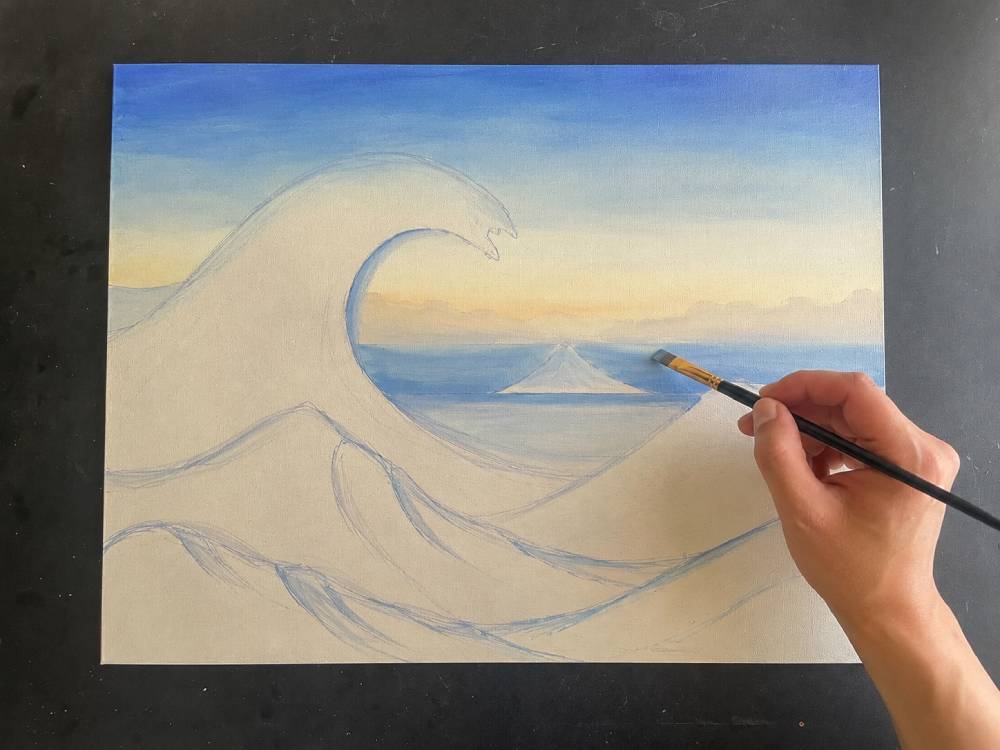
Begin by priming your canvas with a warm cream or off-white base coat and letting it dry completely. Using a pencil or thin brush with diluted paint, lightly sketch the iconic curling wave shape onto your canvas. Outline the large central wave, the smaller background waves, and leave space in the upper right for Mount Fuji. Don’t worry about perfection — this is just your roadmap. Block in the sky with a soft gradient of pale yellow and peach along the horizon.
Step 2: Lay Down Your Blue Foundation
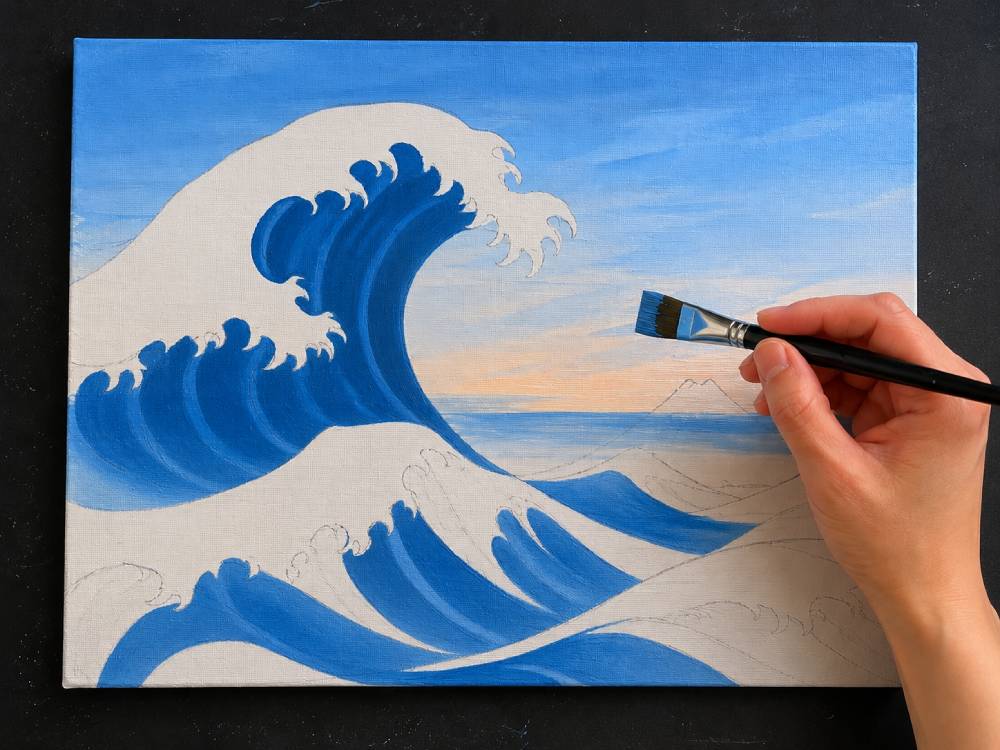
Mix a medium cobalt or Prussian blue and begin filling in the ocean and sky with bold, confident strokes. Paint around your white foam areas, leaving them unpainted for now. Use a slightly darker blue for the lower wave bodies and a lighter, brighter blue for the mid-tones. Work quickly while the paint is wet to blend the sky from deeper blue at the top to lighter near the horizon. This layer defines the entire mood of your ocean wave painting.
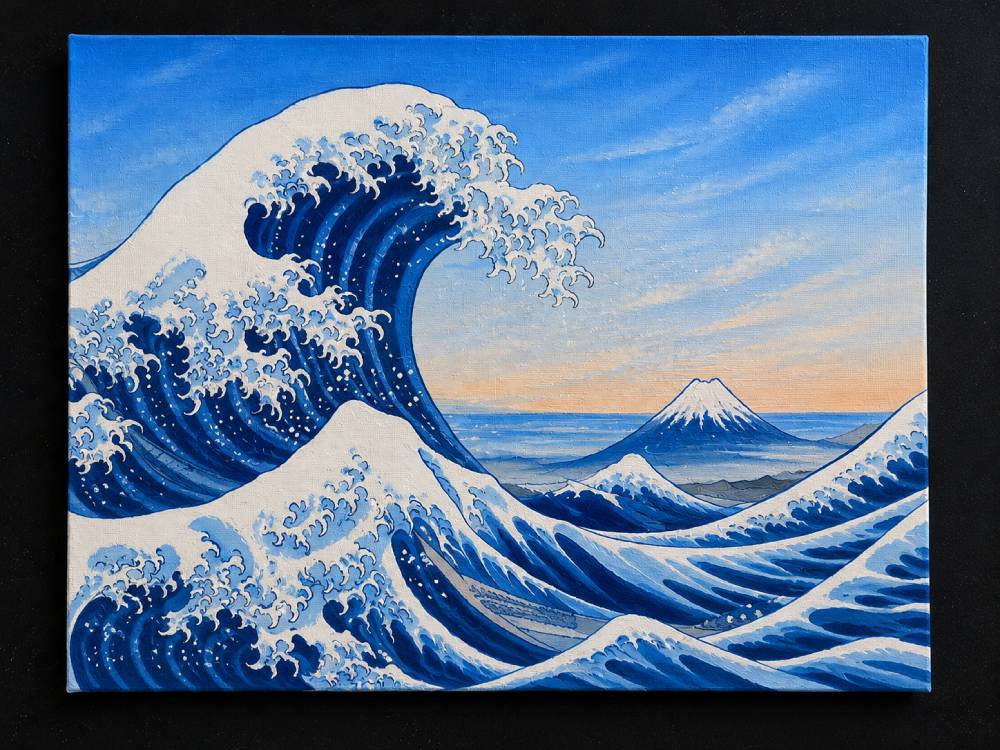
Step 3: Build Wave Detail & Add Mount Fuji
Switch to a fine-tipped brush and start defining the iconic curling white foam fingers at the crest of the wave. Layer titanium white with the tiniest touch of blue for shadows in the foam. Use short, curved brushstrokes to create the frothy, claw-like tips. On the right side of the canvas, paint Mount Fuji as a small, snow-capped triangle in muted blue-grey tones — this tiny detail anchors the entire composition.
Step 4: Refine the Wave Structure & Deepen Values
Add a second layer of darker blue (mix Prussian blue + a touch of black) to the deepest parts of the wave — particularly inside the curl and at the base. This contrast makes the wave feel powerful and three-dimensional. Blend the transitions between dark and mid-tone blues using a dry brush technique. Brighten the top edges of the smaller background waves with a lighter blue-white mix to create distance and depth.
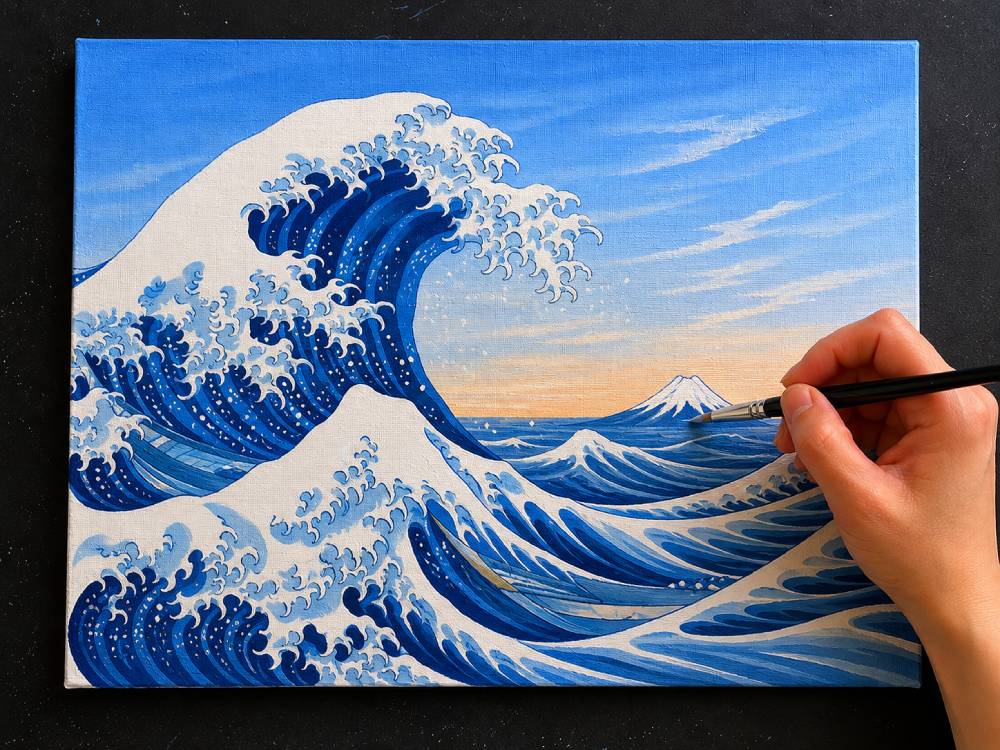
Step 5: Add Texture, Foam & Atmospheric Details
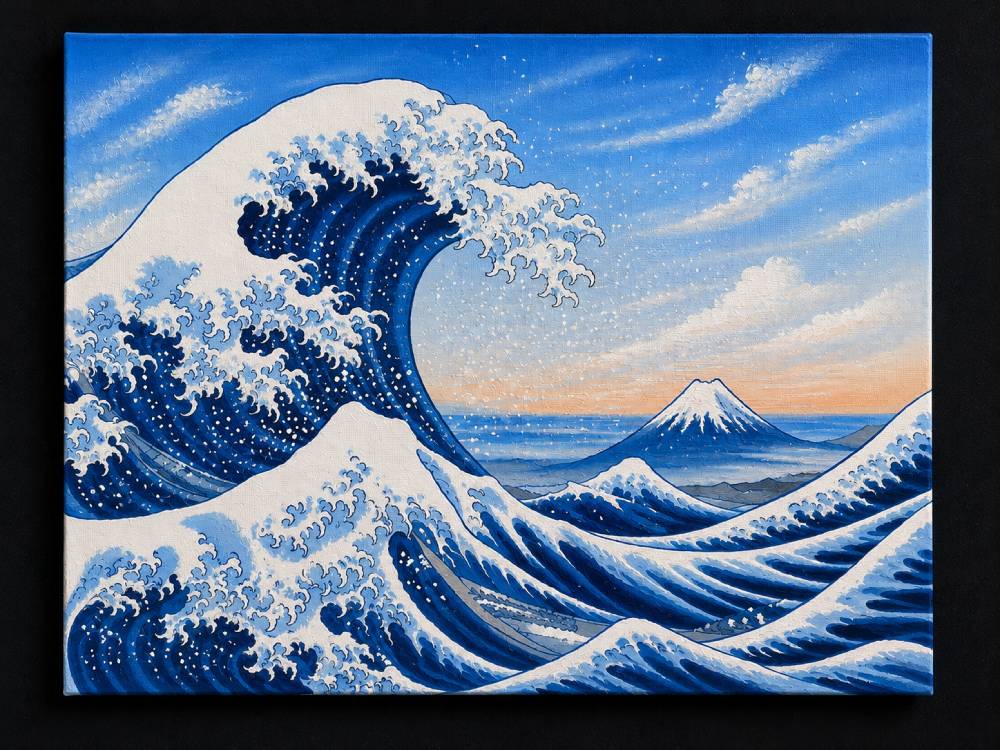
Using a small round brush, add white dotted foam and spray detail across the wave surface with stippling motions. Begin adding clouds to the sky using soft circular strokes of white mixed with a hint of grey and blue. Vary the cloud sizes for a natural look. Add thin horizontal lines of lighter blue across the water’s surface to suggest reflected light. Touch up Mount Fuji with pure white at its peak and a soft grey shadow on one side.
Step 6: Final Details & Finishing Touches
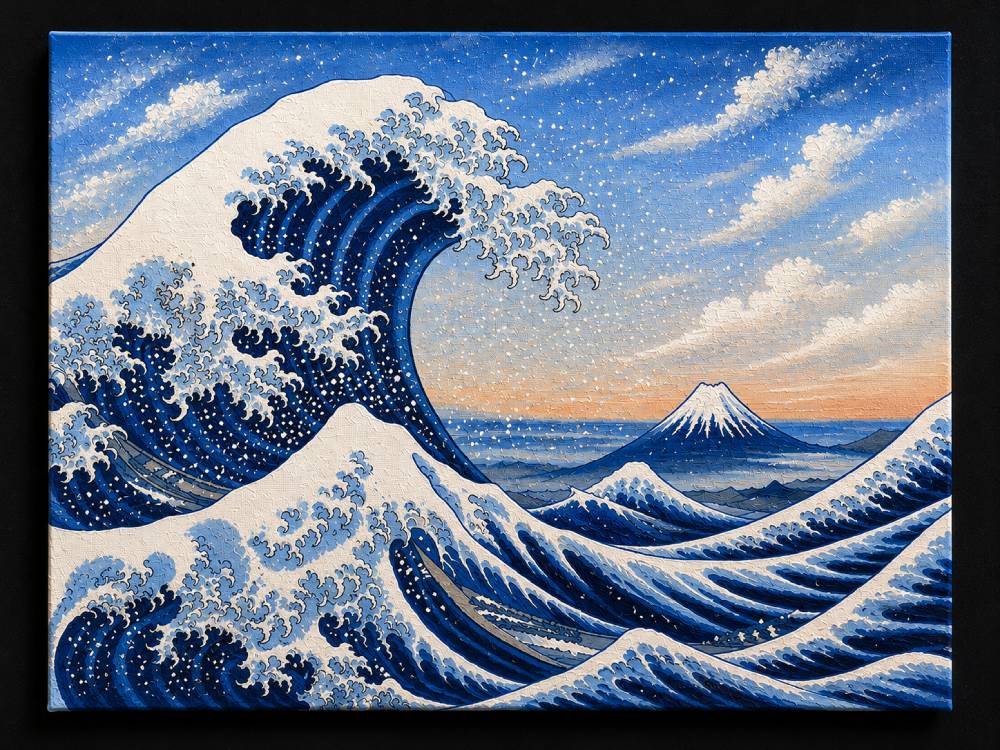
Add the finishing highlights with pure titanium white — trace the very edges of the foam crests and the tips of the wave’s fingers to make them pop. Add fine white dots scattered across the dark water to mimic sea spray. Refine the clouds with layered depth, darkening the bases and brightening the tops. Do a final check of your color balance — adjust any areas that feel too flat with a glaze of thin paint. Step back, let it dry, and varnish for a professional finish.