
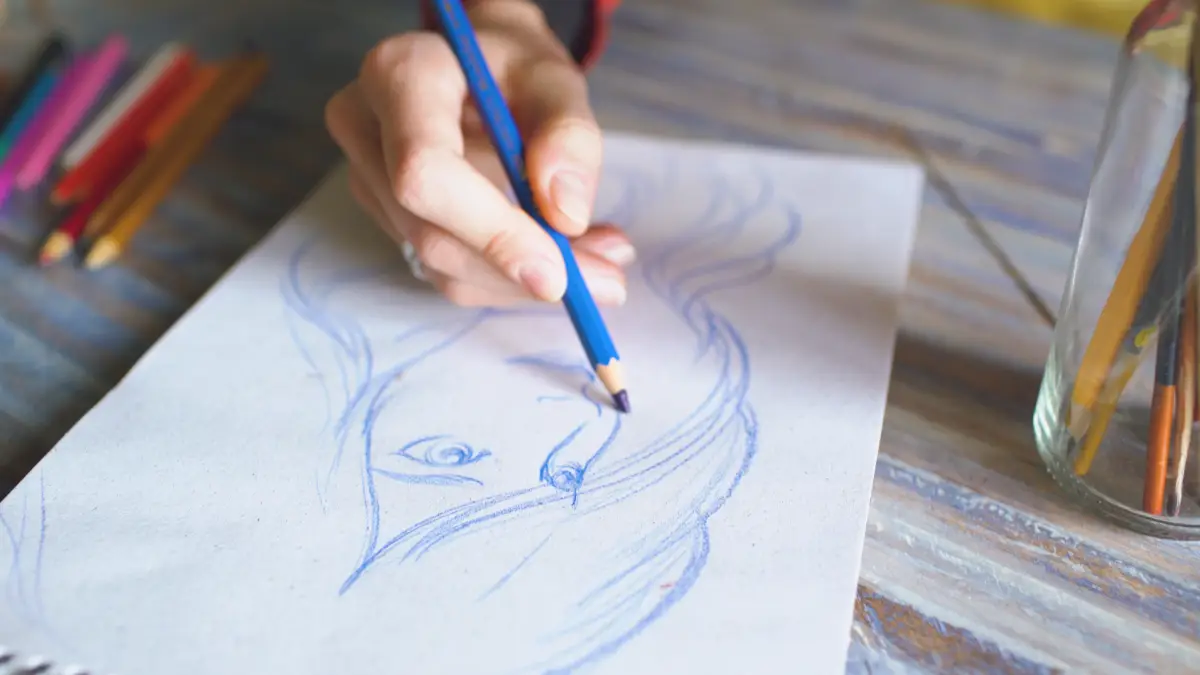
Drawing is one of the best forms of self-expression as it gives you an outlet to show off your creativity.
It can be done with numerous tools and instruments, colored pencils being one of those.
Colored pencils are one of the most fascinating drawing mediums because when done right, they create accurate, clear, and detailed art pieces.
They are portable which means you can take them everywhere with you and because they do not contain harmful chemicals, they are very safe for use.
Colored pencils are also versatile as they can be combined with other drawing mediums such as watercolors.
This makes them one drawing medium almost every artist –both amateur and professional –wants to work with.
That’s why we’re looking at how to blend colored pencils for beginners.
Now, while learning to draw with colored pencils is an exciting and fun process, the blending part of it can get a bit tricky.
Blending is a very key part of a drawing, especially if your artwork is more than a leisurely piece to pass time.
If you want to create a high-standard painting, you need to learn how to blend your colored pencils perfectly.
For helpful tips on how to blend colored pencils like a pro, keep reading below!
Helpful Tips on How To Blend Colored Pencil
Wondering how do you blend colored pencils?
These tips below can ensure you have an easier time using colored pencils.
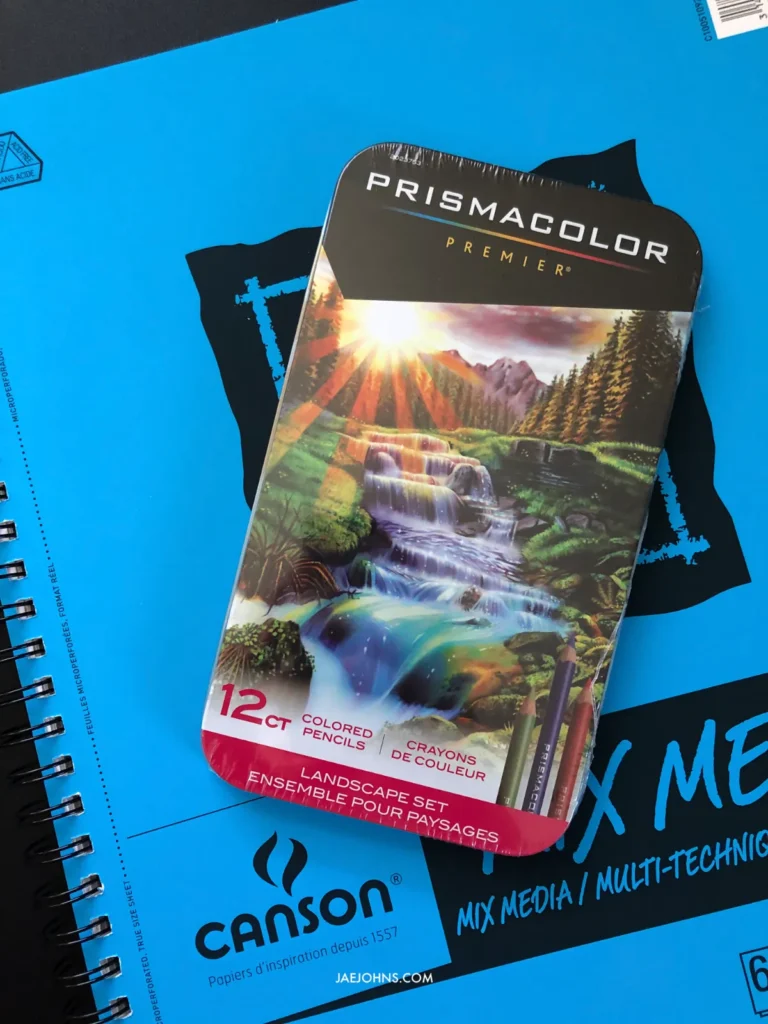
Make Use of Quality Pencils
In order to create the perfect blend of colors on your paper, you need quality colored pencils.
This is because if you go for low-quality pencils, the result will also be of low quality.
This is especially important when learning how to blend colored pencils for beginners.
Your artwork might get smudgy or come out in a color different from what you originally hoped for.
High-quality pencils, on the other hand, will increase your chances of creating a splendid drawing.
Don’t forget that while low-quality colored pencils are often sold at very cheap prices, they make very bad investments.
After a few failed tries at getting a nice drawing, you may still have to purchase high-quality pencils so it is advisable you buy good-quality ones from the start!
Using the Right Paper
Beyond just pencils, the right paper can make all the difference when blending colors with colored pencils. Cheaper pulp-based papers don’t hold pigment well and tear more easily when learning how to blend colored pencils on paper.
They become flat and dull with the pressure of colored pencil blending, which can distort the drawing.
That’s why it’s crucial to use good-quality paper for the best results when blending with colored pencils.
Pay Attention to your Drawing Surface
A good drawing surface is important to create an impressive drawing.
So whenever you’re about to draw and excitement tempts you to start your sketching or drawing on any passable surface you find, remind yourself that a bad surface can result in a poor drawing.
When it comes to drawing with pencils, you need a surface with the right texture and tone.
The texture of the surface can affect how the sketches will appear on it.
Surfaces like Bristol paper are smooth therefore they produce smoother applications but they may restrict how many layers of colors the surface will accept.
And rougher surfaces like watercolor paper permit multiple layers but may limit the details you can produce with the colored pencils.
The result you intend to achieve with your painting should also influence the tone of your paper.
Most artists go for white paper, especially since it is the most common type of paper available, so you can also choose to go for white.
Consider How Much Pressure is Placed on your Pencil
Keep in mind that the pressure you place on your pencil when using blended colored pencils should differ.
This is because pressure influences the intensity of the color and end result of your drawing.
Blending can also be achieved more efficiently when you pay attention to your drawing pressure.
You can carry out a quick experiment to find out the perfect pressure (soft, medium or hard) to apply in order to create the particular shade and color intensity needed for each aspect of the drawing.
Use Fine Circular Motions When Blending
After calibrating your pressure, make use of fine circular motions if you want to learn how to use colored pencils like a pro.
This method avoids harsh lines and helps to reduce all the most obvious lines while blending colors with colored pencils.
By carefully overlapping the circles as you go, you’ll learn how to blend with colored pencils well. Even if you are working with straight lines, circular motions help to avoid sharp corners and create a cleaner overall look.
Change Direction Often
Speaking of which, try to change the direction you are coloring in as often as possible.
In combination with circular motions, this reduces the number of clear lines and creates a smoother texture.
When considering how to blend colored pencils on paper, it’s one of the methods that will most help to create a well-blended look.
Related: Check out these addtional 23 Easy Tips To Drawing With Colored Pencils
How To Blend Colored Pencils
There are different styles and techniques to ensure your colored pencils blend beautifully.
Blending is also one of the steps towards learning how to shade with colored pencils.
Some of these techniques involve the use of additional tools and supplies while others do not.
Regardless of which you find most preferable, remember to put the preparations tips mentioned above into practice to make your blending process much easier and faster.
Next, we’ll look at a few different blending colored pencil techniques.
Now 8 steps on how to blend colored pencils like a pro include:
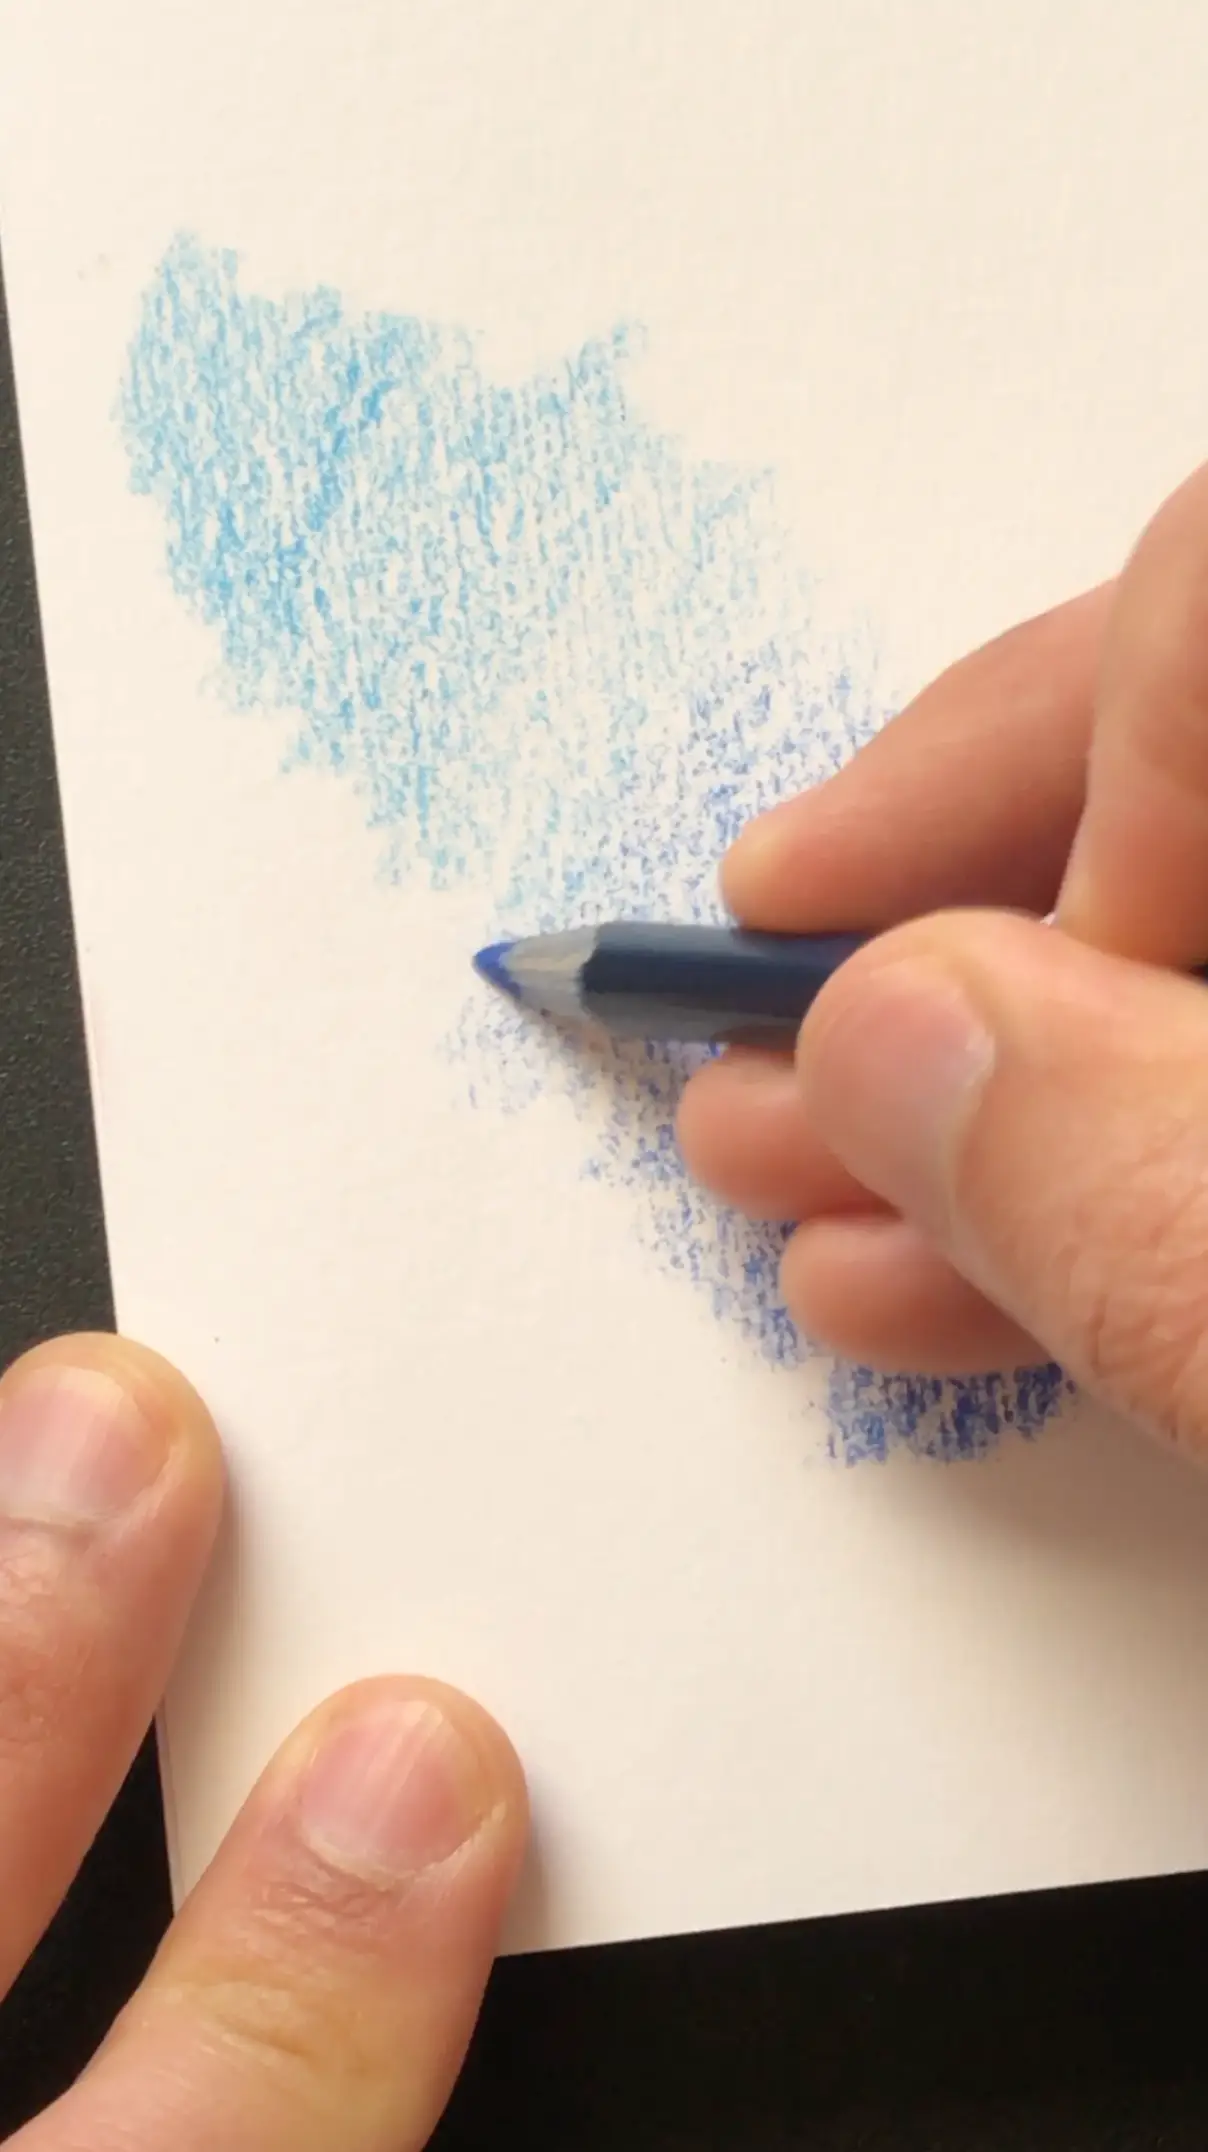
Pencil Layering
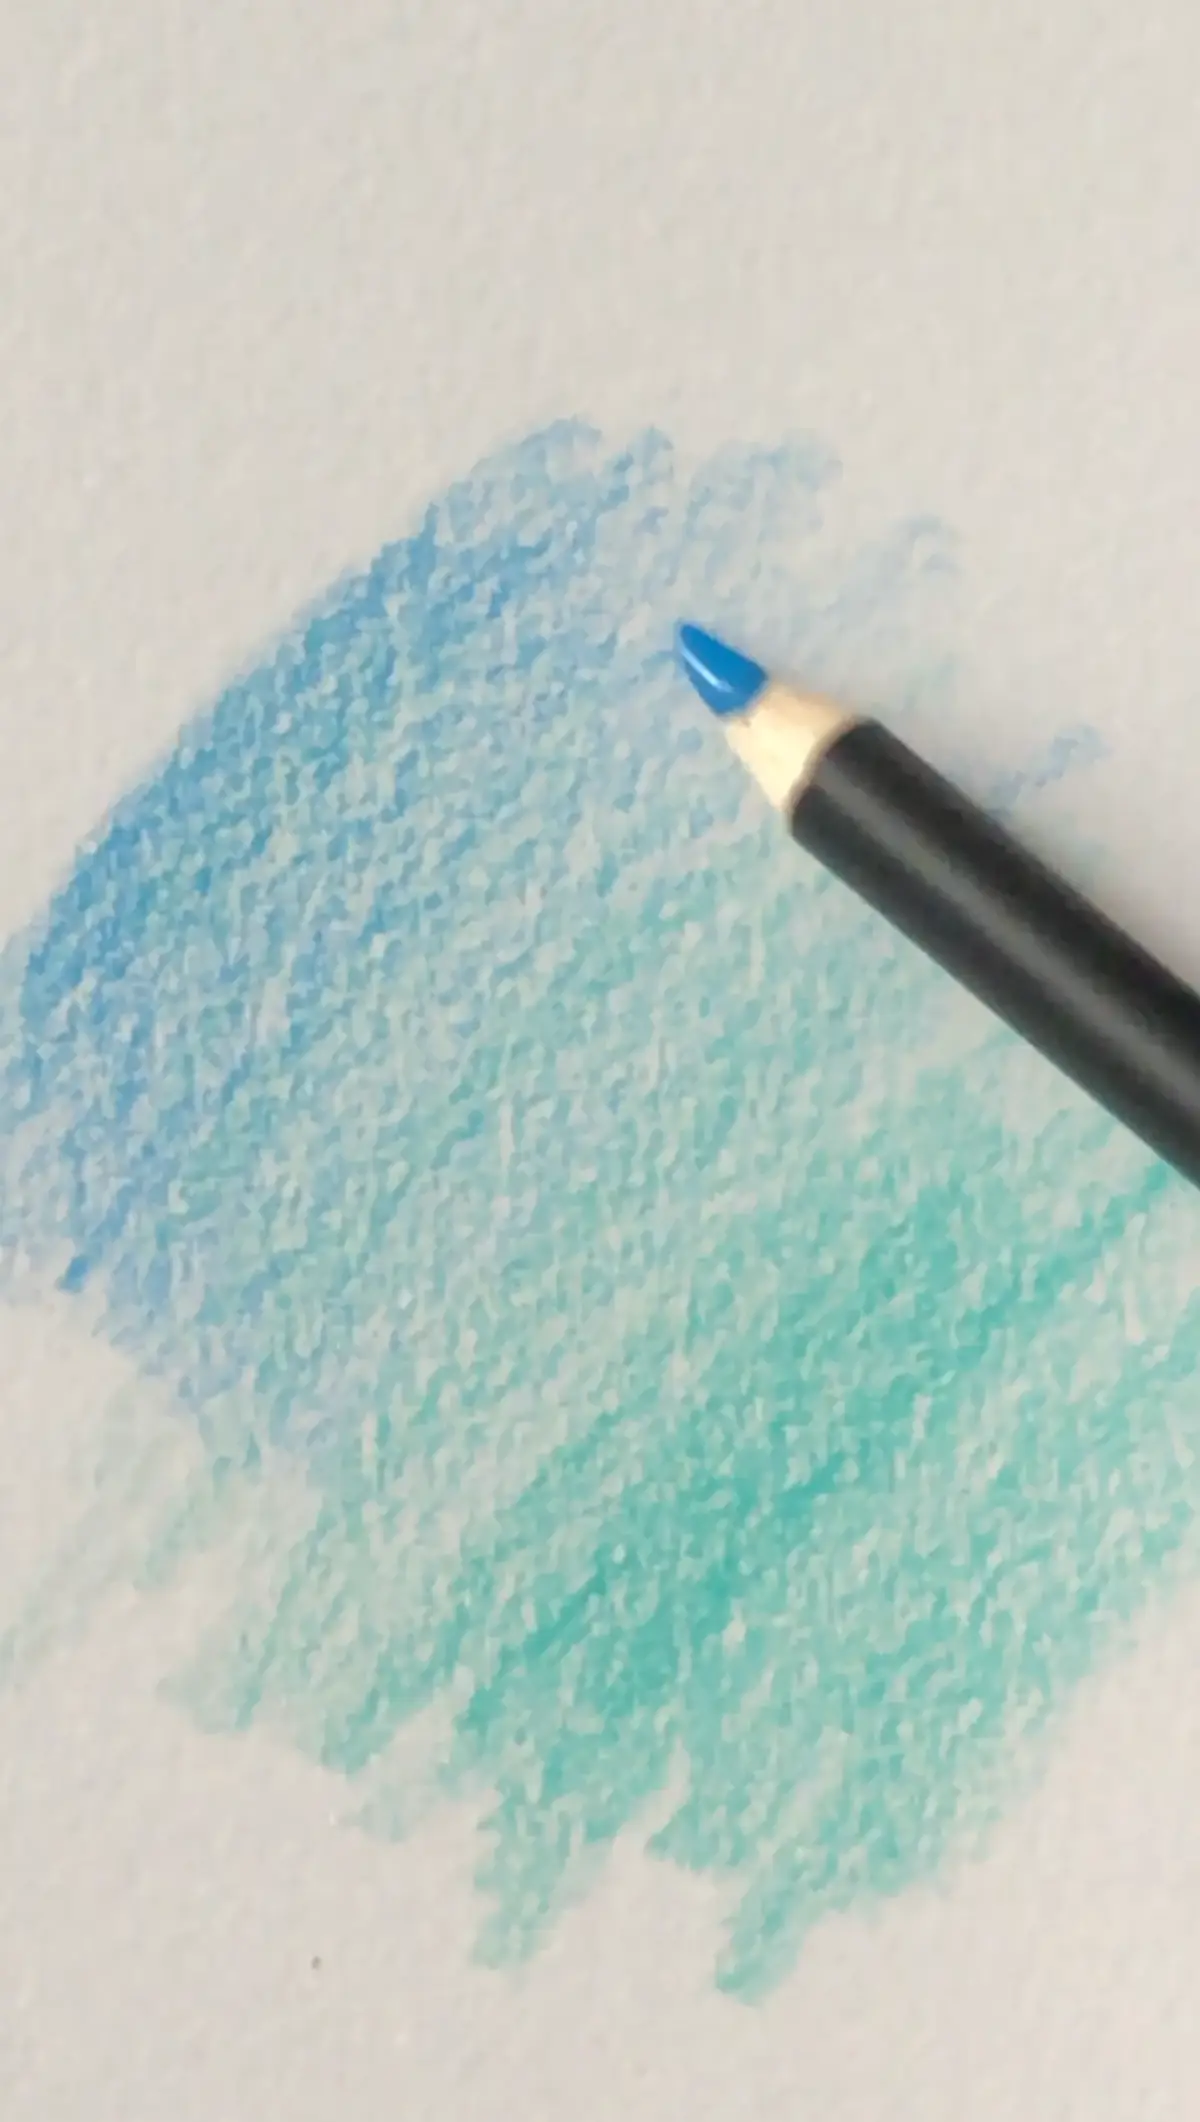
The easiest and fastest way to blend colored pencils is by layering your pencils.
This method helps by directly blending with colored pencils over top of one another.
This approach is precise and straightforward because it involves only the use of your pencils and no additional supplies.
You should learn this technique first when learning how to blend Prismacolor pencils.
A colorless blending pencil, however, can go a long way in making this approach much easier.
To take on this method, start by lightly applying layers of the desired colors and overlaying them.
Don’t start with a heavy first layer as this can ruin your work and provide you with something very different from what you hoped for.
Begin slowly with light layers and gradually build up the desired colors.
To achieve a gradual change, overlap slightly in the middle and then gradually overlap each layer as you go on.
A colorless blending pencil can help you blend the colors without the need for more pigment.
To achieve this, start with a nice layer of the colorless blender before adding the lightest color.
Deep colors are often harder to blend when they stick to the surface’s fibers and a colorless pencil base helps prevent such stickiness.
Related: List of 15 additional Colored Pencil Techniques for Beginners
Blend Colored Pencils with Water
If you will be making use of watercolor pencils for your drawing, you can blend efficiently with the use of water.
You can also use your understanding of how to blend colored pencils with water to learn how to shade with colored pencils.
Watercolor pencils are frequently used by professionals because they can create attractive art pieces without the use of paints.
Blending with water can be tricky the first time you do it but after a few more tries, you will easily get the hang of it.
This is why it is advisable that you try it out on a practice sheet before doing so on your drawing!
To blend, spread water with a brush over the drawings.
Give the first layer enough time to dry before you brush water onto the next layer.
Always dampen the brighter colors first because you don’t want to make the mistake of brushing the darker colors onto the light ones.
Also, keep in mind that colors do not look the same when they are wet.
When wet they take on a darker shade and are more vibrant so find out how exactly a color will look when wet on a random sheet of paper before applying it on your painting.
And there you have it, how to blend colored pencils with water.
Blend Colored Pencils with Baby Oil
Do you have baby oil in your home?
Or do you mind going to the store to get some oil?
If you don’t mind, great because blending with baby oil can help enhance the aesthetics of your artwork.
It’s one of the easiest methods of how to blend colors using colored pencil blending.
Blending with baby oil is very easy as long as you have the necessary tools which include the pencil colors, baby oil, and cotton swabs.
The cotton swabs will be used to dab the baby oil all over your colored pencils to provide the perfect finish touch.
Smudge with Tortillons and Paper
If you discover that making use of colored pencils alone does not give you the result you desire or that layering did not blend the drawing efficiently, smudging should be the next option on your mind.
The smudging process involves the use of paper products to help blend the pencil colors.
It’s definitely one of the more unconventional methods for how to blend colors, but it works!
If you can’t afford fancy paper products, you can choose to blend colors with items like regular paper, tissue, paper towels, serviette or even toilet paper.
This makes it one of the best methods for how to blend cheap colored pencils.
Blending stumps (tortillons) can also be used to give you the result you desire.
While blending stumps are majorly used for charcoal drawing, they work nicely with colored pencils.
They create a finely-tuned blending hence you should consider adding them to your pencil kit.
To smudge with any of the tools mentioned above, start with a heavily layered colored pencil.
This maximizes the effect, making your drawing appear vibrant.
Burnishing can be used in this technique but lighter layers can also work as long as you use the perfect combination of pencil and paper.
Smudging lifts the pigment a little and can give a more grainy effect than pencil layering does.
You can try combining it with the pencil layering technique until you can create the best technique for your artwork!
Blend Colored Pencils with Solvents
Blending colored pencils with solvents is one way to maximize the blending effects.
You can use this as one method for how to blend Prismacolor pencils as it’s one of the standard ways to learn how do you blend colored pencils.
The solvents are rubbed on the tip of your colored pencils and are only used when dealing with strong/thick paper.
You can test the strength of the paper by trying out the method on different types of paper.
Apply a small quantity of solvent to the paper and leave it to dry.
When it does, check for warping or any kind of damage on the paper.
If the paper shows no sign of damage, then congratulation, you’ve found the perfect surface!
When you blend with solvents, it gives the artwork the same effect watercolor will.
If you make use of watercolor pencils, however, you can enjoy double benefits by using water to blend the strokes and burnishing it.
The end result is different from that gotten from regular pencil colored drawing as they saturate and cover the paper.
You can make use of oil-based solvents like turpenoid as they help dissolve the wax, therefore, create one of the most effective blends you will get.
The downside is that these solvents are toxic and must be used with utmost care.
When blending colored pencils with solvents, make use of paintbrushes, cotton balls or swabs.
Also, work cautiously because too much pressure can easily affect the surface or wipe off the pigments. Make use of a thick colored base to avoid damaging the drawing.
Blend Colored Pencils with Alcohol
For a catchy, light blend, rubbing alcohol is a great tool to make use of.
It’s one of the standard methods of how to blend color pencils and works for blending Prismacolor pencils.
Rubbing alcohol breaks down the wax binders found in the colored pencils in little bits.
This ensures that the pigments can be moved around the surface and can fill in holes.
To get the best result from this blending method, make sure the paper has a decent amount of pigment.
To blend with the rubbing alcohol, make use of painting brushes, cotton swabs or cotton balls.
And because this substance is a bit mild you can also scrub lightly with a bristle brush on sturdy paper.
Blend Colored Pencils with Mineral Spirits
Mineral spirits make better blending tools than rubbing alcohol.
Blending with mineral spirits is one of the more common colored pencil blending techniques.
This is because it completely breaks down the wax binders found in the colored pencils.
Any mineral spirit which can be used for oil painting is also suitable for colored pencils.
The technique frees up the pigments and allows it blend more efficiently.
It’s a great method for how to blend cheap colored pencils.
To get a lighter tint, dissolve a small amount of color in the mineral spirit and then apply it over the drawing paper.
A strong/thick paper or a board is required for this technique because it is quite heavy.
Also, make sure you have enough pigment on your paper to get the best results.
When done properly, the end result is a very saturated and watercolor-like artwork.
Note: Blend with either soft or bristle brushes.
If you are working on a drawing with lots of pigment, you can make use of hard pressure.
Medium pressure, however, is the best type of pressure to use as it prevents the paper from scoffing and does not present a risk of removing the color.
Blend Colored Pencils with Colorless Blenders
Colorless blenders are markers or pencils that contain fillers like wax.
They can be used as a technique for how to blend color pencils and blending Prismacolor pencils.
These markers and pencils are essential tools all the best-colored pencil artists should have because they can be used for fading as well as moving colors.
When it comes to blending colored pencils, they also make great blenders.
The introduction of extra wax to the wax already on the drawing surface helps mix the colors in a nice transition.
Colorless blenders are perfect for smaller drawings and surfaces because when used over large surfaces, they can be time-consuming.
Conclusion
Blending might seem a bit complicated when you first start learning to draw but over time, it becomes very easy.
This makes it important that you experiment with each method before carrying them out on your artwork.
Also, make sure you carry out the right safety precautions before making use of any of the blending methods above!
Which is your favorite way to blend color pencils?