

Understanding how to clean an oil painting is a skill that every person should have.
While some paintings, particularly expensive ones, might be best left to conservator, that isn’t always the case.
If you own an oil painting or you are making your own, you might want to manage this on your own end.
Cleaning paintings is a fairly simple process as long as there isn’t that much to be done to it. Your highest priority will always be taking the time to ensure the safety of the painting.
There is simply no worse feeling than finding that you have ruined a painting while trying to clean it.
When it comes to cleaning an oil painting, you must always remember one thing: patience. In the same way that it takes a long time to create an oil painting, it takes just as long to clean one.
You must allow yourself to be slow and methodical with every step in the process.
This is your best way to prevent error, which you will thank yourself for much further down the line. In the event that you find yourself speeding up, remind yourself to slow down.
It simply is not worth accidentally damaging the painting because you did not want to take the time to do it right. If you feel like you cannot manage that, it might be best to call up your local conservator. However, since this can be a costly process, you will probably want to avoid this if you can.
[do_widget id=custom_html-19]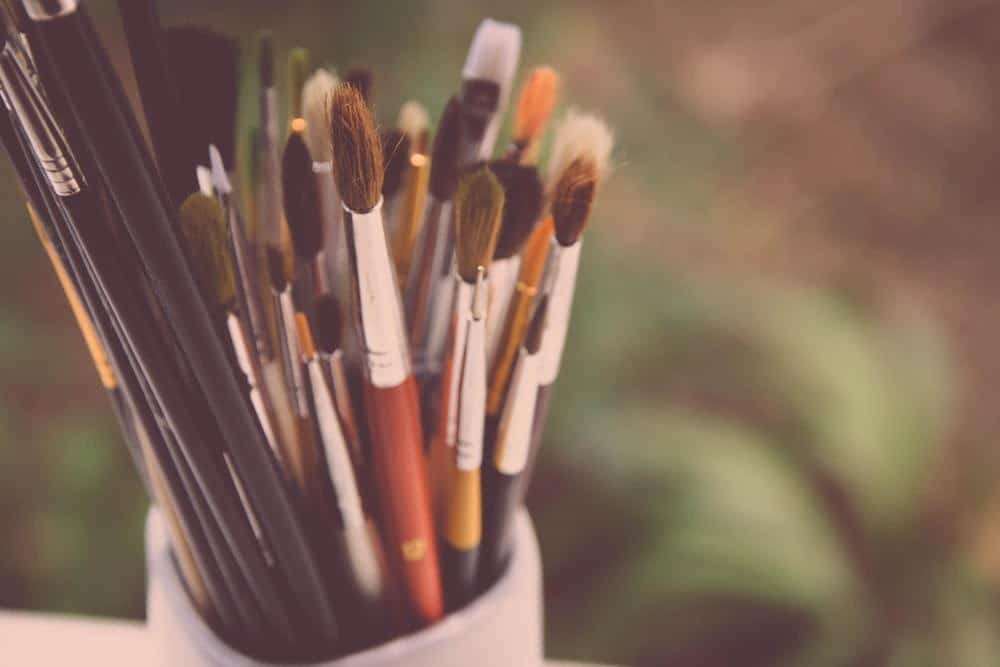
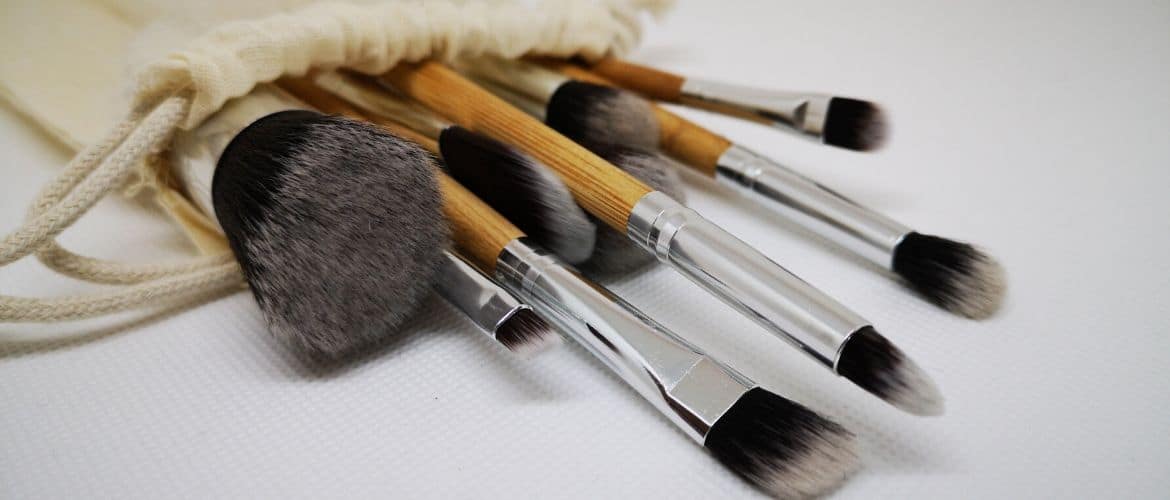
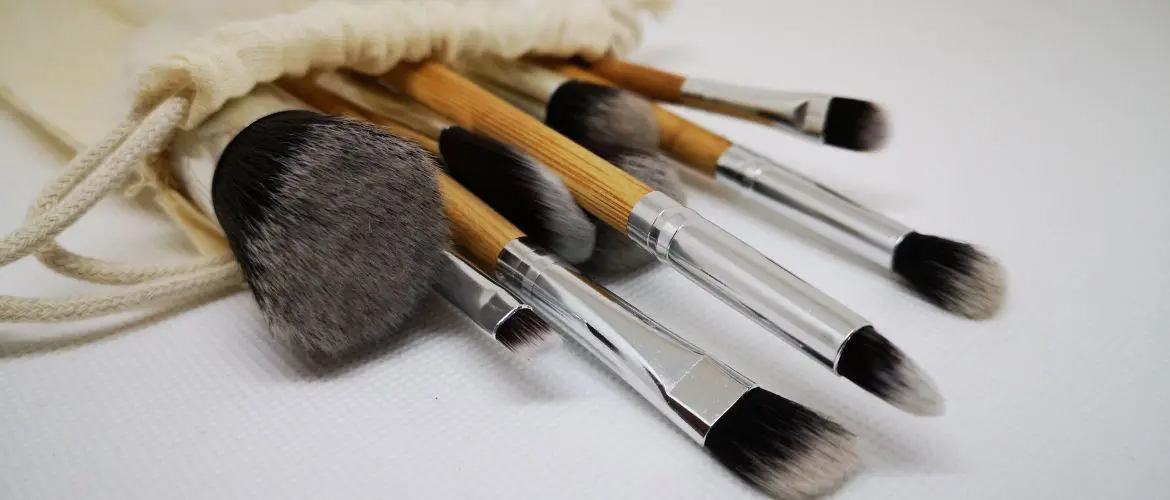
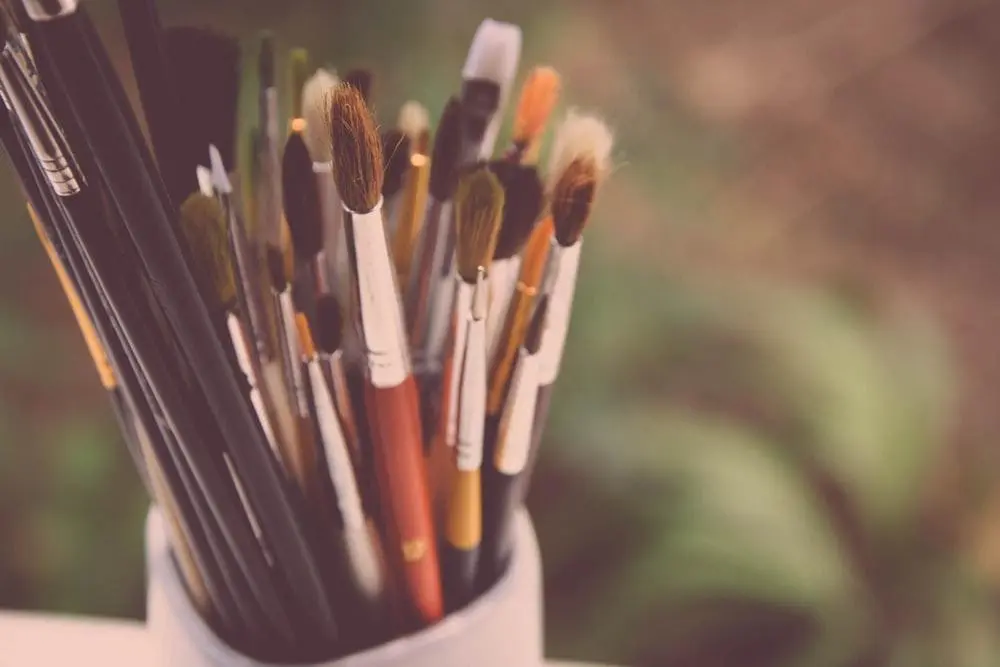 Photo by Alex Mihis
Get Ready To Dust
—If there is one step that is absolutely crucial when it comes to learning how to clean an oil painting, it is dusting. Dusting is the primary form of cleaning any oil painting. This is true from a maintenance perspective as well as further down the line. In fact, dusting is the best possible way for you to keep your painting looking nice for years to come.
This simple process can save you plenty of heartache down the road with your painting. You might be surprised by just how much of an impact a simple dusting job can actually have when it comes to maintenance. The great thing about oil paintings is that they tend to hang on a wall or be propped in some capacity. This means that they don’t generally run into too many things that will muck them up beyond dust.
Your first approach to dusting an oil painting should always be dusting as a maintenance step. When you dust your painting, you can expect to make a commitment to keeping it clean for the duration of its life. Though this might seem overly simple, as far as general cleaning goes, absolutely nothing is more important.
Regularly dusting your oil painting can stop anything from building on the surface. Additionally, since you will be actively approaching it, you can dodge any true grime. Attacking the dust while it is still loose will stop it from sticking to the actual surface of the painting. This makes your cleaning process simple upfront so that you don’t lose a ton of time later on.
Why Dusting Should Be Your Absolute First Step
In the event that you have not been keeping up on your dusting or you have inherited a painting, you might wonder if dusting will do. As a general rule, dusting a painting should always be your absolute first step when it comes to cleaning paintings. This is not only the safest approach to getting them clean, but you might be surprised by how much it can do. In a perfect world, dusting will be enough to remove the aforementioned layer of grime that you want to go.
There are a couple of different ways to go about the dusting process. First, you can use a simple dusting tool. While this might be okay for maintenance dusting, you will want to be careful with this route. Since paintings have irregular textures, you can end up damaging the actual duster.
The end result of this could be little bits of duster being left behind. Since this completely undermines the cleaning process, it is important to always be incredibly gentle when cleaning your oil painting. A more popular and simple approach is to use a clean and soft paintbrush. It is generally best to use a brand-new paintbrush and keep one on hand specifically for maintaining your paintings.
How to Clean an Oil Painting by Dusting
When you dust your painting, you will want to focus on putting the appropriate amount of effort in. For maintenance dusting, a light brushing over might be all that it takes. However, learning how to clean an oil painting isn’t always that simple. If you have already experienced some buildup, you might need a slower and more methodical approach.
It can be beneficial to start on one edge of the painting and work your way over, taking time to slowly brush over each section repeatedly. Avoid being too abrasive with this process, and hopefully by the end your painting will look brand new!
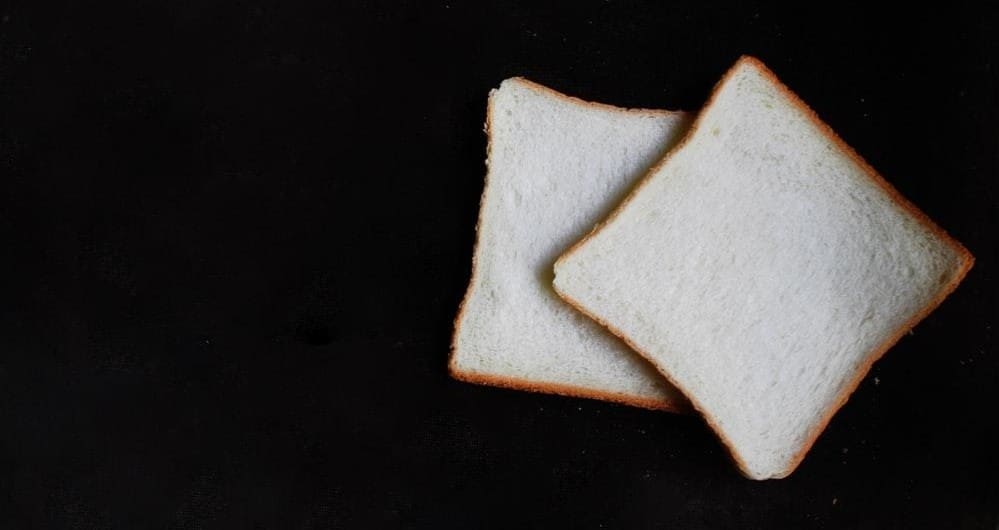
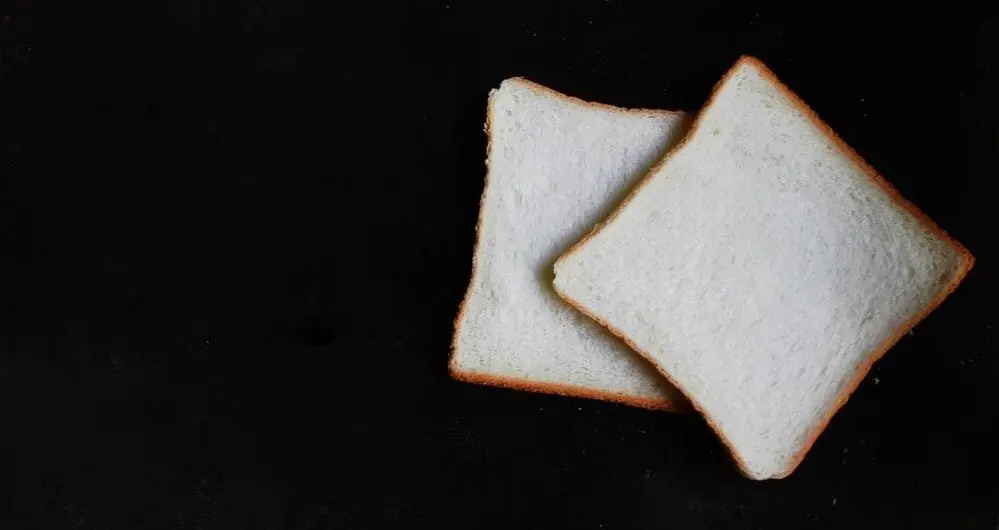 Photo by Graphy Co
Break Out The Bread
—In the event that traditional dusting techniques are not enough, it might be time to break out the bread. Though this can seem like a completely ridiculous process, a simple piece of doughy bread can actually work wonders.
Bread, with its spongey texture, is capable of getting all of the nooks and crannies that you might not otherwise be able to hit. Additionally, since it is soft and somewhat moist, you can use it to dab a little more effectively at some of those trouble spots. Bread allows you to loosen up built up grim a little more effectively.
Choosing the right bread is a crucial part of this process. The first thing that you will need to consider is the texture of the bread. The last thing that you want is to damage your painting, so you need soft bread. In most cases, it will be best to remove the outer crust of the bread that you choose.
The center of the bread is always the softest part, which means that you can approach the painting more safely. In addition to this, you will want to avoid any bread that is overly moist. When it comes to learning how to clean an oil painting, there is no bigger rule than avoiding any kind of true moisture.
Oil paintings are incredibly susceptible to moisture and it can cause them to break down very quickly. This is where horrific damage can occur while cleaning paintings.
How to Clean an Oil Painting with Bread
After you have chosen the proper soft and not-too-moist bread, you can move on to the actual cleaning process. Lightly press the bread to the painting and begin to slowly and gently rub the bread against it. Knowing how to clean an oil painting doesn’t always feel this silly, I promise, but the bread bit can help immensely.
Begin by being gentle with those problem areas to see if the bread can loosen up some of the harder grime. In the event that you notice the bread isn’t quite doing the trick, you can gradually increase the pressure. Make sure that you never press too hard. This is another reason that choosing the right bread is important. If it is too soft, you might very well leave behind residue.
As soon as you have used the bread to improve your painting, you will probably notice a problem: breadcrumbs. Don’t worry, this is an easy fix. You can simply fix this post-bread cleaning issue by returning to the previous step in the process.
Dusting off the breadcrumbs is surprisingly easy and will hopefully leave you with a much cleaner painting. A proper bread process should remove a light layer of grime, and upon dusting, leave you feeling good about cleaning paintings.
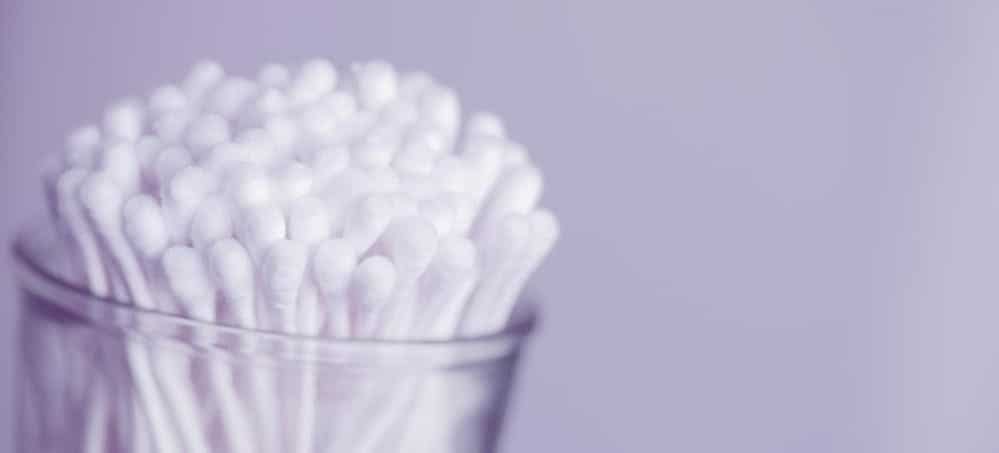
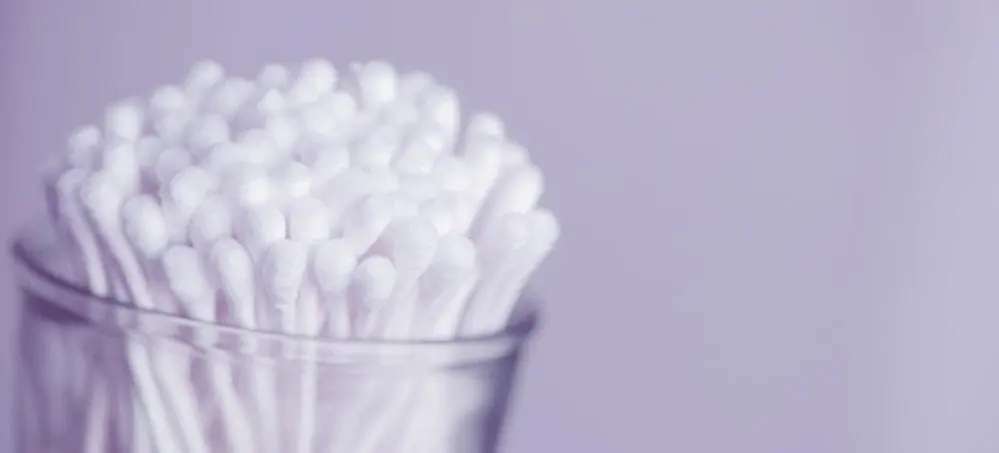 Photo by Sharon McCutcheon
Use A Cotton Swab and Saliva
—This is an approach that can be particularly beneficial for problem areas specifically. Since the last thing you want when learning how to clean an oil painting is to die from dehydration, don’t use this all over. It simply isn’t practical and frankly might leave your painting smelling a bit human.
However, for the occasional spot, a cotton swab and saliva can work wonders. If you notice that there is one bit of grime, particularly from something rubbing against it, this might just be what you need to do the trick.
As I have previously stated, moisture can be incredibly dangerous for your paintings. While it might seem counterintuitive to tell you to use moisture now, it is imperative that you avoid saturation. Under no circumstances should you soak the cotton swab in saliva.
This is not only a little gross but is truly just asking to degrade the quality of the painting as a whole. It is also important to remember that not all paintings are created equally. Depending on the paint, the varnish, and other kinds of damage, it is crucial to monitor the painting.
You will want to start very small with this process and observe the painting for any signs of damage. If you see even a hint of color on your cotton swab, it is without question time to put down the cotton swab. This process, while effective for removing some grime, should never impact the actual painting.
How to Clean an Oil Painting with a Cotton Swab
Since you will need to determine if this approach is right for your painting, it can be best to find a corner first. Locating an area that does not seem likely to blend or immediately degrade is imperative for testing. Cleaning paintings is a bit of a guess and check process.
You will use the lightly coated cotton swab to test an area first. If you notice that the paint stays securely where it is, you might have a good candidate for this approach. After this test has been conducted, you can begin to focus on the actual problem areas that caught your eye.
To begin this process, you will want to find an incredibly soft cotton swab. This is one area where it can be beneficial to pay a little extra for luxury. A nice, soft cotton swab is the best for this process simply because it will be safer for the painting.
You never want to rub anything abrasive against your painting. This can result in you removing the varnish or damaging the underlying paint. After you have found the right cotton swab, you can allow it to gently soak in your mouth for a few seconds. You might need more or less time depending on how much saliva you produce. Remember, the cotton swab should be damp and not wet.
When you have dampened your cotton swab appropriately, you can begin the cleaning process. Simply take the cotton swab and lightly press it to the problem area. Begin by slowly and methodically rubbing the painting in gentle strokes.
You should begin to see the grime lift over time. As always, you want to avoid overdoing it. If the grime simply isn’t giving up, do not use this as an excuse to be more rough with the painting. You want to preserve the integrity of the piece, and sometimes this simply might not be the best way to go about it.
Conclusion
Managing how to clean an oil painting is a process that takes a lot of time and patience. Though it would be nice to be able to just douse the painting in a cleaner and see it born again, this simply isn’t the case.
It is always better to have a painting that is a little dirty rather than damaged. Keeping that in mind will help you to take a better approach when you actually take the time to pursue your cleaning process.
A huge part of understanding how to clean an oil painting is knowing when you can’t do it. Sometimes the steps necessary to clean an oil painting are beyond what the average person should do. This is when it is best to consider a conservator, who can be more prepared to remove the varnish and truly clean the painting.
Sometimes it really does pay to simply call in a professional. If these steps don’t work for you, this might be the right approach.
Do you oil paint? How do you clean your oil painting? Which one of these cleaning methods have you heard of and which ones haven’t you heard of?