
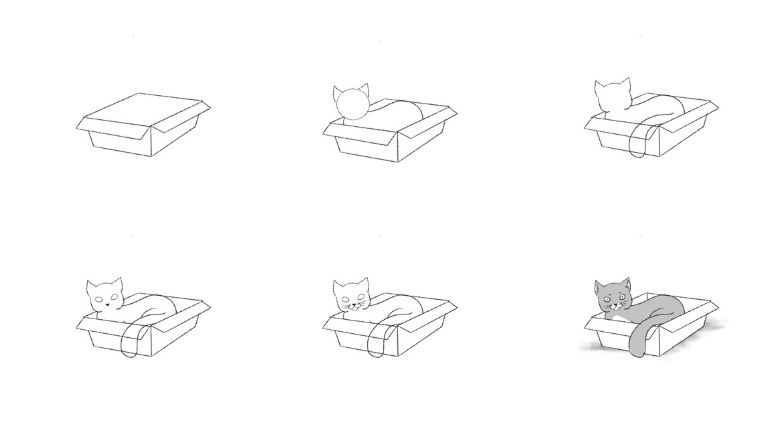

Did you ever think that learning how to draw a cat in a box would be so easy?
Follow this incredibly easy step by step to draw this cute kitten in a matter of minutes.
At the end of this you’ll have a delightful surprise peaking outside a box.
Let’s get started!
Drawing Supplies Needed
You can use any drawing supplies to draw a cat in a box, but here are the best tools for drawing.
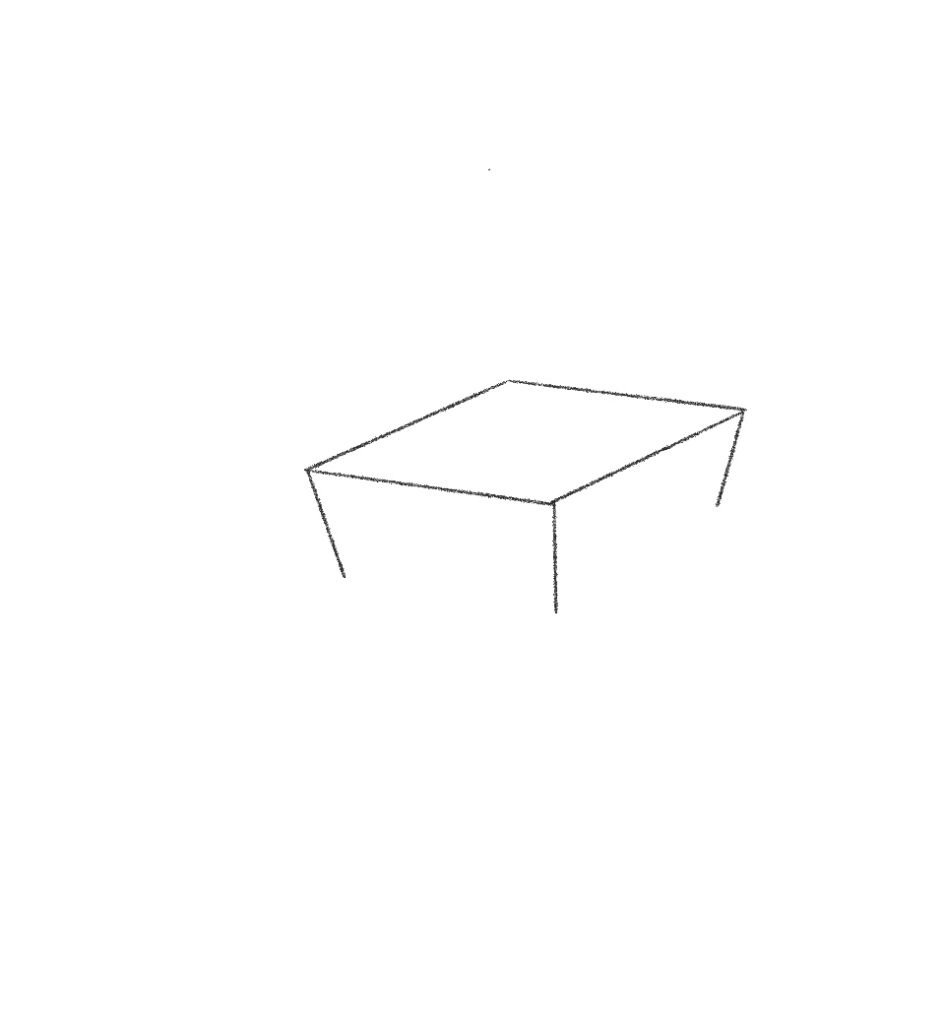
Step 1: Drawing the box


Let’s start with a box, but we’re going to be using perspective so it won’t be a simple square. Draw a diamond on its side.
Step 2: Draw ends of the box

At the ends of the bottom 3 points, extend a line downward. Make sure the outer two lines are angled inward just a little bit.
Step 3: Draw line to connect points
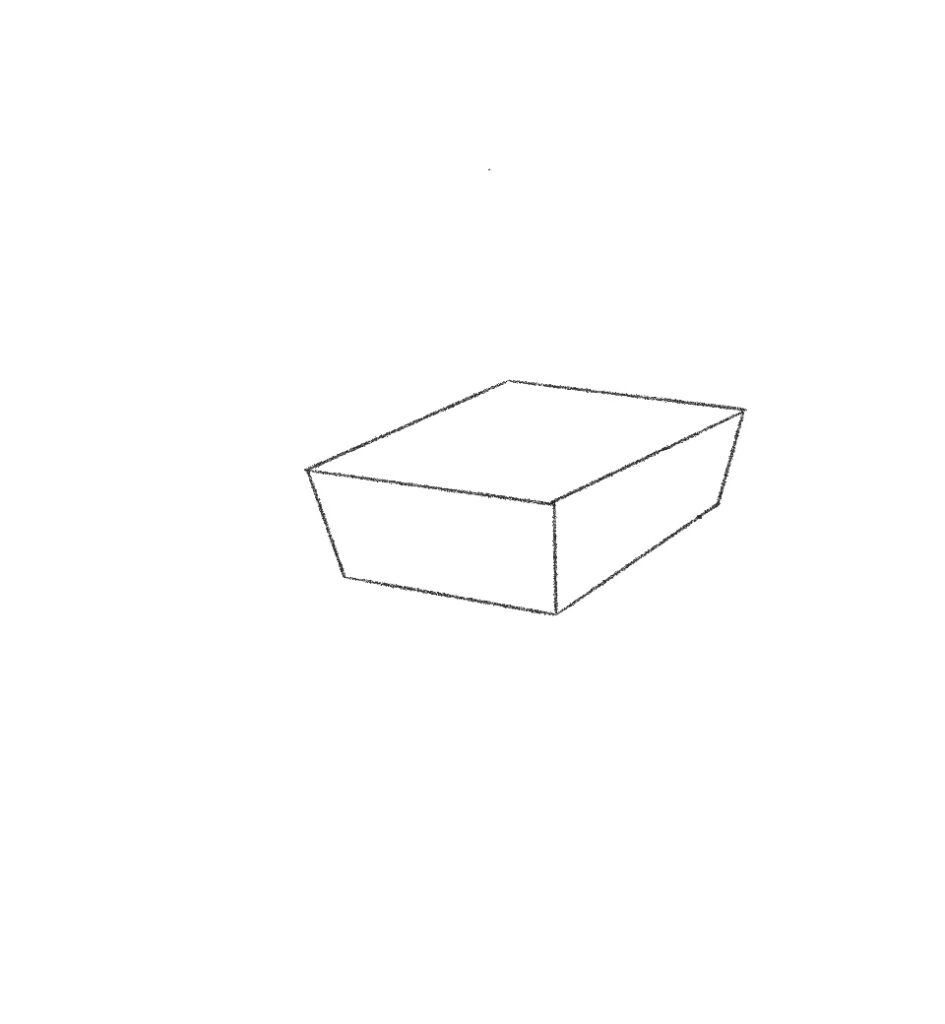

Draw a horizontal line to connect the points together.
Step 4: Sketch flaps of box


Now, back to where the diamond peaks on the bottom 2 sides (3 corners) create small lines facing left on one side and right on the other. We are going to map out the flaps of the box!
Step 5: Connect short lines with horizontal lines


Connect those shorter lines with a horizontal line as we did for the main panels of the box.
Step 6: Erase overlapping lines


Erase the overlapping lines.
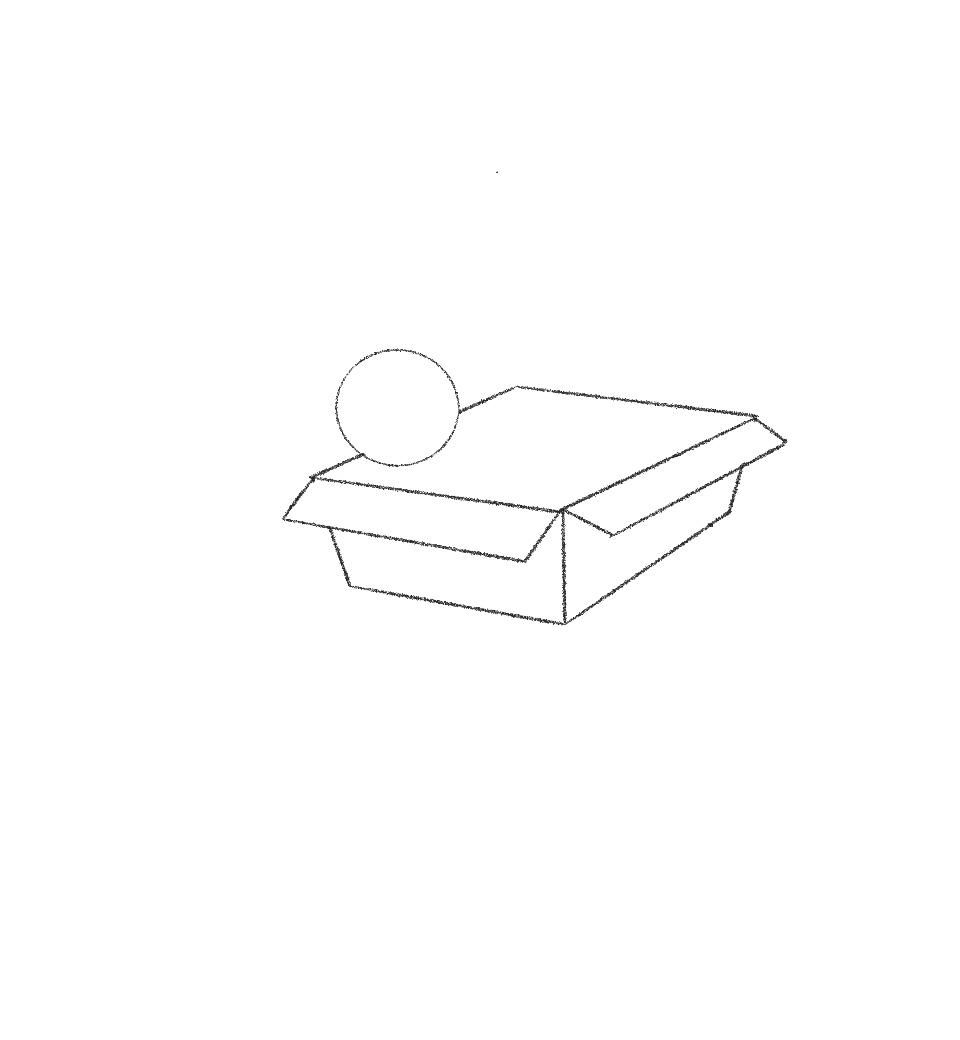
Step 7: Sketch circle for head of the cat

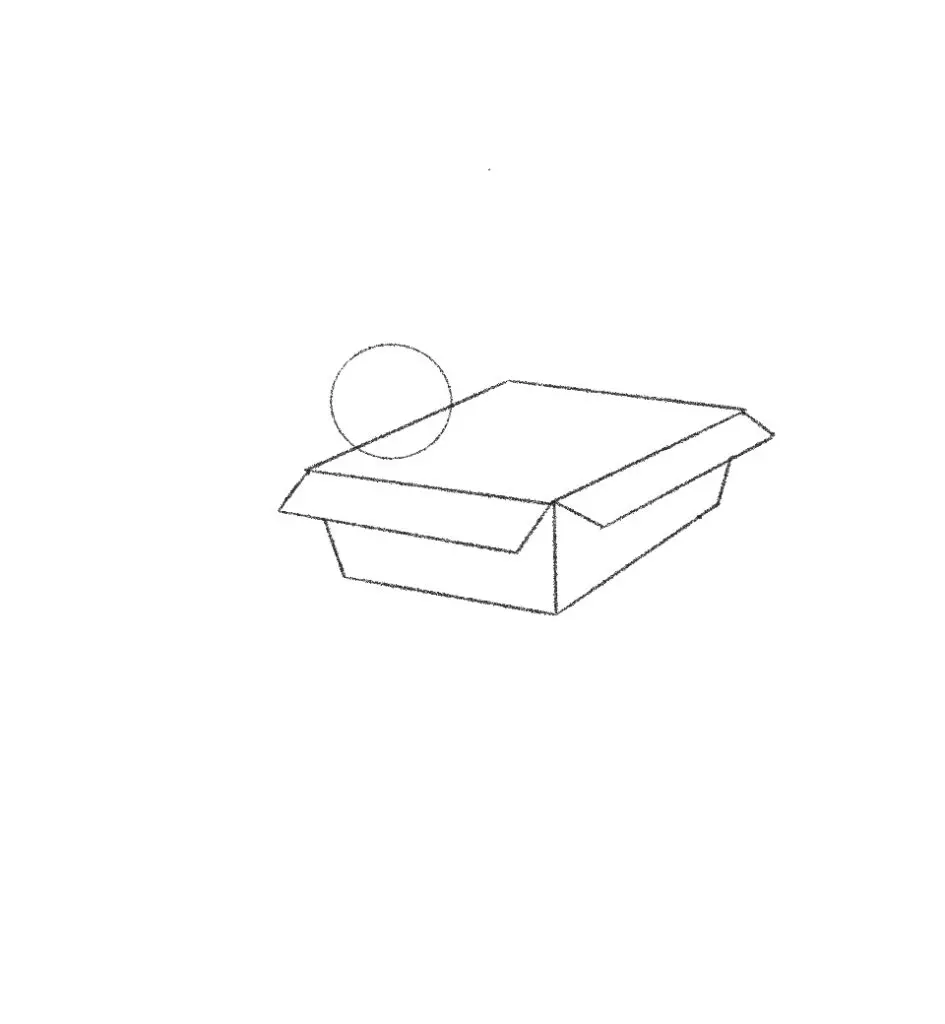
At the left side of the box create a circle so the bottom 1/3 of the circle is inside the box, and the rest is outside of it.
Step 8: Erase overlapping lines


Erase the overlapping line.
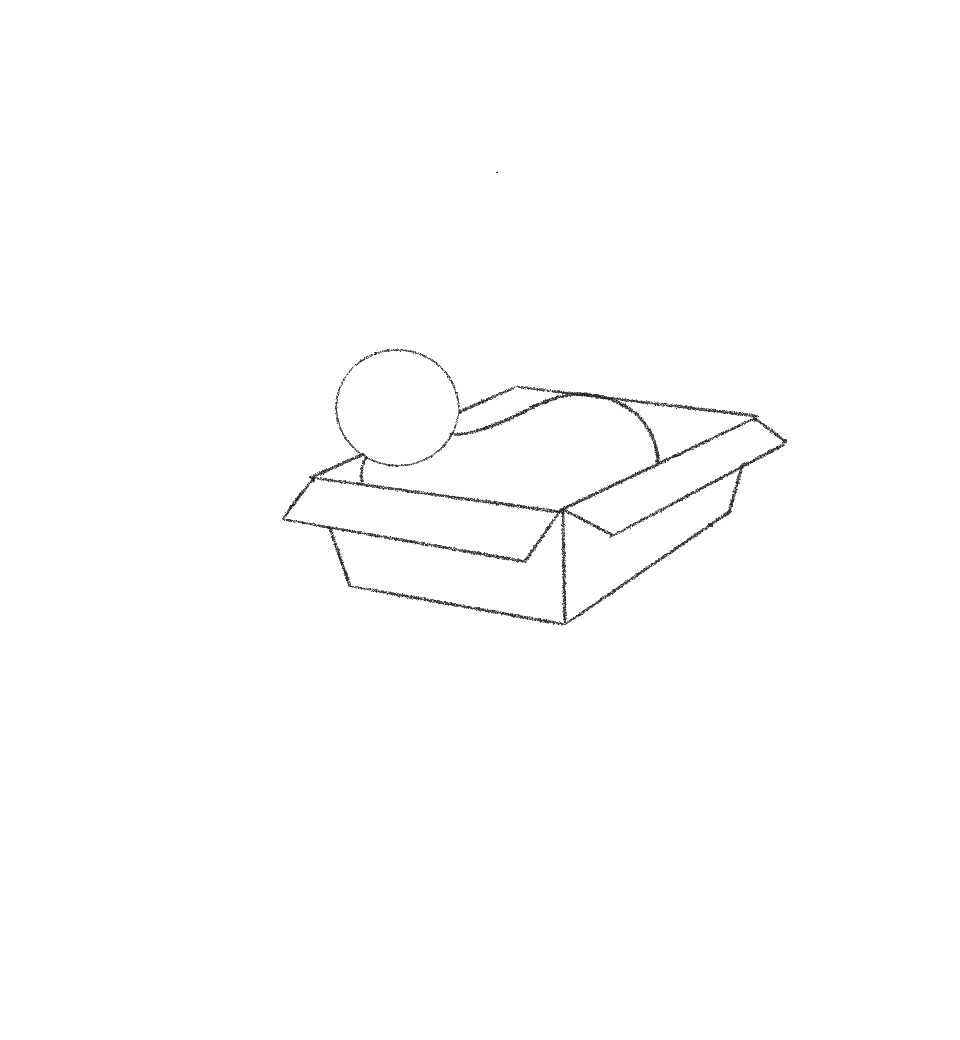
Step 9: Sketch the cat’s body

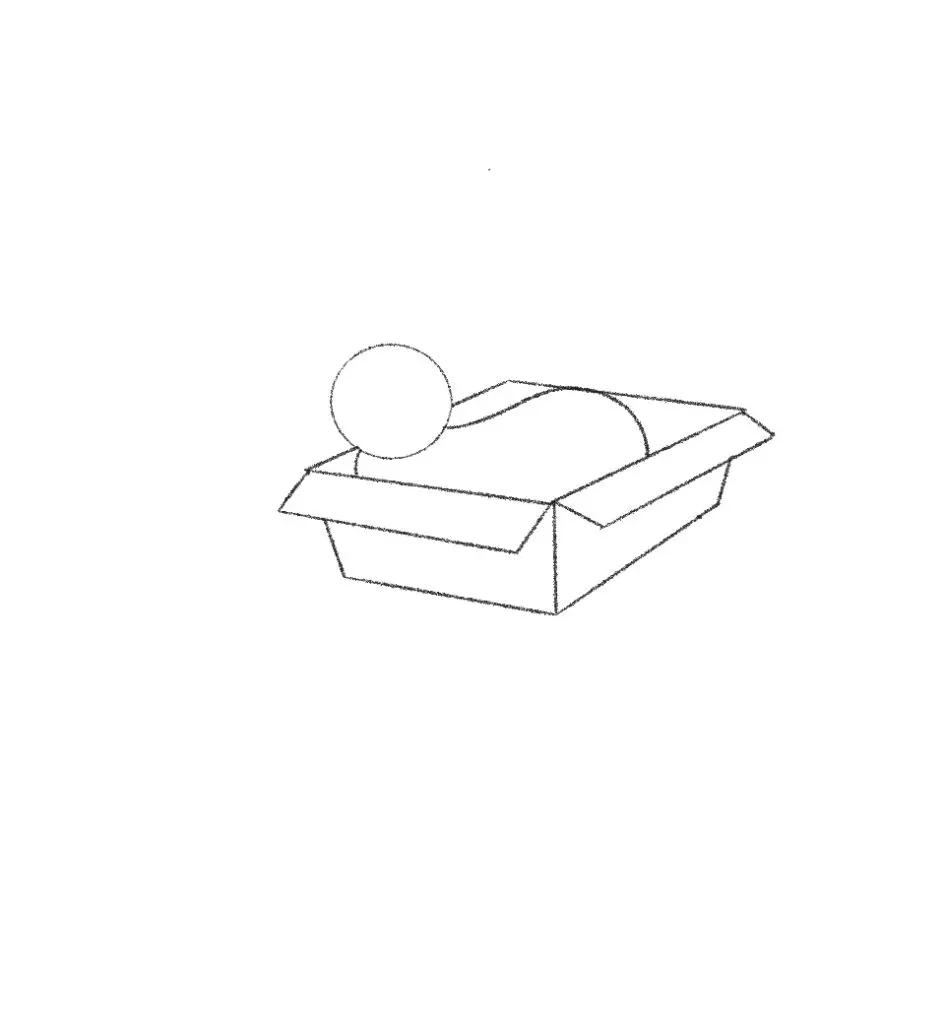
Now we’re going to map out the cat’s body. From the back of the circle we’ll make a squiggling line that gets wider at the back, and for the front of the circle just a small curved line downwards.
Step 10: Draw ears


Time for ears! Place two soft triangles at the top of the circle.
Step 11: Define the cheeks

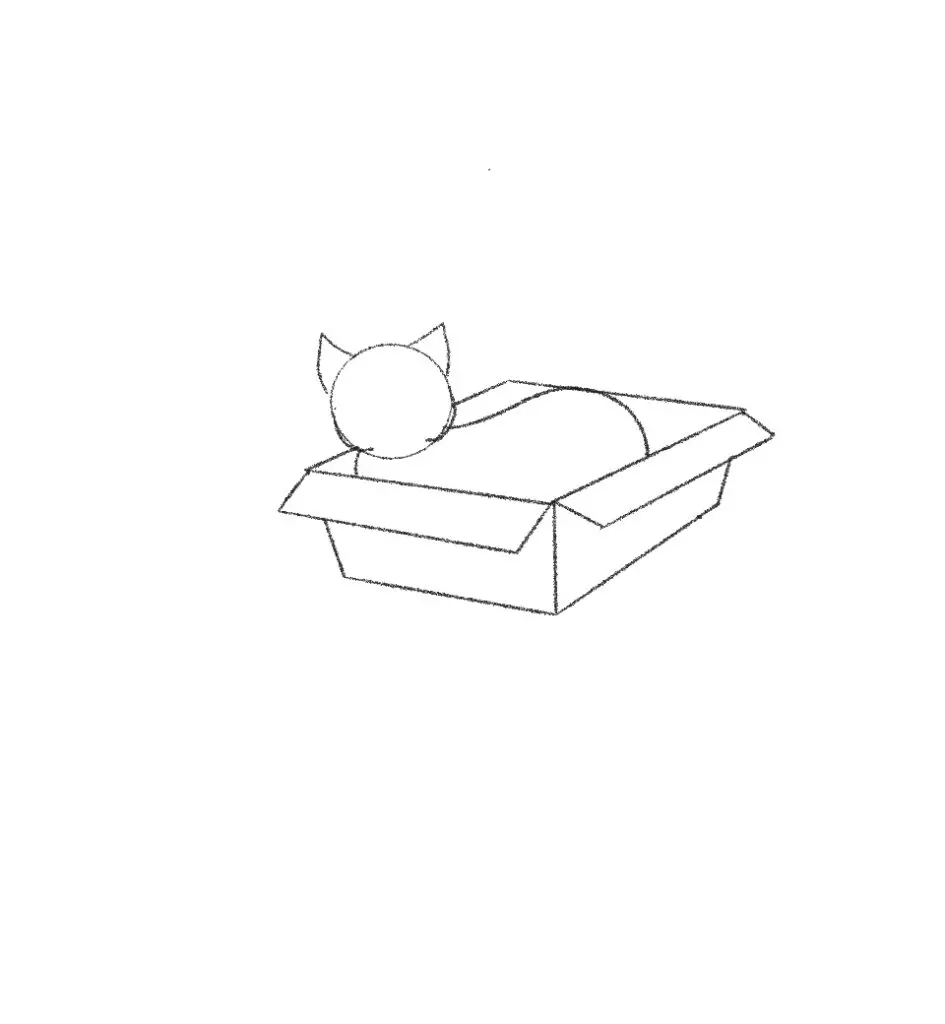
Let’s define those cheeks! On the side of the circle, extend the width just a bit before coming inwards and slightly up. This step should have your cat starting to look like it has mutton chops!
Step 12: Erase

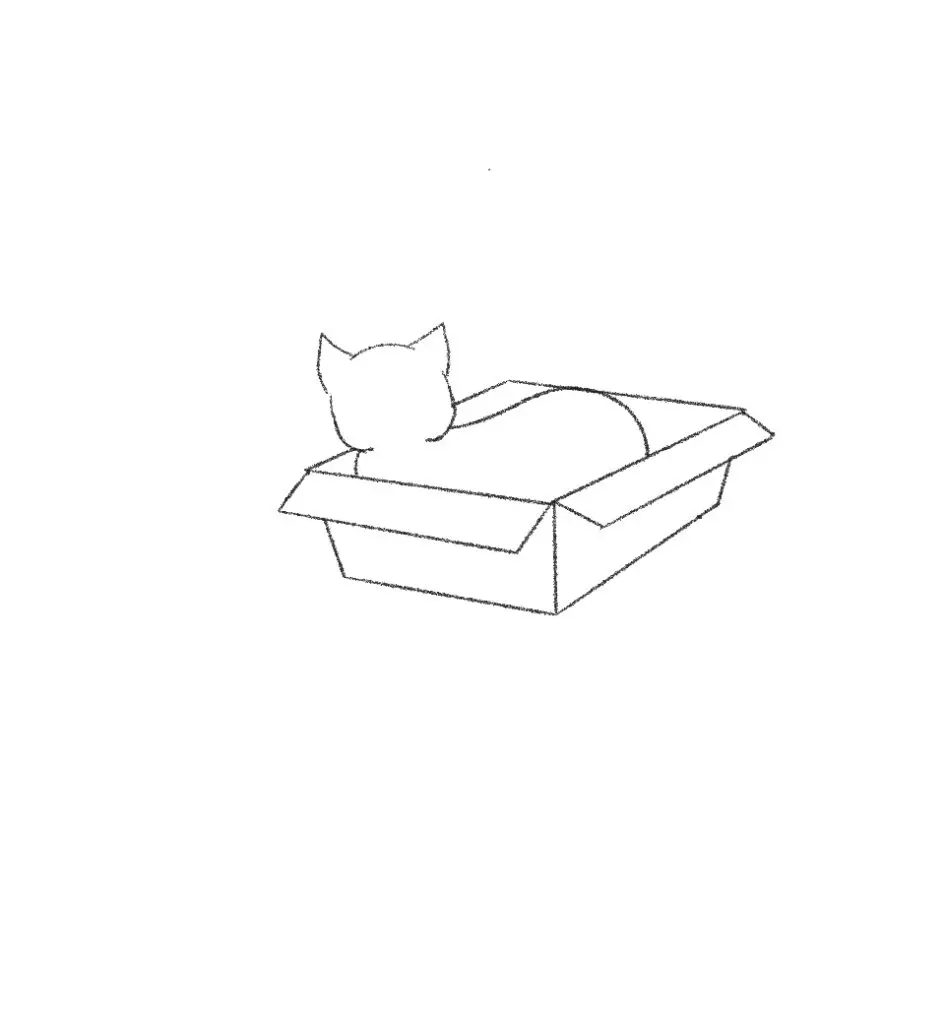
Erase the remnants of the circle.
Step 13: Draw the tail
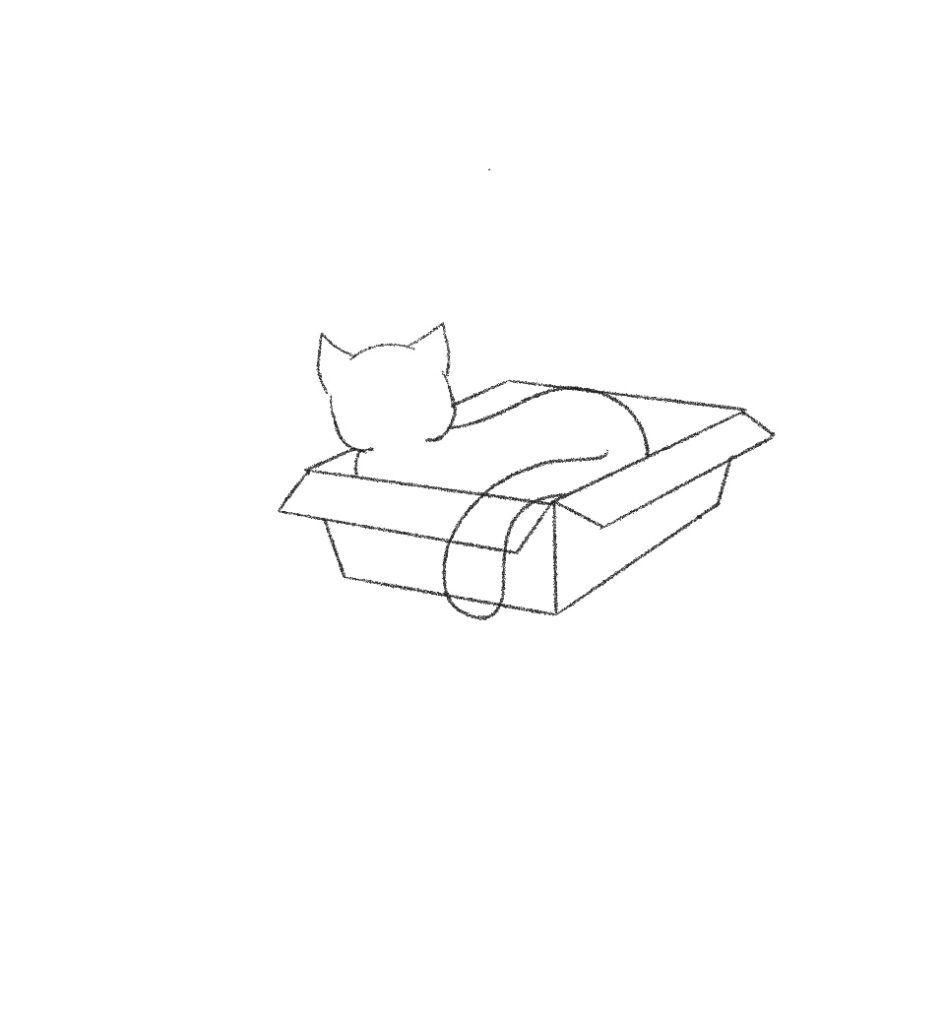

Let’s add the tail! The tail will be going over the box so mark out a snake like shape going down the right front side of the box, getting wider at the base.
Step 14: Sketch the eyes

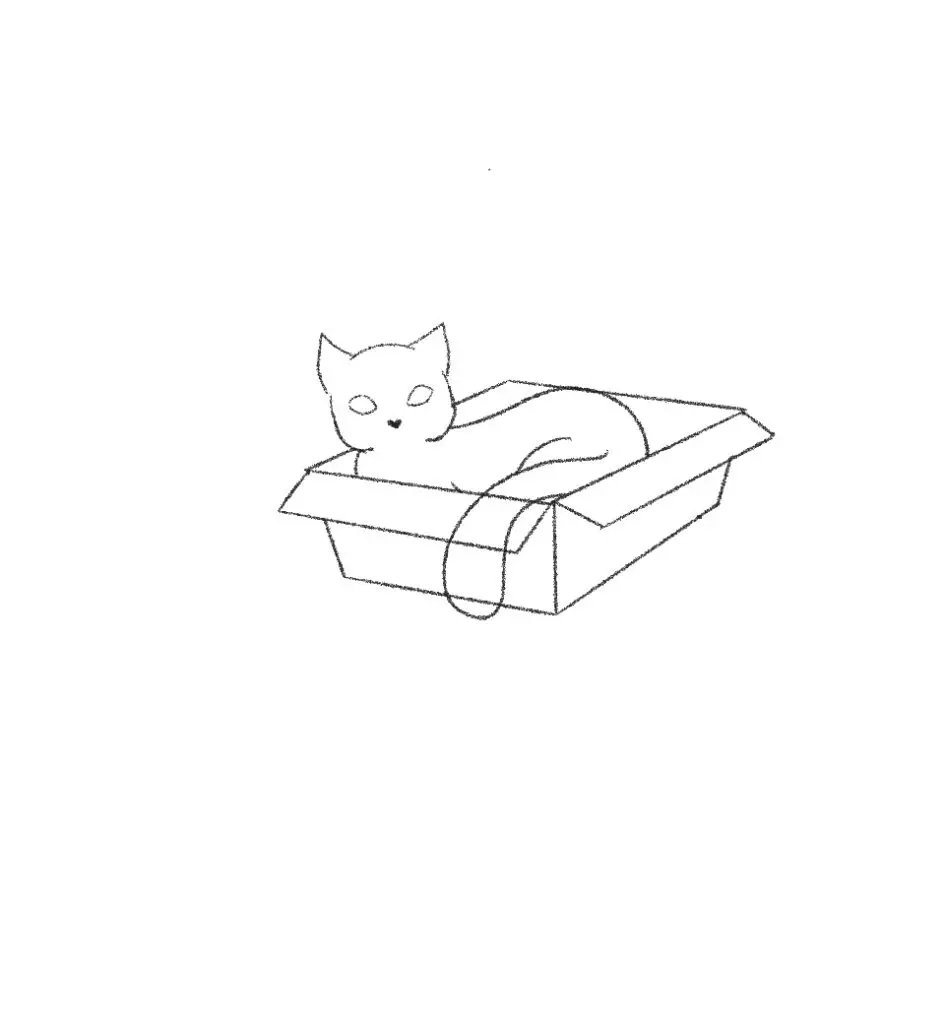
Let’s add some almond shaped eyes and a heart shaped little black nose on the face, leaving room for the mouth!
Step 15: Draw the mouth


From the tip of the heart nose create a very round “w” shape with the top curving towards the nose, then in the space underneath the bowls of the “w” shape, add a U shape for the chin.
Step 16: Doodle the whiskers
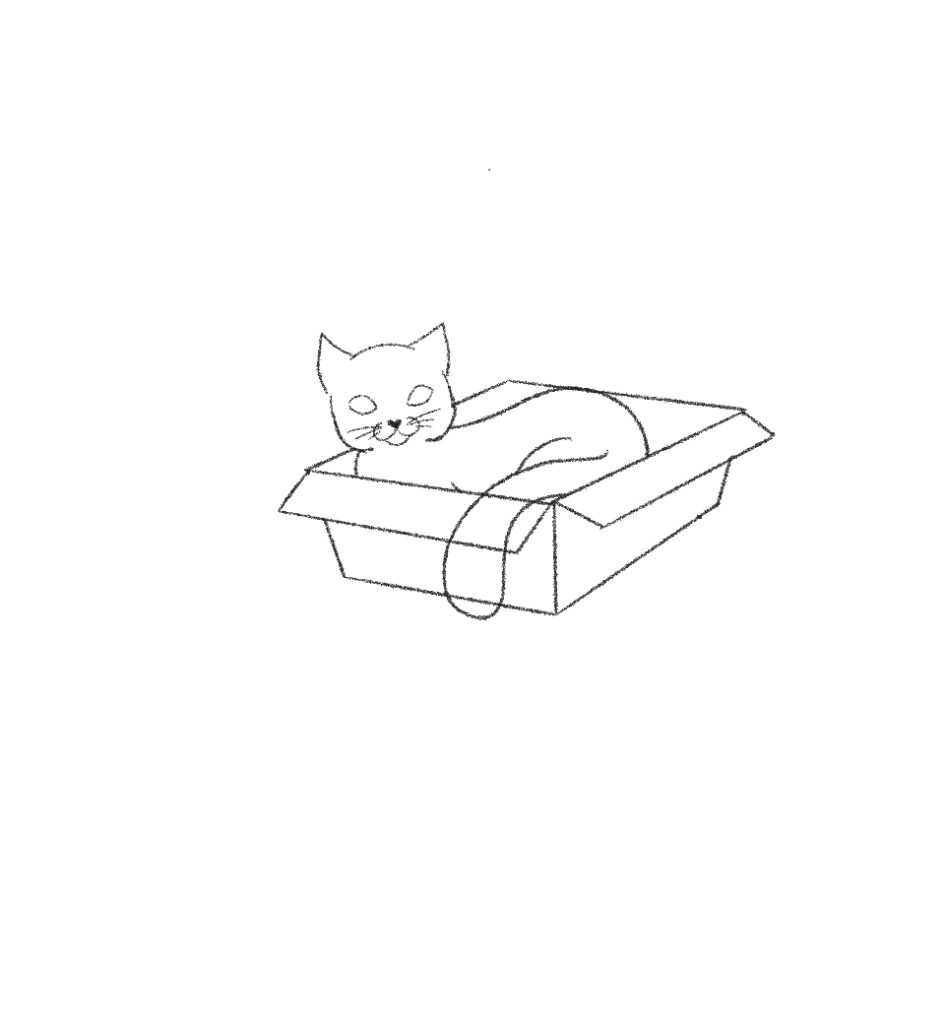

Add some whiskers! 3 on each side will be enough.
Step 17: Sketch in the pupil for the eye
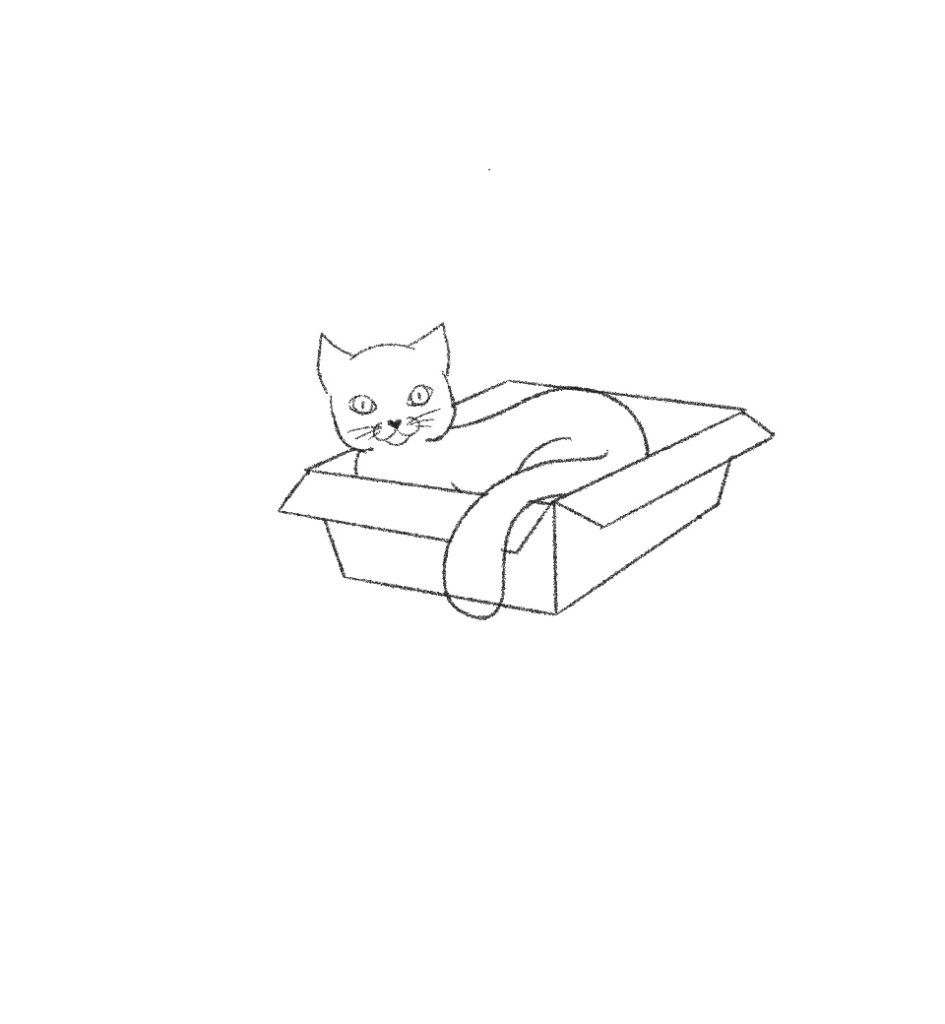

In the center of the almond shapes create a circle with a line in the middle for the eyes. Then, erase the lines of the box from inside the tail we made earlier
Step 18: Add shadow
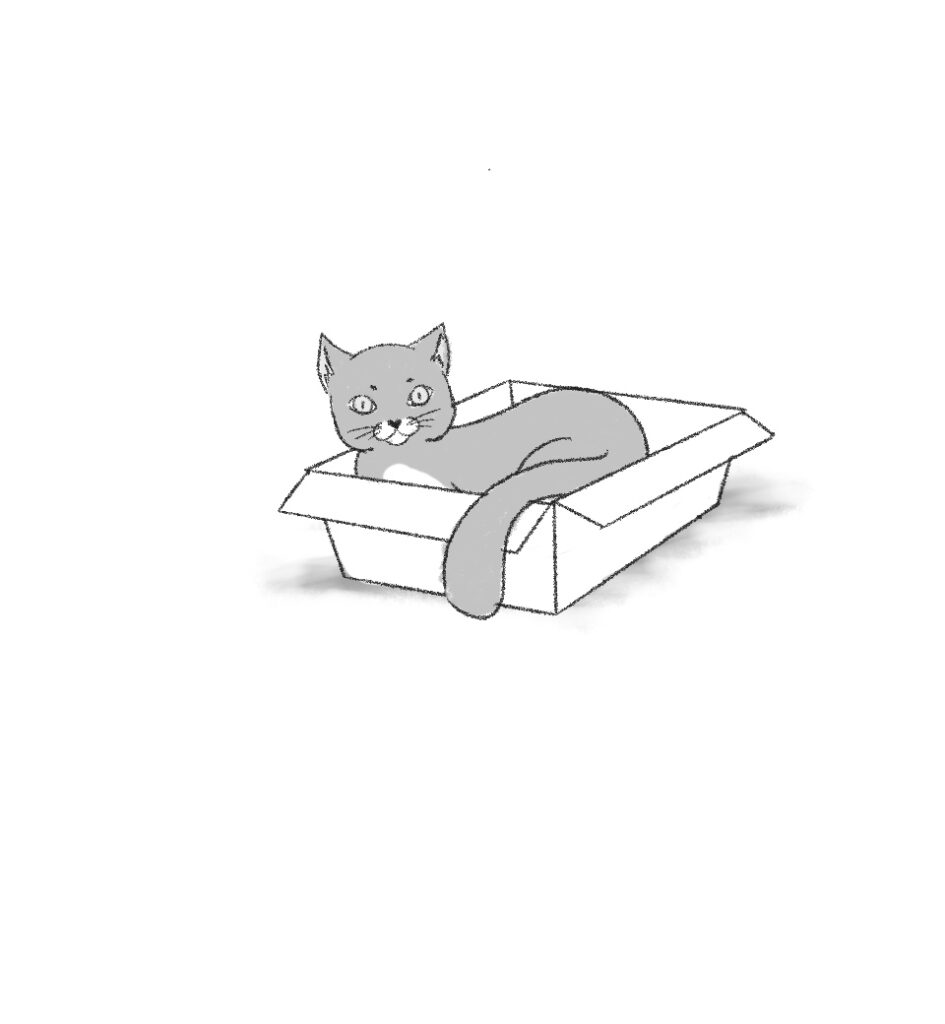

Add a shadow and some color to the cat and you’re done!
Other related topics to help you how to draw:
- How to Draw Dogs – Easy Step by Step Tutorial for Cute Dogs
- How to Draw a Dragon (Step by Step with Pictures)
- 8 Tips to Create Simple Flower Drawings (For Beginners)
- How to Draw an Eagle (Step by Step with Pictures)
Now, you know how to doodle a cat in this easy step by step and draw a box easily.
I’d like to thank Carolyn for sharing her process. Be sure to check out her social @ClazDesign if you enjoyed her illustrations. She also has some amazing prints and illustrations available in her shop.

How to Draw a Cat in a Box


Step-by-step instructions on how to draw a cat in a box.
Materials
- Pencil
- Paper
- Or tablet and stylus
Tools
- Pencil
- Paper
- Or tablet and stylus
Instructions
- Step 1: Drawing the box
Let's start with a box, but we're going to be using perspective so it won't be a simple square. Draw a diamond on its side.

- Step 2: Draw ends of the box
At the ends of the bottom 3 points, extend a line downward. Make sure the outer two lines are angled inward just a little bit.

- Step 3: Draw a line to connect points
Draw a horizontal line to connect the points together.

- Step 4: Sketch flaps of the box
Now, back to where the diamond peaks on the bottom 2 sides (3 corners) create small lines facing left on one side and right on the other. We are going to map out the flaps of the box!

- Step 5: Connect short lines with horizontal lines
Connect those shorter lines with a horizontal line as we did for the main panels of the box.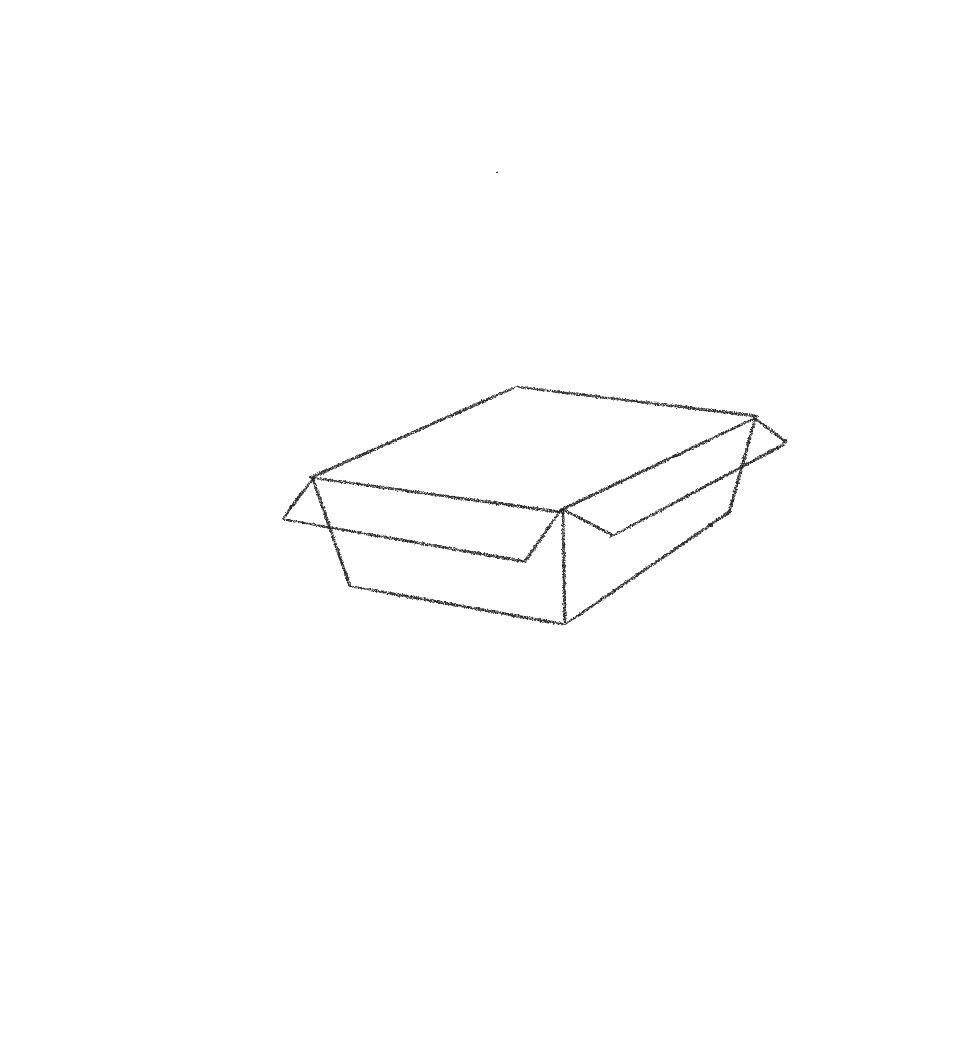

- Step 6: Erase overlapping lines
Erase the overlapping lines.

- Step 7: Sketch circle for the head of the cat
At the left side of the box create a circle so the bottom 1/3 of the circle is inside the box, and the rest is outside of it.

- Step 8: Erase overlapping lines
Erase the overlapping line.
- Step 9: Sketch the cat’s body
Now we're going to map out the cat's body. From the back of the circle we'll make a squiggling line that gets wider at the back, and for the front of the circle just a small curved line downwards.
- Step 10: Draw ears
Time for ears! Place two soft triangles at the top of the circle.

- Step 11: Define the cheeks
Let’s define those cheeks! On the side of the circle, extend the width just a bit before coming inwards and slightly up. This step should have your cat starting to look like it has mutton chops!

- Step 12: Erase
Erase the remnants of the circle.

- Step 13: Draw the tail
Let's add the tail! The tail will be going over the box so mark out a snake-like shape going down the right front side of the box, getting wider at the base.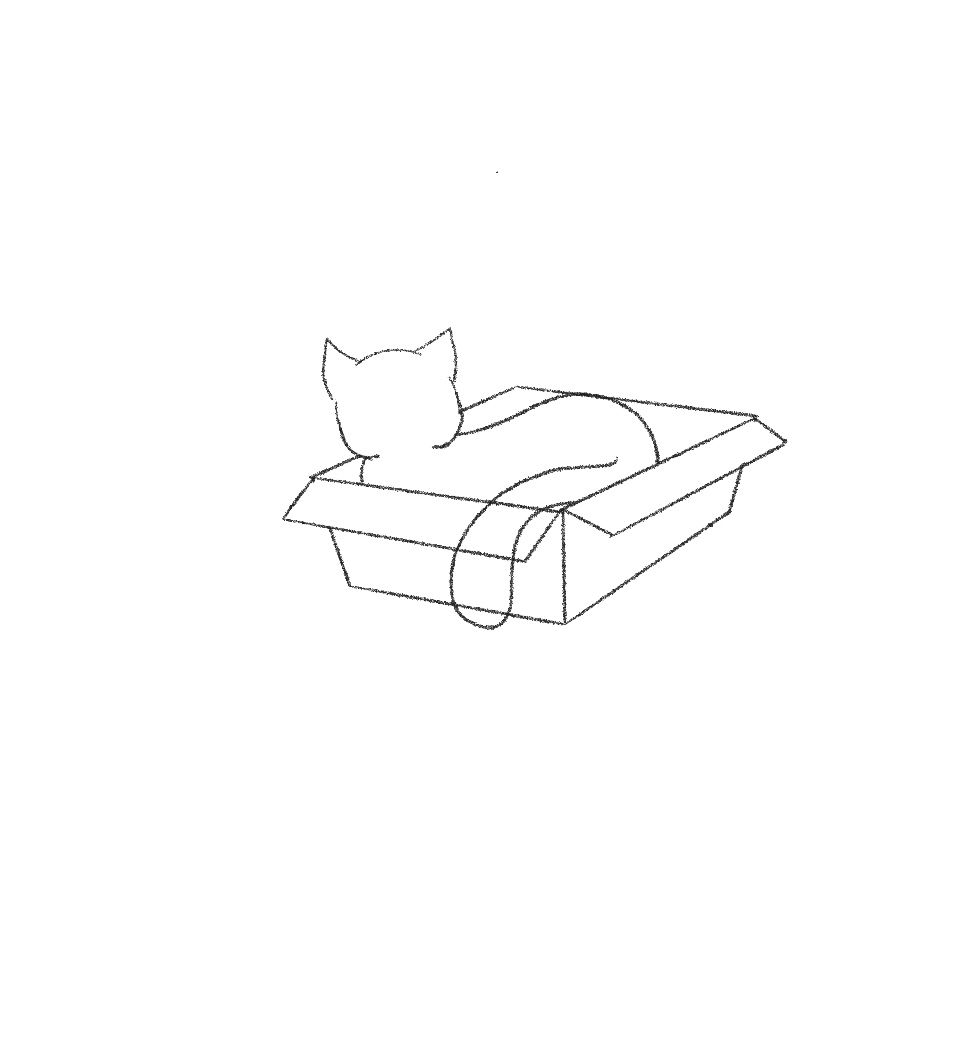

- Step 14: Sketch the eyes
Let's add some almond-shaped eyes and a heart-shaped little black nose on the face, leaving room for the mouth!

- Step 15: Draw the mouth
From the tip of the heart nose create a very round "w" shape with the top curving towards the nose, then in the space underneath the bowls of the "w" shape, add a U shape for the chin.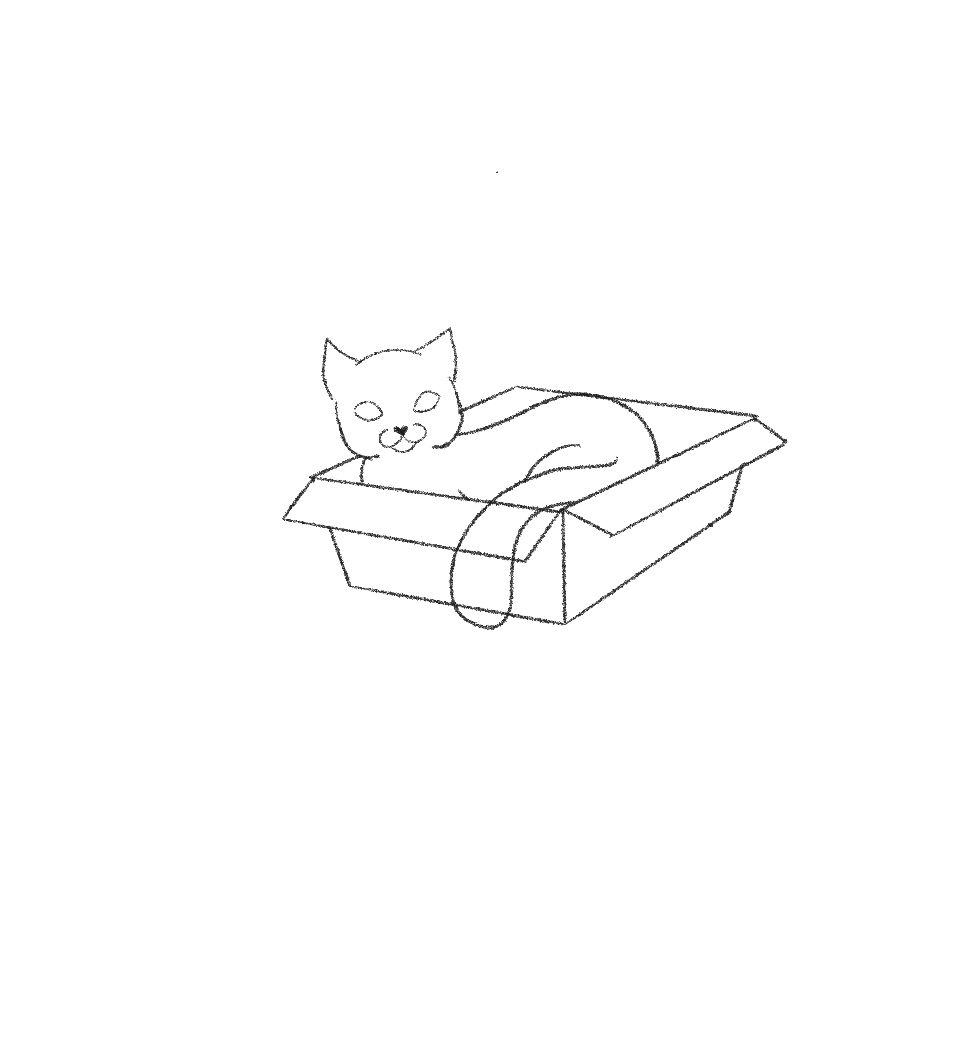

- Step 16: Doodle the whiskers
Add some whiskers! 3 on each side will be enough.

- Step 17: Sketch in the pupil for the eye
In the center of the almond, shapes create a circle with a line in the middle for the eyes. Then, erase the lines of the box from inside the tail we made earlier.

- Step 18: Add shadow
Add a shadow and some color to the cat and you're done!
