

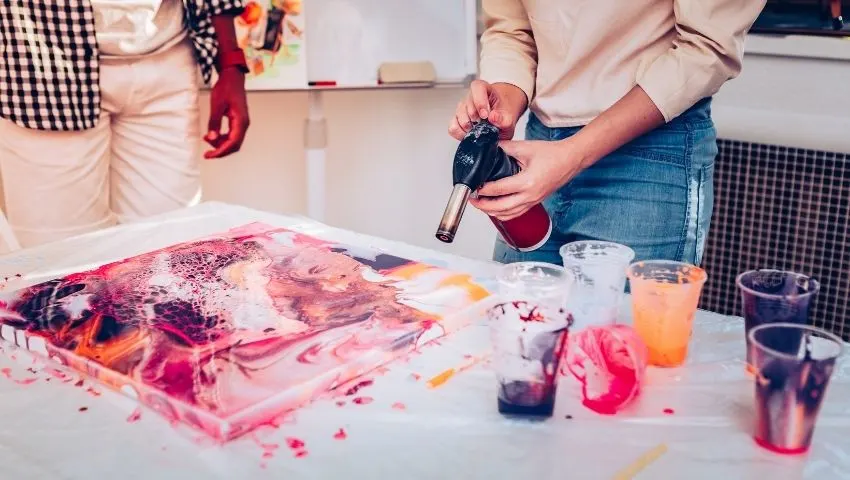
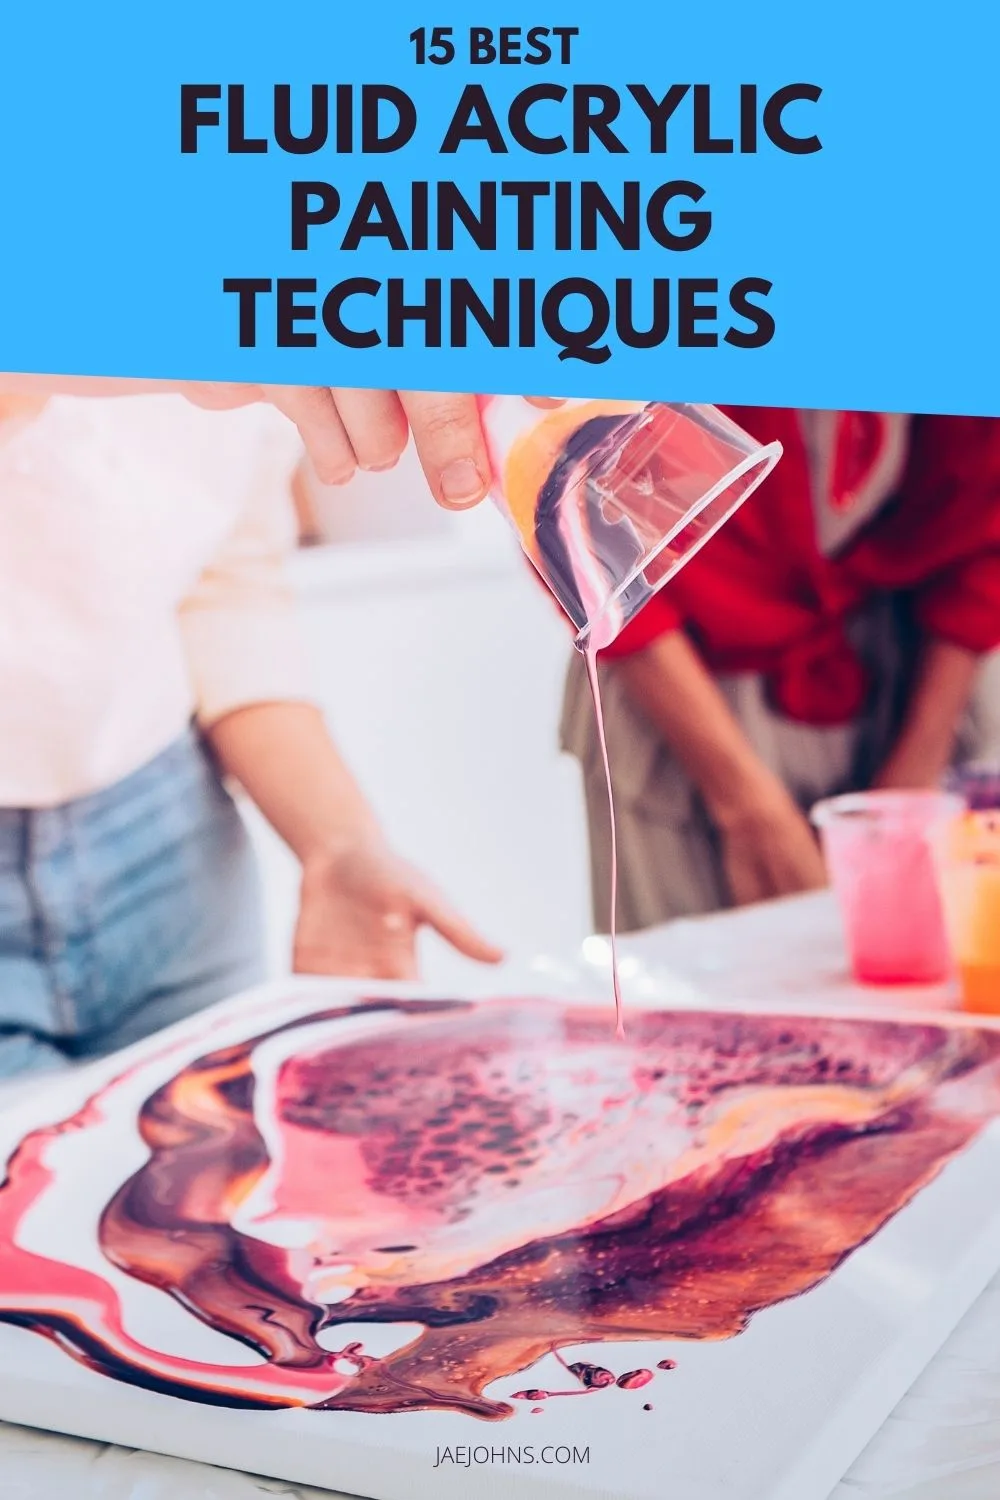
Learning fluid acrylic painting techniques is one of the most fun and easy ways to make your paintings better.
The abstract patterns and organic designs make it easy to create something unique to hang on your walls or give as gifts.
I’ve collected 15 of the best fluid acrylic painting techniques for you to try in a recipe format for you to try.
Remember, there are no right or wrong answers, so go for whatever your heart desires!

Basic Materials
These are the materials you’ll need for almost every one of the acrylic pouring techniques.
Think of them as your essential supplies kit.
You’ll need these for every technique listed on this list.
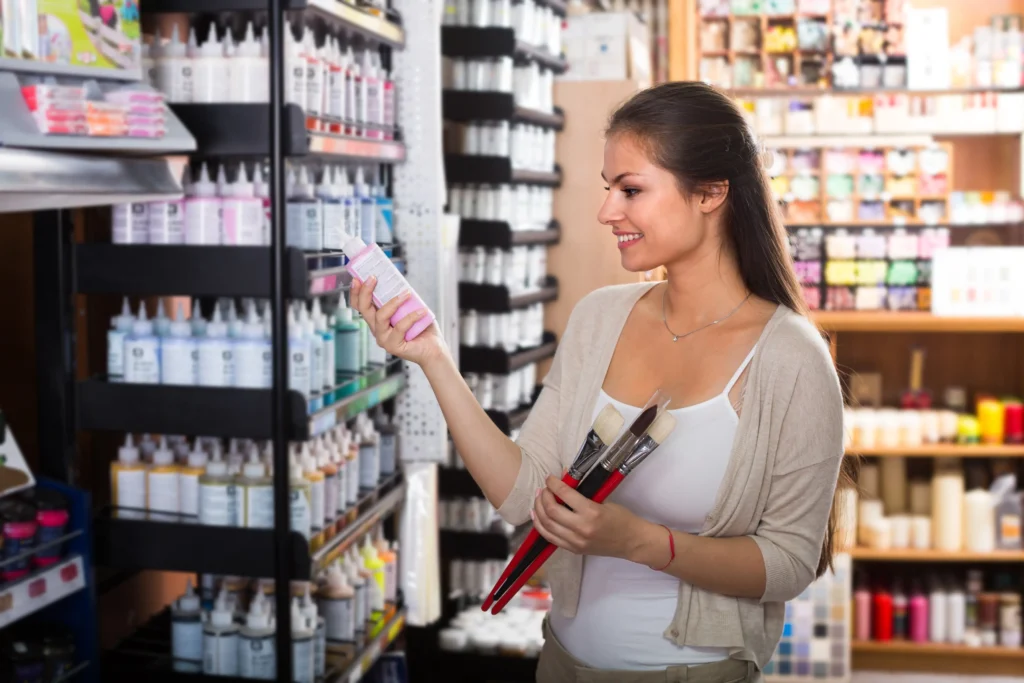
Acrylic Paint
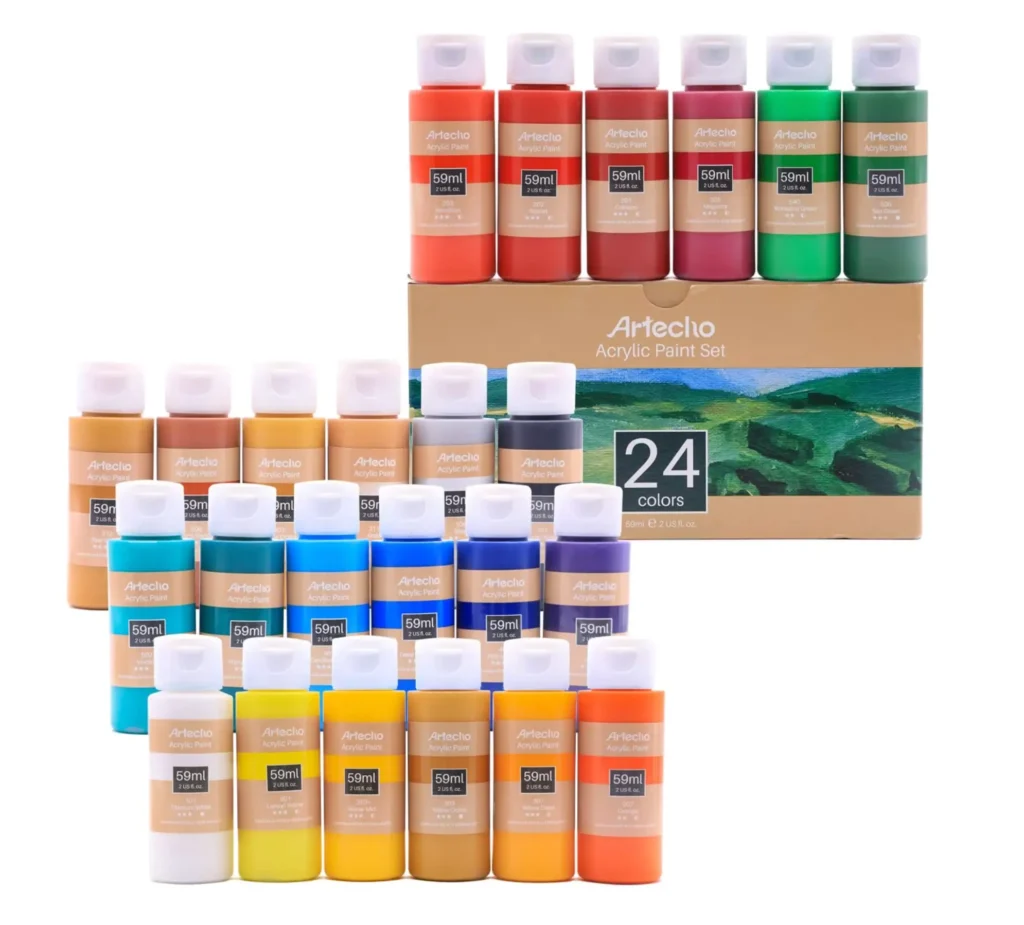
Acrylic paint is, of course, the star of the show.
You can pick from dozens of brands to find the right acrylic paint for you.
Fluid Medium
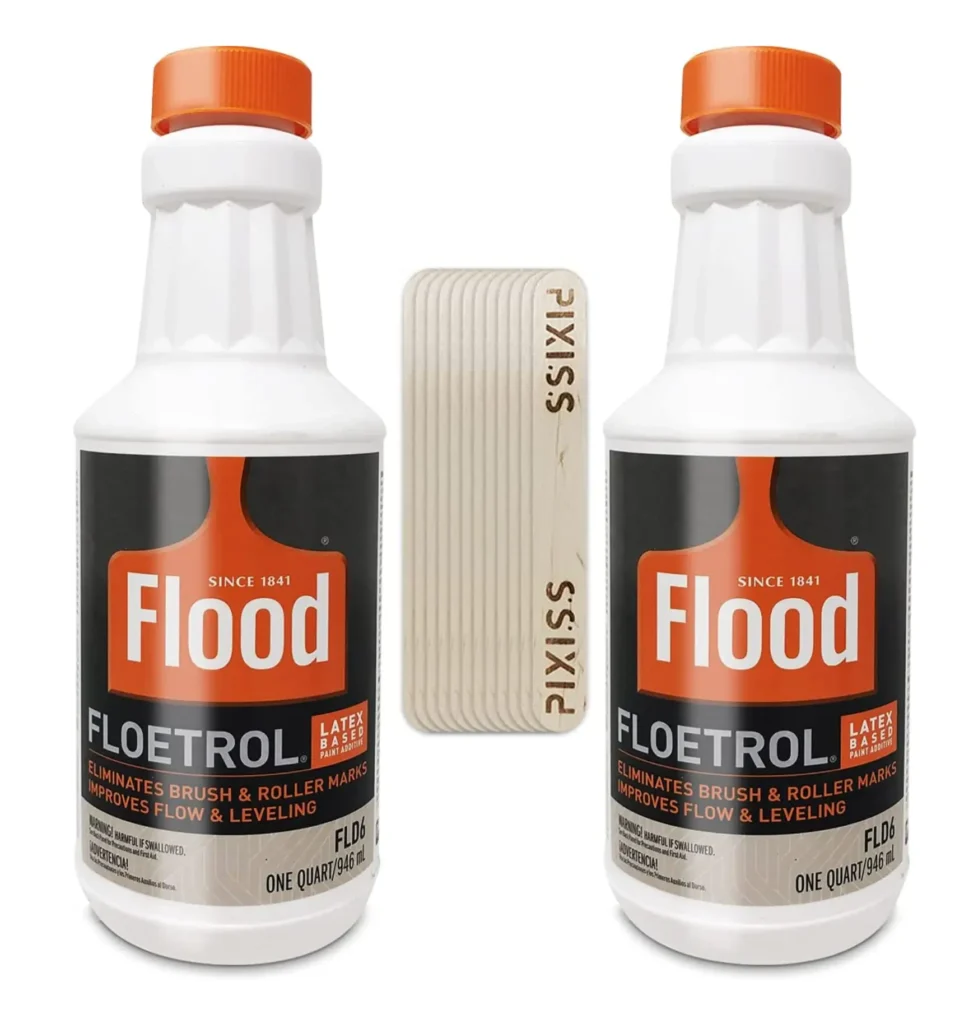
Floetrol is a medium that you can add to acrylic paint, keeping the same color but allowing you to pour more of it onto a canvas.
In addition, it improves the flow of acrylic paint, allowing it to slide around more easily.
Often these come with popsicle stick-like stir sticks to you with mixing the paints, which is mighty helpful.
Blank Canvas
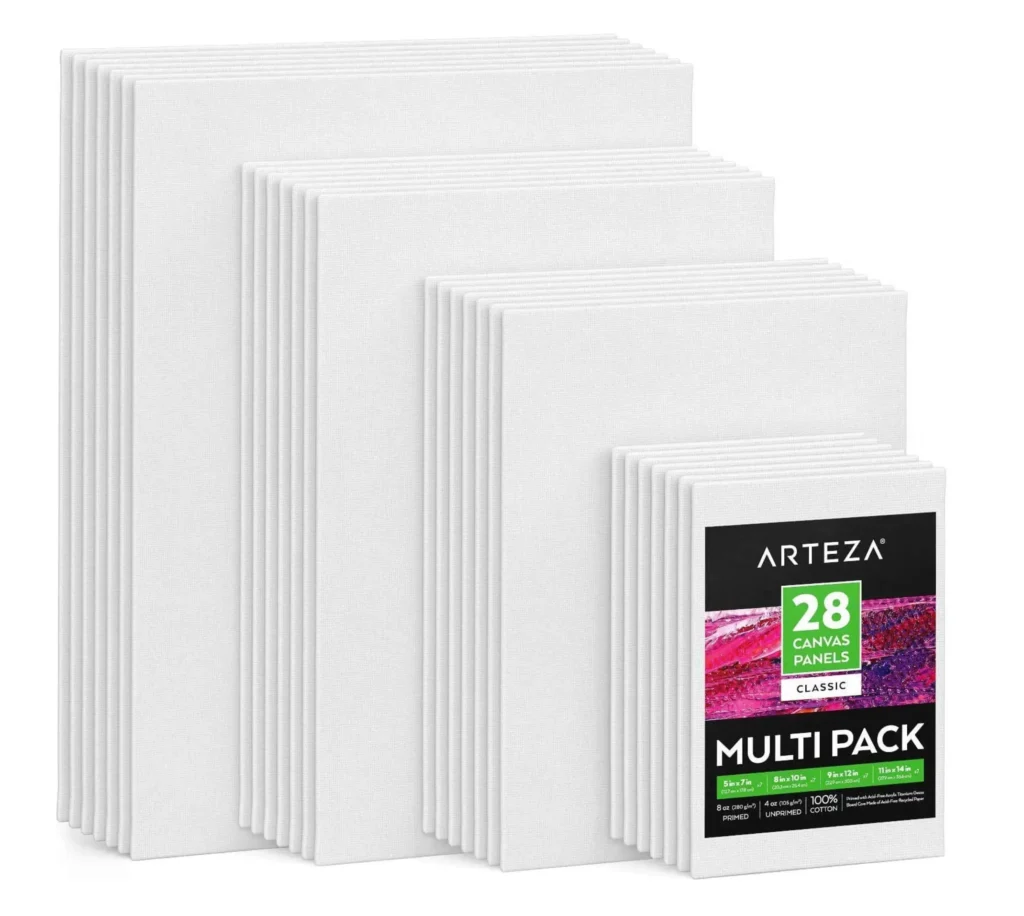
You’ll need canvases to do your acrylic paint pours onto.
Again, you can choose from various sizes, and there’s no right or wrong answer.
Almost every technique I’ll discuss can be done in various sizes, but you’ll want to think about proportions.
For example, a cup technique will only pour as much paint as is in the cup.
Distilled Water
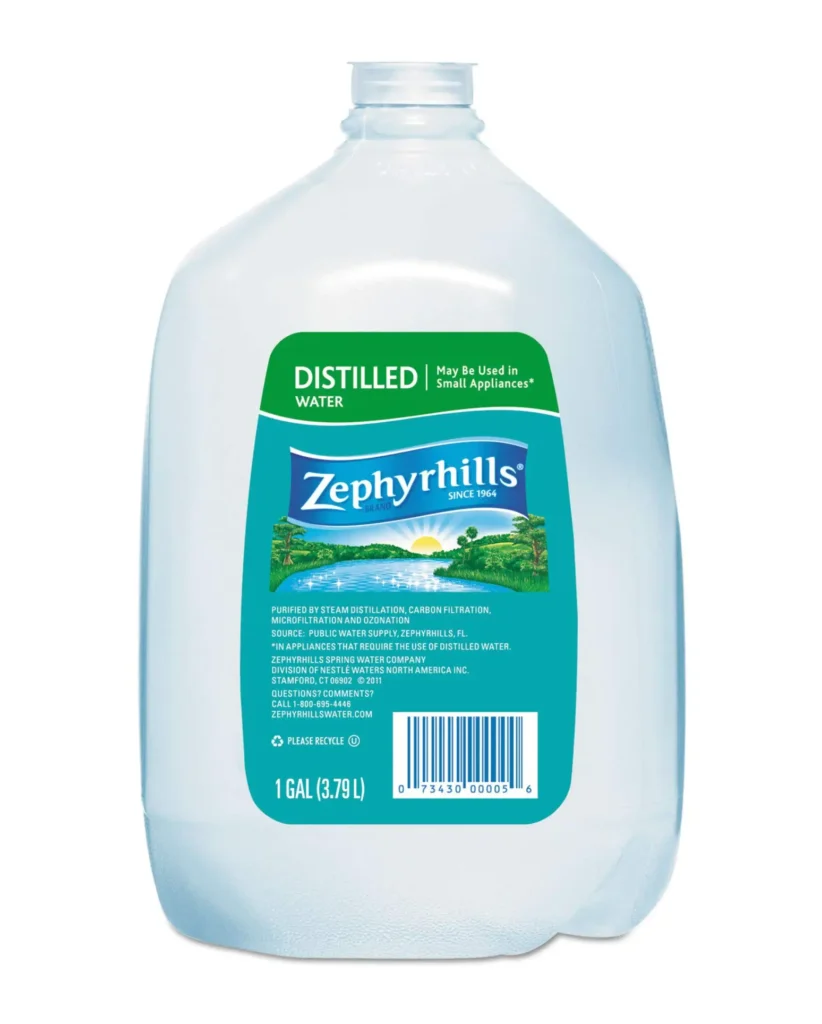
Distilled water is needed for a different kind of medium to add to paint pouring in some applications.
Silicone Oil
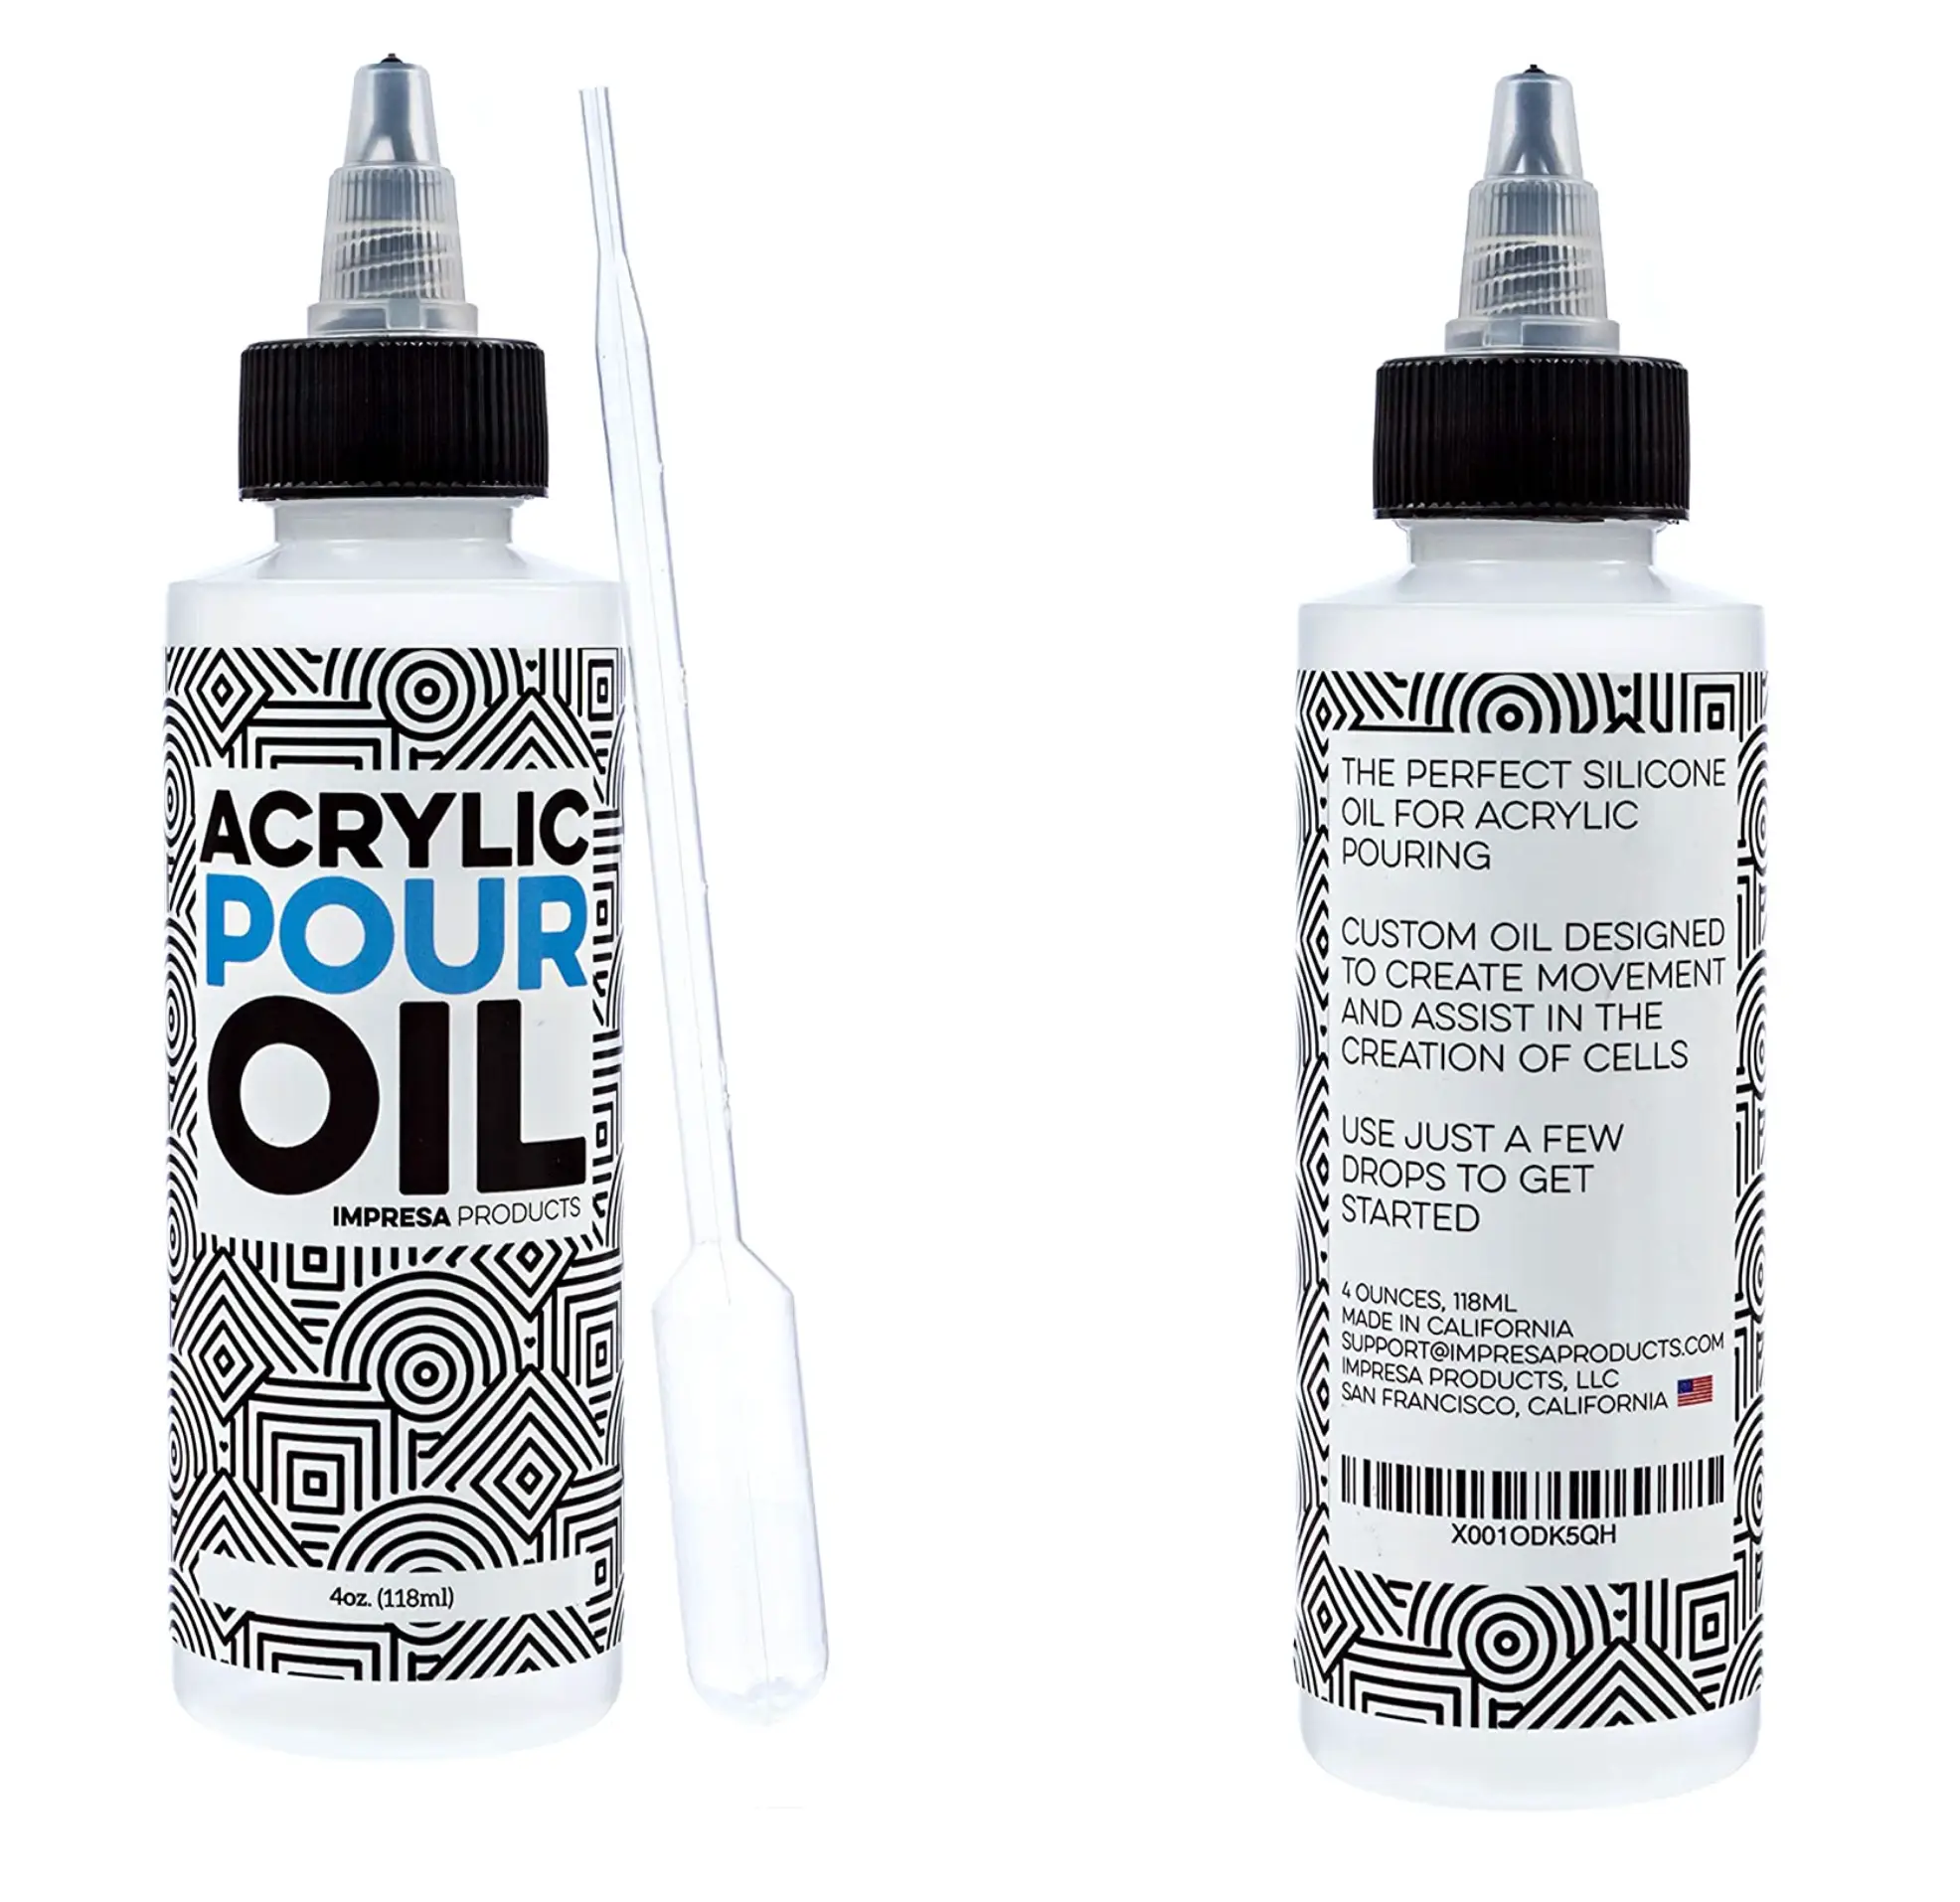
Silicone oil is another additive to acrylic paint pouring that helps keep it smooth and flowing.
You’ll only need small amounts of the oil to make the effects work, but it is essential for anything involving cells.
Experiment with different amounts to see how you like the results.
Drying Rack
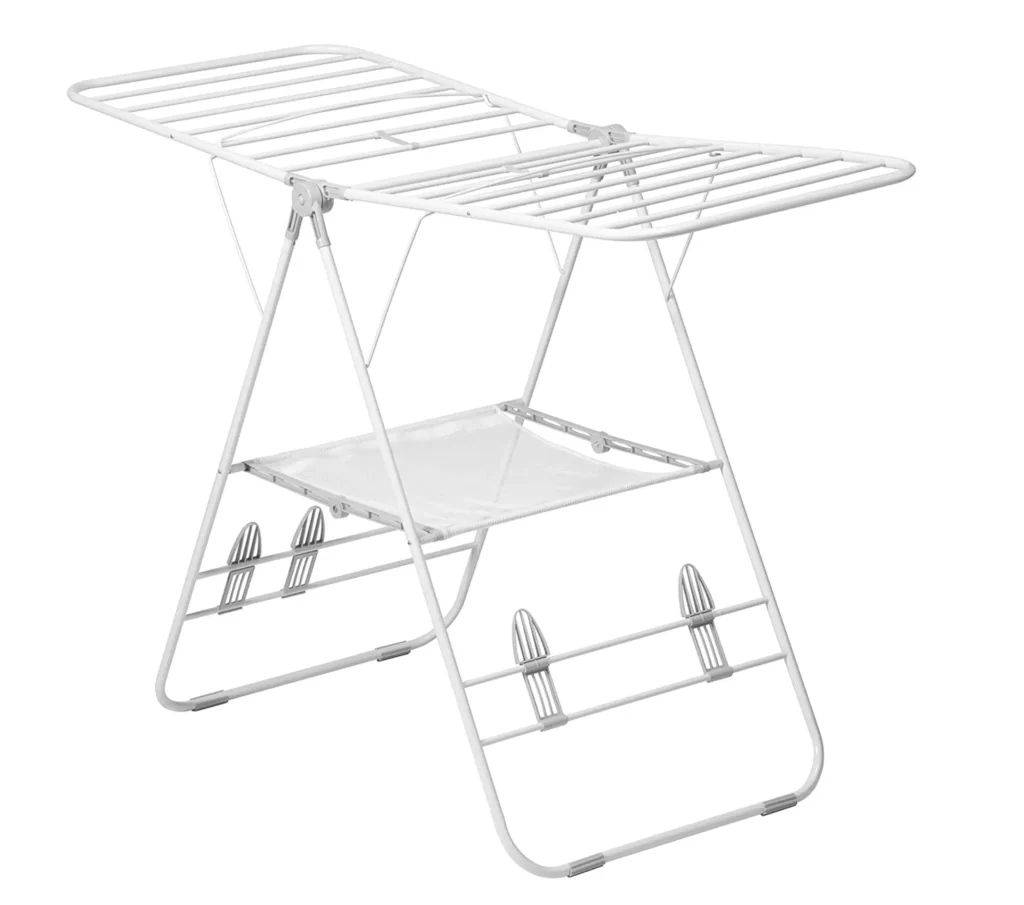
You can use almost any surface to dry your paintings after you are done pouring.
Many artists prefer to use drying racks to allow the dripping paint to fall onto plastic sheets or tile below and not ruin whatever surface the painting is on.
Protective Drop Cloths
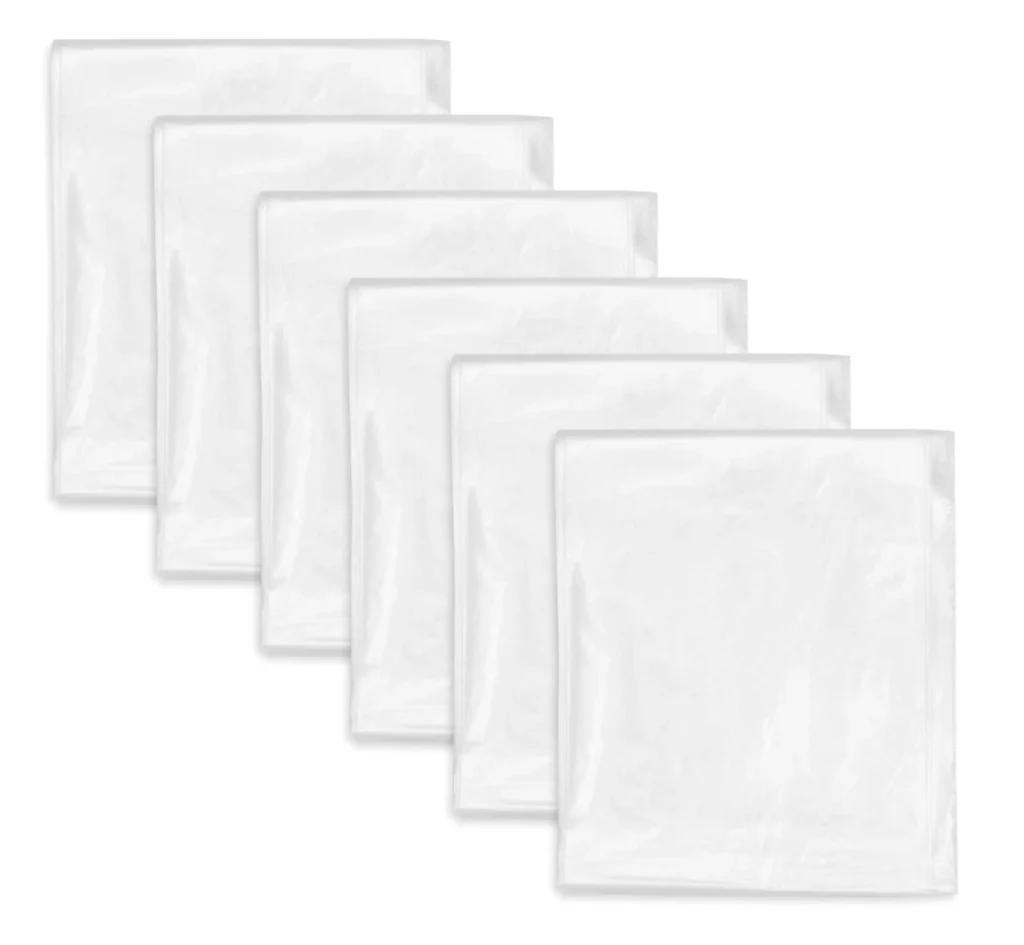
Fluid acrylic paints can get very messy.
I highly recommend getting a lot of protective drop clothes or plastic sheeting to protect the area around where you are working.
Making the Paint Pour
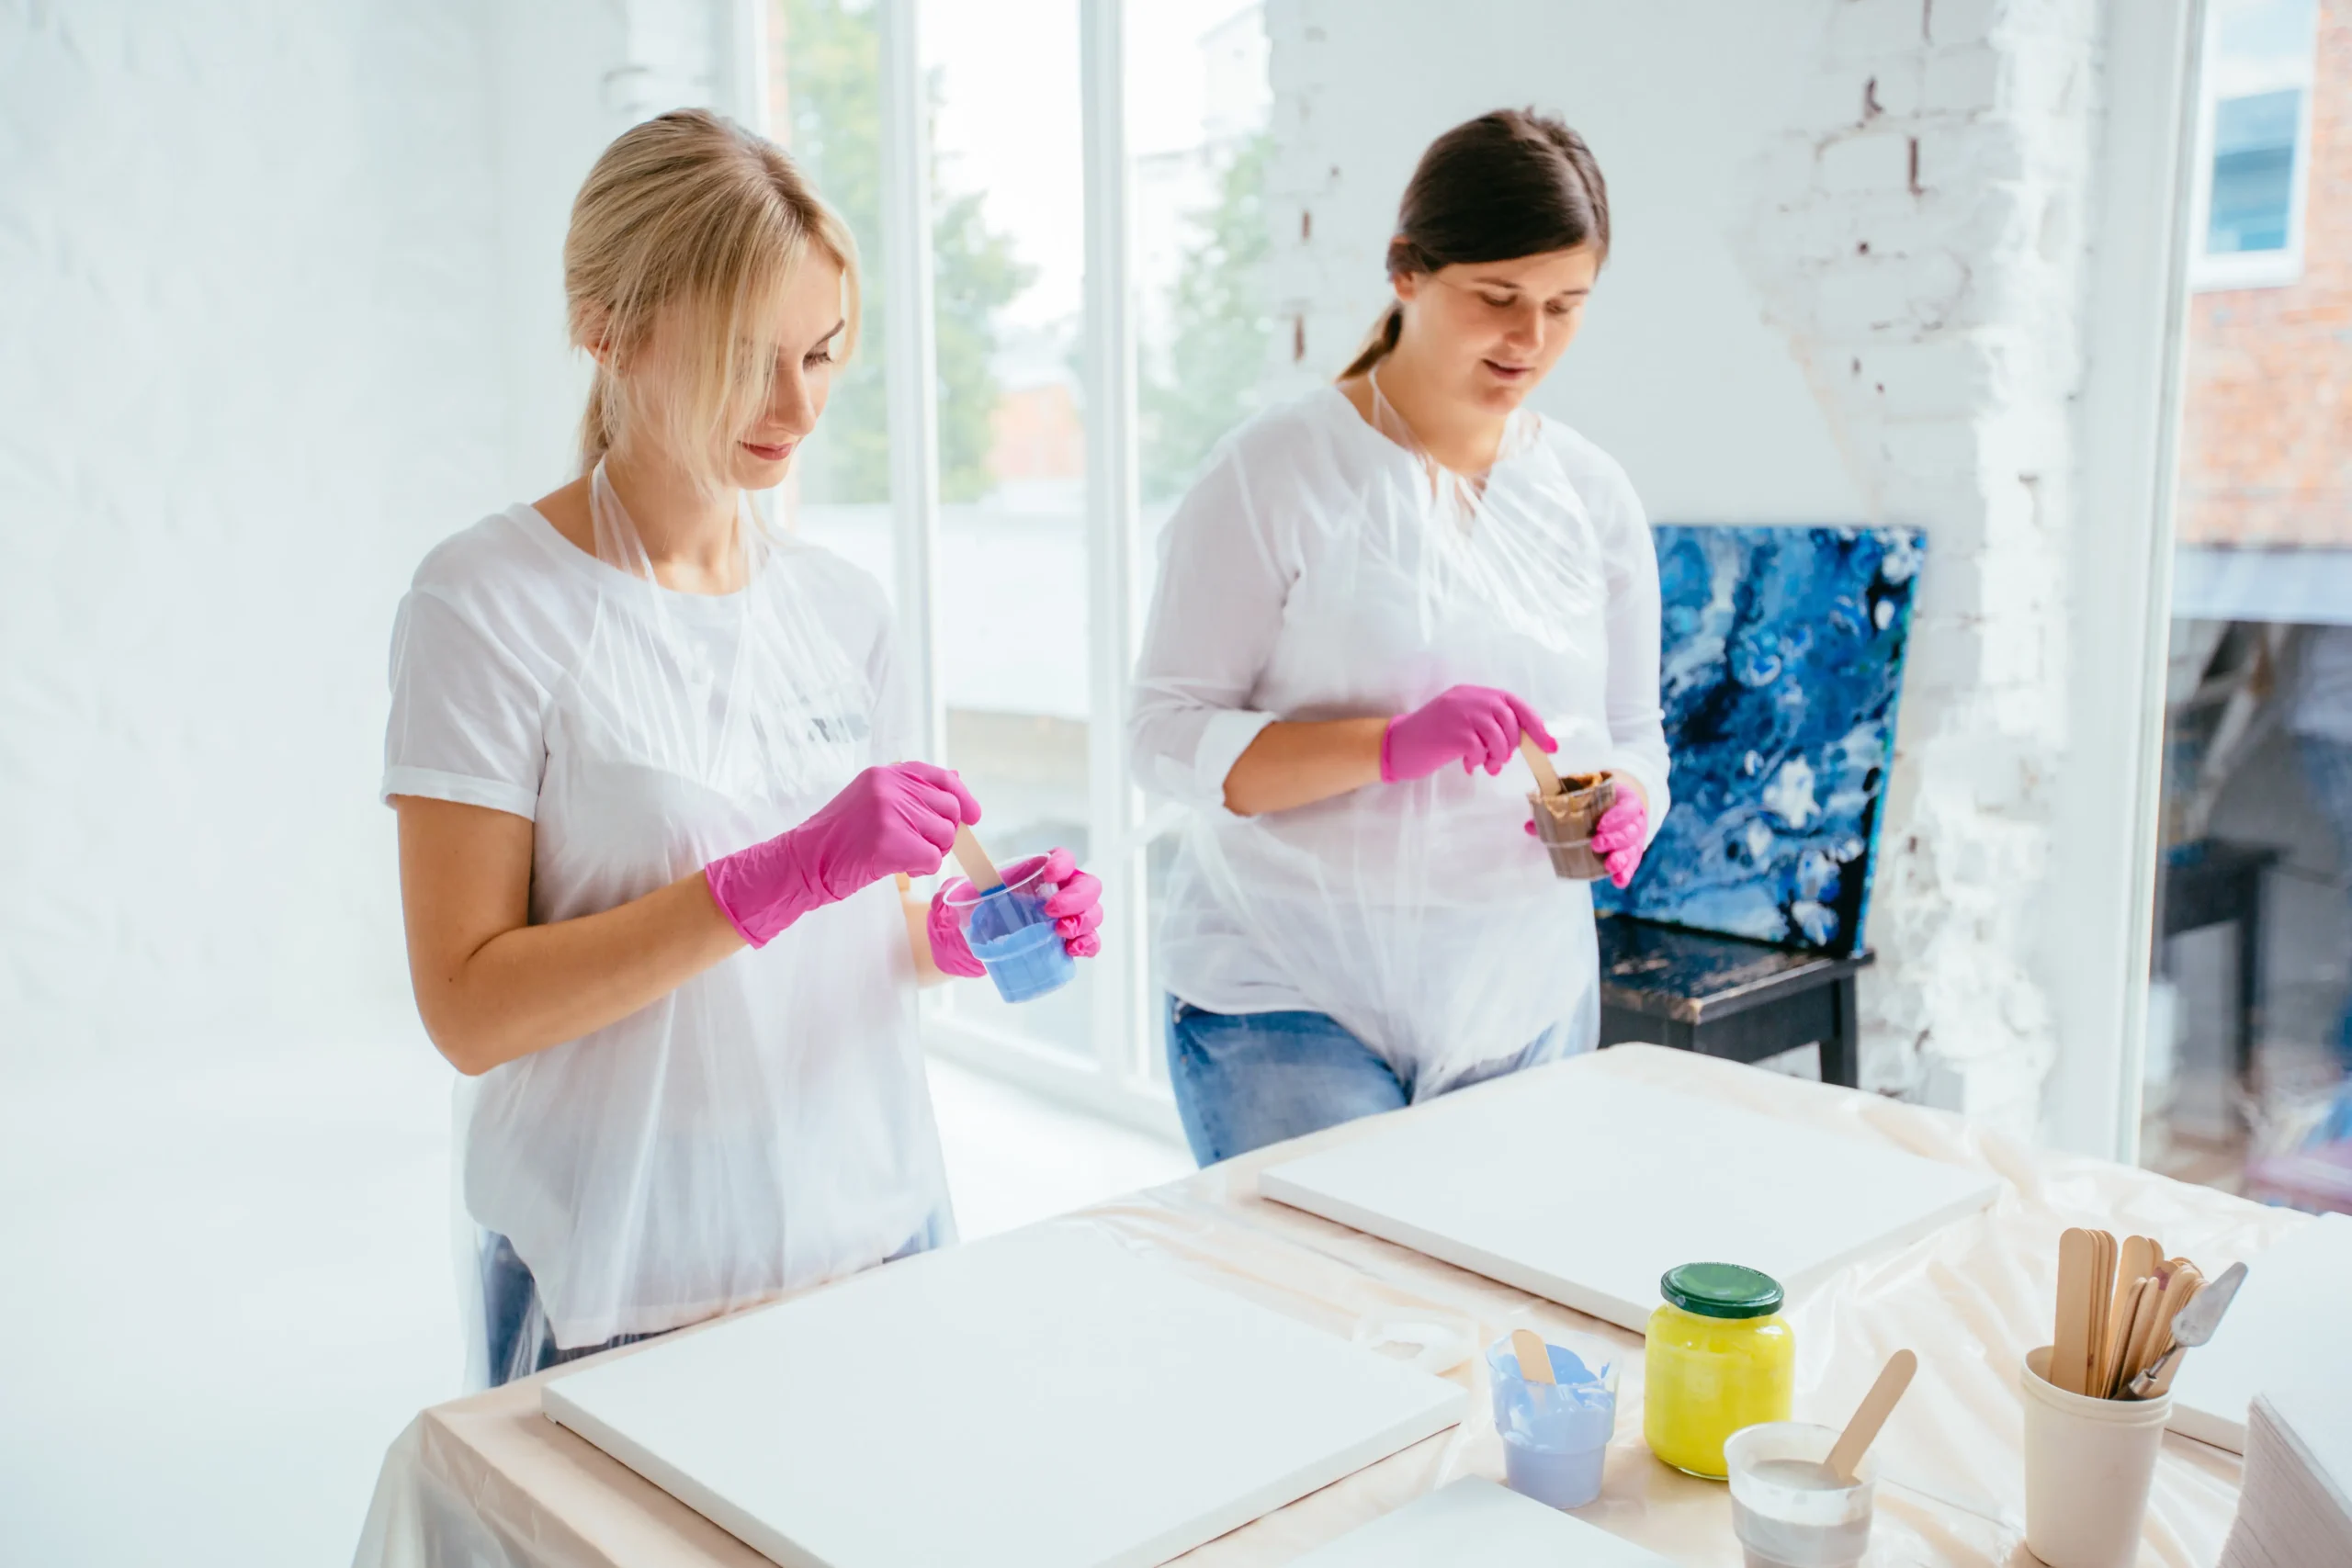
Before getting started with the pour, you’ll have to mix the paints with a good ratio of mediums to get the perfect pour.
You can modify the paint pour to your liking, but this recipe is a great starting point for most techniques.
First, decide on the individual colors you want to use.
Then, mix each paint color with medium and water in the following proportions:
- 1 part – Acrylic Paint
- 2 parts – Floetrol
- 1 part – Distilled water
- A few drops of silicone oil
You can test to see if that gives you the right fluid consistency for your work and adjust accordingly.
As you gain experience, you’ll know when you want a more syrupy consistency and a more watery one.
Fluid Acrylic Painting Techniques
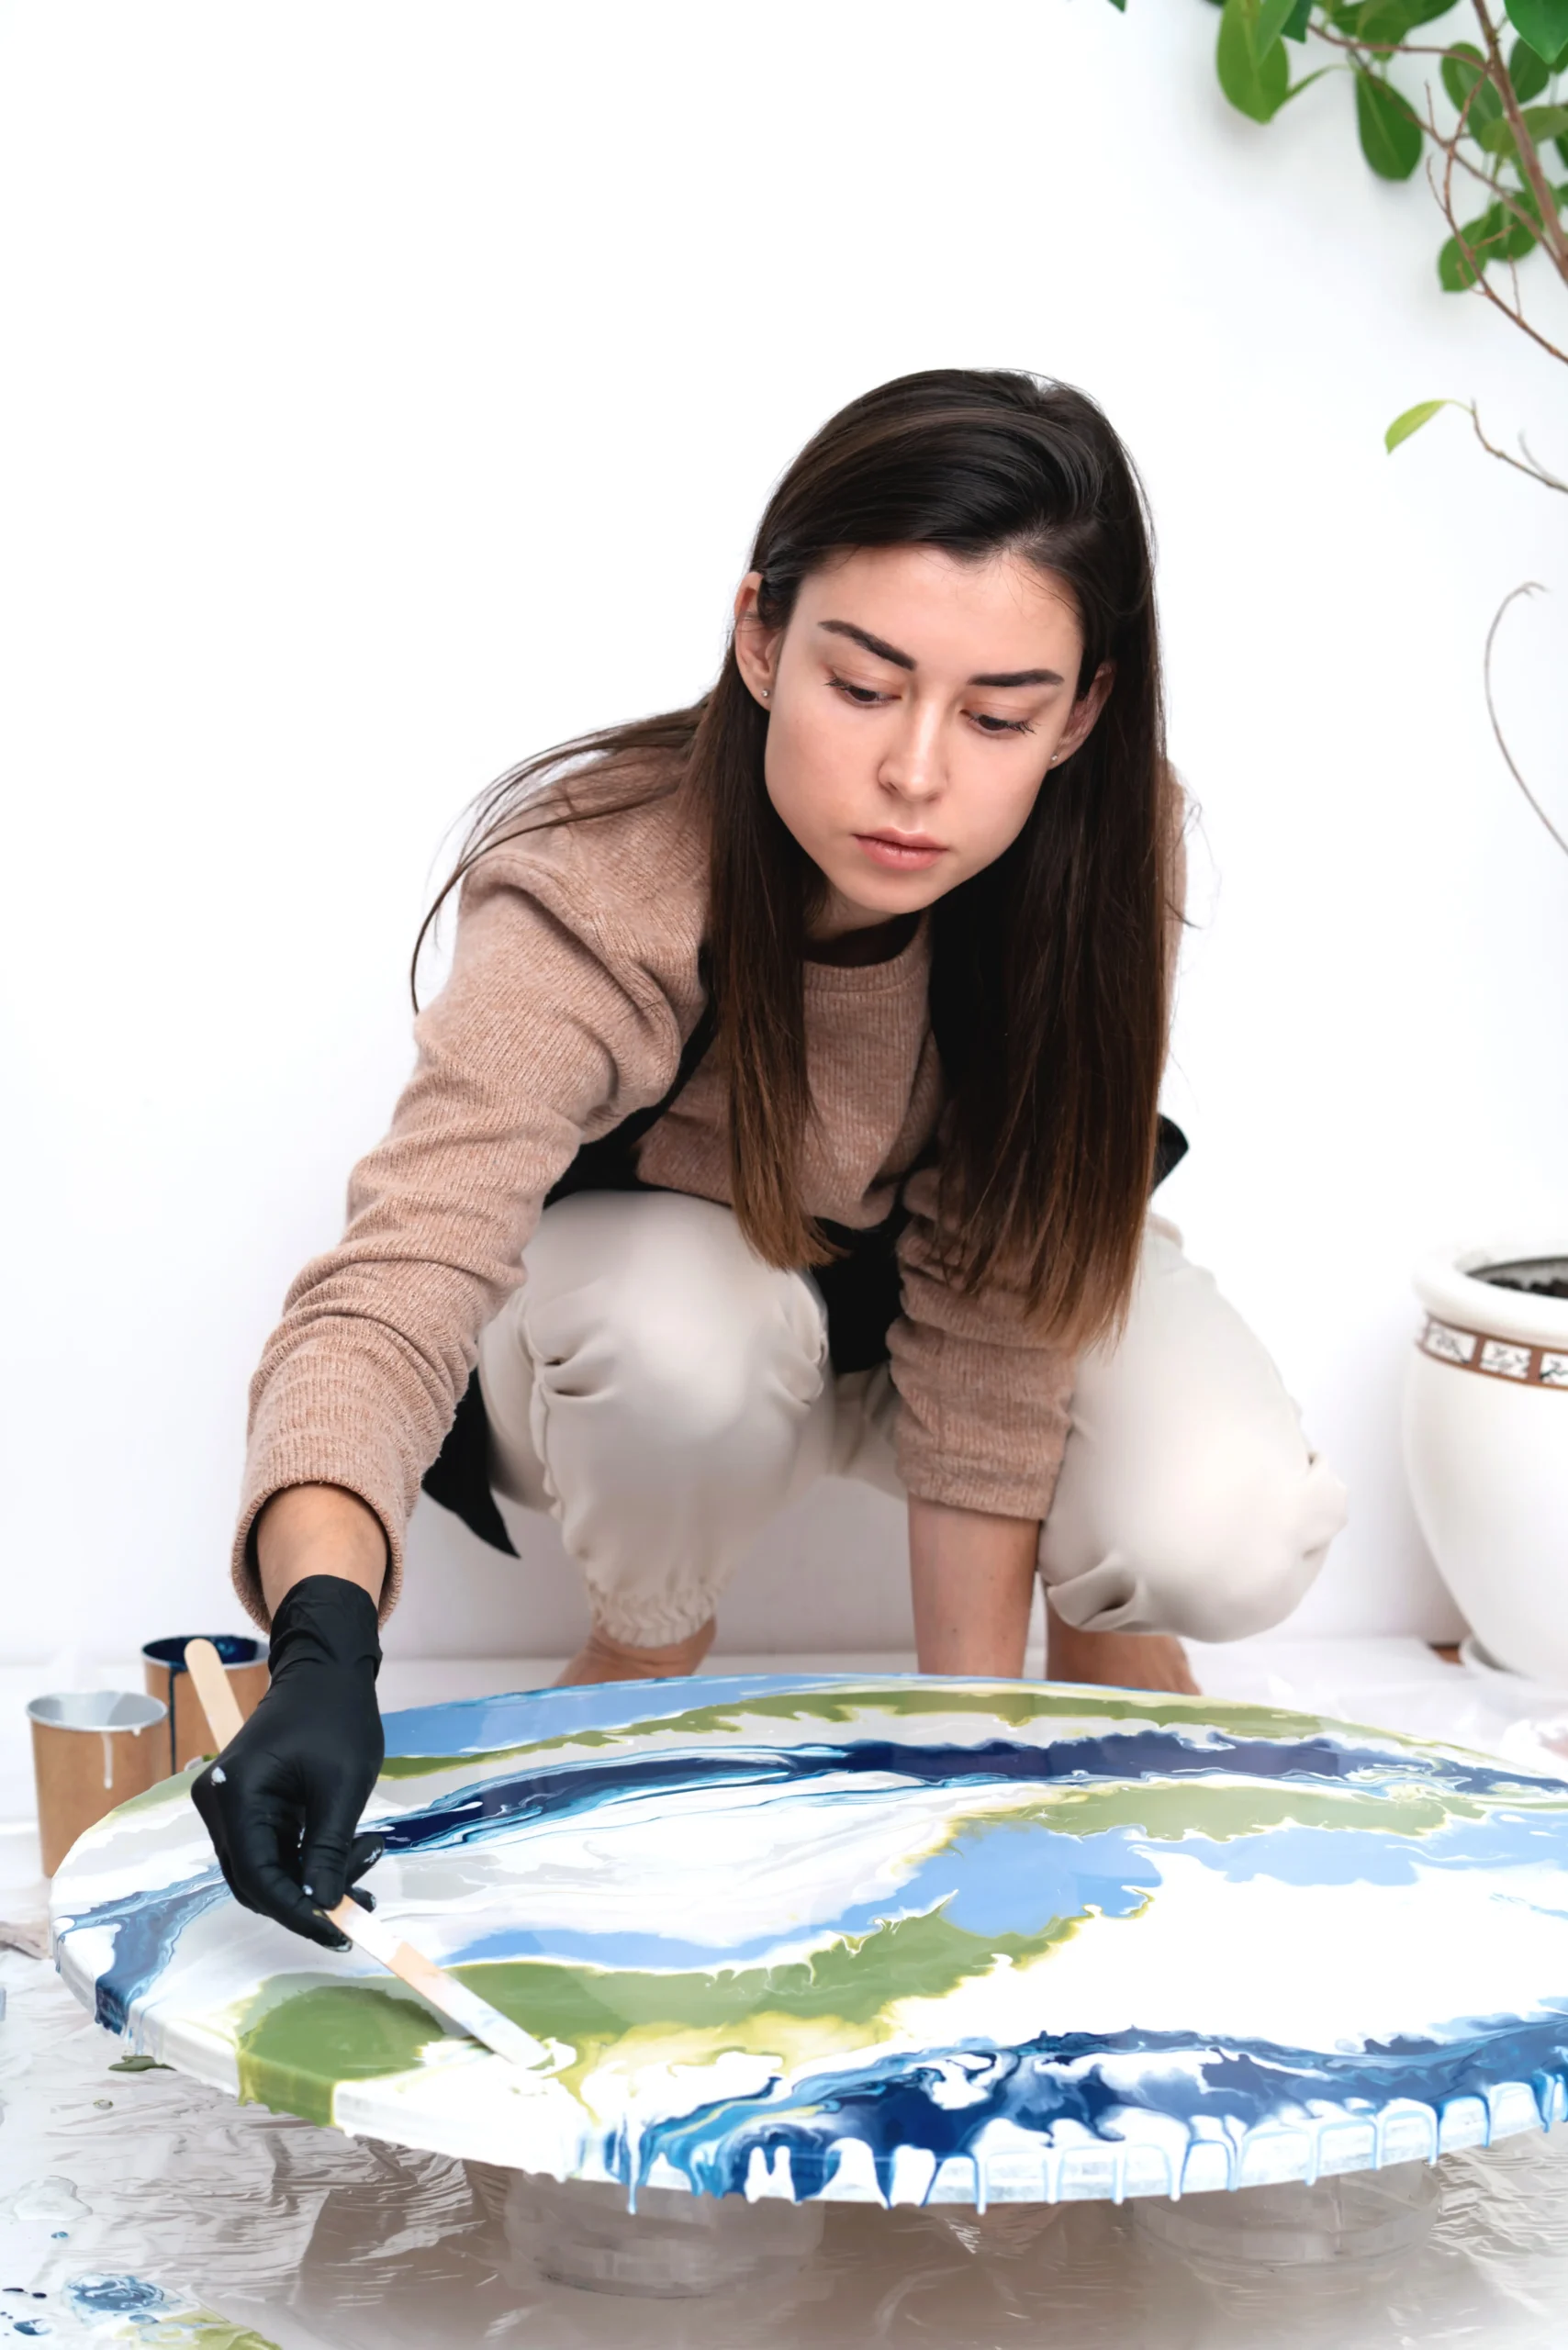
Below are 15 different fluid painting techniques.
Each one is different and will add a different vibe to your painting.
All the techniques feature a video of how to do it, a list of all the supplies you’ll need, and step-by-step instructions on how to create these fluid acrylic painting techniques.
1. Clean Pour
Supplies needed:
The Essentials
- Acrylic Paint
- Floetrol
- Canvas
- Distilled Water
- Silicone Oil
- Drying Rack
- Protective Drop Cloths
Additional Supplies
- Plastic cups
- Toothpicks
- Other tools for spreading paint
A clean pour is a technique involving pouring out one color at a time on a canvas.
You can either leave them all separately on the canvas or use a toothpick or other tools to swirl the vibrant colors together after pouring.
Clean pours make great abstract block art pieces, similar to Rothkos, and create retro art patterns.
It is one of the basic techniques of all other acrylic pour techniques.
Here’s how to do a clean pour:
- First, mix your paint in the usual way to make the acrylic pour.
- Make sure to paint the background of the canvas for any area you don’t plan to put a clean pour onto.
- Titanium white is a great choice for this, but any white paint or other color will do.
- Then, take one color at a time in separate cups and do a straight pour onto the canvas surface.
- If desired, once all the colors are spread out on the canvas, move them around using a toothpick or other tool.
This will swirl the colors together for a retro art effect.
For a clean pour, thickness is a crucial factor. Make sure your mixture pours nicely, or else it won’t dry properly.
Read Also:
2. Cookie Cutter Pour
Supplies needed:
The Essentials
- Acrylic Paint
- Floetrol
- Canvas
- Distilled Water
- Silicone Oil
- Drying Rack
- Protective Drop Cloths
Additional Supplies
- Cookie cutter shapes
The idea with a cookie-cutter pour is to pour the paints into a cookie-cutter mold in the middle of the canvas.
Then slowly lift and twist to allow the paint to come out in an interesting pattern.
Here’s how to do it:
- Place a cookie-cutter mold of your choosing in the center of a blank canvas.
- Pour layer after layer of different colored paints into the middle of the cookie-cutter shape.
- Then, once you’ve got a few colors in there, lift the cookie-cutter very slowly while twisting it slowly, letting the paint seep out from under its shape and pour out onto the canvas.
- Over time, the paint should spill to the edges of the canvas, with a unique pattern being formed by the twisting motion.
3. Puddle Pour
Supplies needed:
The Essentials
- Acrylic Paint
- Floetrol
- Canvas
- Distilled Water
- Silicone Oil
- Drying Rack
- Protective Drop Cloths
Additional Supplies
- Plastic Cups
Like a clean pour, but instead of making clean swipes, you pour color over color in a “puddle” to create a cool effect.
Acrylic pouring painting allows thick paint a new way to create these layers of color.
Here’s how to do it:
- Begin by mixing your paints and having a few cups of different colors ready for pouring.
- For background color, you’ll first want to pour a color across the entire canvas.
- The first color you pour for each puddle should contrast the background color. Otherwise, pour the first color.
- The color wheel is your friend here for finding solid contrasting colors.
- Each color placed on top of the last color should contrast the previous color with a nice clean break.
- After you’ve completed your puddles, you can try lifting and moving the canvas around before it dries to give the puddles some more abstract shapes.
4. Dirty Pour
Supplies needed:
The Essentials
- Acrylic Paint
- Floetrol
- Canvas
- Distilled Water
- Silicone Oil
- Drying Rack
- Protective Drop Cloths
Additional Supplies
- Plastic Cups
The dirty pour technique is similar to a puddle pour except that the puddling process is done inside the cup instead of on the canvas.
You layer the individual paint colors within a plastic cup and pour the layered liquid onto the canvas.
This creates a more complex, marbled effect that is extremely popular in acrylic pour painting.
Here’s how to do it:
- First, mix each paint color separately in its own plastic cup
- Then, in a separate empty cup, start layering the colors together.
- This can be done through the sides of the cup or by puddling at the bottom for different effects.
- Pour a background color onto the canvas and cover it.
- Now pour the paint onto the canvas in whatever pattern you like.
- You’ll see a lot more marbling with this technique, so be prepared for it.
- Once poured, you can tilt the surface or manipulate with toothpicks or other tools to give it different shapes.
5. Flip Cup
Supplies needed:
The Essentials
- Acrylic Paint
- Floetrol
- Canvas
- Distilled Water
- Silicone Oil
- Drying Rack
- Protective Drop Cloths
Additional Supplies
- Plastic Cups
The Flip Cup technique builds off the Dirty Pour by adding the step of flipping the dirty pour onto the canvas directly and letting it gradually pour outward.
It can take a little practice to get the flip mastered and it can be messy, but the results are worth it.
Here’s how to do it:
- The first few steps are the same as a dirty pour.
- First, create the dirty pour in an empty plastic cup by pouring layer after layer of paint into it.
- Then, once you have the dirty pour mixture prepared, put the cut down on a flat and stable surface, then place your canvas over the top of the cup so that the cup lines up with the center of the canvas.
- Now, you’ll need to hold everything in place, so make sure you have the cut and the canvas gripped tightly together.
- Once everything is firmly gripped, flip the cup and the canvas over together in one motion.
- Then, lift the cup so that the mixture is gradually let out over the canvas.
- You’ll likely have to lift at a slight angle at first to break the seal, but then try to lift the rest to allow the paint to spread evenly in all directions.
- As always, you can then manipulate and tilt the canvas to get the paint into all the corners and different directions.
6. Swipe
Supplies needed:
The Essentials
- Acrylic Paint
- Floetrol
- Canvas
- Distilled Water
- Silicone Oil
- Drying Rack
- Protective Drop Cloths
Additional Supplies
- Plastic Cups
- Paper Towels
- Frosting Spatula
- Butane Torch
One of the coolest techniques and most unique effects you can do with acrylic pour painting is the Swipe.
You can do the swipe technique after basically any other fluid acrylic technique, but most commonly, it is done after a simple, clean pour.
You take a damp, flat piece of paper towel or a frosting spatula and swipe the paint with it after the initial pour.
This creates ‘cells’ because they look similar to how organic cells look under a microscope.
Here’s how to do it:
- Create a clean pour painting just as you would normally (see technique 1).
- You can go for a dirty pour or another technique if you’d like, but a clean pour works well for a first try.
- Once the painting is poured but before it’s dried, take your damp paper towel or spatula and ‘swipe’ either sections or the whole canvas.
- At first, it will just smudge the paint in the swiping direction.
- But within a minute, you’ll see cells appear in the area you swiped.
- Don’t scrape off too much paint in a single swipe or else the result will end up muddy.
- Optional: you can use a butane torch after the swipe to get more cells to come out. Y
- ou need silicone in the mixture for this to work, so sure those drops are in there.
7. Colander Pour
Supplies needed:
The Essentials
- Acrylic Paint
- Floetrol
- Canvas
- Distilled Water
- Silicone Oil
- Drying Rack
- Protective Drop Cloths
Additional Supplies
- Plastic Cups
- Colander
The Colander Pour is a kind of variation on the Flip Cup technique.
Except, instead of flipping the cup directly onto the canvas, you’ll be pouring it into a colander that’s set in the middle of the canvas for an almost psychedelic effect.
The effect is stunning but a little harder to time perfectly than some of the other techniques.
Since it’s a little more advanced, it’s recommended to try a few others before trying out this one.
Also, the effect works best on a circular piece of canvas, as tilting and manipulating it after to fill the corners doesn’t work as well with this technique.
Here’s how to do it:
- Prepare your colors as usual in plastic cups and then pour the combination you’d like into a single cup like you would with a dirty pour.
- Then, place your colander in the center of your canvas.
- Different shapes of colander will create different designs, so be aware of that.
- The whole design will radiate from the central point of the colander.
- Once you’ve added all the paint to the colander, you’ll need to lift it up slowly away from the canvas, and the colors will all drip out.
- The tricky part is when the paint stops smoothly running.
- You’ll need to move the colander away immediately to stop it dripping onto the canvas.
- Lifting and manipulating are still essential, but the design will remain fundamentally circular.
- If it starts to warp in any particular direction, you can tilt it the opposite way to help balance it out.
The size and shape of the colander matter a lot for this technique. A smaller colander is better for a smaller painting and a larger one for a larger painting.
8. Balloon Smash
Supplies needed:
The Essentials
- Acrylic Paint
- Floetrol
- Canvas
- Distilled Water
- Silicone Oil
- Drying Rack
- Protective Drop Cloths
Additional Supplies
- Balloons
The idea behind the Balloon Smash is to add character to a puddle pour.
It’s also just as fun as it sounds!
It uses the inflated surface of the balloon to create a flower-like pattern in the puddle.
Here’s how to do it:
- First, add your background color across your canvas, then add some clean pours or dirty pours as you’d like.
- Next, add your small puddle pours in areas you’d like to try the balloon smash on.
- With the puddles poured, take your inflated balloon and smoosh it into the puddle.
- Both a hard smash and a gentle press-down will work for different effects—experiment with both to see what you like best.
- When you lift the balloon back, you should see a flower-like pattern emerge.
9. Funnel Pour
Supplies needed:
The Essentials
- Acrylic Paint
- Floetrol
- Canvas
- Distilled Water
- Silicone Oil
- Drying Rack
- Protective Drop Cloths
Additional Supplies
- Funnel
The Funnel Pour makes use of a funnel for a similar but less psychedelic paint pour.
Overall, the strategy is similar to a dirty pour, but the funnel creates a spiral pattern with its own unique look.
Again, this is an excellent fluid painting technique.
Here’s how you do it:
- Pour on a background color and cover the whole canvas with it.
- Place the funnel above your canvas in the middle, where you’d like the spiral pattern to emerge from.
- For the beginning, plug the bottom of the funnel with your finger to keep the paint in.
- Now, create your desired dirty pour inside the funnel itself instead of inside a cup.
- Again, you’ll want to think about how your color choices will work together as they pour out.
- Double-check that you are central, and then let the paint pour onto the canvas.
- Once you open the bottom, the paint will start flowing out and you can move outwards in a spiral.
- You can also move in other directions if you prefer for different effects. It’s up to you.
- As always, you can tilt the painting afterward to fill in all the gaps.
10. Controlled Marble Pour
Supplies needed:
The Essentials
- Acrylic Paint
- Floetrol
- Canvas
- Distilled Water
- Silicone Oil
- Drying Rack
- Protective Drop Cloths
Additional Supplies
- Plastic Cups
A controlled marble pour is not so much a specific technique as a goal for acrylic pours.
It consists of a dirty pour with carefully chosen colors and a pouring technique to provide the illusion of a faux marble finish.
- First, you’ll want to choose about three shades of the same color, which is how natural marble usually looks.
- Then, there is usually a secondary color, this is the contrasting line that gives marble its character.
- Combine the gradient colors and medium in a cup. Keep the separate color line in another container.
- Use the dirty pour method to get the initial marble gradient down.
- Then, bend the line color cup into a pour spout to get the marble line color across the surface.
- As always, you can also manipulate and tilt the canvas afterward to achieve your desired results. This can be especially important with marble designs.
- Browse through pictures of real marble beforehand to get an idea of how you can do this.
11. String Pull Pour
Supplies needed:
The Essentials
- Acrylic Paint
- Floetrol
- Canvas
- Distilled Water
- Silicone Oil
- Drying Rack
- Protective Drop Cloths
Additional Supplies
- Plastic Cups
- String
The String Pull Pour is a great technique for making flower and feather forms.
However, it’s a little more advanced technique as it uses a more delicate touch to get an excellent final result.
The idea is to coat a string length in paint and lay it onto the painting in a specific pattern.
Then, when you pull the string along with the painting, petal or feathery effects emerge.
Here’s how to do it:
- Lay out a canvas and paint the background all one color, as usual.
- Now, in your pre-mixed colors kept in separate cups, put as many strings as you want of each color into the cups, leaving a length you can overhang to pull out the rest with.
- Take your paint-saturated strings one by one and place them coiled up onto the painted surface.
- Leave the unpainted length of string hanging off the edge of the canvas.
- Once all the strings are placed based on the composition you have in mind, pull the strings in one consistent motion away from the canvas.
- This will pull the string into a line, leaving trails that look like petals.
- To create a feather, you’ll lay the string flat with only a slight curve and pull slightly to one side as you pull the string off.
- You’ll also be pulling from one end of the canvas to another.
- Then, repeat for the other side of the feather.
12. Resin Pour
Supplies needed:
The Essentials
- Acrylic Paint
- Floetrol
- Canvas
- Distilled Water
- Silicone Oil
- Drying Rack
- Protective Drop Cloths
Additional Supplies
- Plastic Cups
- Resin
- Denatured alcohol
- Butane Torch
Resin is a much more complicated business than just an acrylic pour, so make sure you are interested in stepping up your art to the next level if you want to work with epoxy resin.
In addition, the directions for resin are complicated, so be sure to read the exact instructions on the resin you purchase to know how it works.
Here’s how to do it:
- You’ll be adding acrylic color directly to your resin, so first, you’ll need to mix your resin correctly.
- Then, you’ll add the acrylic color.
- Typically you’ll need no more than 10% of the mixture to be painted, so don’t overdo it!
- Do not add silicone.
- Mix until the color is even throughout the resin.
- You can add denatured alcohol to thin the mixture if it feels too thick.
- 10% is the absolute maximum to go with the isopropyl alcohol too.
- Pour the mixture as you would a clean pour, and then use techniques like the swipe or manipulation to achieve cool effects.
- The resin will cure with a translucent quality, giving your resin art a different vibe than traditional acrylic pours.
- You can then use the butane torch to remove air bubbles forming on the surface. In this way, it has a different purpose than just acrylic pours.
- Even with resin, you can manipulate and tilt the canvas afterward to bend and warp the resin a bit, although the effect is not as pronounced.
- Remember, resin only allows you to work with it for about 30 minutes before the curing process begins.
- It’ll cause big problems if you try to manipulate it after that point.
- It then takes about 72 hours to cure fully.
13. Infusion Pour
Supplies needed:
The Essentials
- Acrylic Paint
- Floetrol
- Canvas
- Distilled Water
- Silicone Oil
- Drying Rack
- Protective Drop Cloths
Additional Supplies
- Plastic Cups
- Squeeze bottle
The idea with the infusion or injection technique is to ‘inject’ the paint into and under the paint that’s already on the surface.
You do this with a squeeze bottle.
You can use a clean or dirty pour to begin the piece, and then add a single color or multiple from the squeeze bottle. It creates a web-like effect that can also create a lot of cells.
Here’s how to do it:
- First, create a background color and consider whether you want to begin with a clean pour or a dirty pour.
- Once you have the initial design poured out, take your squeeze bottle and fill it with one or more paints.
- Then, press the bottle’s tip to the surface of the canvas and squeeze the mixture out.
- It’ll infuse the still-wet painting with new paint and usually create a web-like structure with cells.
- As always, you can also manipulate and tilt the canvas afterward to achieve your desired results.
This is one of the new techniques that are becoming popular in the acrylic pouring community.
14. Dutch Pour
Supplies needed:
The Essentials
- Acrylic Paint
- Floetrol
- Canvas
- Distilled Water
- Silicone Oil
- Drying Rack
- Protective Drop Cloths
Additional Supplies
- Plastic Cups
- Hair Dryer
- Straws
Dutch Pours use air to move the paint around on the canvas.
This can be done using a hair dryer, straws, or heat guns.
They are known for their ribbon-like edges and the cells that are created with the heat.
The right consistency of your paint is essential for this technique, as different thicknesses allow for different flows.
Here’s how to do it:
- Mix your paints as you would for a clean or dirty pour.
- Paint the background of the canvas with your background color.
- Pour your paints onto the background in some kind of organic design.
- Pouring colors on top of each other like with the puddle pour is a good idea here.
- Now you get to the fun part – use your blowing device to manipulate the paint into unique shapes and styles.
- Use a hair dryer for the larger scale stuff and a straw for detail work.
- As always, you can also manipulate and tilt the canvas afterward to achieve your desired results.
15. Dustpan Pour
Supplies needed:
The Essentials
- Acrylic Paint
- Floetrol
- Canvas
- Distilled Water
- Silicone Oil
- Drying Rack
- Protective Drop Cloths
Additional Supplies
- Plastic Cups
- Dustpan
The Dustpan Pour takes the idea of a dirty pour but gives you much more control by having you layer your paints in a dustpan rather than a cup.
By doing so, you can see how the paints will flow onto the canvas from the pan.
Here’s how to do it:
- Set up just as you would for a dirty pour with your individual paint mixtures ready for paint flow.
- Paint the background of your painting surface with the color you want.
- Instead of pouring the individual paints into a cup, pour them into a dustpan with a pattern of your choosing.
- The idea is that the colors will stretch out in the line across the canvas, creating a neat effect.
- You can use toothpicks, palette knives, or other tools to manipulate and blend the paints after using this technique.
- As always, you can also tilt the canvas afterward to achieve the desired results.
Conclusion
I hope these fluid acrylic painting techniques have inspired you to find your own journey into fluid painting.
It’s such a broad yet easy genre of painting that anyone can become amazing at.
There are no limits to what you can do, and although it can be messy, it’s not too expensive either!