
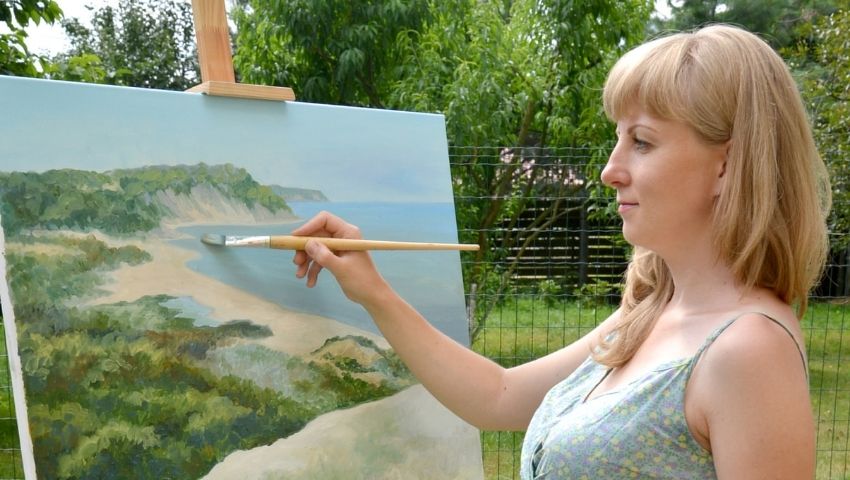
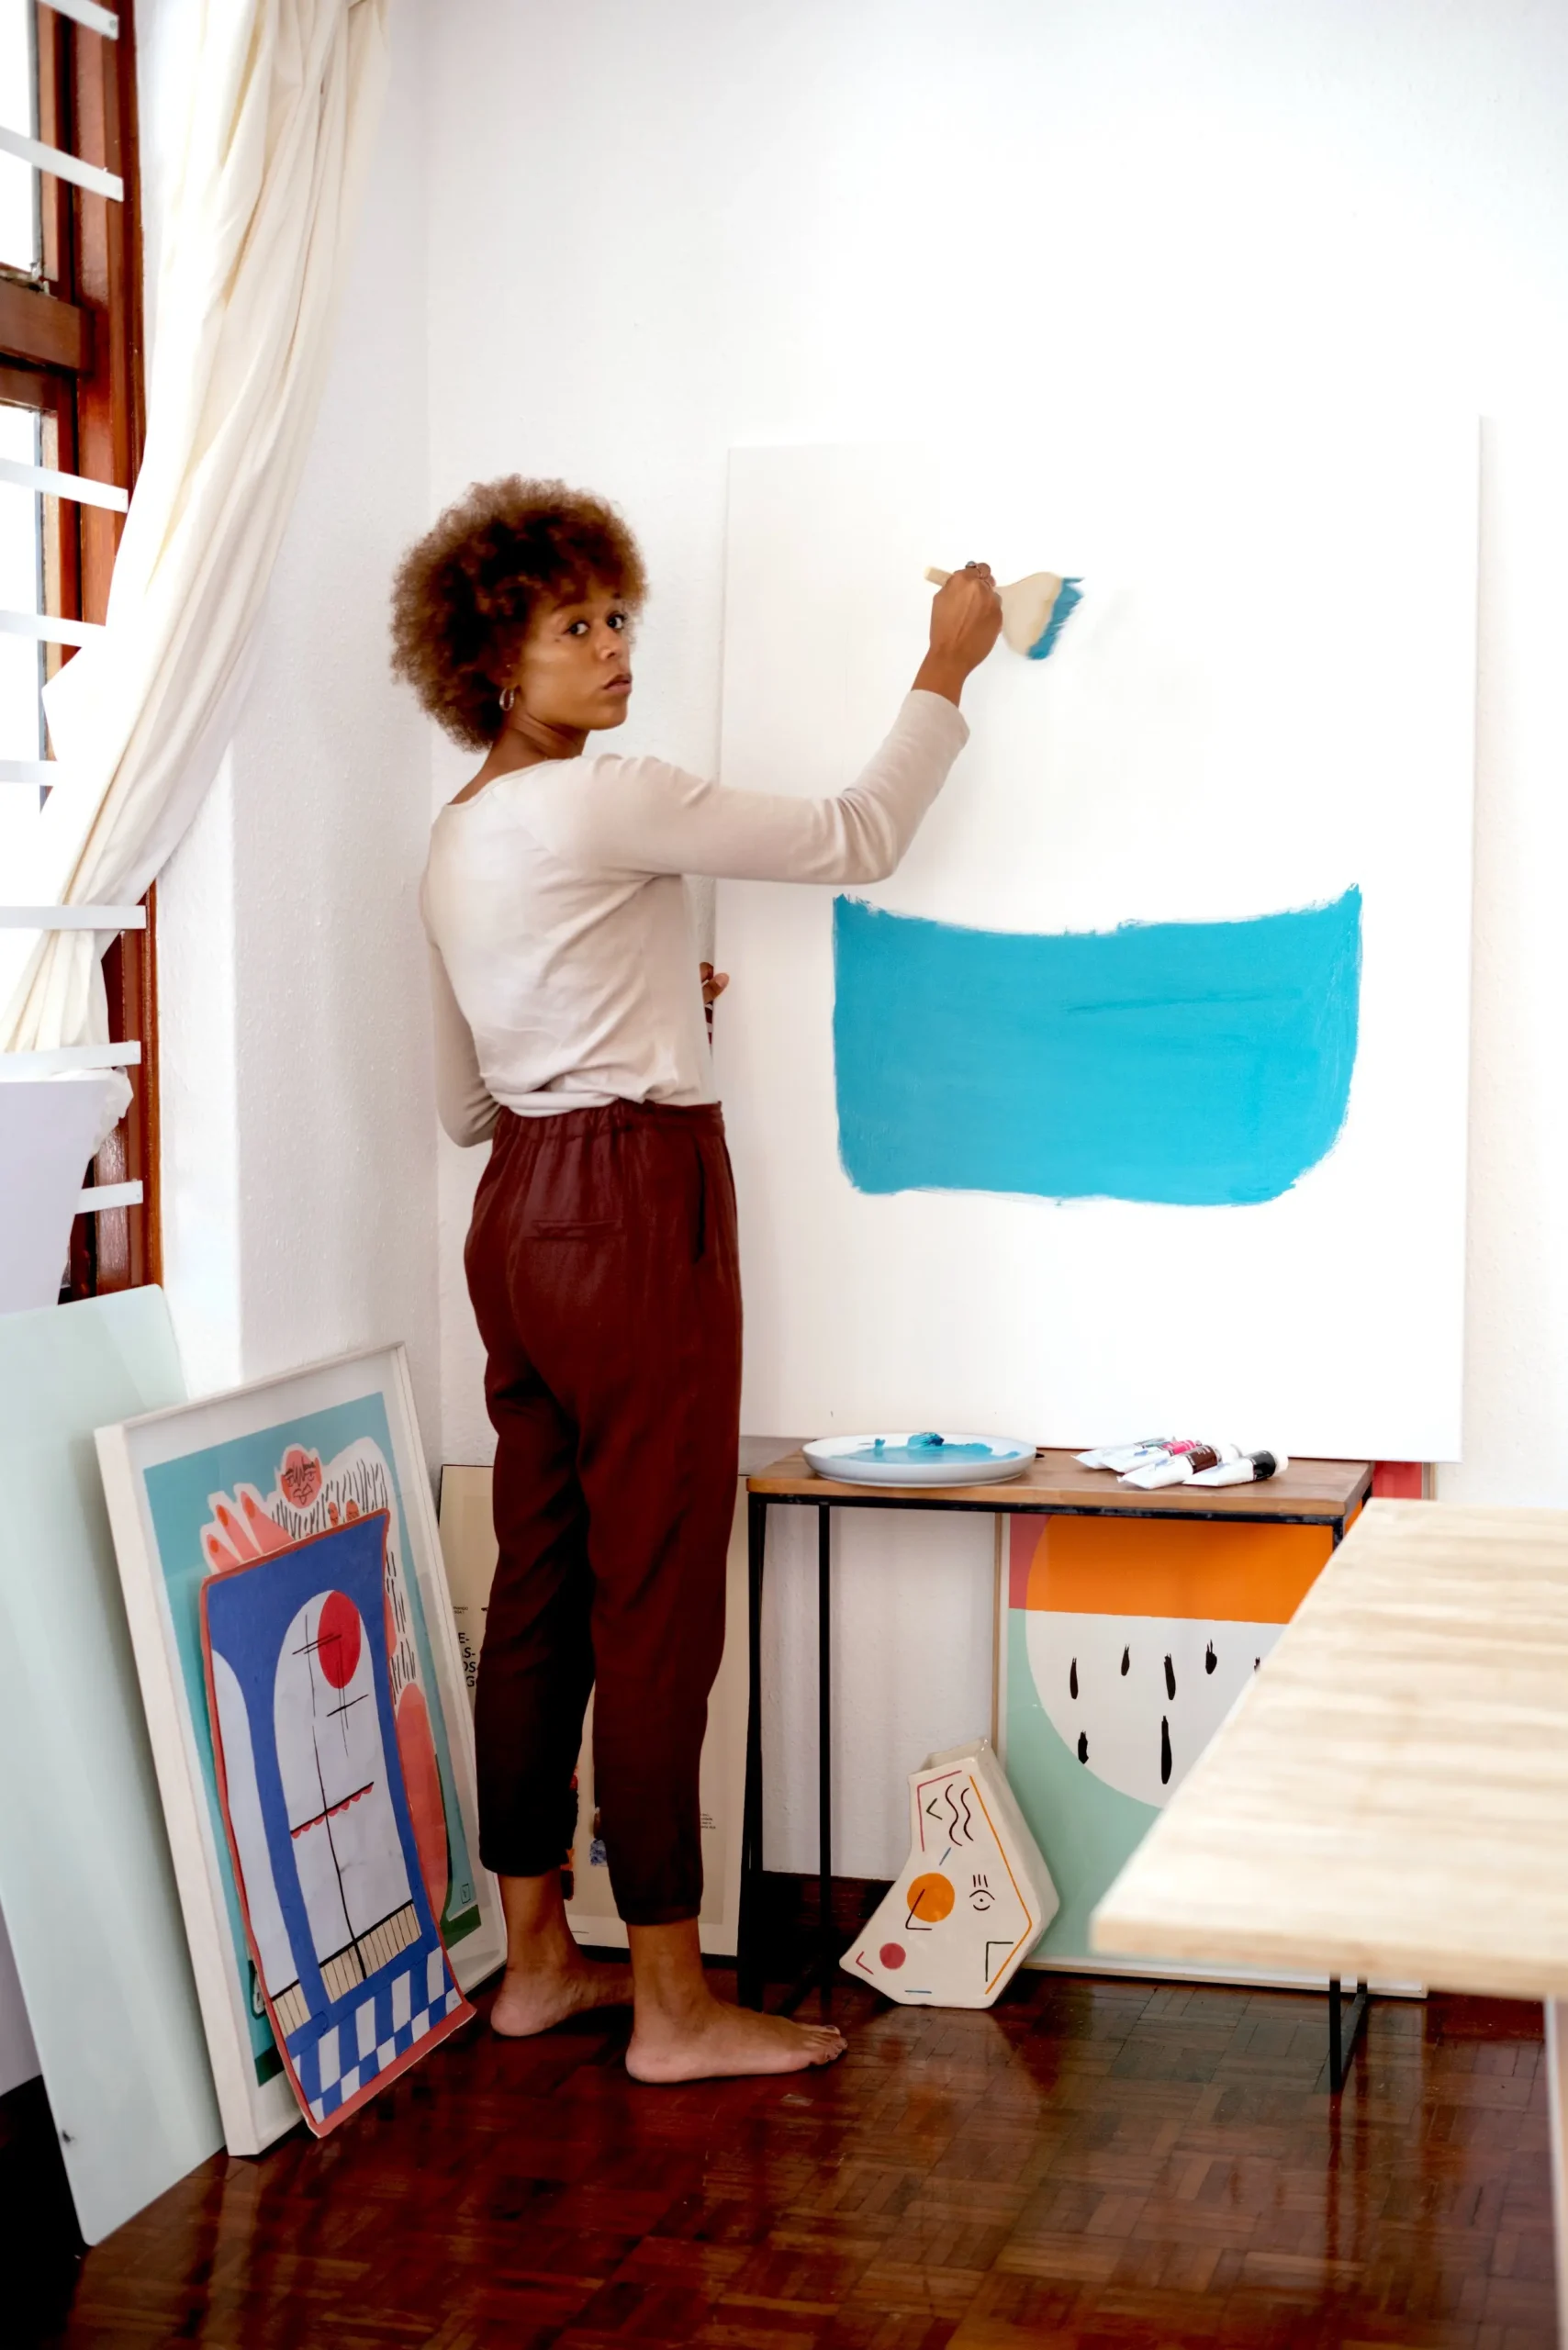
Using oil painting glazing techniques allows you to create more luminous hues and a vivid mix of your paint layers.
Once oil painters begin figuring out the real power of oil paints, it’s time to try more advanced oil painting techniques like Chiaroscuro and Impasto.
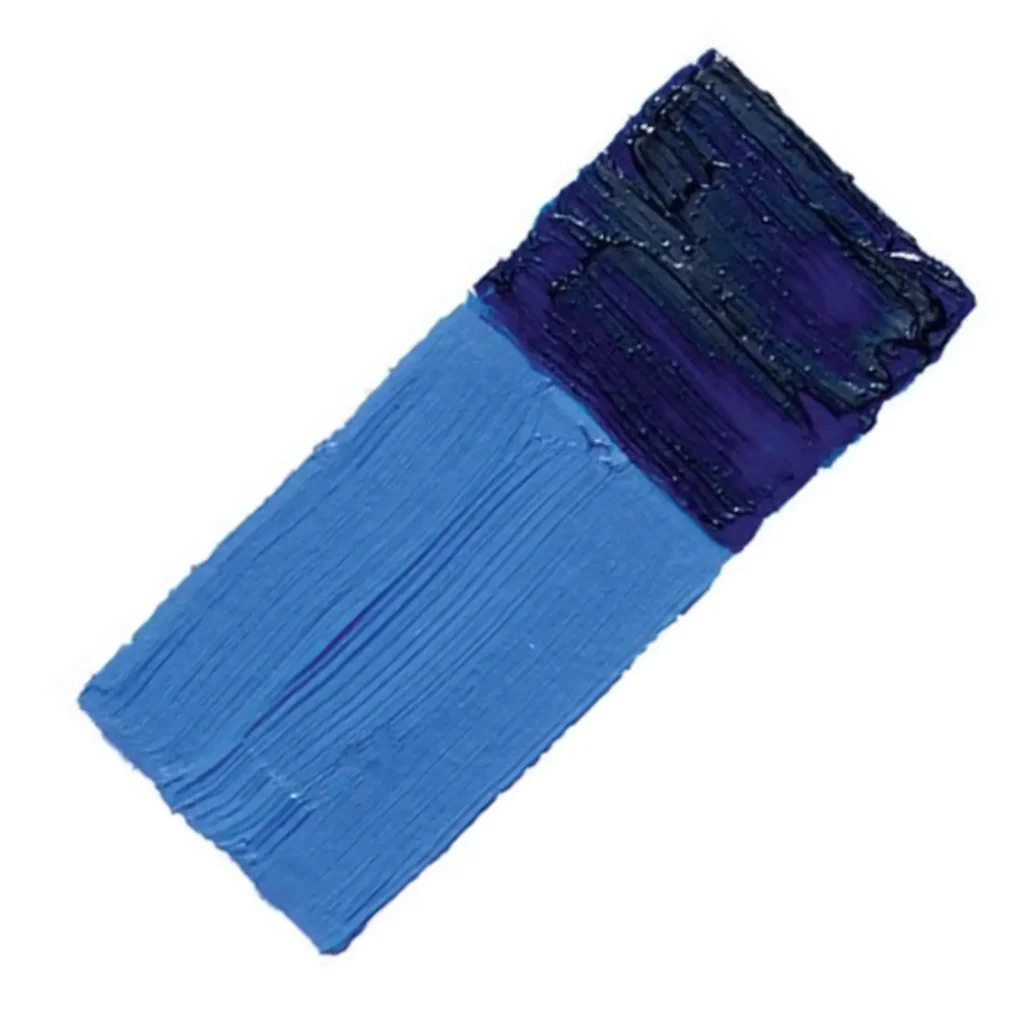
Glazing is one of the fundamental techniques of the old masters and remains a powerful way to create luminous effects on the canvas.


What is Glazing?
Glazing is a technique of the old masters that uses thin glaze layers of transparent pigment to build up the painting, creating a photorealistic effect.
Lots of oil medium is mixed into the paint to create the transparent colors mixture.
When layered onto other paint, it creates a glossy layer of film on top of the painting, altering the colors underneath.
Some artists use glazing during each layer of their painting.
Others use it only in the final stages to create contrast.
The Purpose of Using a Glazing Medium
The purpose of glazing is to create subtle changes in hue, color temperature, and value.
The idea is to complement the paint layers below without concealing them.
The way the light allows for multiple layers of color to come through creates the effect of a unique final hue.
The colors are mixed only optically, not physically.
The glaze is painted on top of wholly dried oil paint underneath it, allowing more intense colors to become apparent.
This distinction between a thin layer of glaze and pigment can make it difficult to anticipate how a glaze will affect the overall color and composition of the final painting.
Glazing is always done on top of dry paint, and therefore no mixing occurs.
You can use liquin to create a more quick-drying recipe when doing glazes, but the process requires patience.
Each layer remains a pure color, creating a clear, bright effect that appears brilliant to the eye.
The transparency of the glaze layer allows the light to pass through it and reflect off the underpainting, creating the optical effect.
A glaze can help to bring out the underlying colors of the painting in a similar way that applying a finish to wood can show its grain better.
Glazed colors in this way look more profound and saturated.
When using multiple layers of glaze, intricate details in an object can become much more striking.
Thus, as an indirect method of applying color, it can add depth and luminosity to a painting that otherwise is hard to achieve.
Read Also
- Dry Oil Paint Faster: Best Ways to Do it
- 19+ Best Oil Paint Brushes
- 3 Ways on How to Clean an Oil Paint Brush Without Paint Thinner
Why Glaze?
Glazes don’t work with dull colors or grays.
For example, although Vermeer was famous for using glazes, he did not use them for the gray walls on his buildings.
A glaze isn’t fundamentally different from a semi-transparent layer of paint, but only transparent pigments work for glazing.
Classic uses of glaze were for bright colors, such as fashion items, drapery, and similar.
For example, the red hat in Vermeer’s Girl with a Red Hat, 1665-1666 uses a glaze.
He accomplished this using standard saturated red color glazing.
First, painting with pure vermilion and black.
Then, he glazed lighter areas with a thin layer of pure madder lake.
Finally, he painted the shadowed areas with a thick glaze of madder lake, possibly in combination with black or ultramarine.
Another example would be to accomplish a vibrant green.
This can be done with a light yellow undertone such as yellow ochre and then glazed with verdigris, a lustrous green pigment.
Historically, brilliant colors were relatively rare.
Now we have access to almost any color, but intense purple, green, and orange were rare or unstable in the past.
Purple most often had to be accomplished by glazing a blue over a red underpainting.
Another reason for glazes is the fantastic sense of luminosity they bring to a scene.
With enough layers of glaze, a painting can even gain a kind of inner glow.
It works on both highlights and shadows to create depth in the subject.
Historically, the primary pigments that were transparent enough for glazing were madder lake, carmine, ultramarine, verdigris, yellow lakes, and indigo. Today, more options are available.
Drawbacks to Glazing
Glazing does have some drawbacks.
The most obvious of which is the drying time.
You have to give each layer enough time to dry before applying the following glaze.
Therefore, oil painters wishing to use this technique to its fullest will have to be quite patient with their works to accomplish the full effect.
Second, the precise optical effect won’t be apparent until after the glaze dries.
This can disharmonize a whole work.
Third, the transparent layer can also draw the eye more forcefully than expected, similar to the shimmer on a dress.
This effect can be hard to prevent with glazes and forces the areas used to become highlighted.
Of course, glazing also cannot be done plein air or using an alla prima method.
Instead, it must be done in the studio over a long period of time, waiting for the entire drying period between the lower and upper layers.
This relates to the fact that it also creates a photorealistic effect, which can be beautiful and obscures the brushstrokes.
Depending on the style of oil painting you’d like to do, this can clash with those that use expressive brush strokes.
Glazing is also a pretty tricky technique to master.
Knowledge of how the colors will interact and how thick the glaze should be are hard to judge.
You cannot alter the underpainting once the glaze is applied, making new details or colors challenging to achieve.
Essentially, glazing requires a great deal of patience and mastery to achieve good results and therefore isn’t suitable for everyone.
Where to Apply Glazes?
Glazes are usually best for small, localized areas.
You’ll rarely see them applied to the whole painting.
They are best for achieving those vibrant, luminous colors in specific areas of a painting that are difficult to accomplish with essential pigments and opaque paints.
They might also be used to warm up a skin tone or to deepen shadows.
Also, keep in mind that a glaze will obscure the small details of the paint below it.
Therefore, it’s essential to add the details after the glaze has dried.
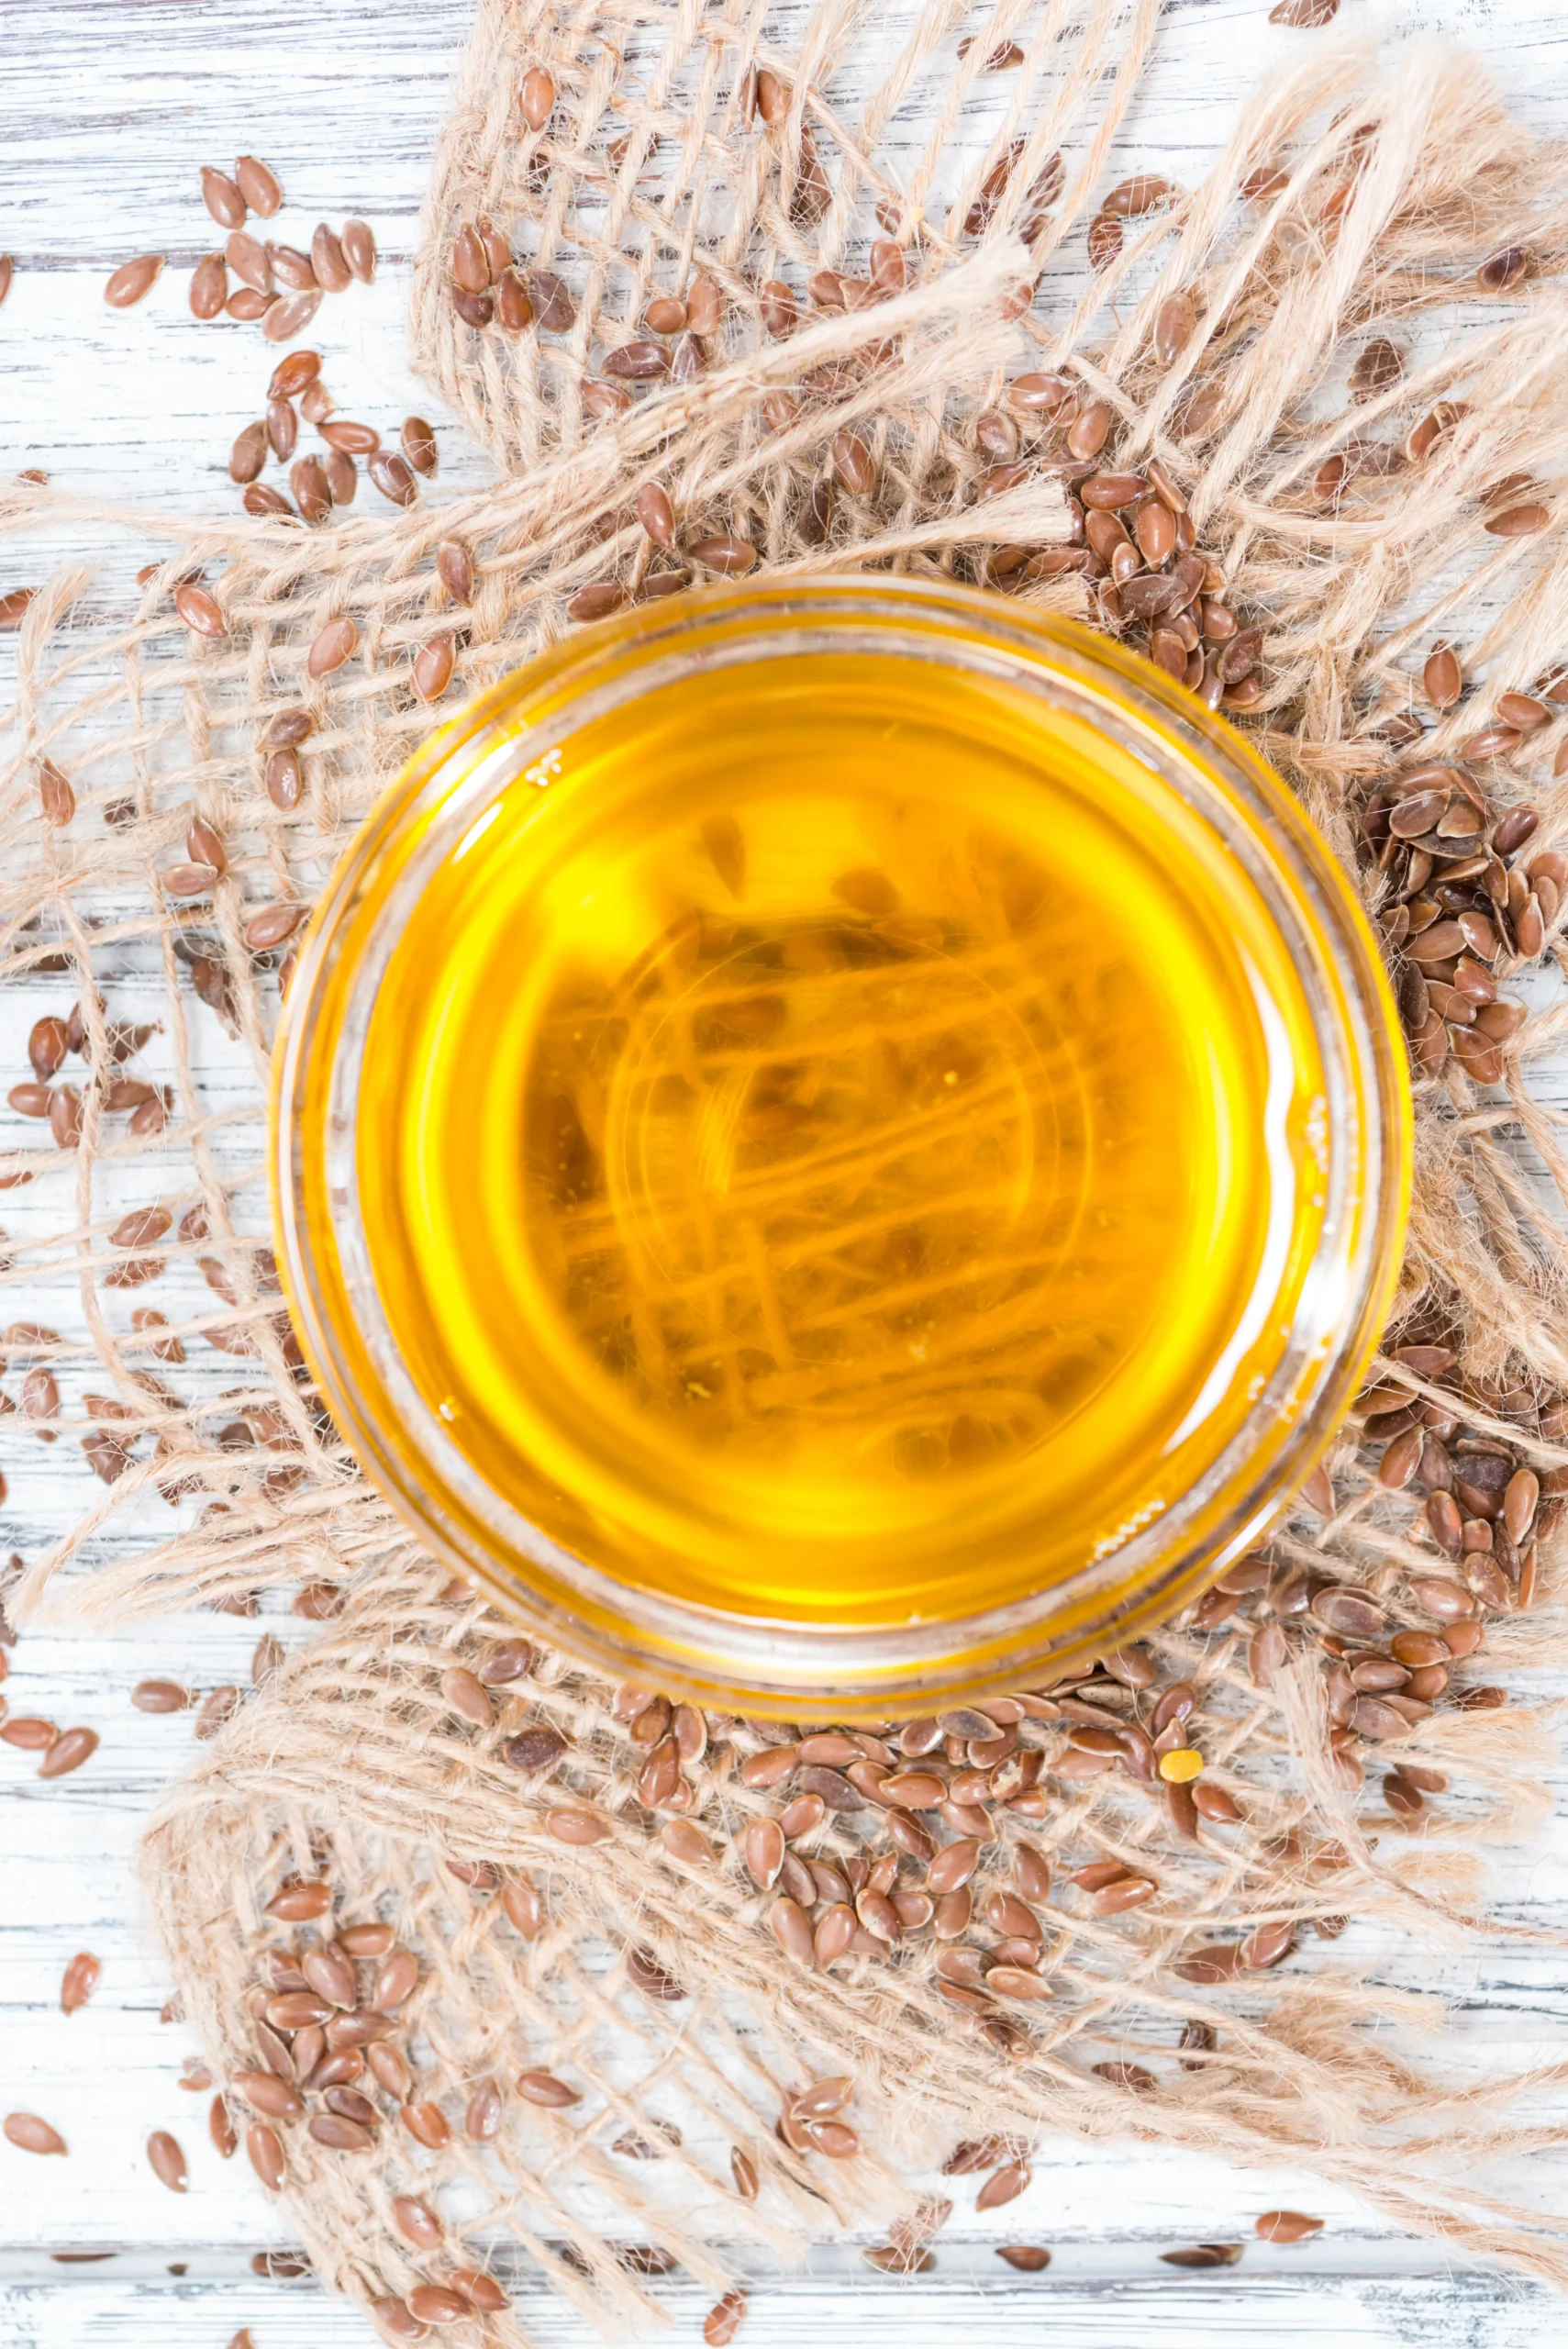
Materials to Make a Glaze
You must begin with a transparent pigment. Options for transparent pigments include:
Ultramarine, verdigris, yellow lake, magenta, madder lake, and indigo.
You can find more options by searching for paint tubes labeled ‘transparent’ or ‘semi-transparent.’
Then, you’ll need to mix the paint with the glaze medium to increase its transparency and create the glaze.
Glaze Recipes
There are many different ways to make glazes. It’s mainly the principle that matters.
First, the pigment must be transparent and medium needs to be added to add to its transparency.
The amount of pigment to add depends on the level of color intensity you are looking for.
Start with a few drops and build from there to see how it looks to you.
You can also swap the turpentine for spike lavender solvent for a glossier effect in any recipe.
Simple glaze
- Linseed oil – 1 part
- Pigment
Standard glaze
- Turpentine – 1 part
- Linseed oil – 2 parts
- Pigment
Glossy glaze
- Turpentine – 1 part
- Stand oil – 2 parts
- Pigment
Resin glaze
- Damar varnish resin – 1 part
- Linseed oil – 1 parts
- Turpentine – 2 parts
How to Glaze
Here are some of the main techniques and uses of glazing.
Standard Glaze
- Paint an underlayer of monochrome.
- You can do this in grisaille or colors like green and brown.
- Once the underlayer is completely dry, create your glazing medium.
- This is what you will mix with the different pigments to use as the glaze.
- Mix your glaze.
- Paint the glaze layer over the underlayer using a soft-bristled brush.
When starting, you’ll likely want to look up which color combinations create the color effects you are looking for.
Then, as you progress, you’ll have a much better sense of which glaze colors will have the intended effects.
Layered Glazes
- Paint an underlayer as with a standard glaze.
- Once the underlayer is completely dry, add your first layer of glaze.
- Then, after letting the first layer of glaze dry, add further layers to increase the luminosity and color.
A layered glaze is simply a standard glaze but intends to let it dry and add more layers to increase the effect.
Highlights and Shadows
- Complete your underlayer painting.
- Once completely dry, look for areas to highlight the light or deepen the shadow.
- In those areas, use a glaze to create a luminous effect, creating depth.
- Again, you’ll have to experiment with the colors to see which will work as good highlight and shadow colors for the areas.
Skin Tones
- Paint the underpainting of the face or body.
- Once completely dry, use a layered glaze technique to slowly build up the color of the skin, creating an effect like an inner glow.
- With this many layers, it becomes crucial to use the fat over lean principle, which means the most solvent should be used in the earlier layers, with each subsequent layer having more oil and less solvent in the medium of the glaze.
- Thus there should not be much solvent in the final layers.
Proper Glazing Technique
- Use a light underpainting. Glazing finds its best results using lighter underlying colors for an initial opaque layer.
- It truly brings out great white and off-white highlights, giving bright colors an intensity and gem-like quality that is impossible with opaque color.
- Experiment with colors at first to see what works for you.
- Work wet on dry. For glazing to work its optical magic, you must wait for the underlayer to dry before applying the glaze.
- This includes each layer of glaze.
- You can use Liquin mixed with turpentine to help the paint dry faster, although it may alter the viscosity of the glaze.
- Follow the fat over lean principle. Start painting with the least amount of oil in the mixture and gradually increase the amount of oil in each layer of glaze while decreasing the amount of solvent.
- If you apply heavy solvent mixes over even a fully dried layer, there is a chance the paint won’t adhere and may crack,
- Correct the glaze layer before it dries. You can continuously work on and manipulate a glaze layer as it dries but not afterward.
- In corrections, you can use this to your advantage by using a small amount of medium or solvent to remove a part of the glaze layer before it dries.
- Use correction techniques to subtract. For example, you can use brushes with solvent to purposely subtract glaze for specific areas for added effect.
- This can be used for corrections or to remove areas inside a glaze for different results.
Important Notes
- Don’t use glazes everywhere on the painting.
- The effect is only useful for specific areas and will muddy the overall composition if used throughout.
- Grays and dull colors don’t work as transparent glazes.
- Glazes are best used to increase luminosity, not dull it.
- Glazes will attract more dust to the painting due to the high oil content.
Conclusion
Glazing is a beautiful oil painting technique with many nuances.
Oil glazes require a bit of thoughtful planning for what will go on the lower layer of the underpainting with its thin layer of paint and what is the best way to apply the layers of transparent color for the glaze.
However, once mastered, the technique can bring a brilliant luminosity to your paintings and a better overall end result.