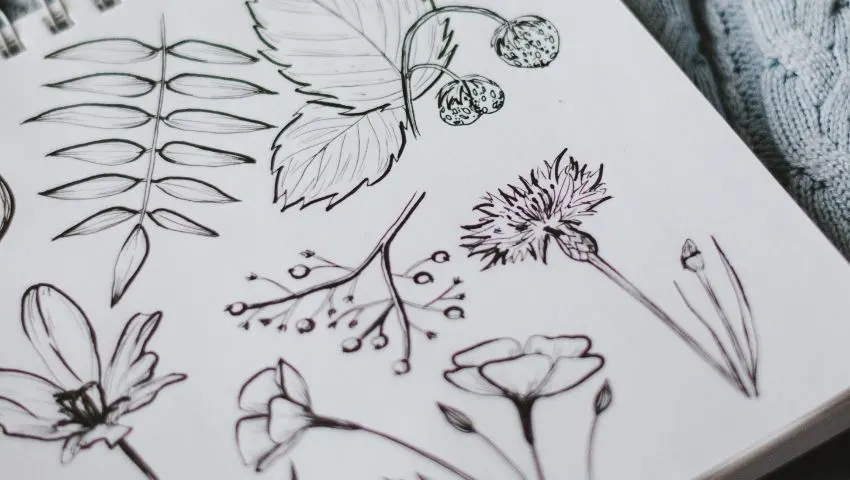
Pen and Ink drawing is a simple yet beautiful art of drawing using a dip or reservoir pen on a medium, usually a piece of paper.
There is a lot of variety when it comes to pen and ink drawing and you can use different types of pens, inks, and mediums for different types of strokes, drawings, and results.
Pen and ink drawing arguably is the longest surviving art form, dating back to when humans first learned writing and started documenting, and rightfully so. An artist can get truly creative with the variety available for pen and ink drawing, and in this blog, I will share how you can become a pro using these expert tricks, tips, and techniques.
Pen and Ink Techniques:
Here are some expert techniques that you can use to get different artistic results by playing with the type of pen or ink you use:
Other drawing techniques to help you:
- 15 Colored Pencil Techniques for Beginners
- 15 Best Line Drawing Exercises to Improve Your Art
- 10 Easy Charcoal and Ink Drawing Techniques for Beginners
- 21 Brilliant Tips to Practice Gesture Drawing
Pen Techniques:
- Overlay Colors:
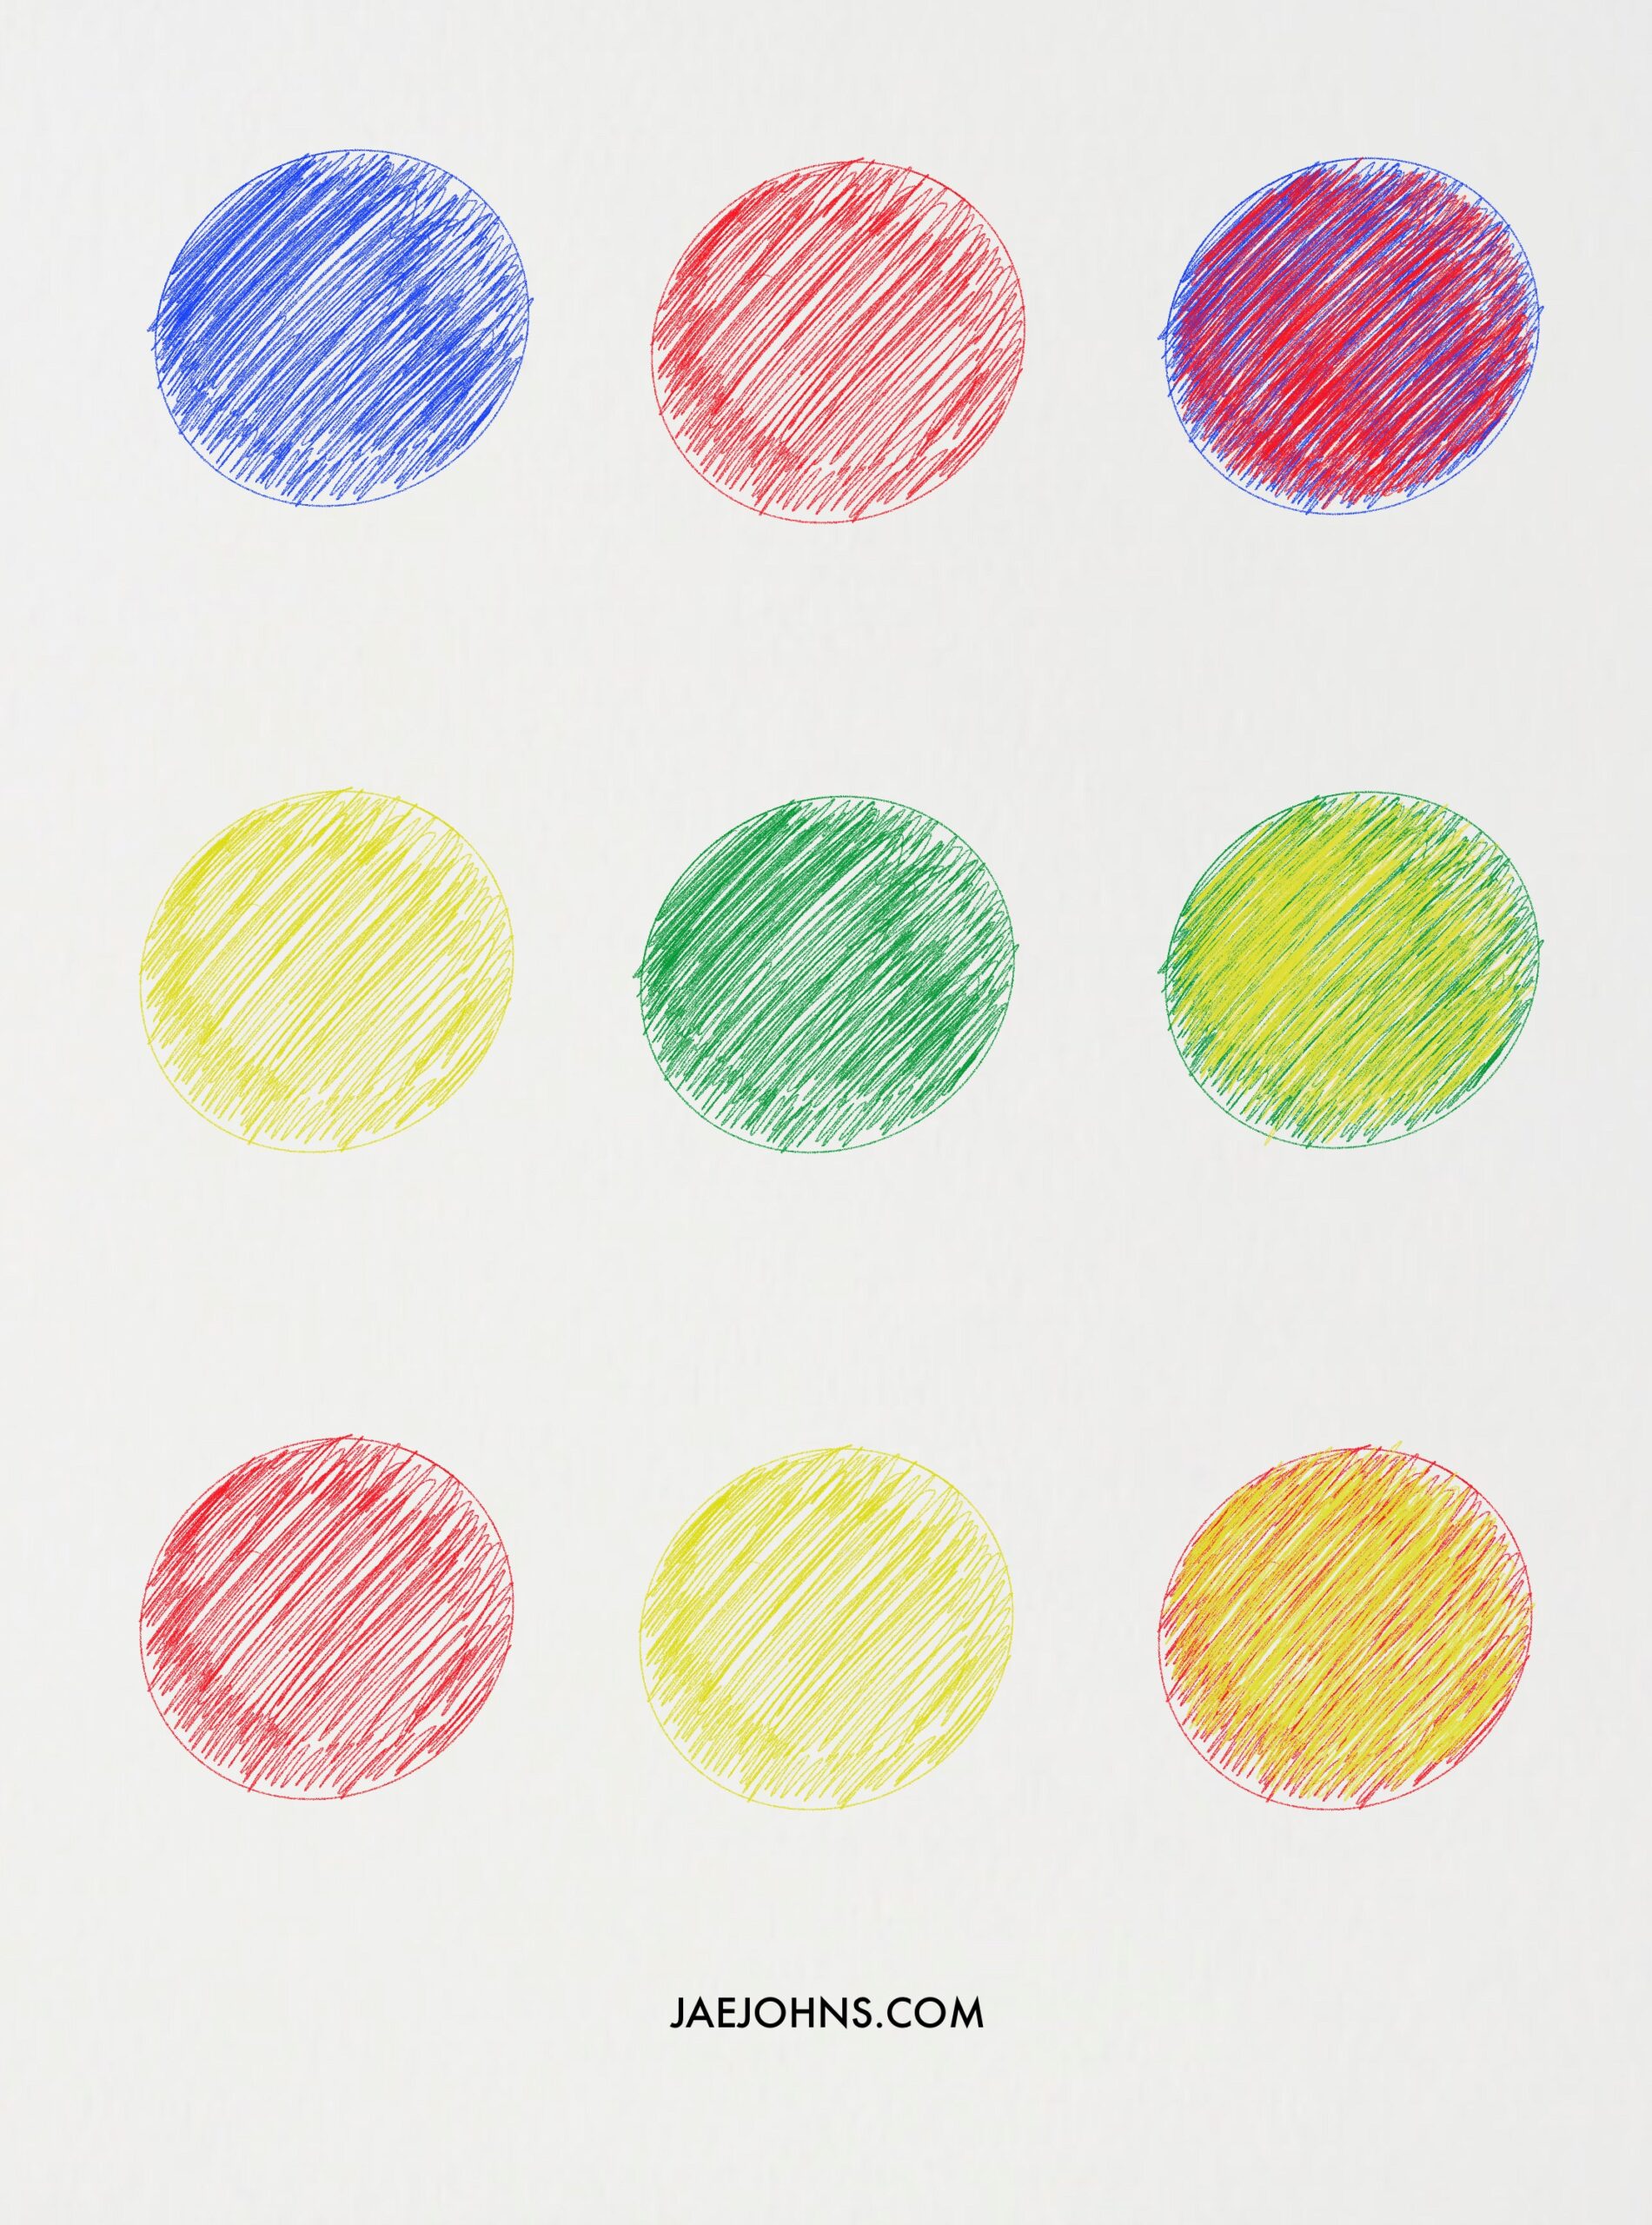

The best advantage of pen and ink drawing is that you can use different colors of inks and make your drawing colorful. With a pencil or simple ink drawing, colors can get mixed and form a new color.
But with pen and ink drawing, you can use fast-drying markers, which give a bright color and their ink dries quickly. In this way, you can overlay colors using markers, to create an accurate and more colorful drawing.
- Bold Lines and Strokes:
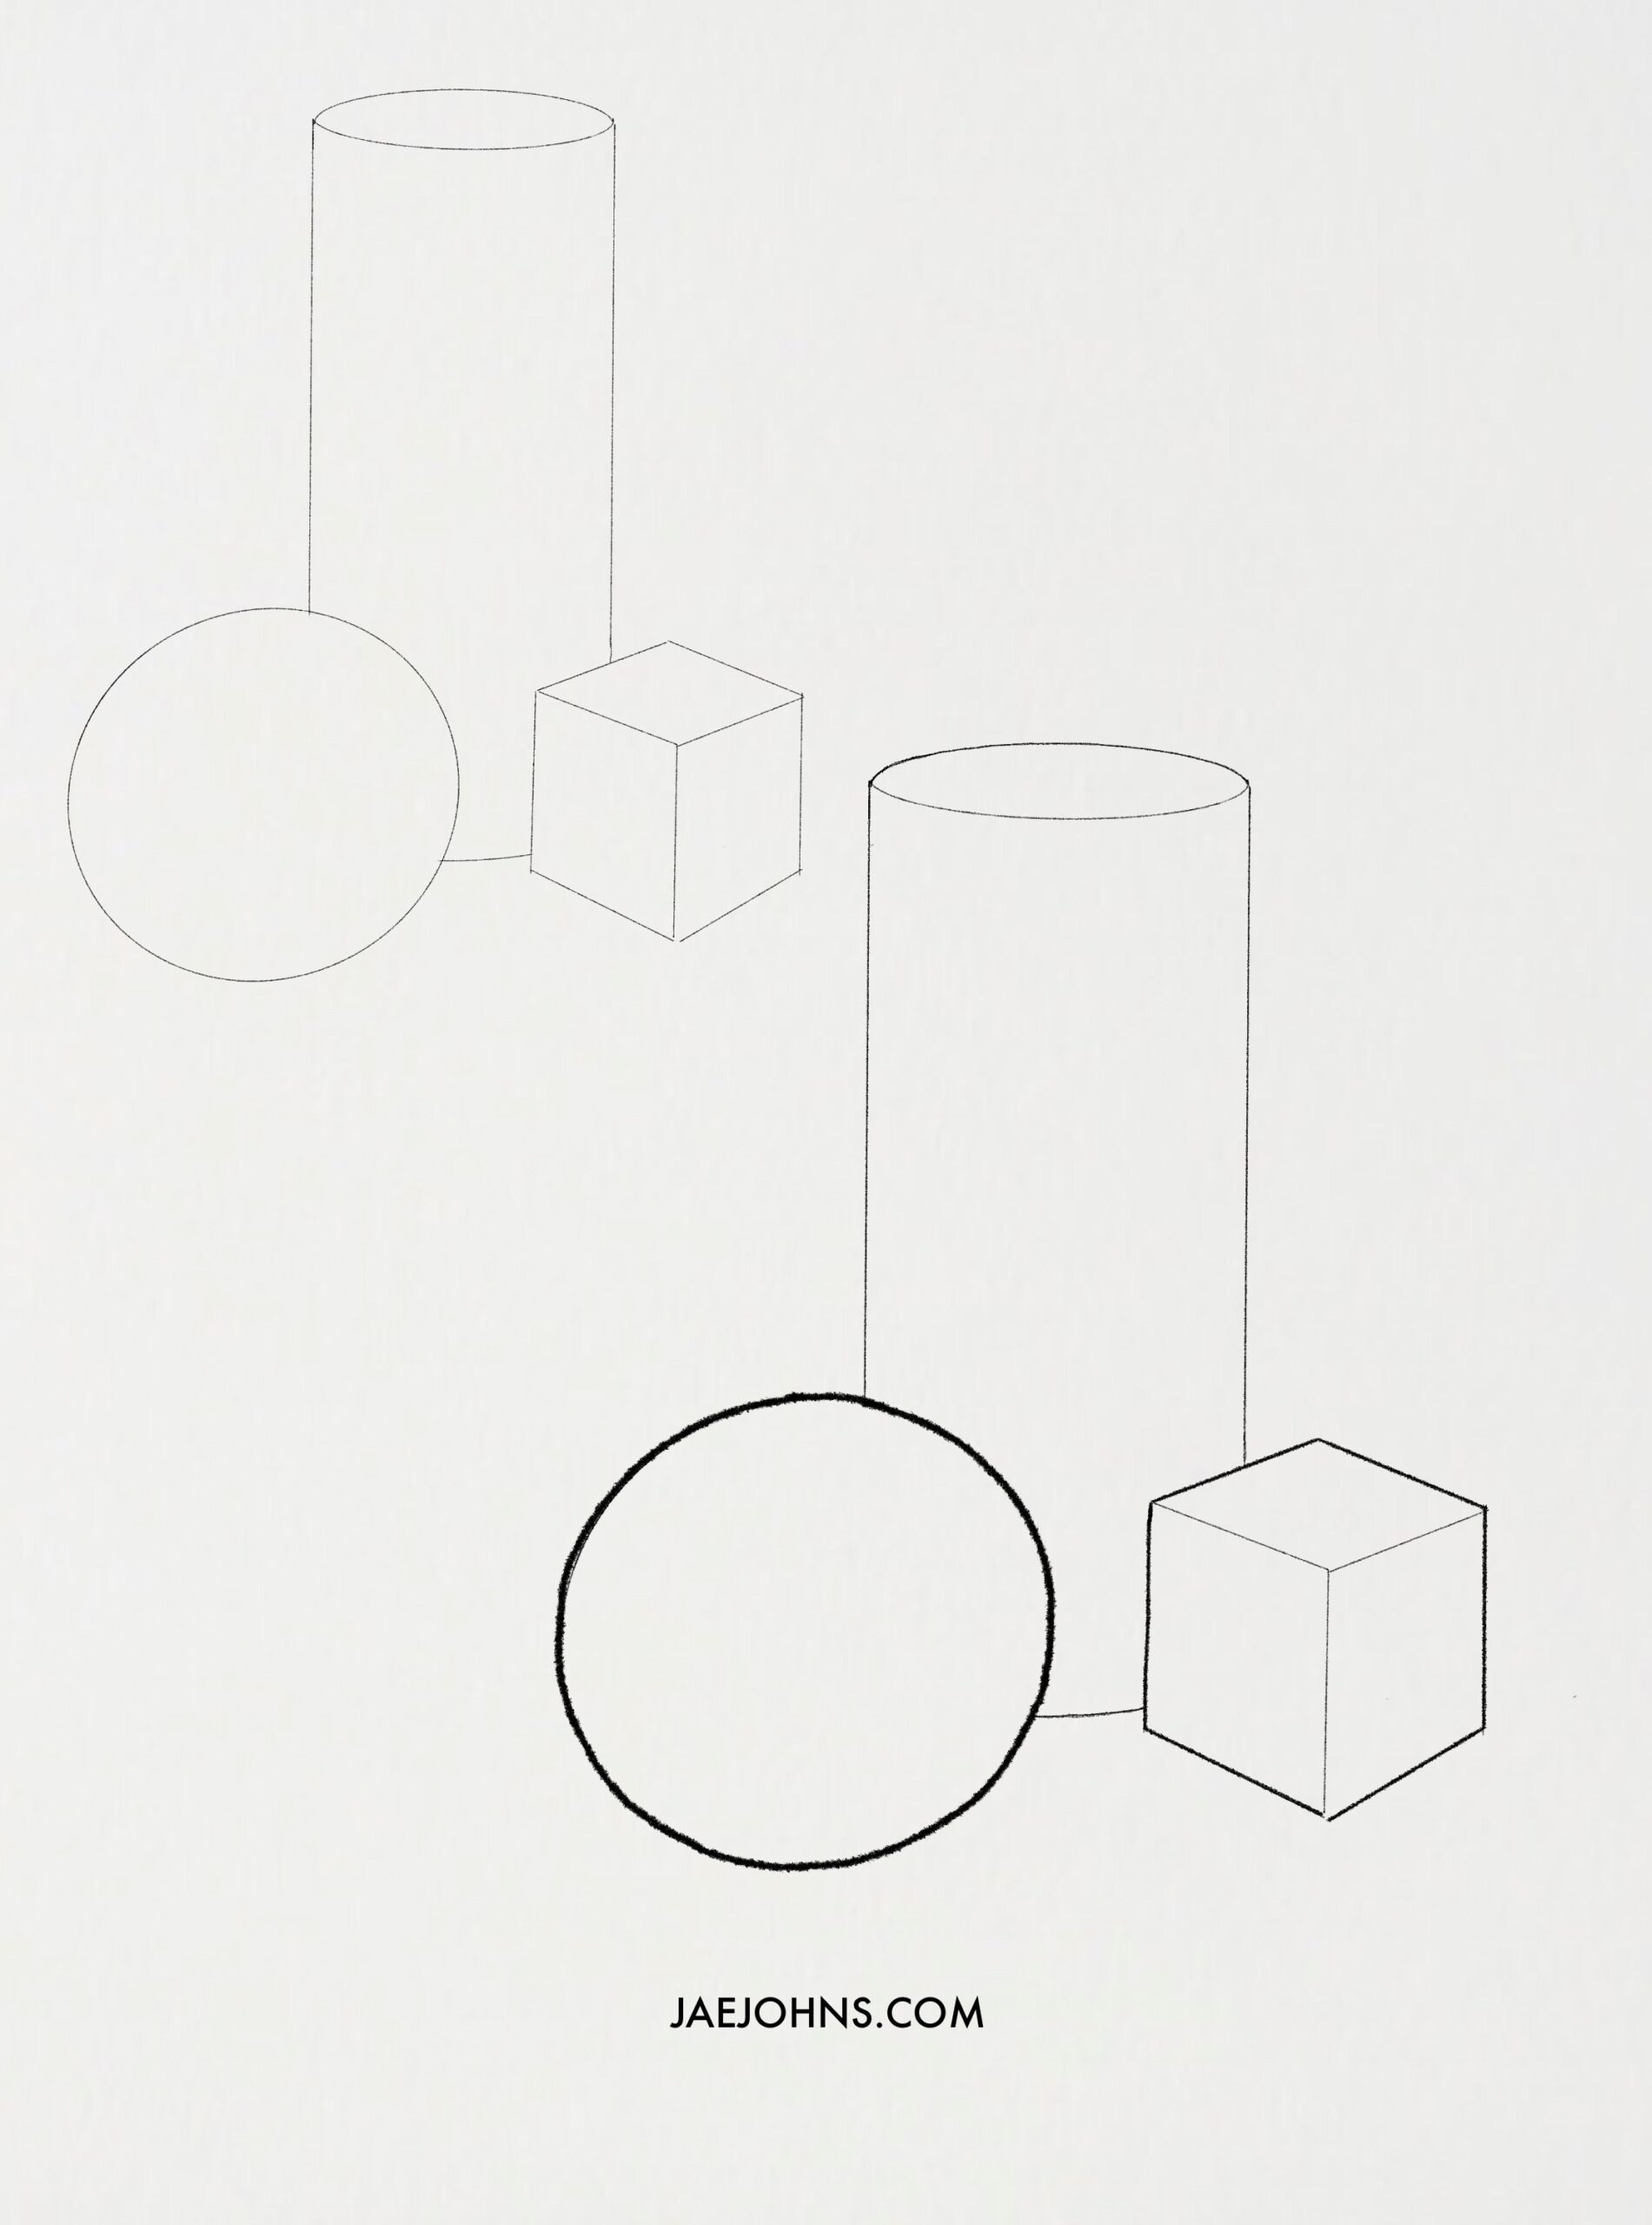
Where other materials restrict us in drawing, pen and ink drawing liberates us.
Usually, you can only make a stroke as bold or as fine as the tip of your pen allows you to.
But with pen and ink drawing, you can use a single pen to have all kinds of strokes.
To do that, you can use nib pens, which need to be dipped in ink before using.
With nib pens, you can choose how strong, bold or thin you want your stroke to be, by varying the angle, pressure, or ink of your stroke.
- Consistency:
The accuracy of pen and ink drawing lies in the consistency of the pen you use.
If you are looking for consistent and fine strokes, the best technique is to use a reservoir pen, which has a consistent and continuous flow of ink.
In this way, all your strokes will be regular and symmetrical. And if you want variation, you can always use different types of pens.
Ink Techniques:
Our pen techniques can help you draw accurately but to depict accurately, you will need to follow our ink tips.
- Monochrome Lines:
Some of your drawings will require you to draw monochrome lines for an accurate depiction.
For this purpose, the best technique is to use permanent black ink as it is dark and absorbent, and gives better results.
- Tins and Wash:
Not everything can be drawn with strokes and strokes sometimes do not allow you to be as subtle as a drawing requires you to be.
To cover this up, our expert technique is to use waterproof ink and then use tin and wash on it, to cover up those grey areas which cannot be covered up in the darkness of strokes and brightness of paper.
- Line Drawing:
If your drawing involves simple line drawing, our expert technique is to use non-waterproof ink for this purpose as it will preserve all the detail while giving the best results.
Ink Tips:
You might think that using ink for drawing could be a disaster as it cannot be undone, like a pencil stroke.
Here are some expert ink tips that will make you see how the use of ink enhances the beauty of pen and ink drawing:
- Tones:
Tones can be a big concern to you if you are just starting but this tip will solve this problem for you.
You can play with your ink to add different tones to your drawing.
For example, if you want to draw a shadow or a shade on your object, you can use regular ink for the object, but for the tone of shadow, you can dilute the same ink with a solvent.
You can keep diluting as much as you want and it will give you as many tones you want for your drawing.
- Rawness:
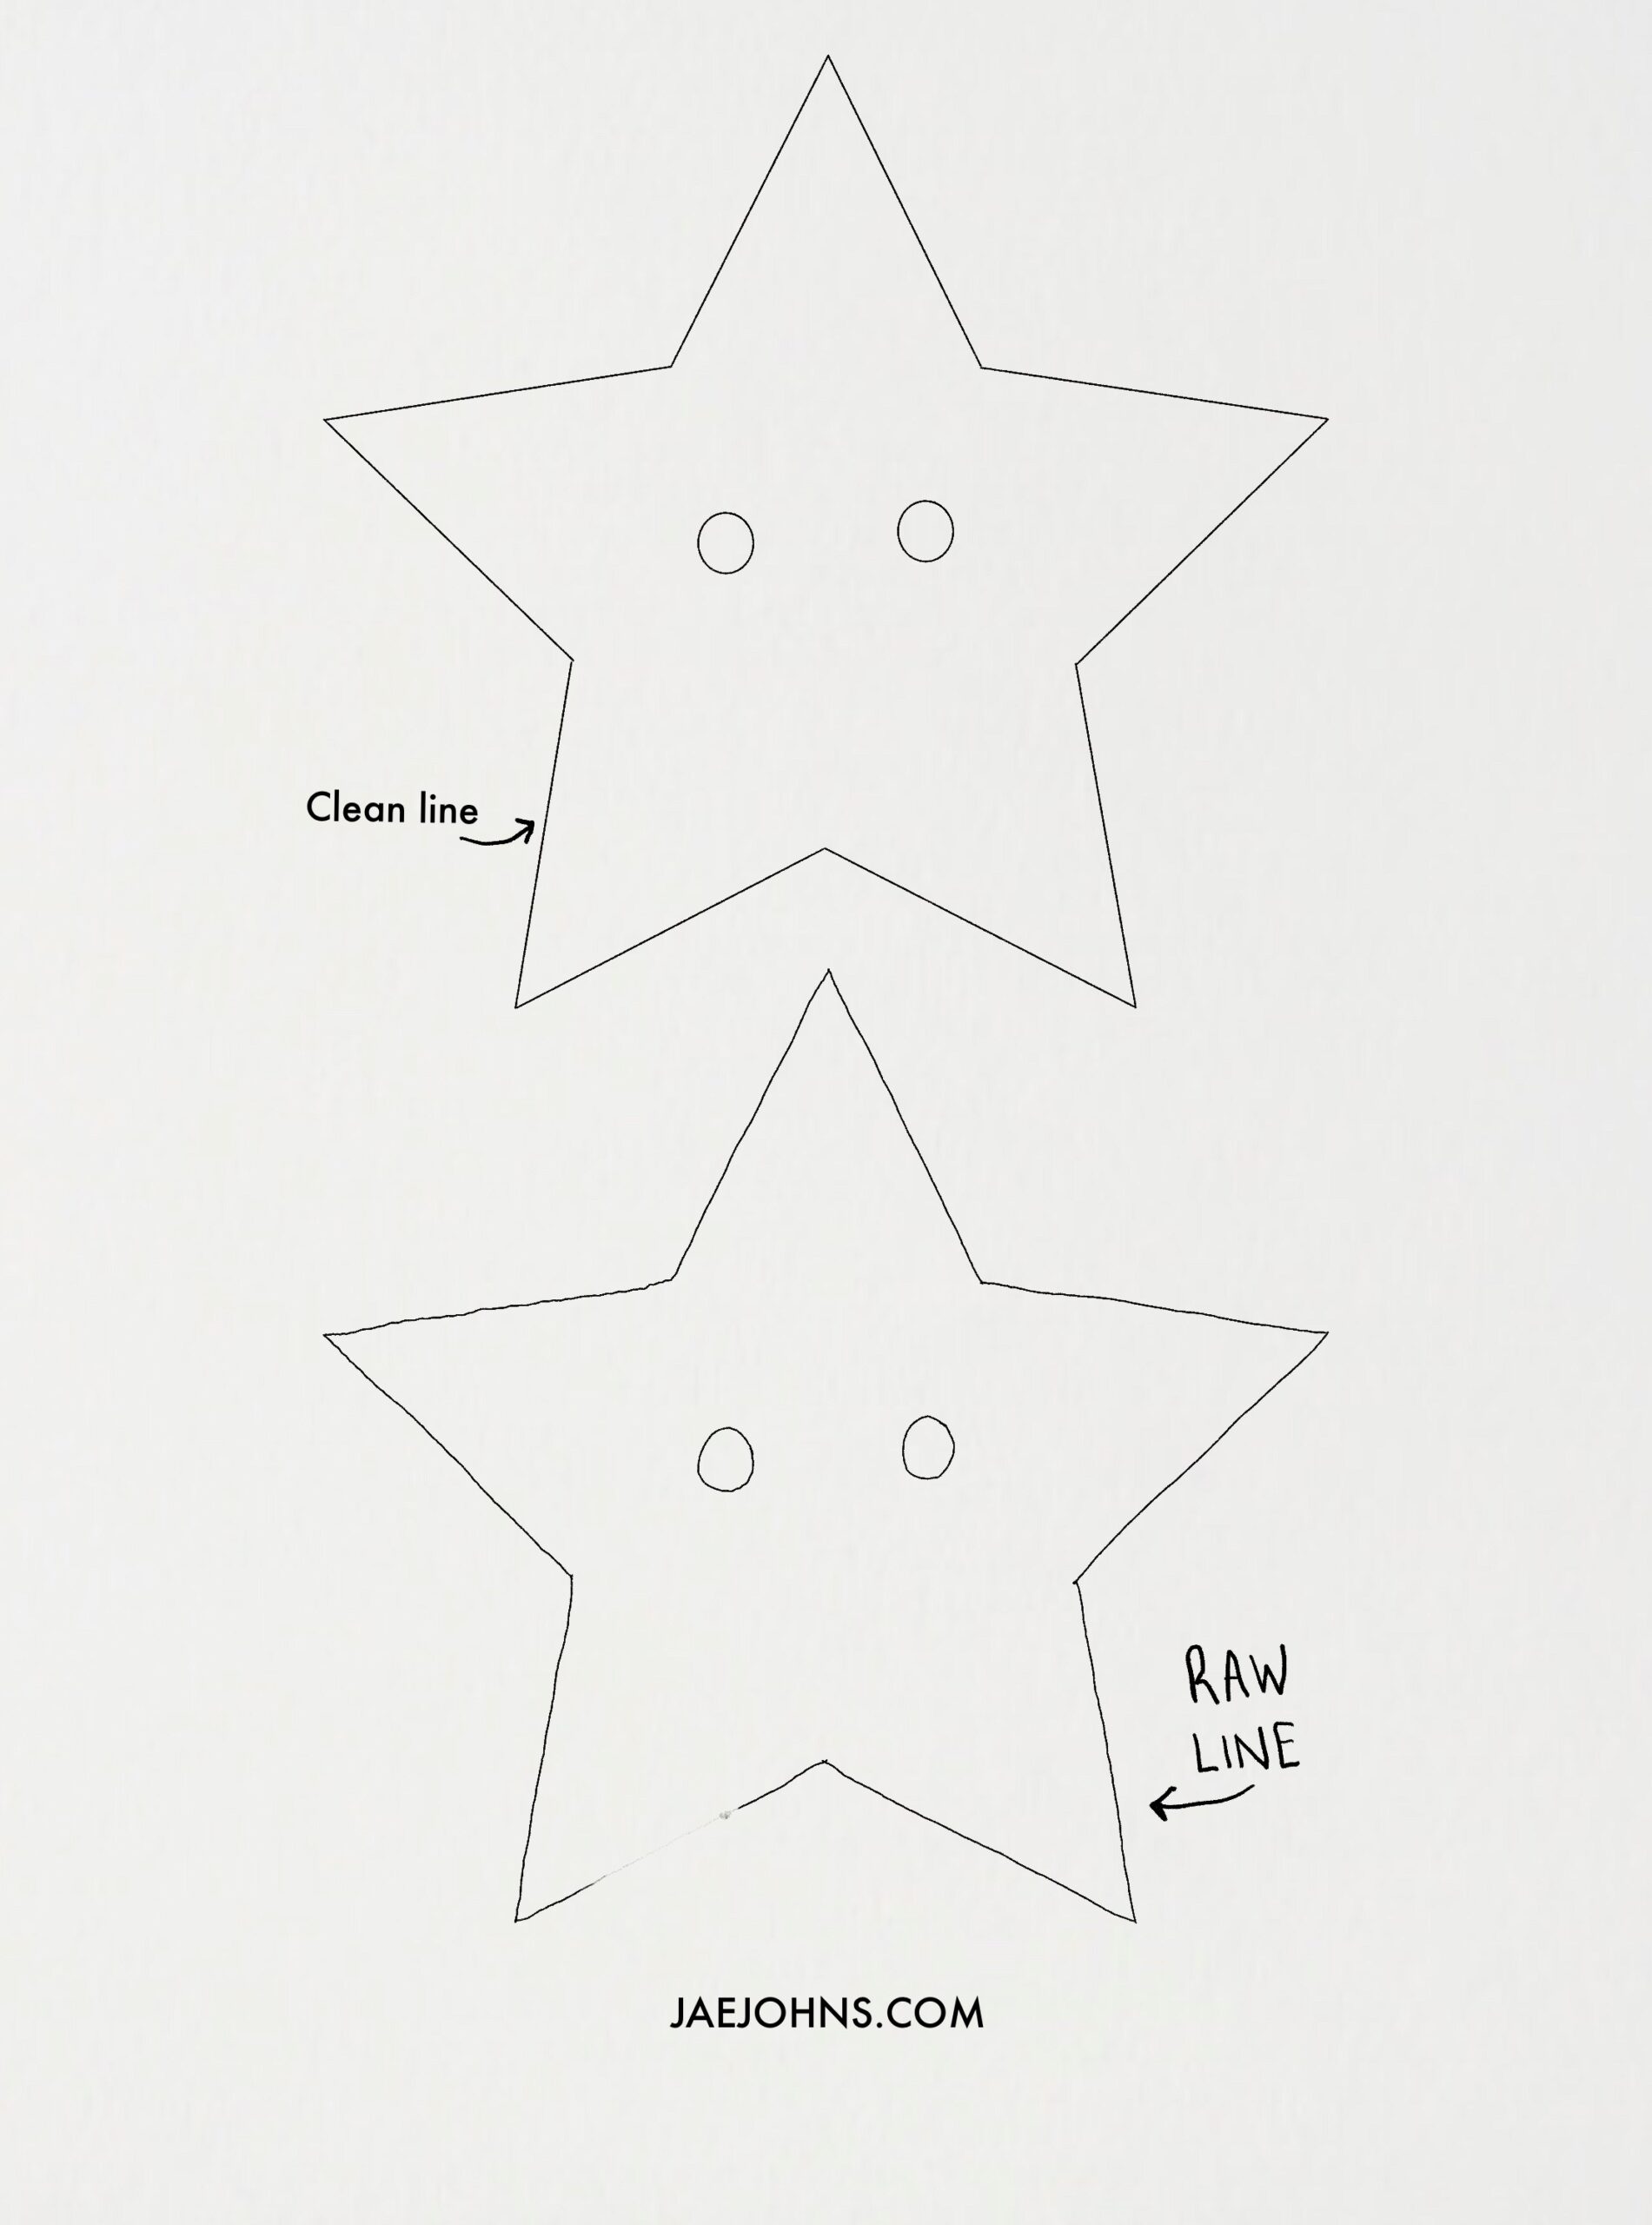

The perfection of any drawing lies in its rawness. If it is too clean, your drawing will look like a painting.
Since the ink cannot be completely undone, and it is human to make mistakes, you will certainly make some wrong strokes and the ink will leave its mark.
But this very property will give your drawing the rawness it needs to look like a beautiful drawing.
- Creative Mess:
Experts say that if a drawing is too controlled, it cannot be creative. Creative is free and often messy.
Ink allows you to be creative and messy, and sometimes so free that even you don’t know what you are drying.
The tip for such creativity is to try drawing on a slightly wet medium.
Wetness on the medium will make your ink flow with it, and on drying, it will leave some high and low contrasts.
It is the kind of creativity that is natural and something that you cannot make on purpose.
Pen Shading Techniques:
Pen shading is something that you learn with time, practice, and experience. It has more to do with how you see an object and what idea of it you want to draw.
But if you are a beginner, here are some expert pen shading techniques which I have simplified in such a way that will catapult your pen and ink drawing journey.
- Stippling:
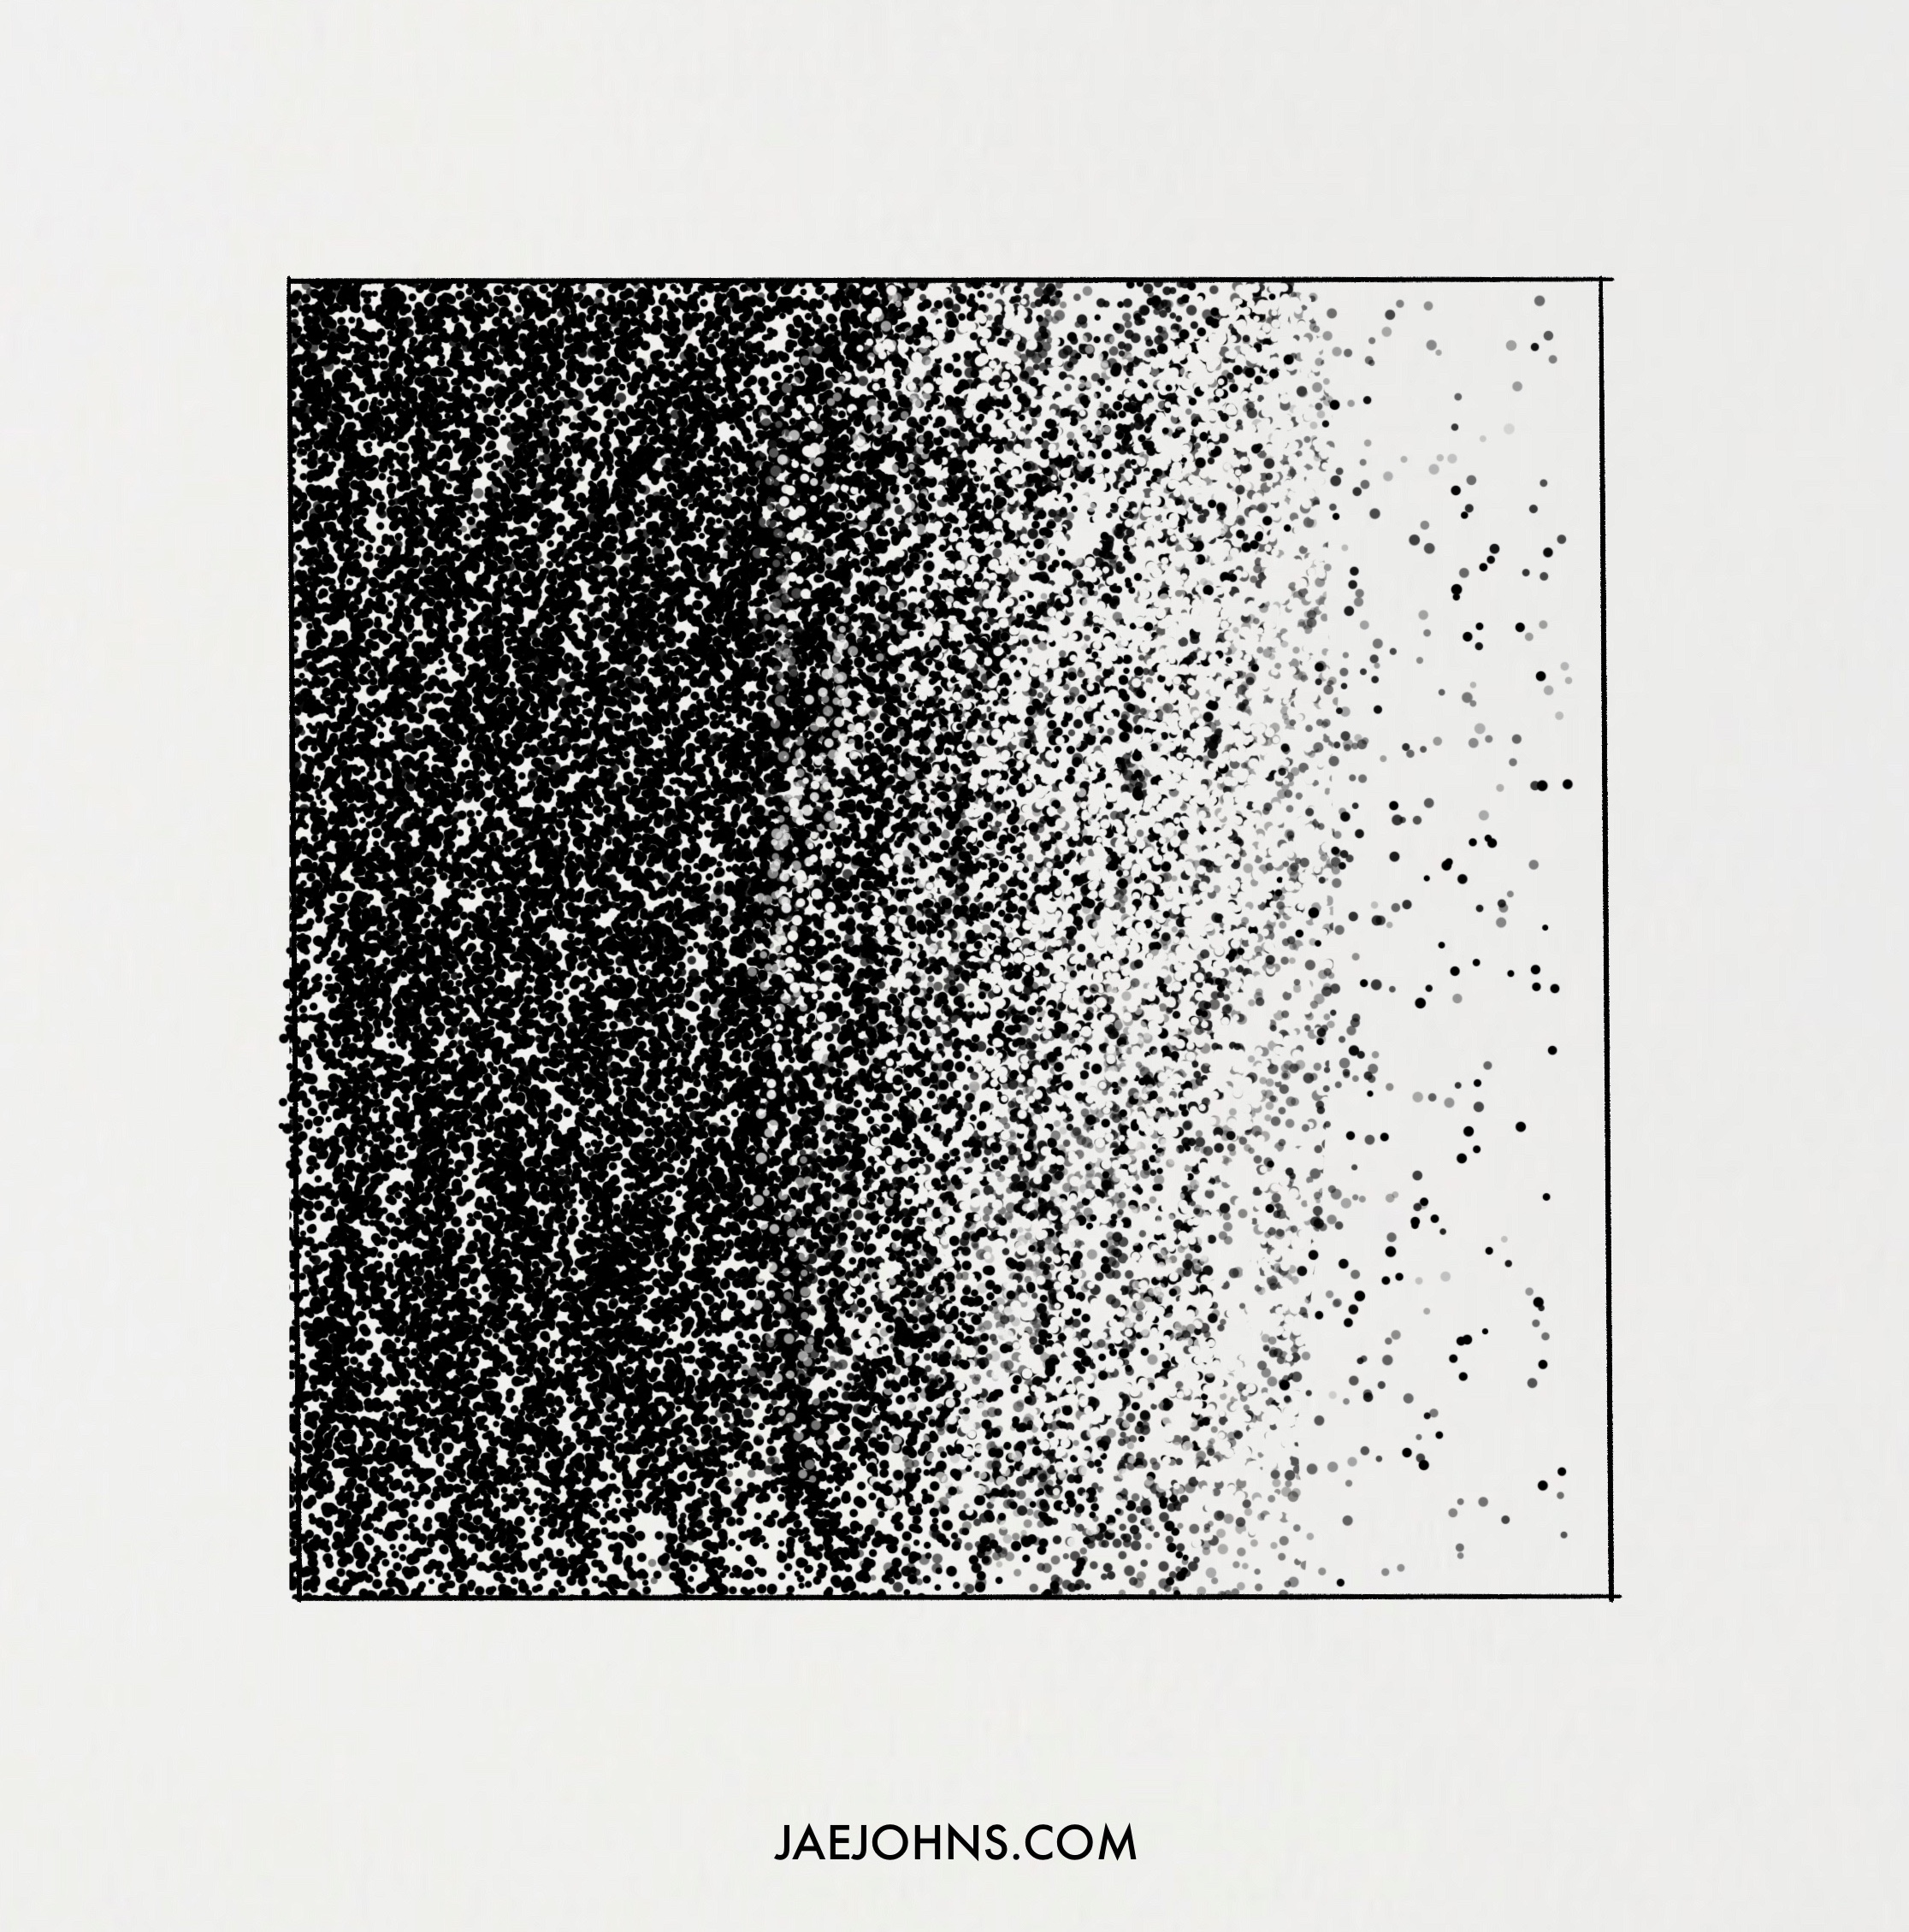
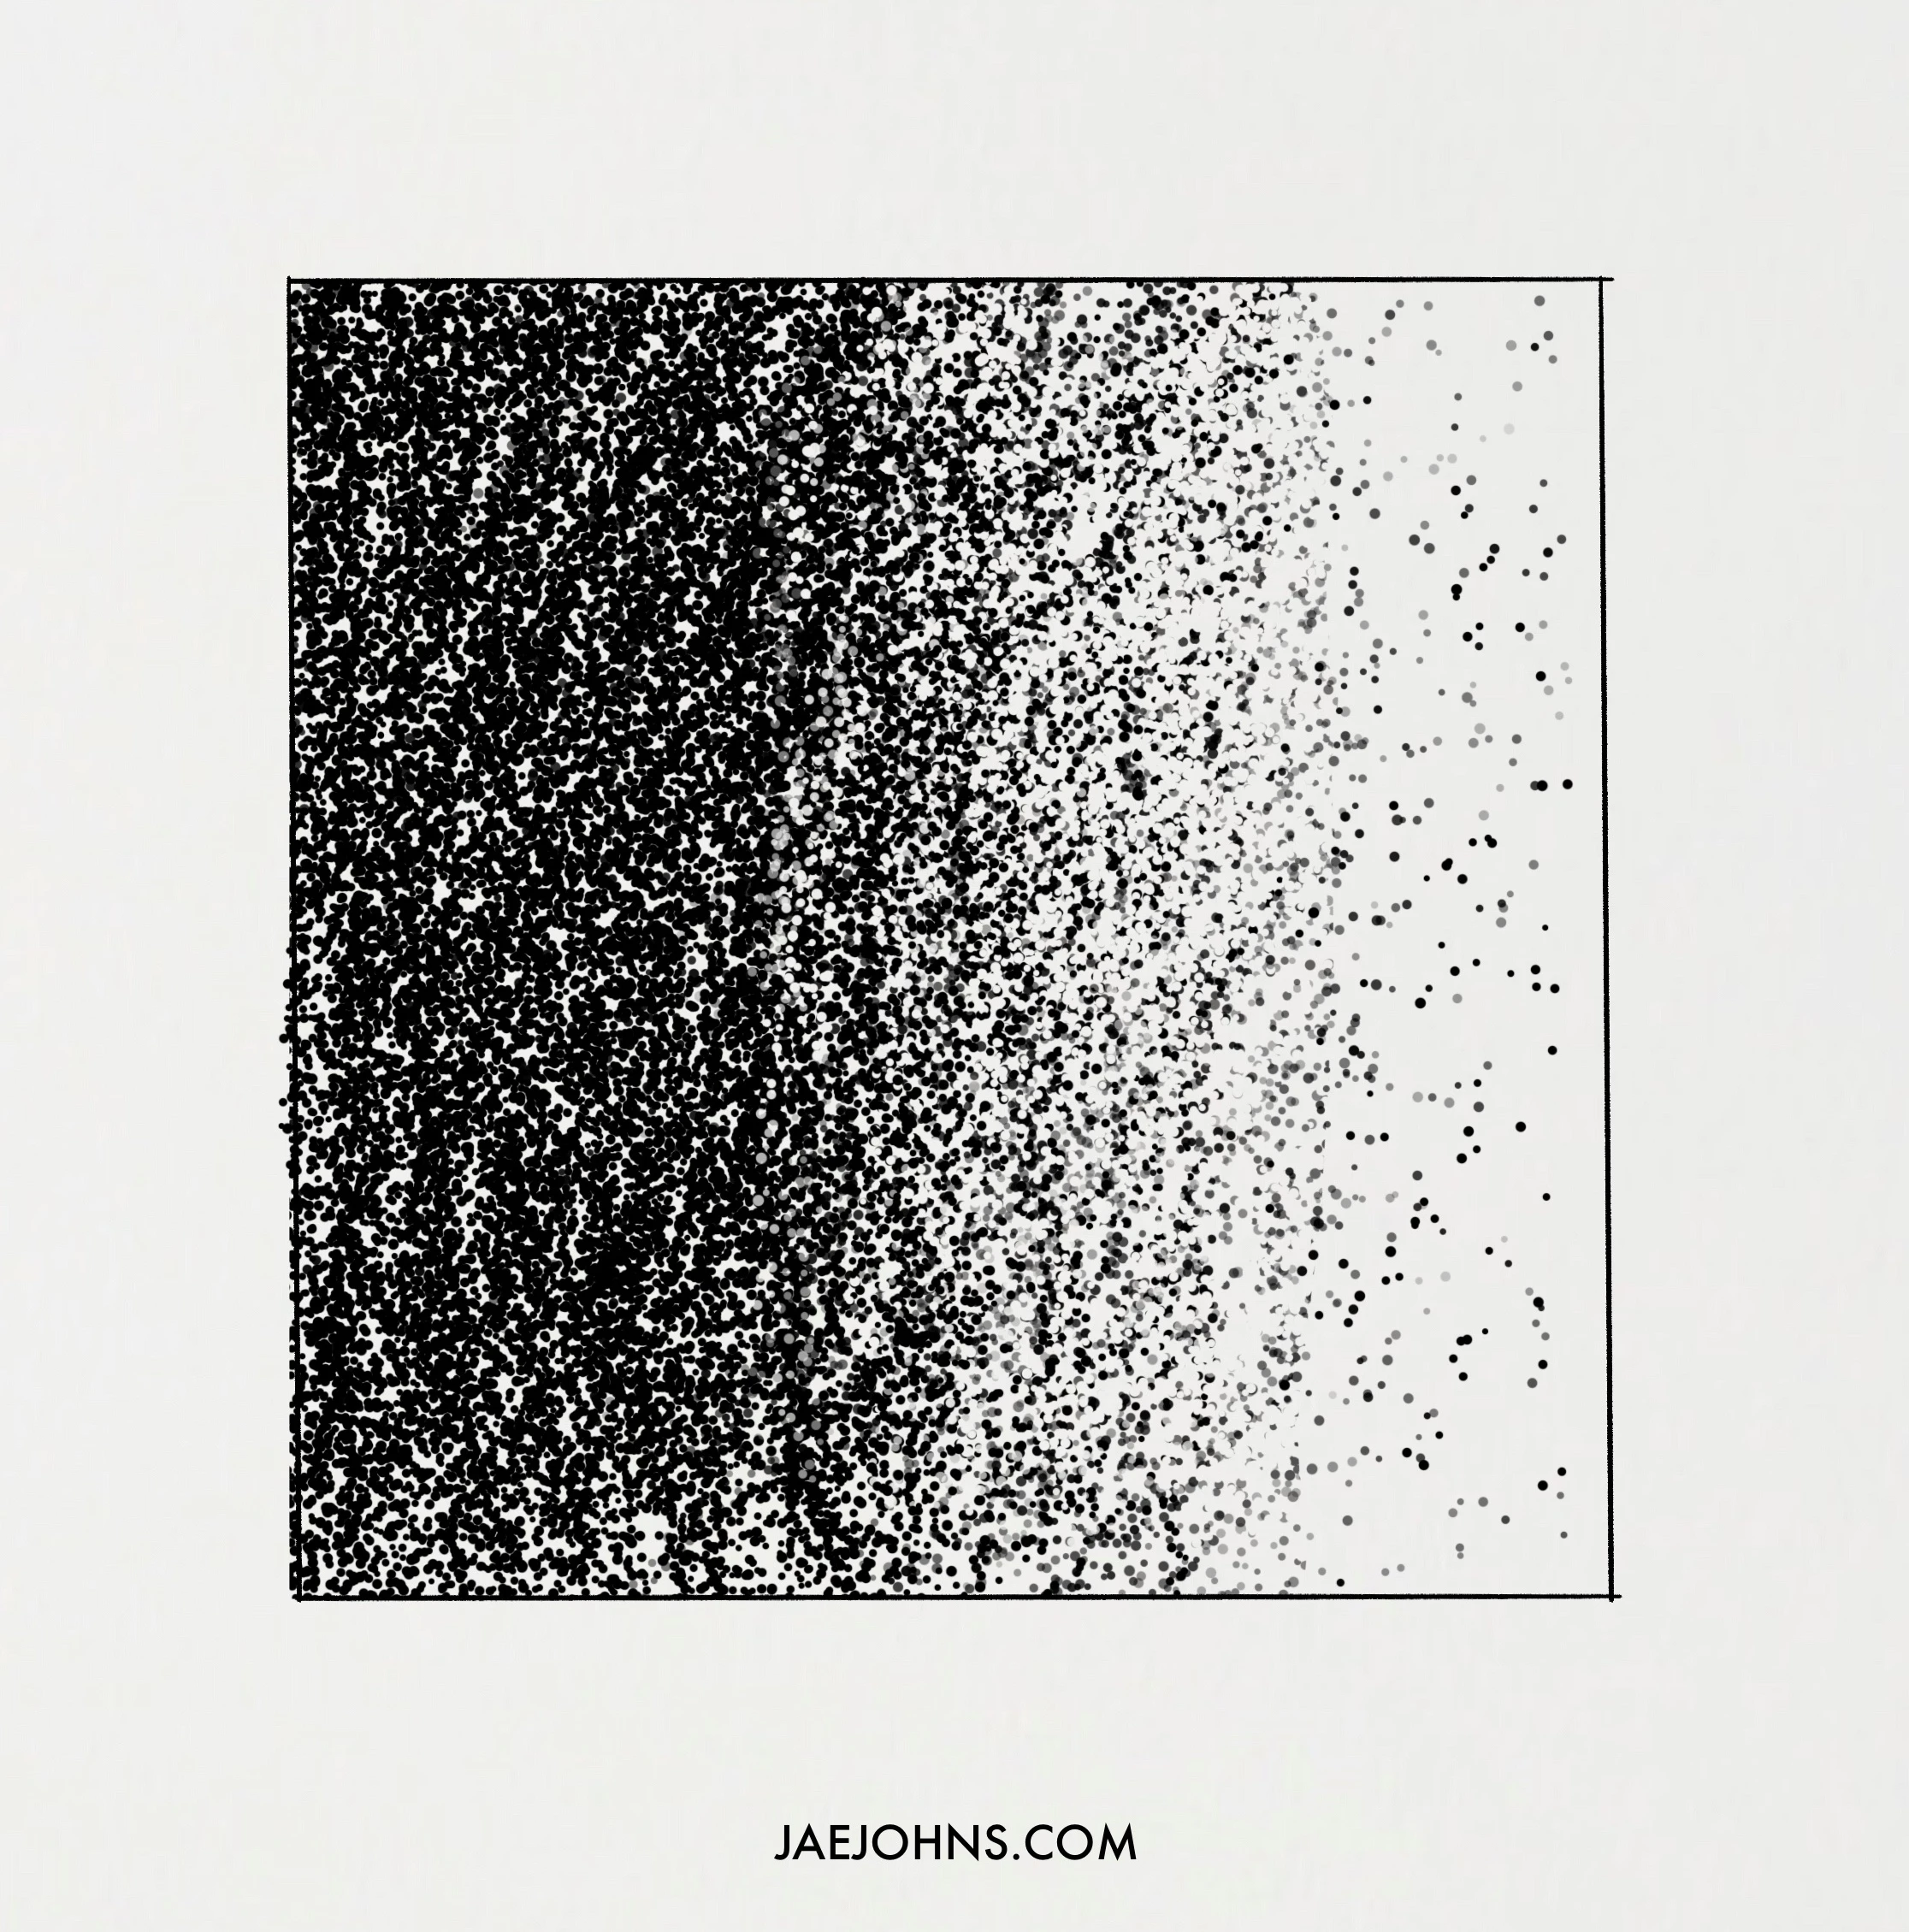
The simplest of the shading techniques is stippling, in which you use simple dots to shade and the concentration of your dots defines the tone.
Making dots requires no skill, as long as you are careful about their density.
- Doodle Shading:
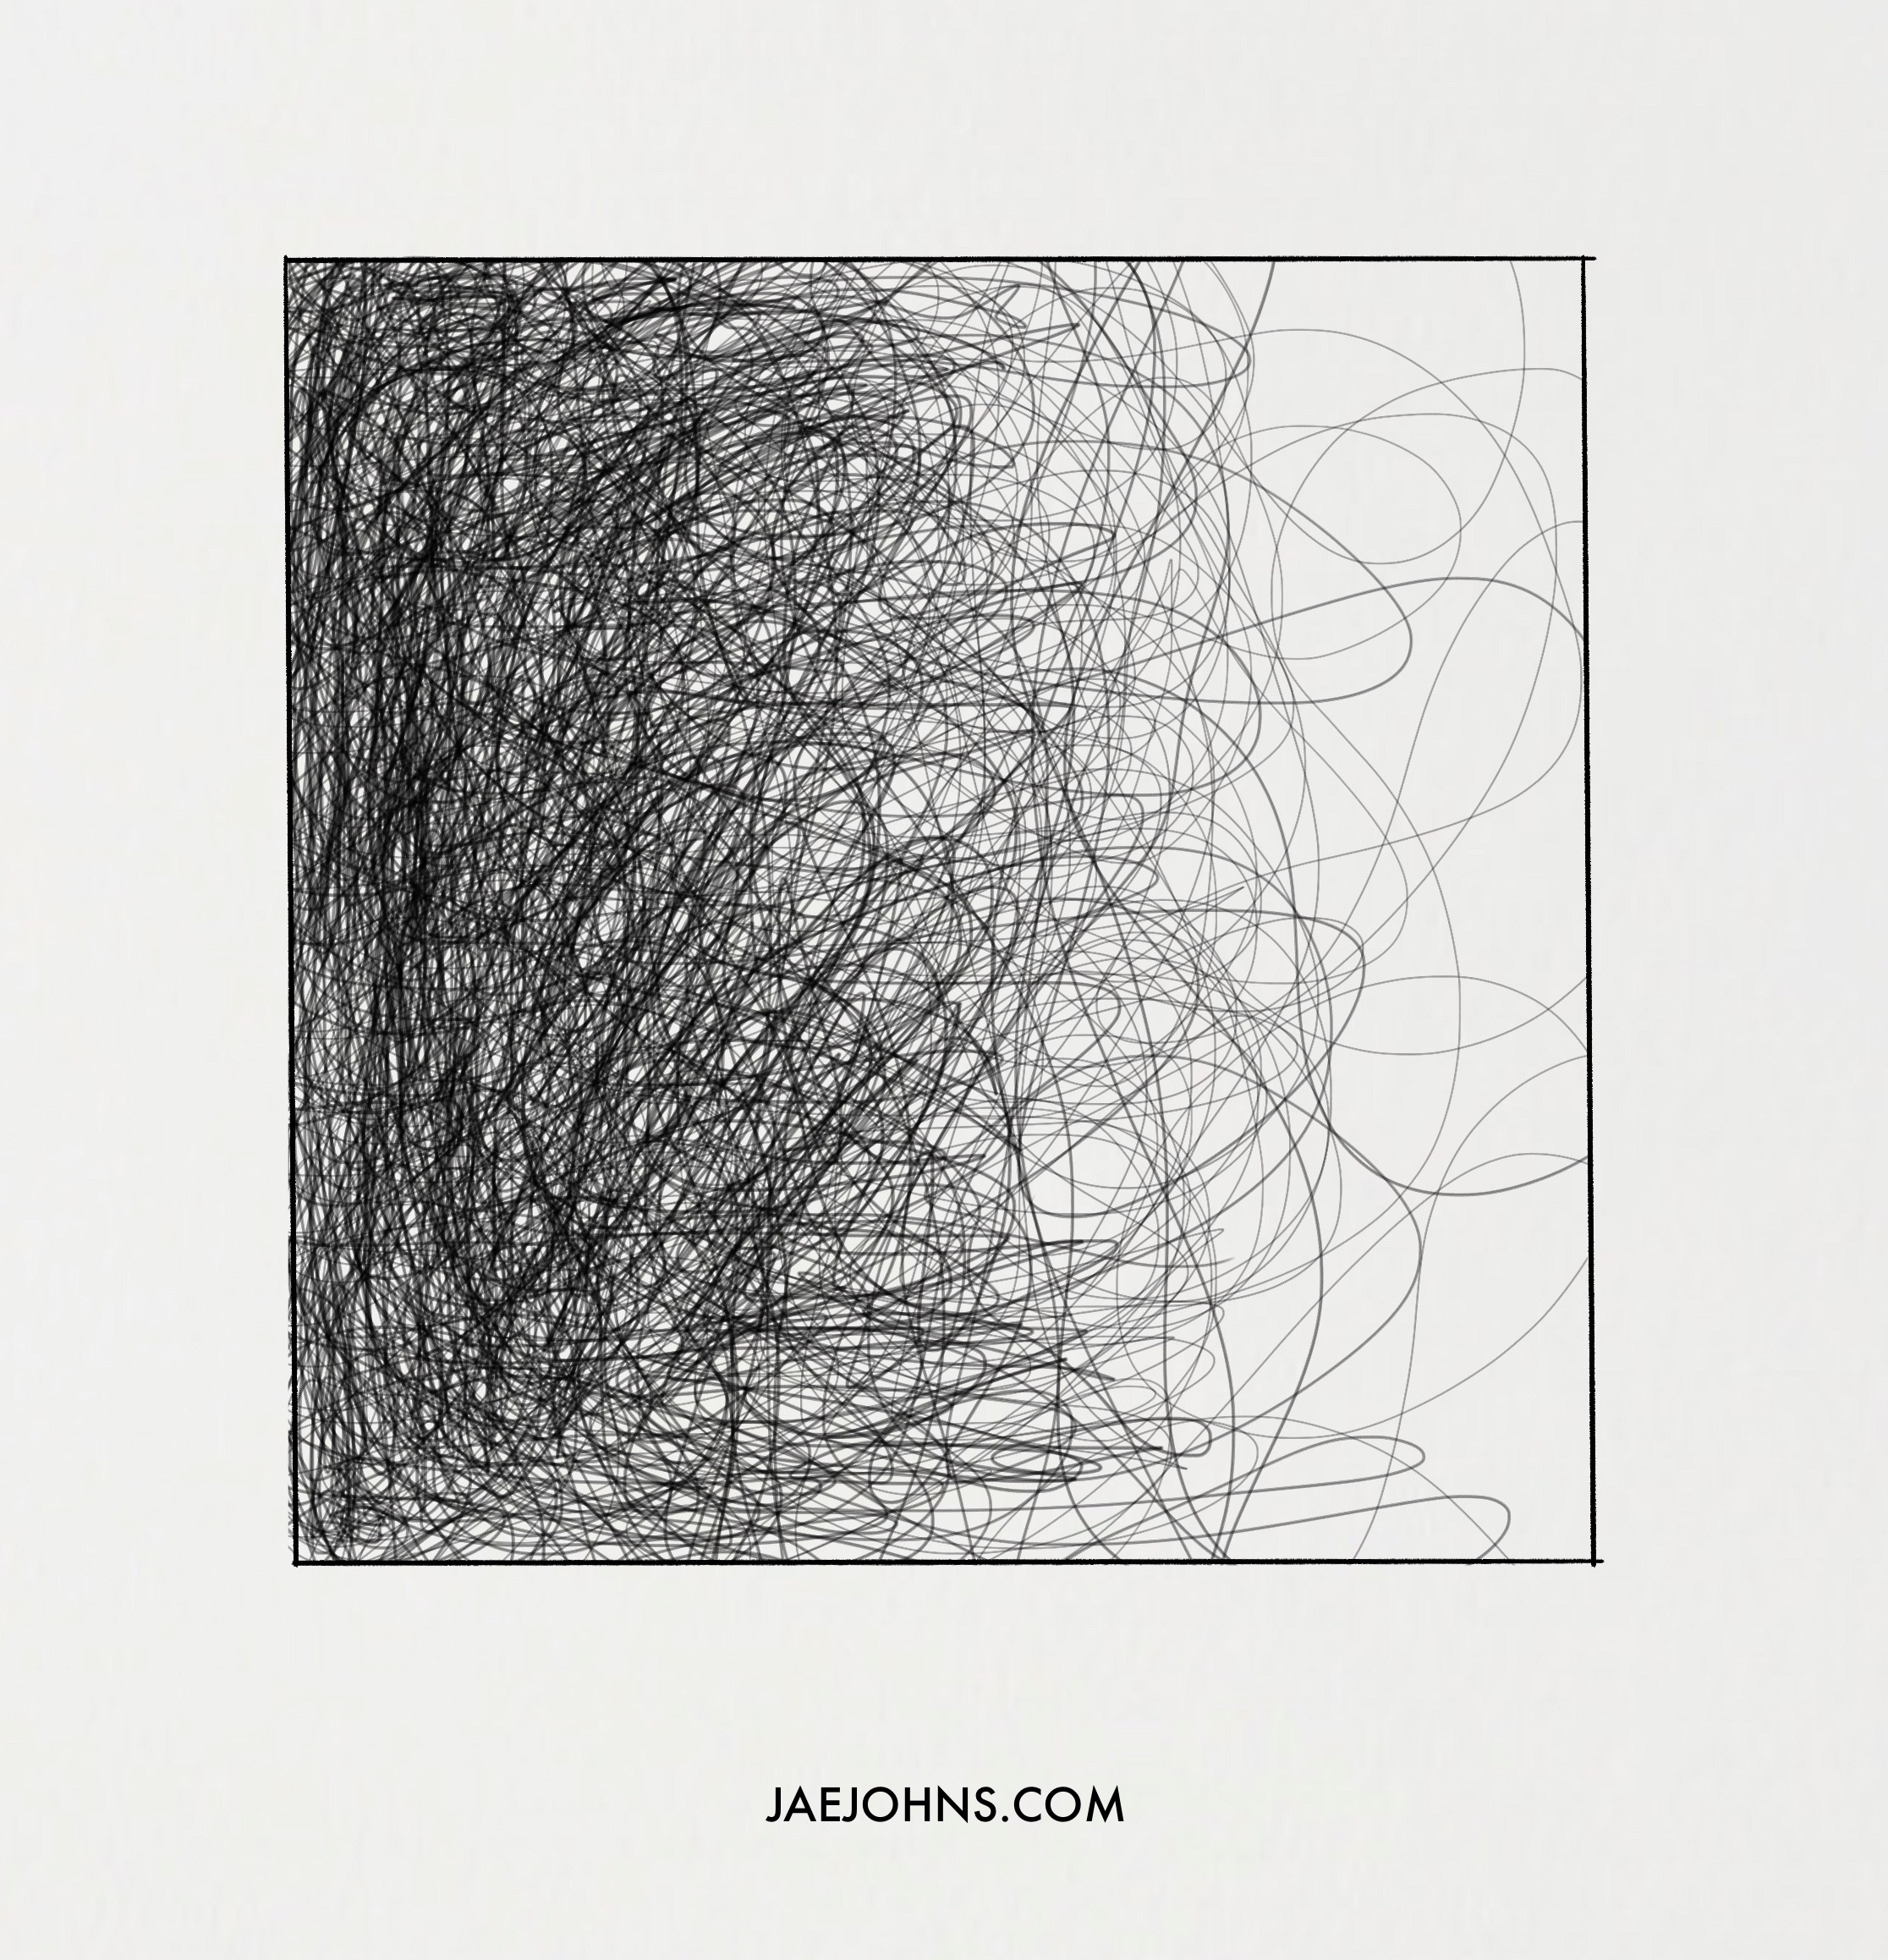
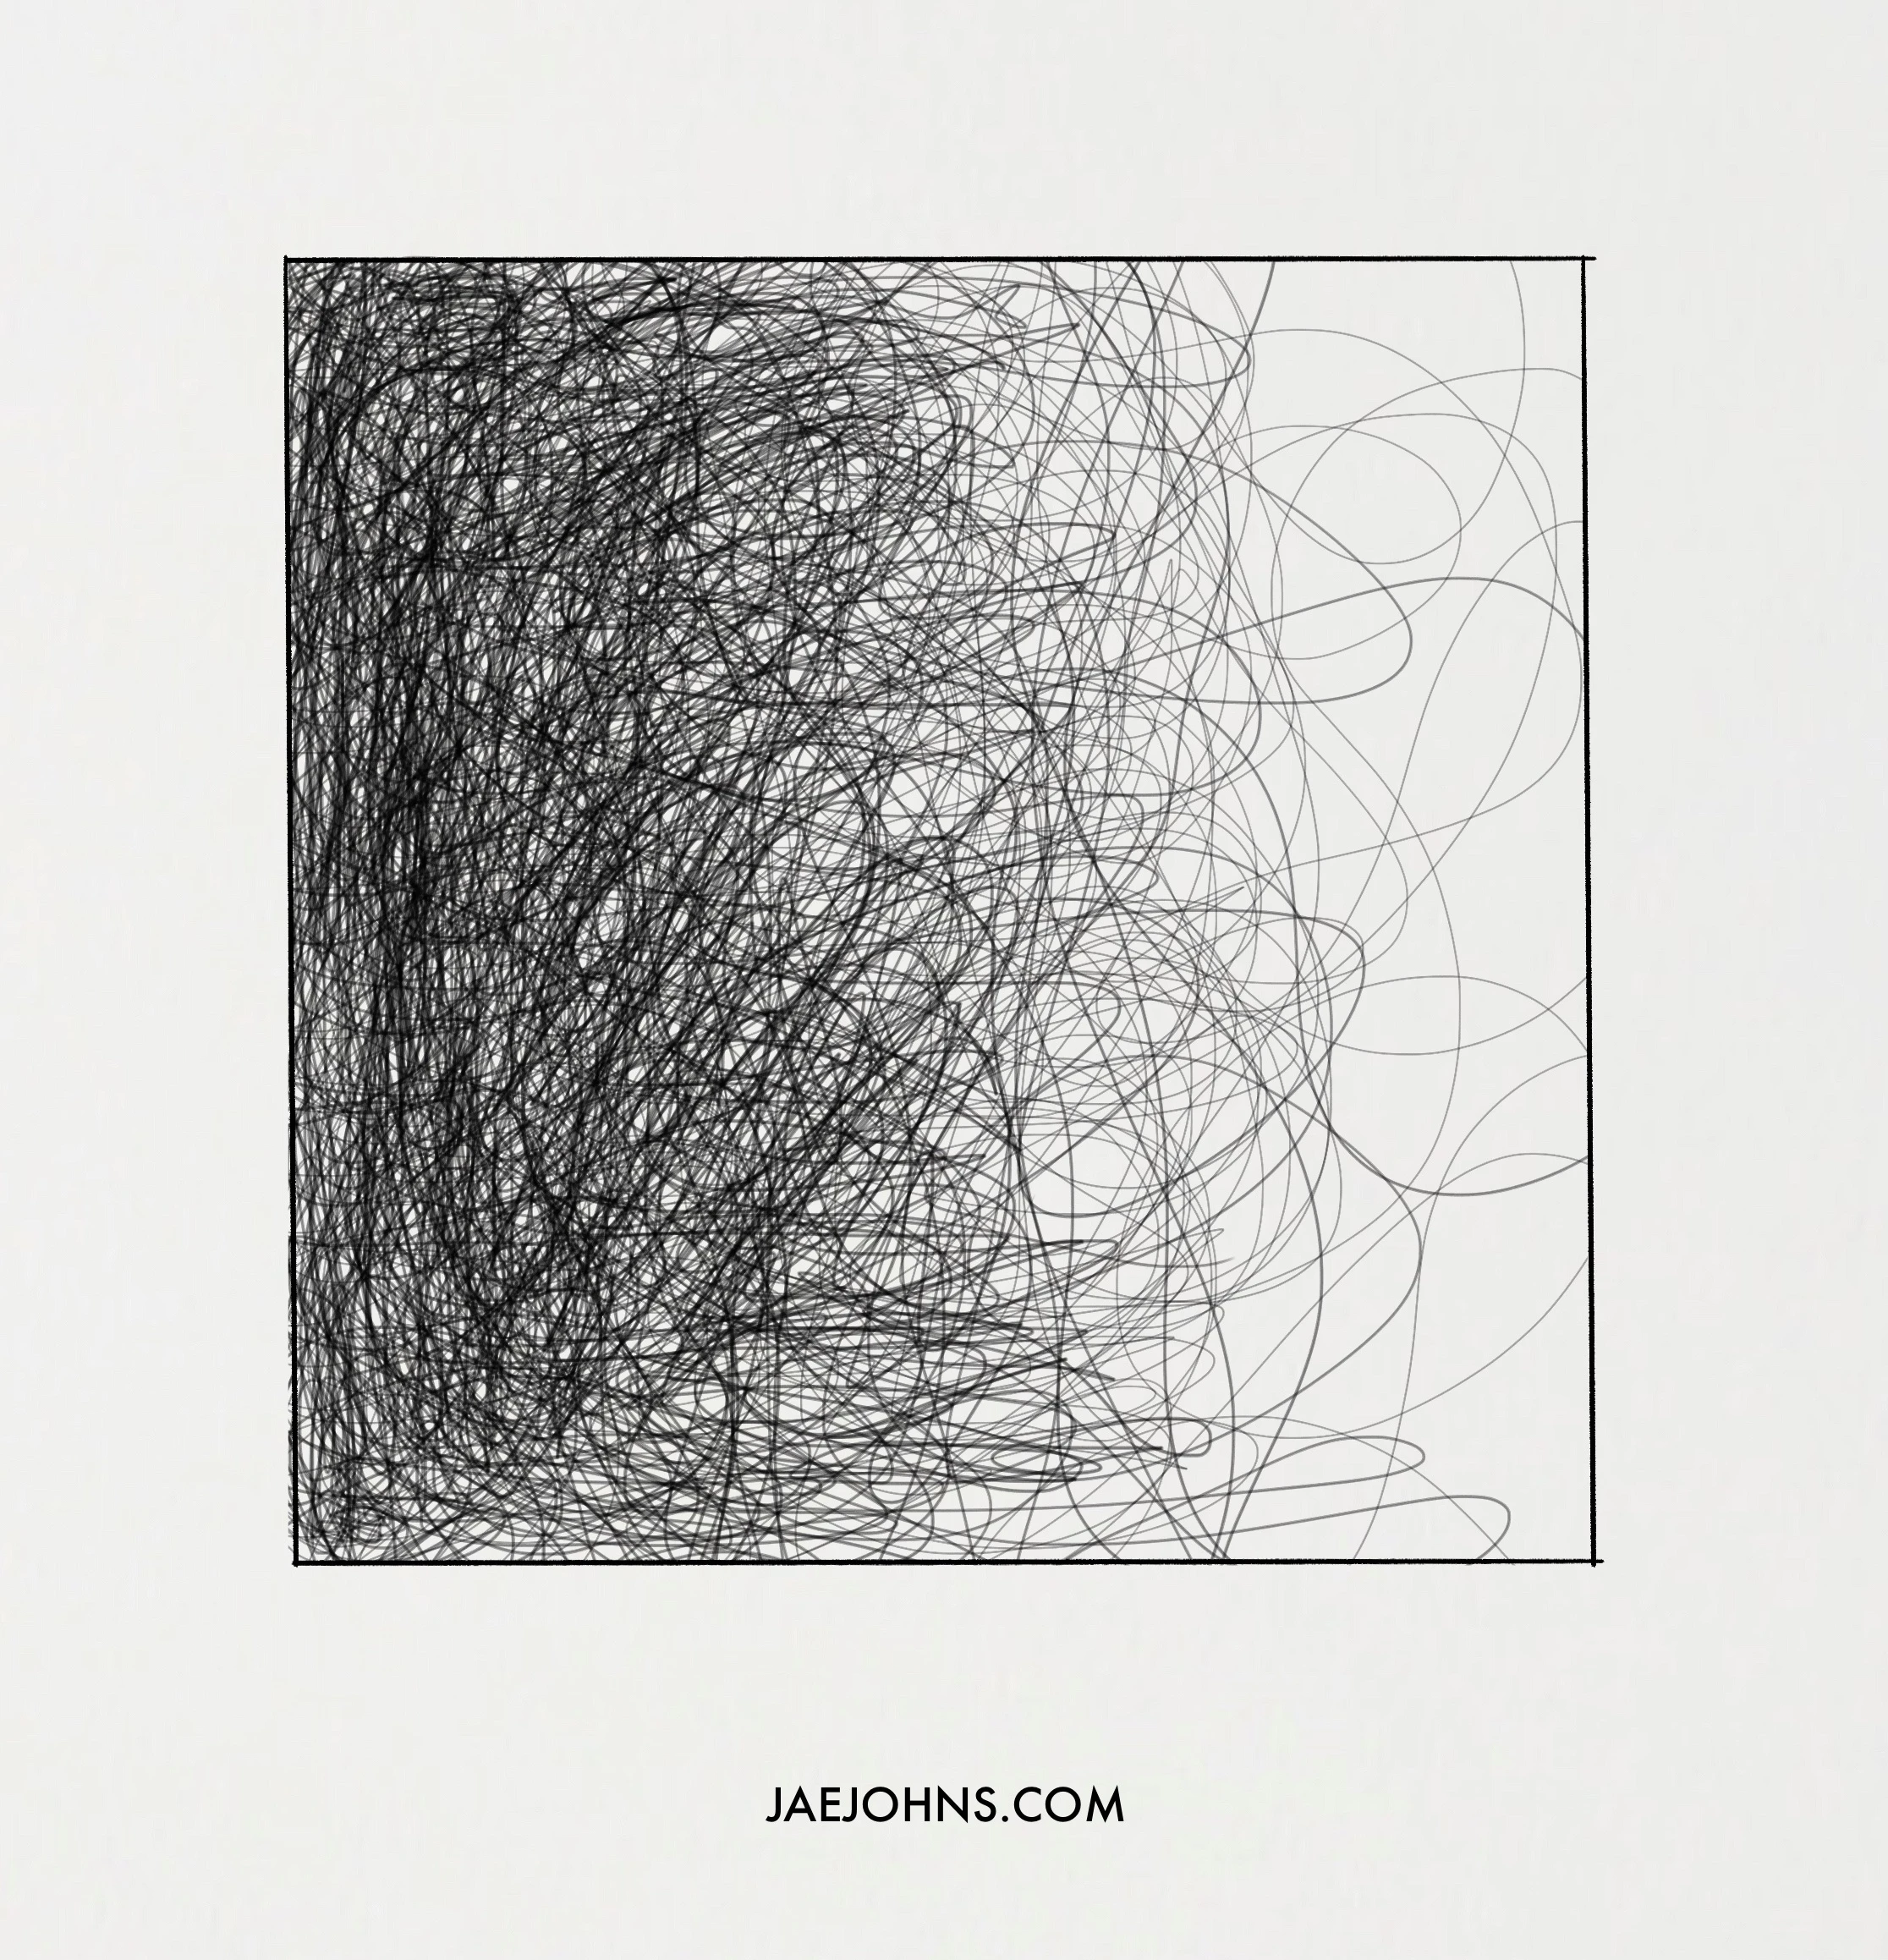
After stippling, doodling is the simplest and easiest form of art drawing and it requires no technique, which makes it the best shading technique for beginners.
Depending on the nature of your drawing, you can begin shading with random and continuous doodle lines. There does not have to be any pattern for it as long as it depicts what you want it to depict.
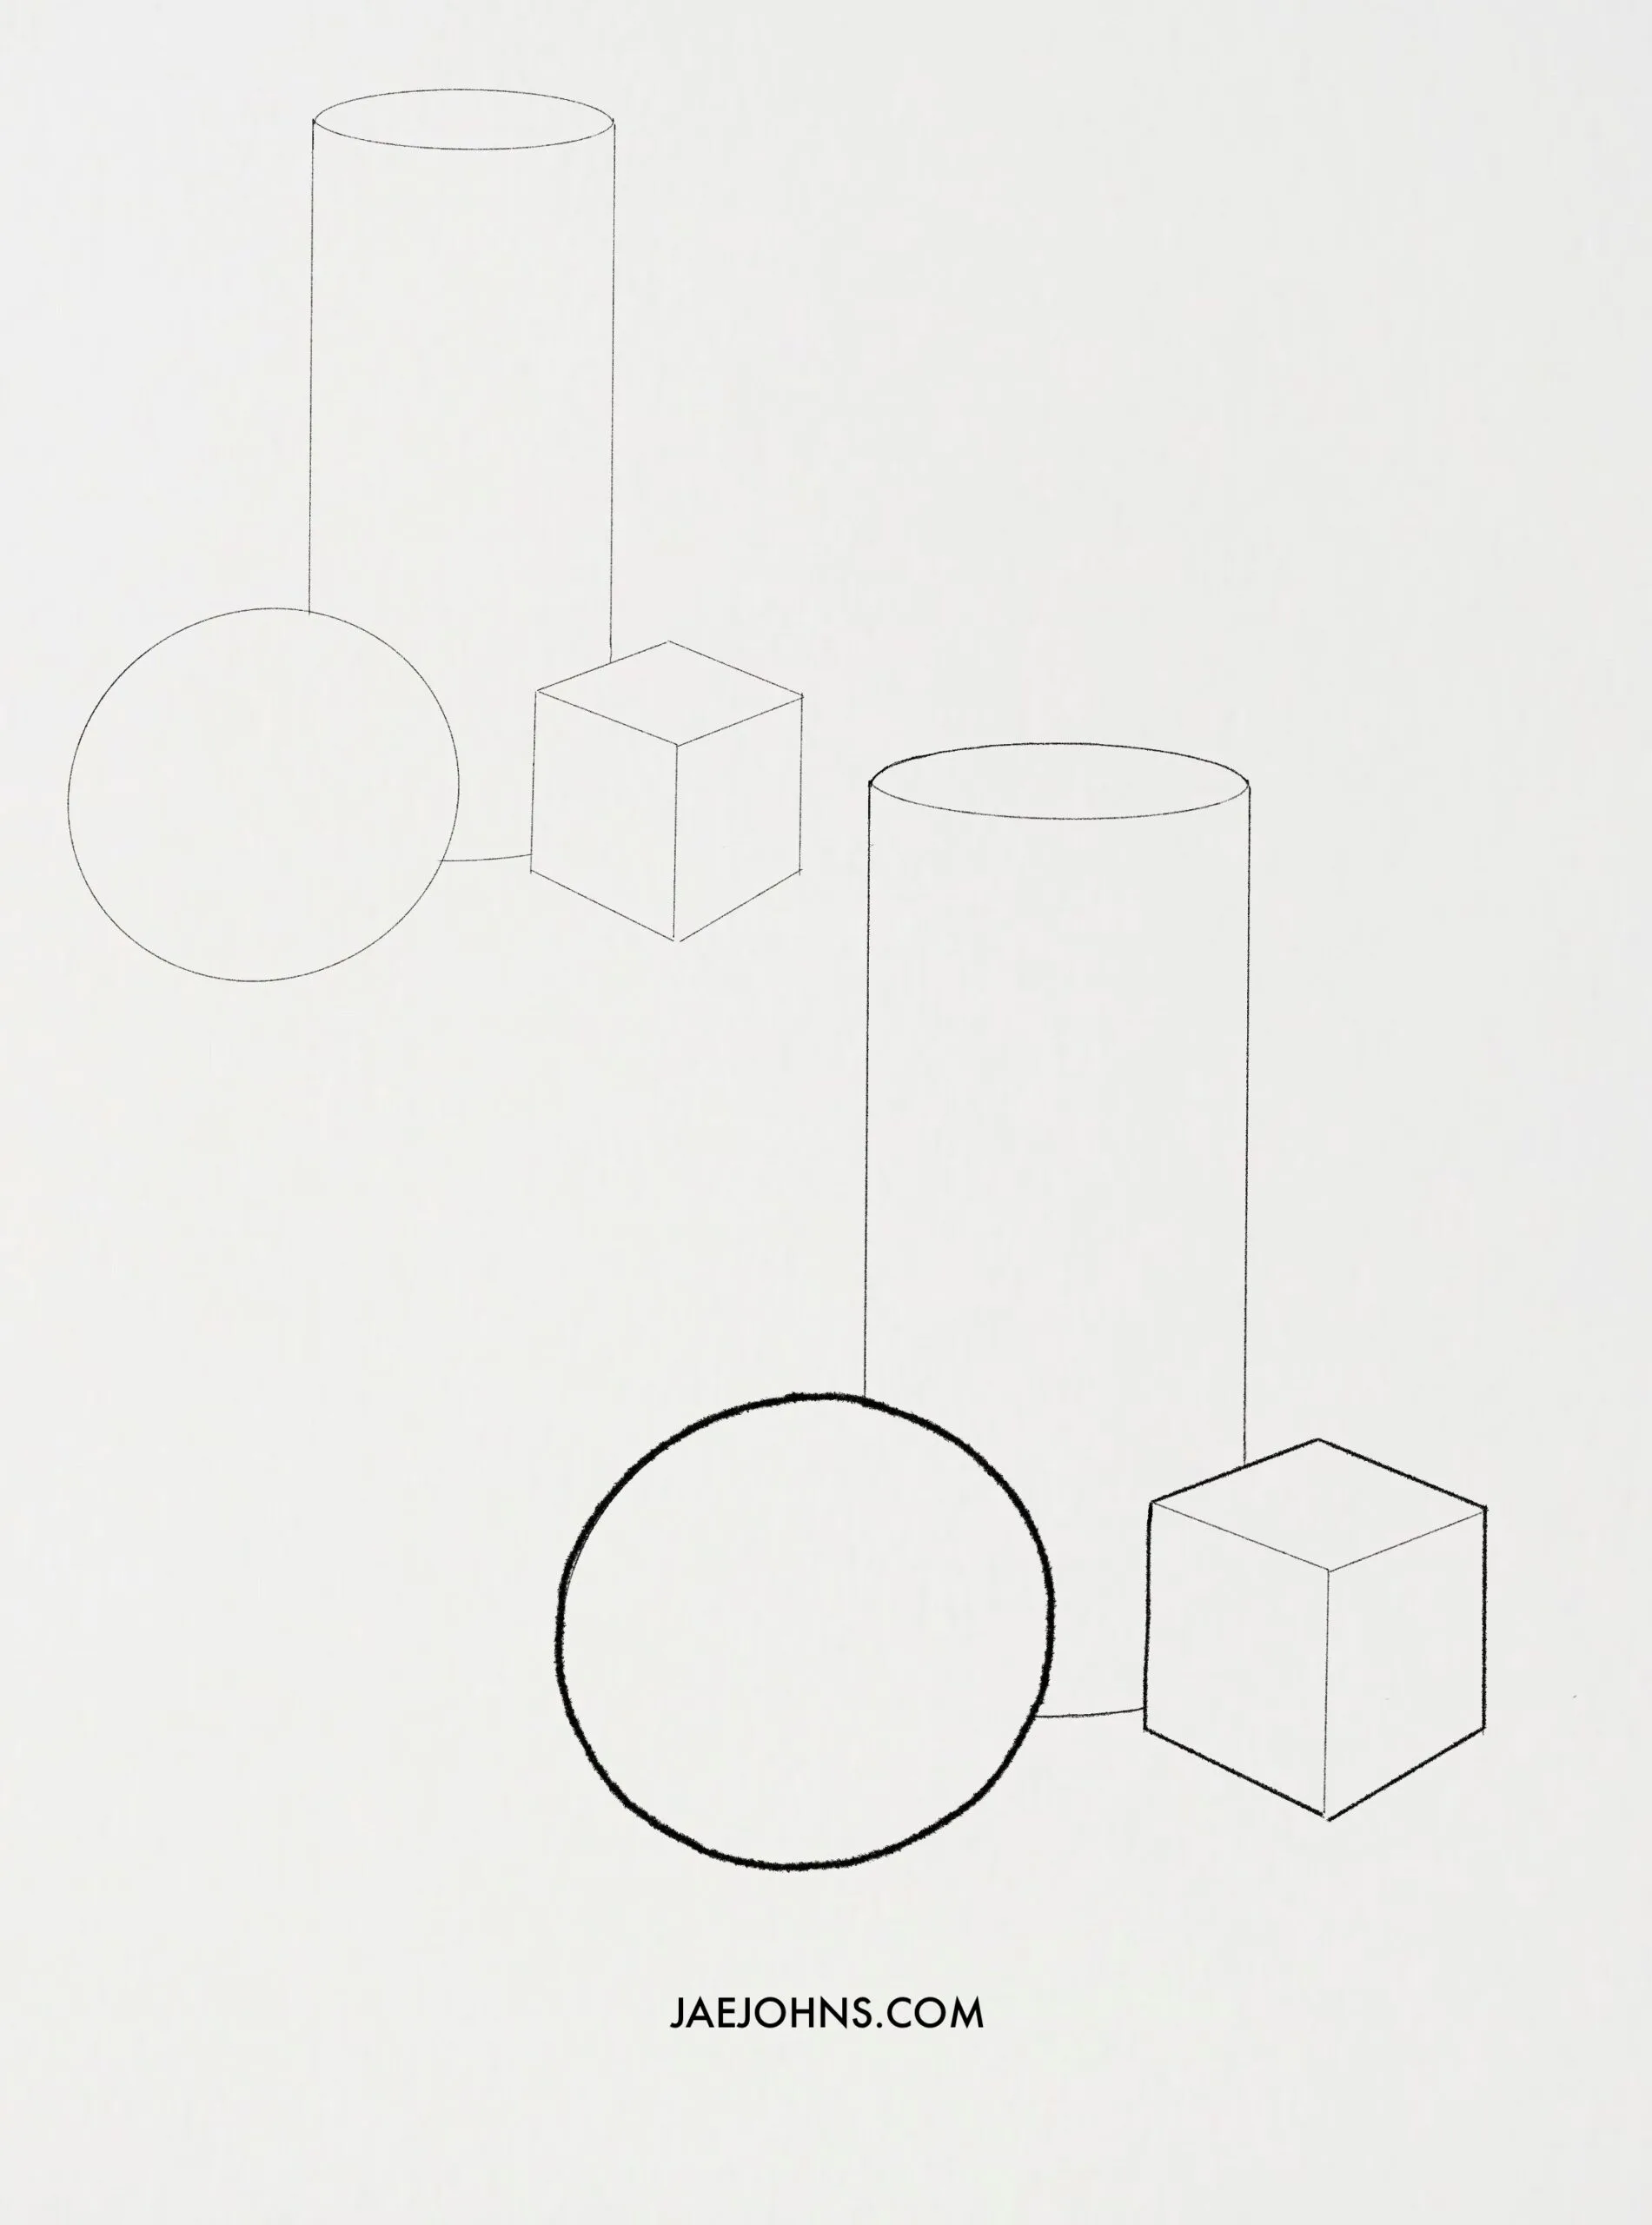
- Circular Patterns:
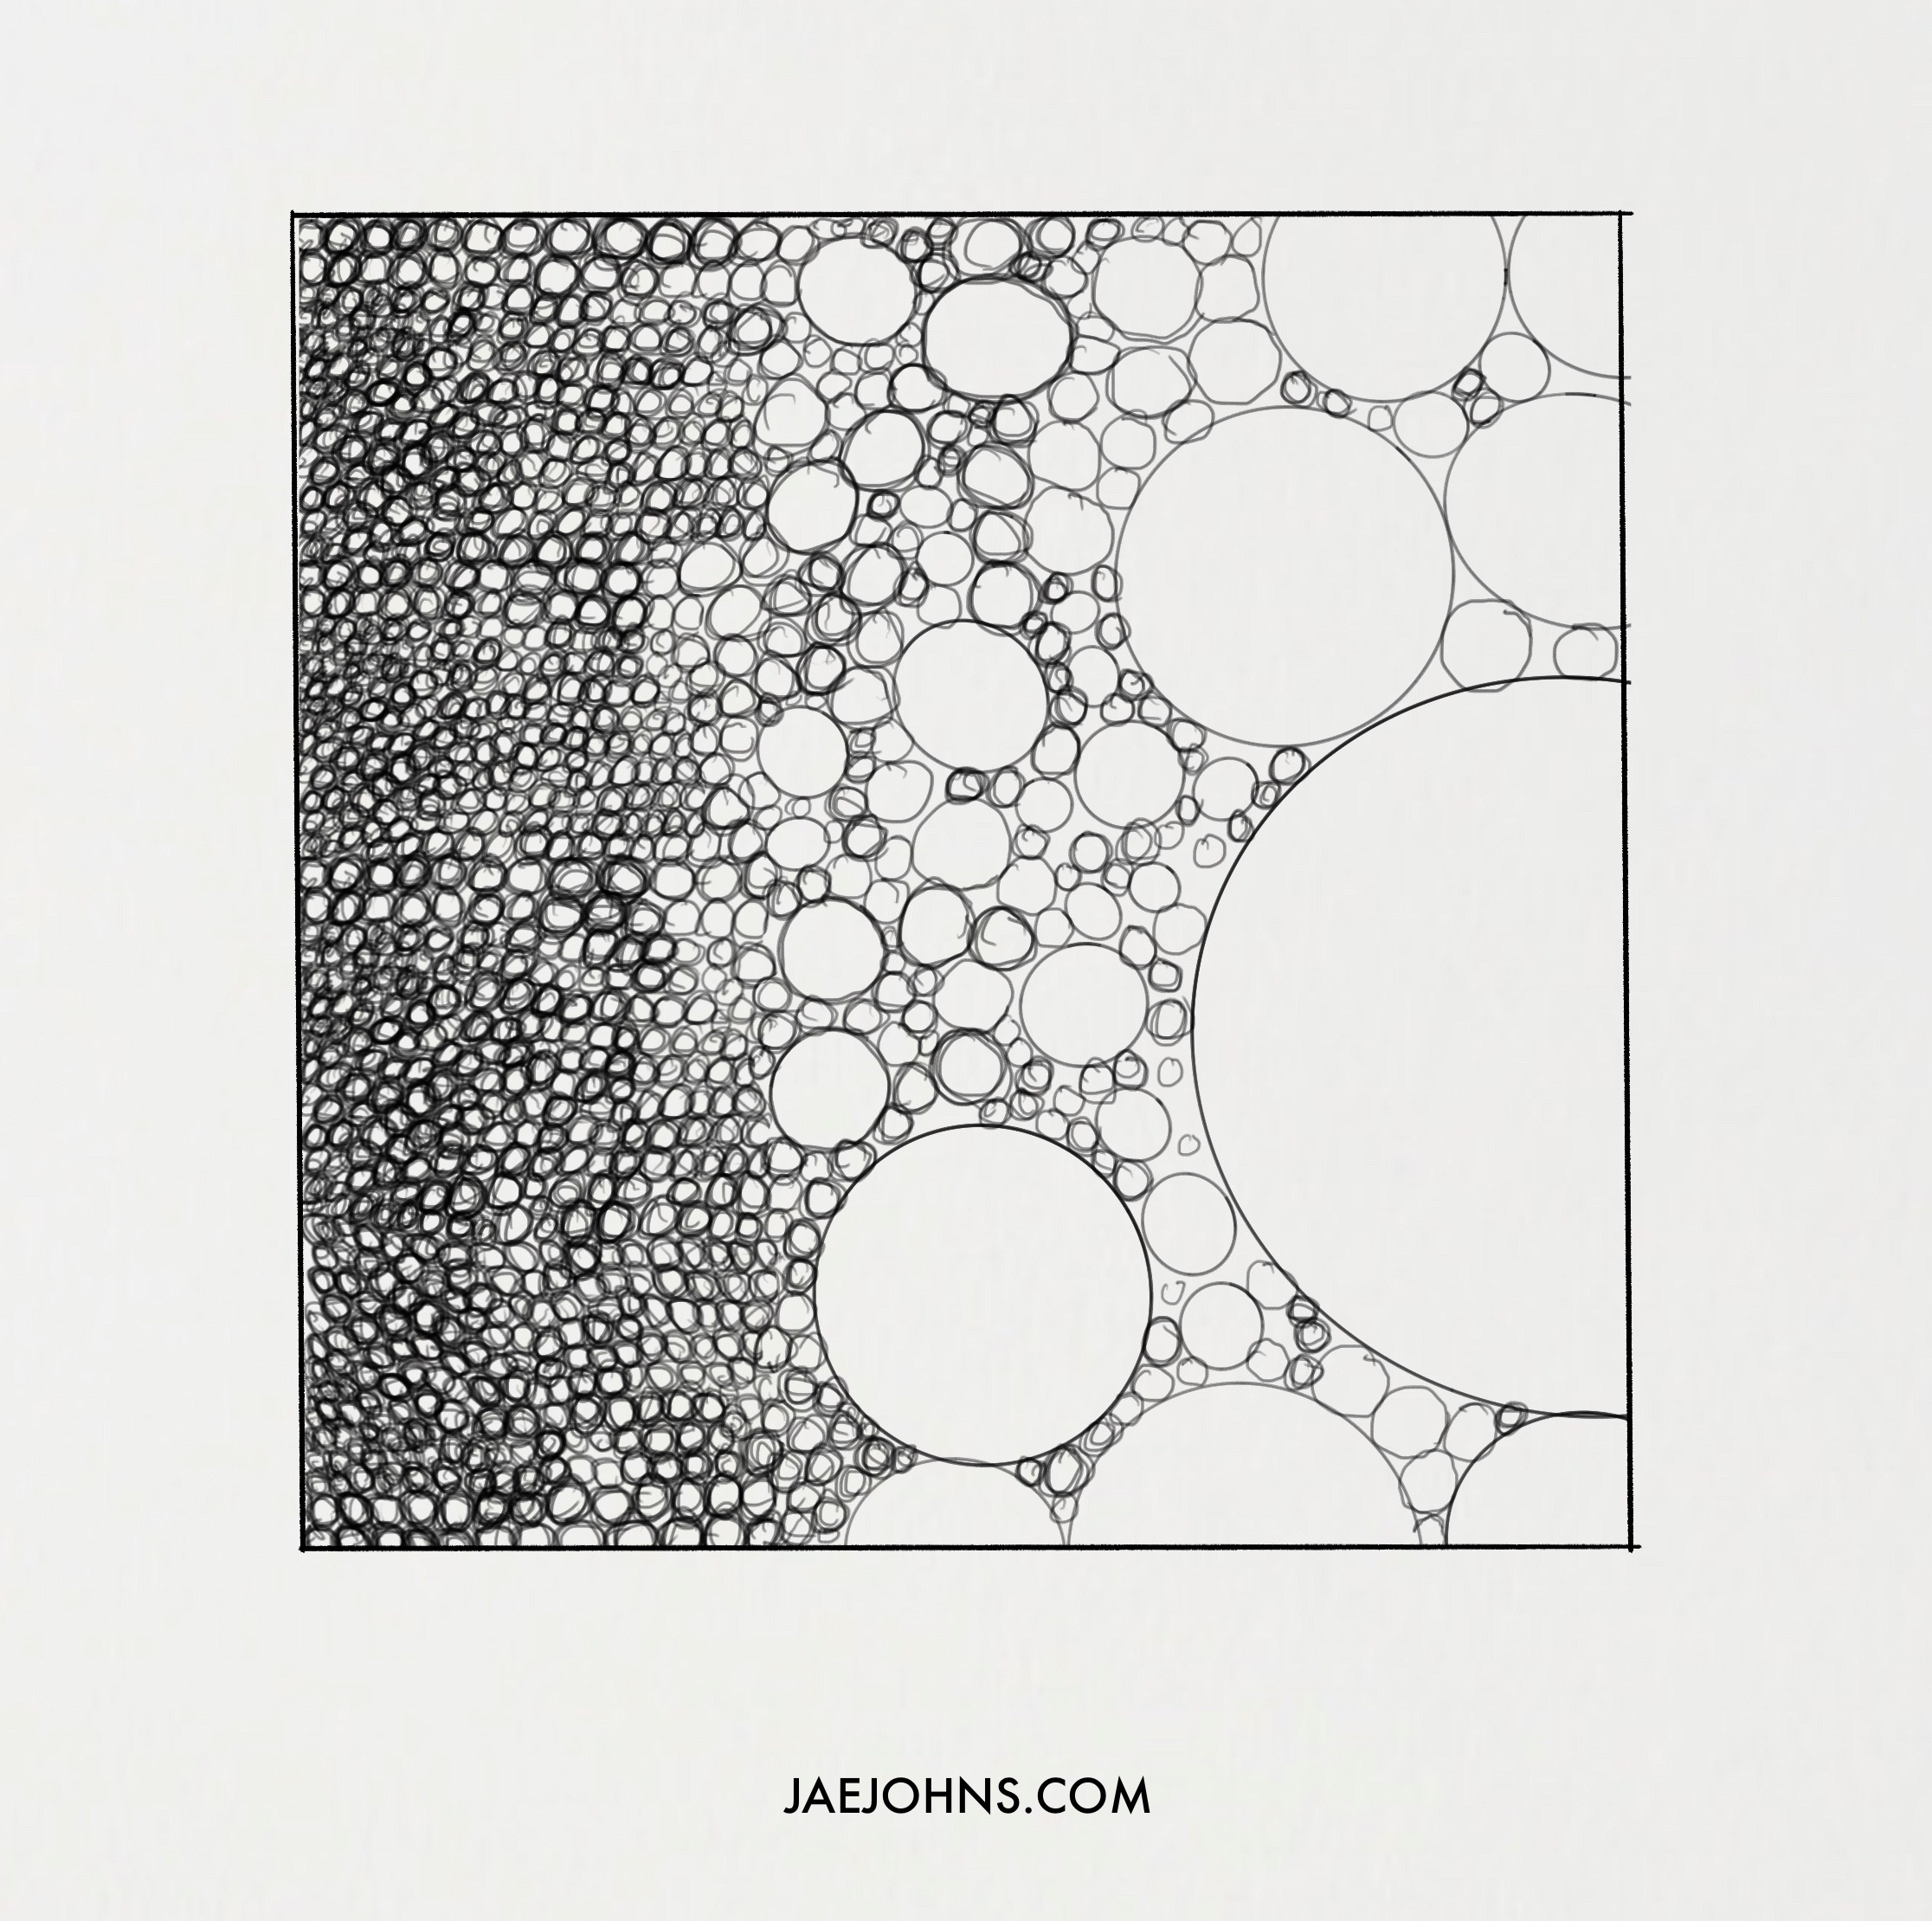

Once you are doodling for a while, your strokes will become neat and your curves will become regular.
That’s when you can move on to the circular patterns, which is similar to doodling, but it uses more regular circular lines for shading, creating a neater effect.
- Cross-Hatching:
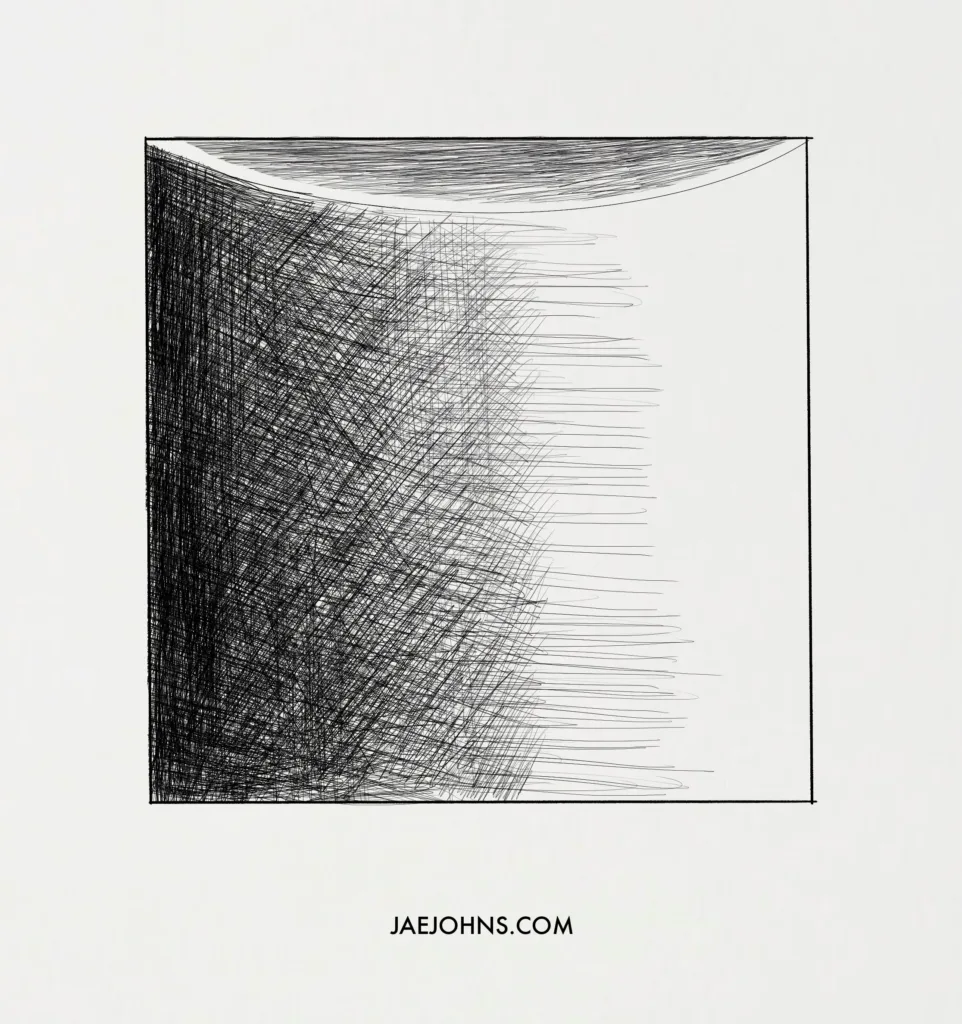
With a little practice with your circling, you will get a good grip over your lines. Now it is time for you to move on to the next technique which is cross-hatching.
Straight lines are easy and simple to draw and can be used for shading if you bring variations in terms of strokes, length, and intensity, etc.
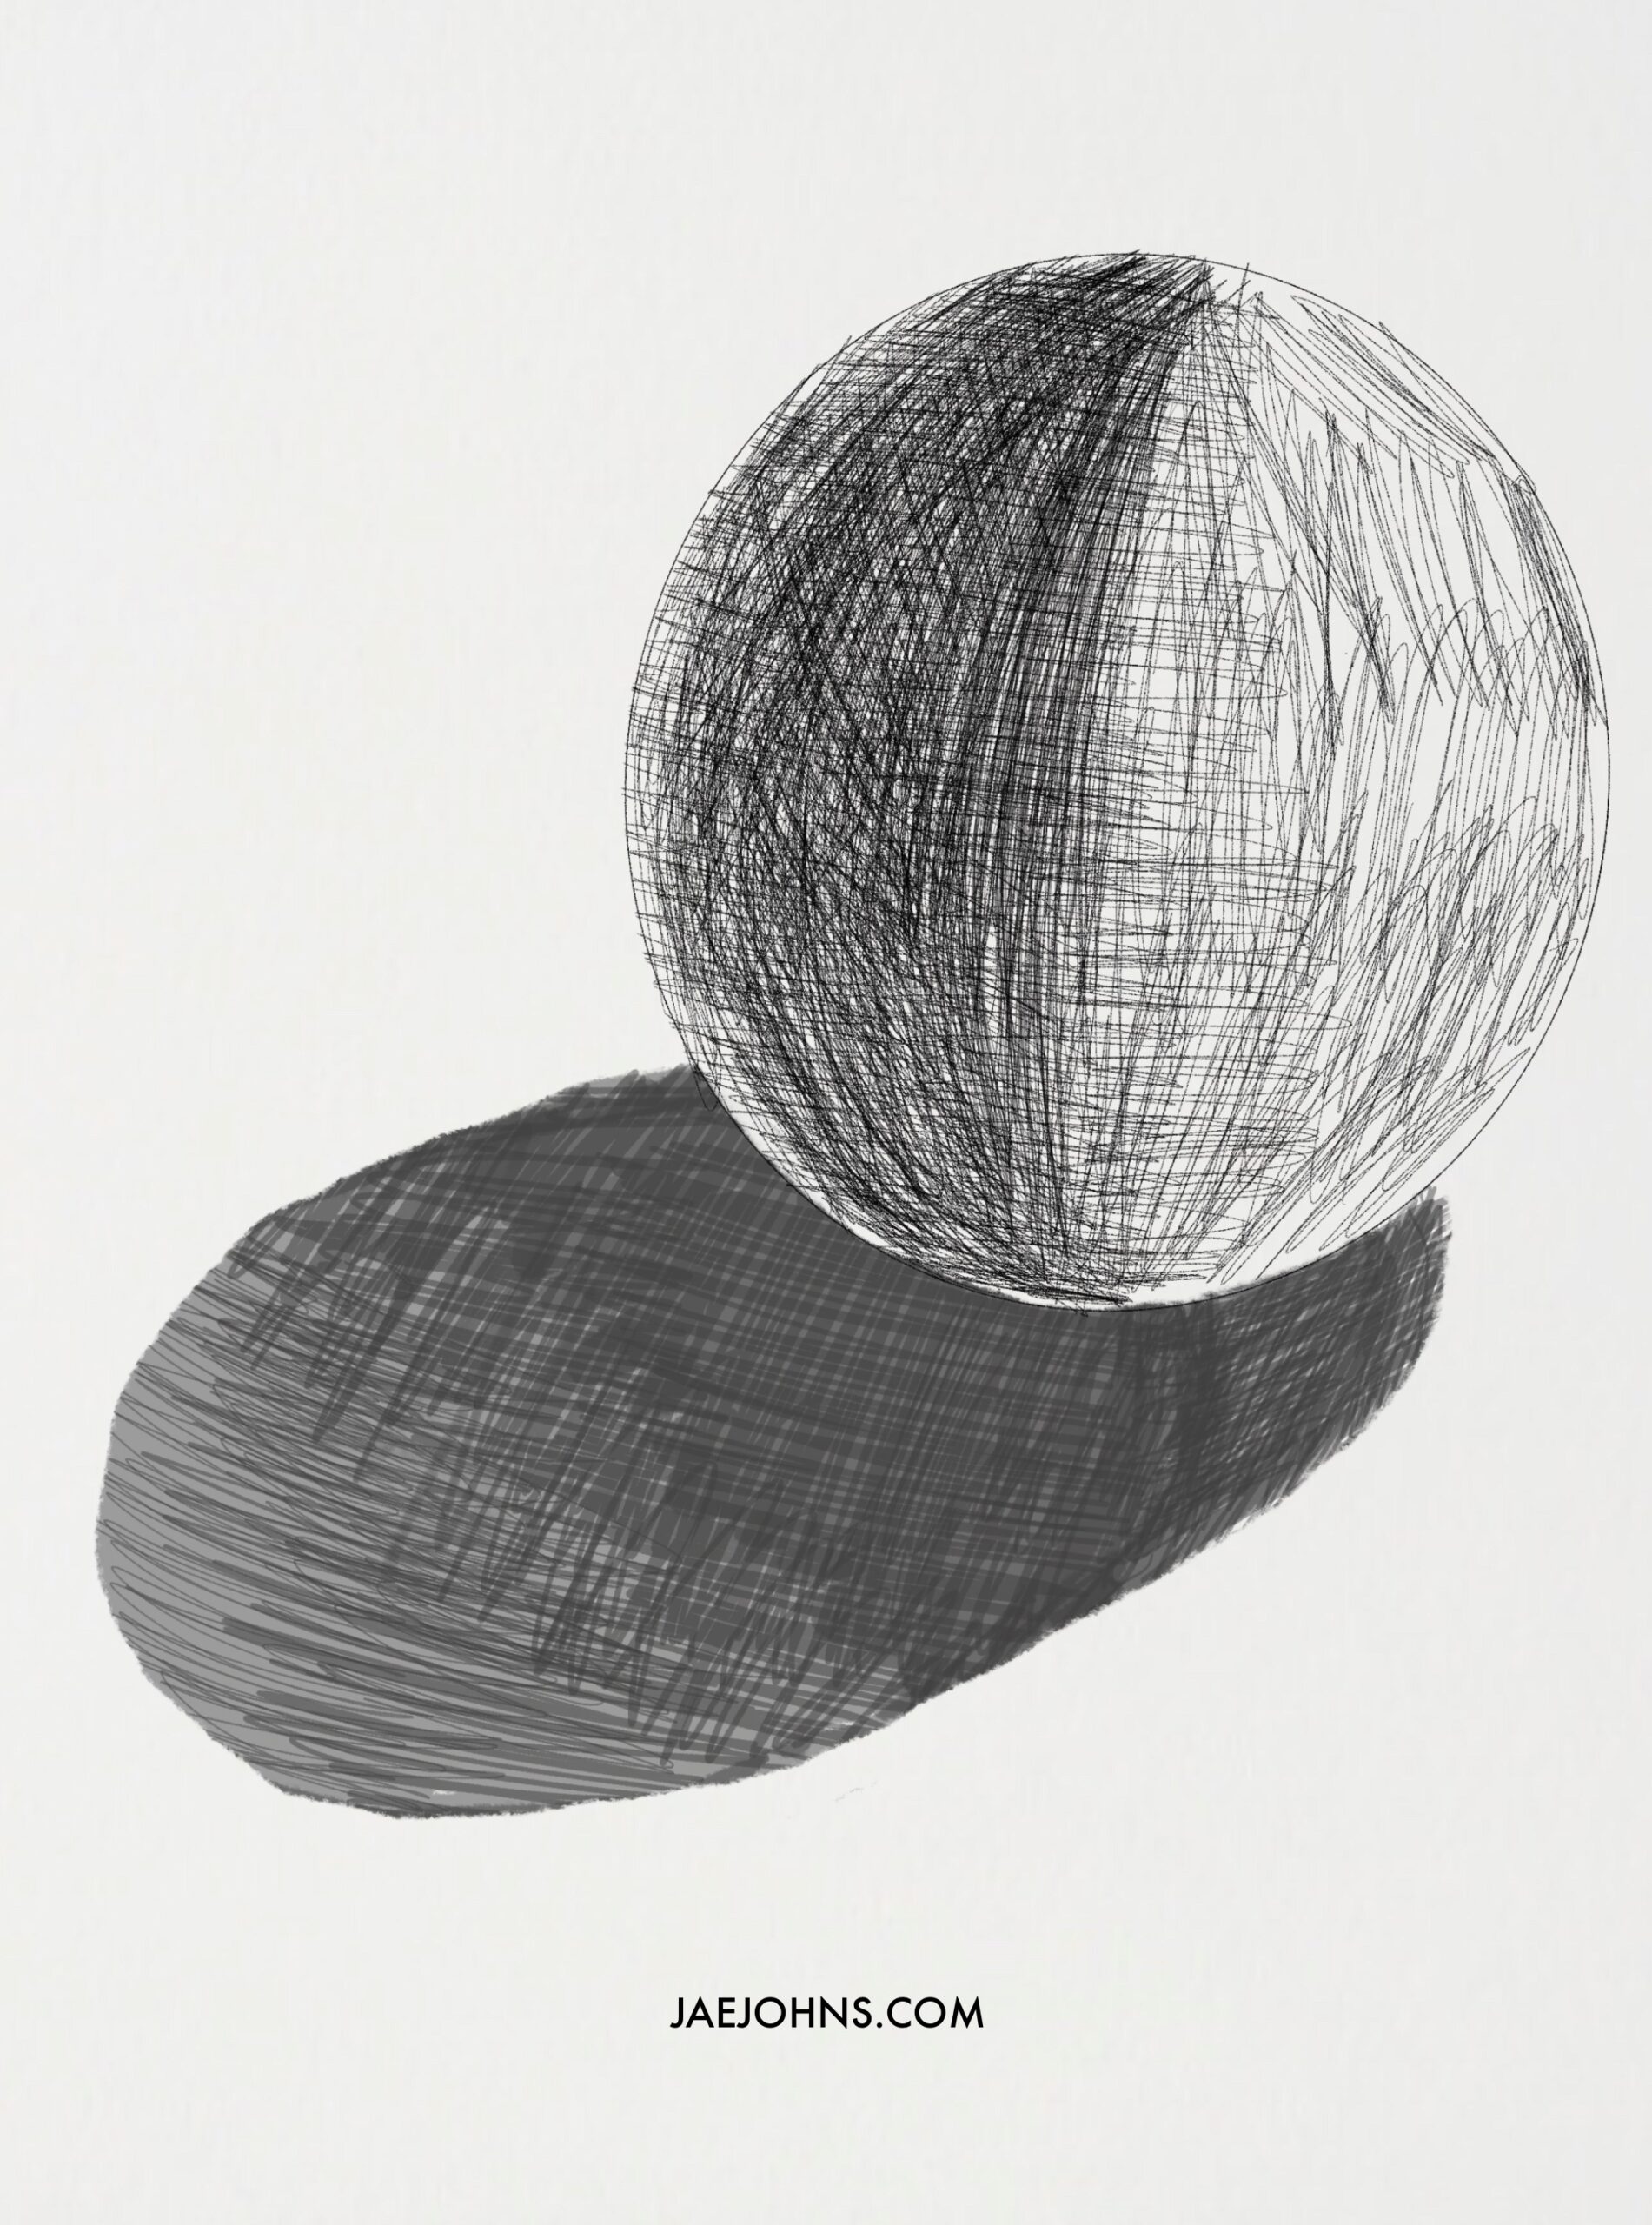
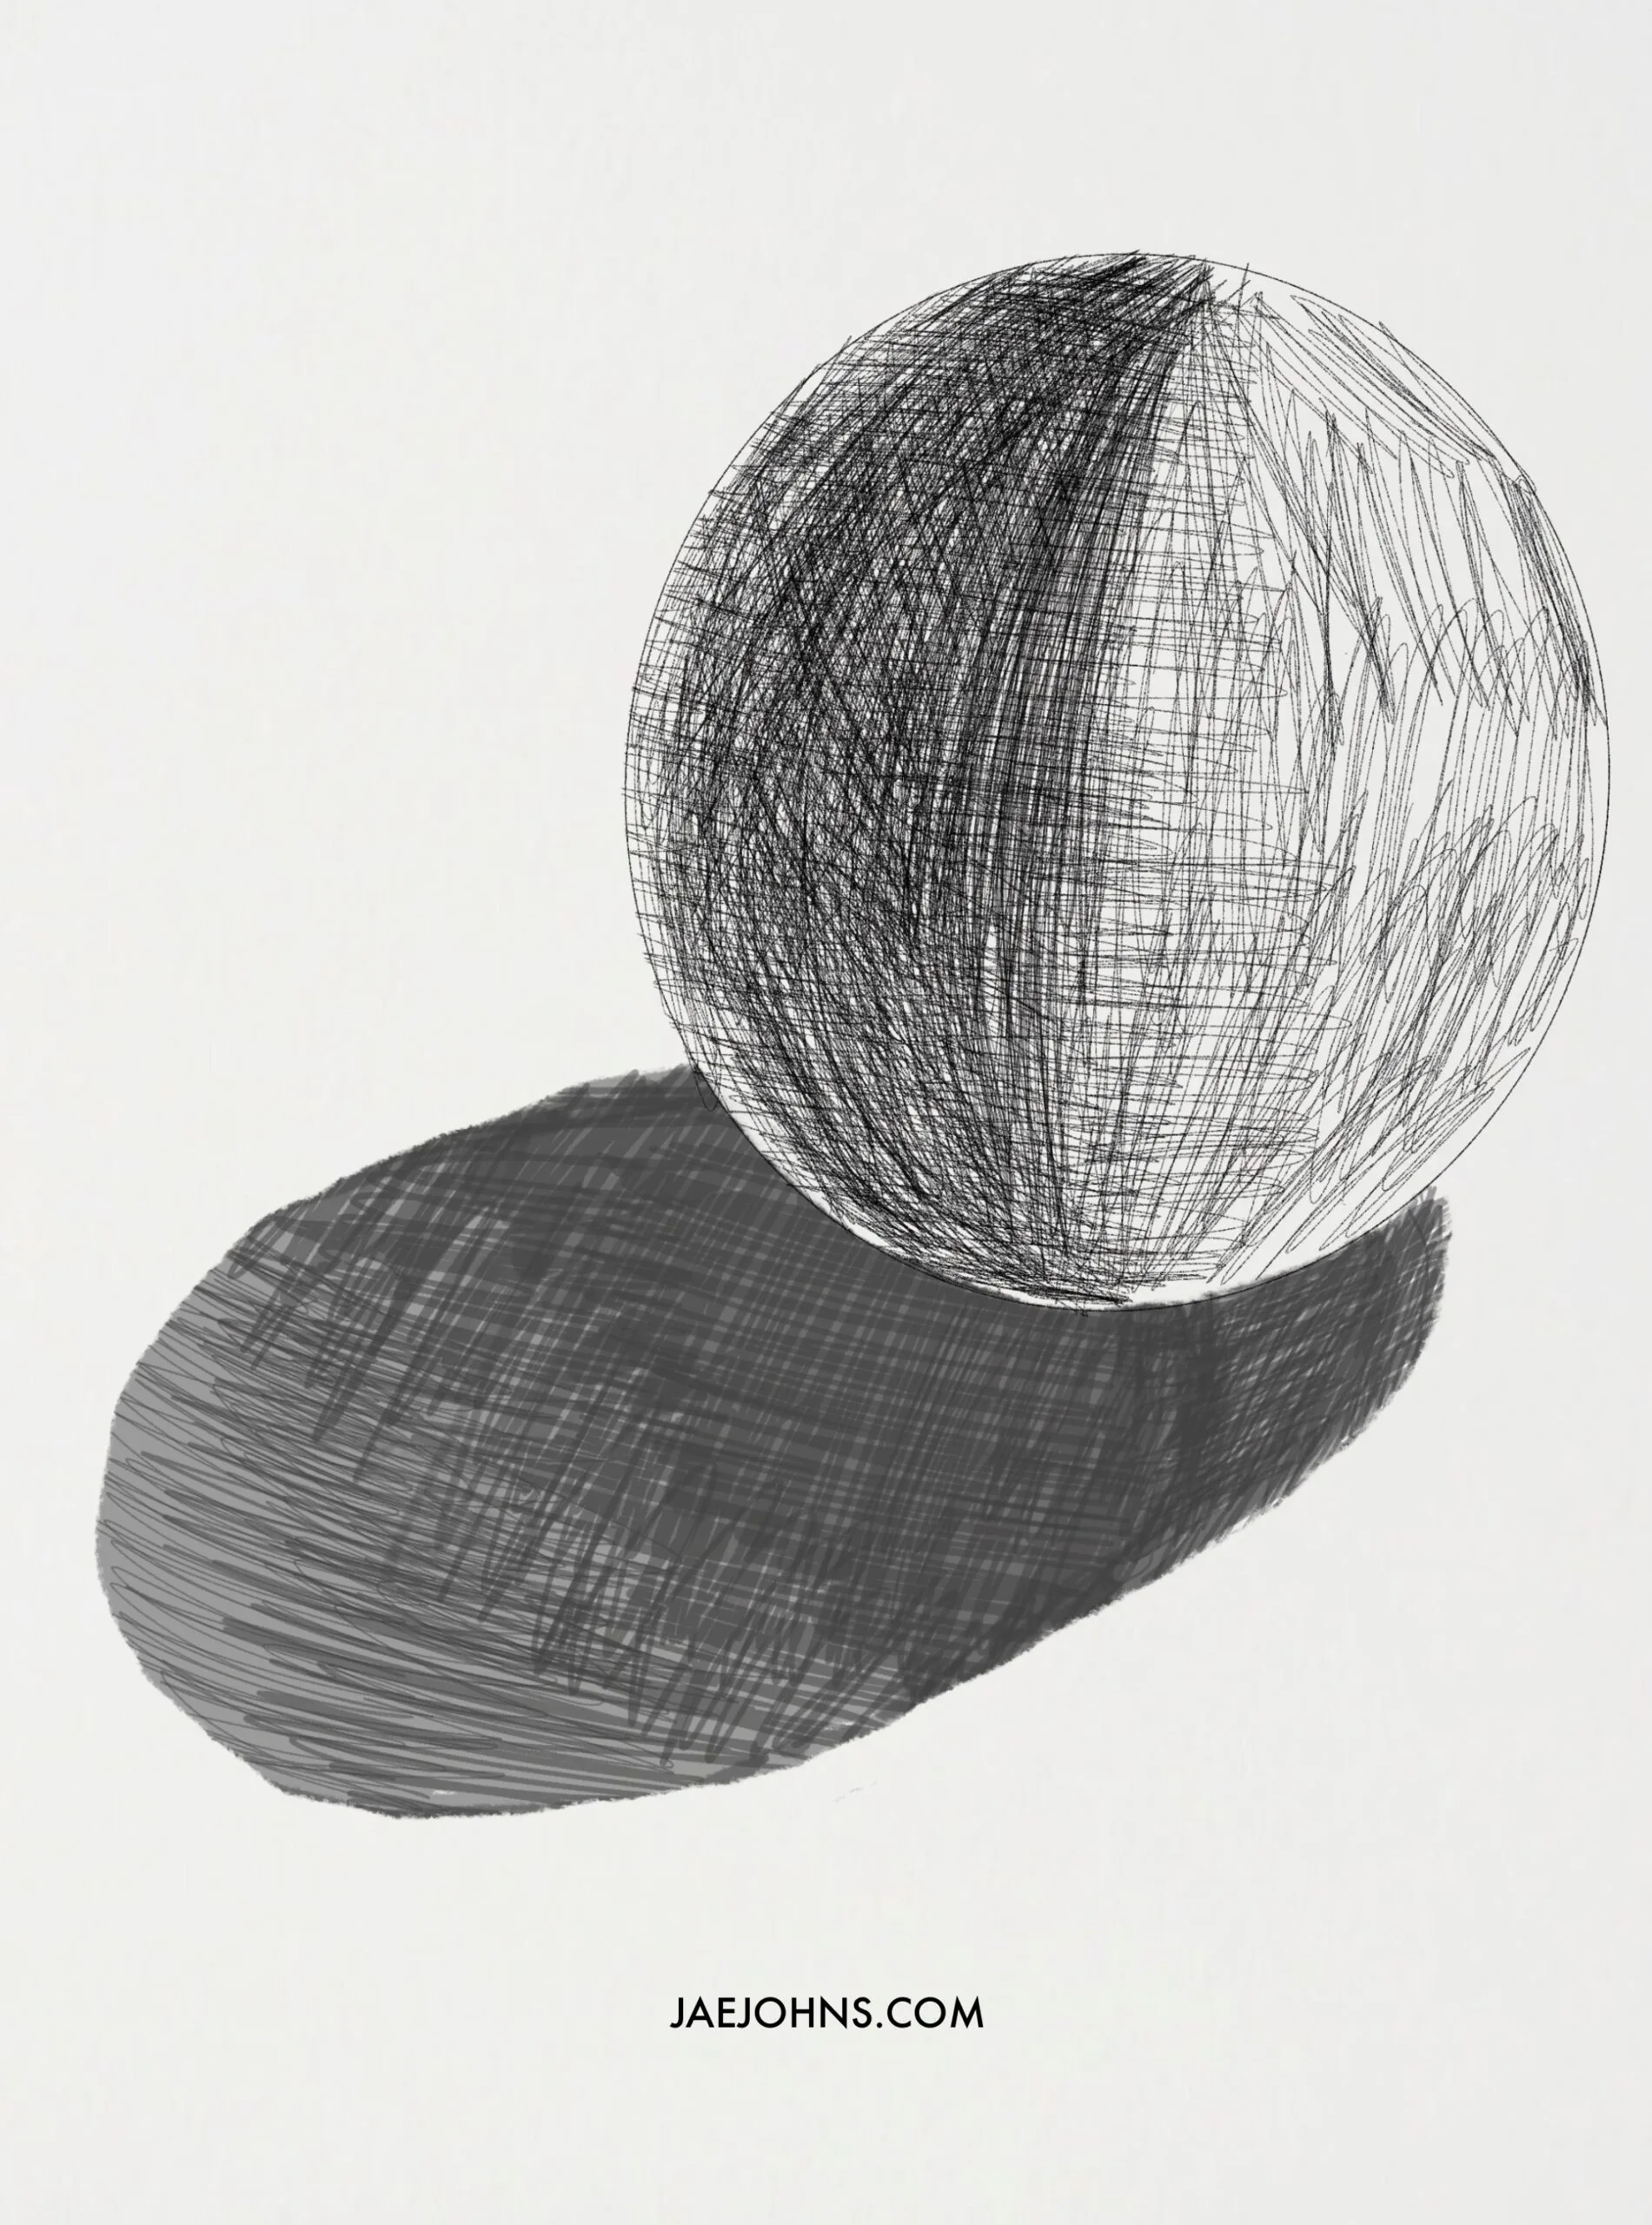
- Crow Quill Technique:
Once your straight lines are fine, you can move on to the next technique for shading your pen and ink drawing i.e. the crow quill technique.
This technique uses the finest and the thinnest of the straight lines and using this technique feels just like you are scratching the paper.
This technique is good for beginners as it uses the thinnest lines, and if a stroke goes wrong, there would not be that much to worry about as the line might not even be visible alone.
- Rough Pen Texture:
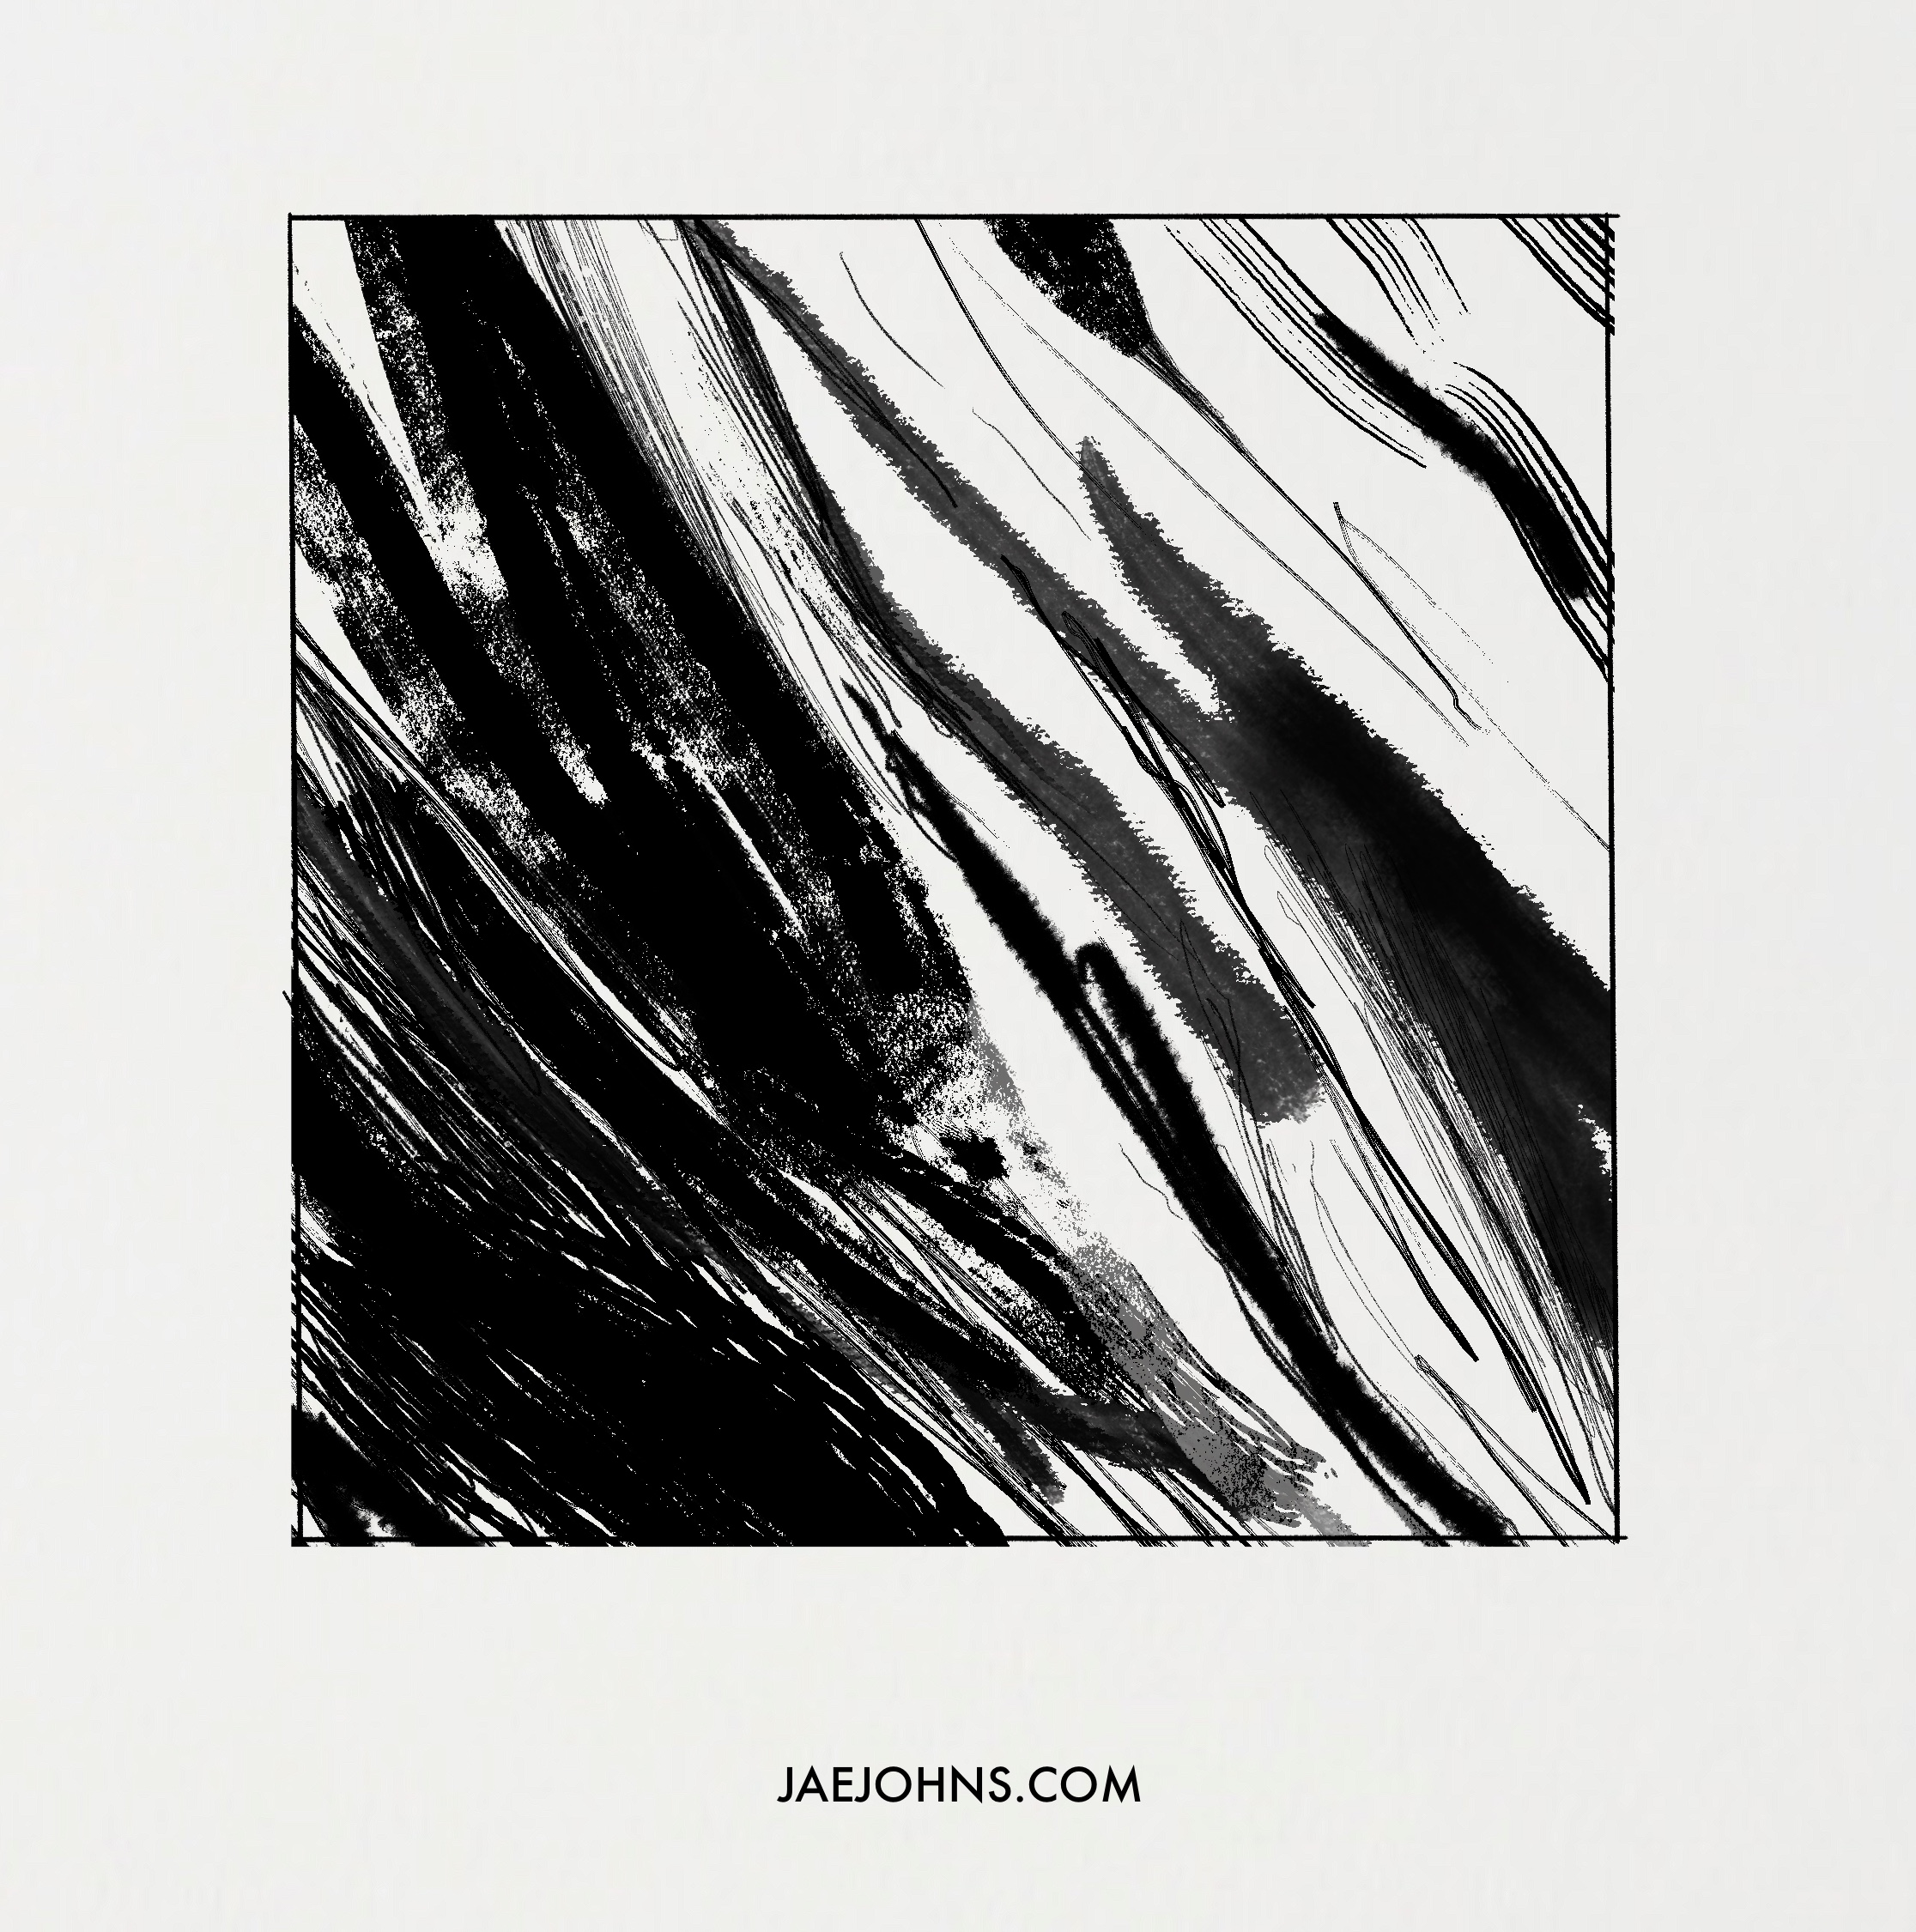

After you learn how to build up values using lines, then applying a rough texture to those lines with varying widths is another technique you can easily do.
This technique is great to create interesting patterns or help convey something that more of an organic look. Also, this technique is more about the expression of the lines and texture, so there is no real wrong way to do this.
You can mix different rough textures to create something more visually interesting.
Conclusion:
All these expert techniques work the best when practiced regularly and consistently.
However, you should not forget that drawing is supposed to fun and cathartic and not burdening.
Even if you think that you are not getting your desired results, I recommend that you keep using your hand to draw strokes on that piece of paper.
It takes time for our hands to synchronize with what our brain pictures. Give yourself that time and you will see the results you want.