

Resin casting can be fun and exciting, but you need the right tools and the best resin for casting for the job.
We’ve assembled 9 resins, each specialized for different projects, to help you find the best resin for what you’re hoping to create.
Afterward, we’ll show you how to cast resin and some tips on the best techniques.

DISCLOSURE: This post contains affiliate links, meaning I get a commission if you decide to make a purchase through my links, at no cost to you. I only recommend products that I’ve used or really like. Please read my disclosure for more info.
What is Casting Resin?
There are a few major types of resin available.
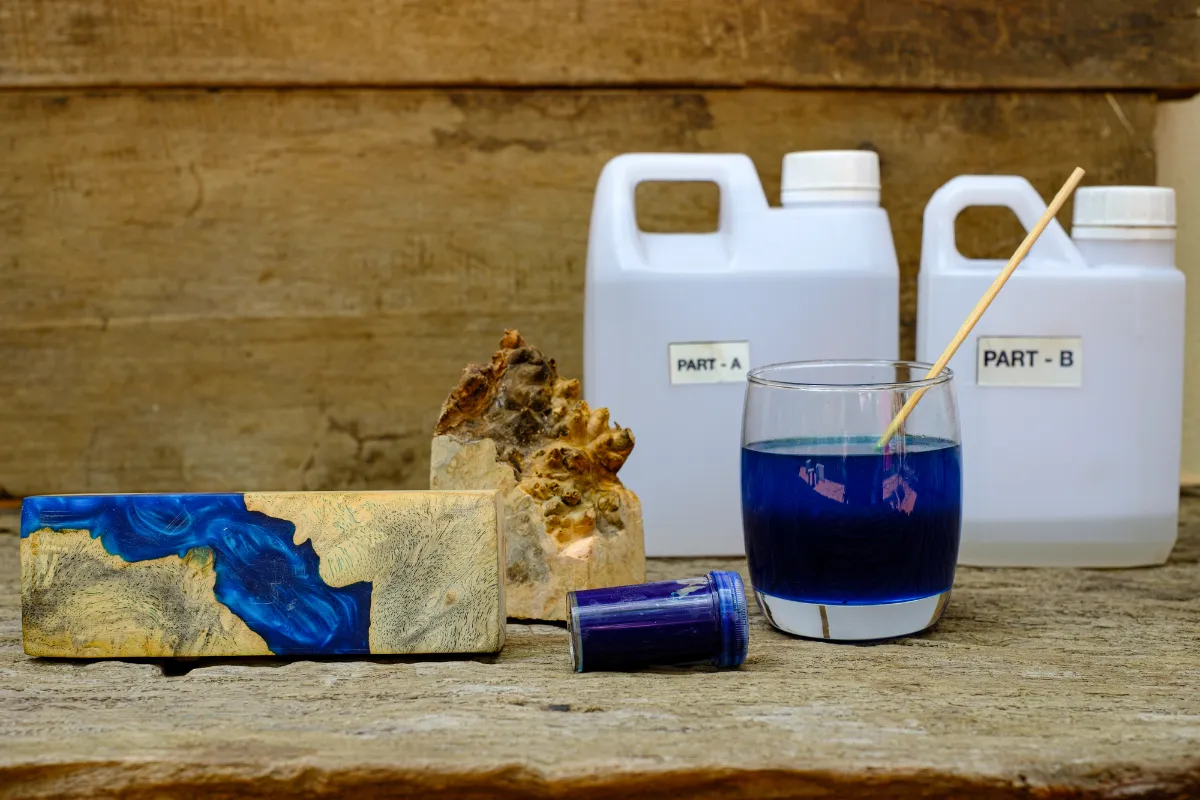
You’ll use low-viscosity epoxy resin for casting resin, which has two component parts.
The resin is the main material, while the hardener causes a chemical reaction to occur in it, which hardens the resin.
One of the essential features of epoxy resin is its thin consistency.
Being this thing, it can penetrate every crack and gap in a mold, allowing for detailed casting work.
Compared with UV resin, its casting time is quite a bit longer.
However, it can be used for much larger projects, as it hardens through a chemical reaction rather than through UV light, which needs to penetrate the whole mixture.
Choosing your Epoxy Resin
With even a brief overview of the internet, you’ll find tons of different synthetic resins on the market.
These vary in manufacturer, consistency, and specialty for different projects.
The first thing you’ll want to see is that it’s an epoxy resin with an accompanying hardener.
Then, you’ll want to see if the formula is optimized for topcoats or lamination, as these are the most industrial-use ones.
For more details about different epoxy resins, we’ve made this list highlight excellent choices for various casting projects.
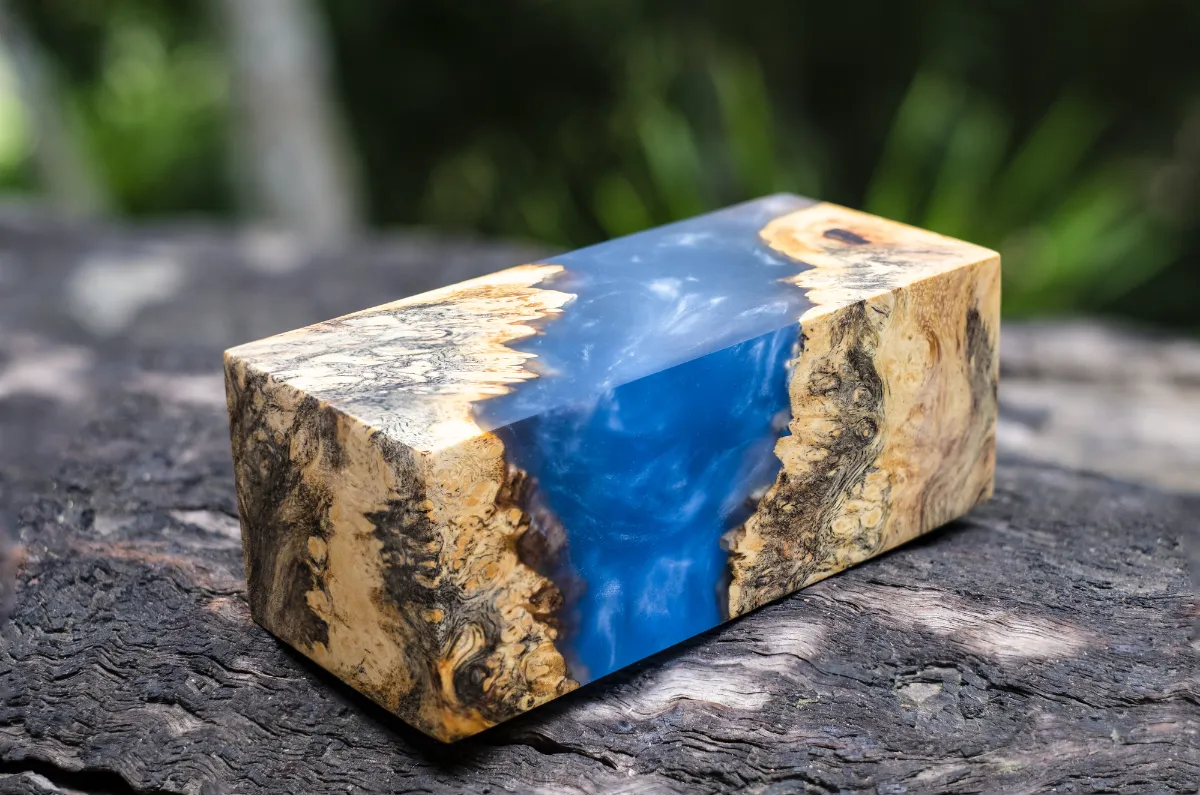
Best Overall Casting Resin
For its supreme quality and usefulness in the most detailed art projects, the ProMarine Supplies Art Resin can be used for any resin project and expect the best quality result.
It is formulated to be able to take any pigments, additives, or colorants as well.
The specialized needs of arts and crafters are all met with this resin.
Furthermore, it has some of the most protective UV filters to prevent yellowing for the longest period of time.
The resin used for art projects should be medium to high viscosity, which is true of ProMarine’s formula.
Its excellent color stability, easy-to-use 1:1 ratio, hard shell, and perfectly transparent finish are great for most projects.
Best Resin for Casting Molds
Using resin can be an anxiety-inducing process, but it doesn’t have to be. Art ‘N Glow’s Clear Casting Resin is perfect for casting molds, as it has one of the thinnest viscosities, allowing it to flow into every nook and cranny of the molds.
Pieces come out clear and smooth with this resin, coming with simple to understand, step-by-step instructions you can’t get wrong.
It takes about 40 minutes for Art ‘N Glow’s resin to dry once the hardener has been applied, with minimal bubbling.
It’s protected against yellowing and remains completely odorless even in liquid form.
This is a huge help for those who normally get nausea or headaches from resin fumes.
Best of all, there’s a reasonably affordable eight-ounce duo to start you off with.
Eventually, you may want to upgrade to the 32-once or one-gallon kits.
This makes it one of the best starter kits on our list for how many boxes it ticks right off the bat.
Best Resin for Casting Dice
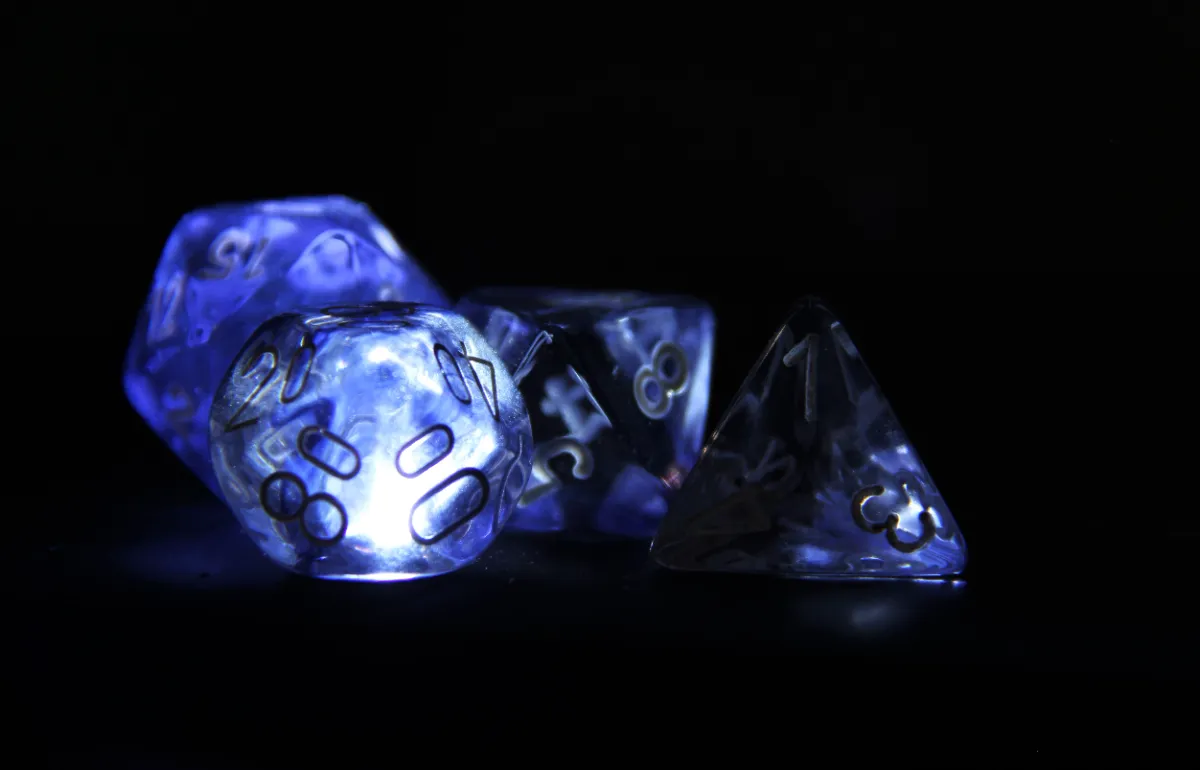
You’ll want an epoxy resin that handles pigment and other additives well when casting dice.
HXDZFX has specifically tested its product with a large variety of pigments and other colorants to ensure its maximum resin compatibility.
But, even if you wanted to clear cast, it still provides a crystal clear finish without dyes.
The color-absorbing powers of the resin will pay dividends for the different dice mixtures you’ll use, especially if you’re trying a wide variety of different pigments.
The formula is non-toxic but still contains a strong scent, so consider that if you are smell-sensitive.
Also, the resin will still irritate your skin if you get it on you, so don’t presume the non-toxic protects you from the chemicals.
Best Resin for Casting Miniatures

Naked Fusion’s Artist’s Resin is explicitly made with fine arts usage in mind.
For that reason, it’s great for getting all the little details of miniatures, which require some of the best resin formulas to come out correctly.
The formula is non-toxic, non-yellowing, and even UV-resistant.
It’s also BPA-free, making it safe to use on countertops and kitchen items.
The working time on the formula is 45 minutes with a self-leveling solution that generates the fewest bubbles possible.
It dries to an absolutely clear, glossy glass finish.
This is an excellent choice for the more intricate uses of epoxy resin, like casting miniatures.
The only downsides are a slightly higher cost and a heavy odor, typical amongst epoxy resins.
Best Resin for Casting Flowers
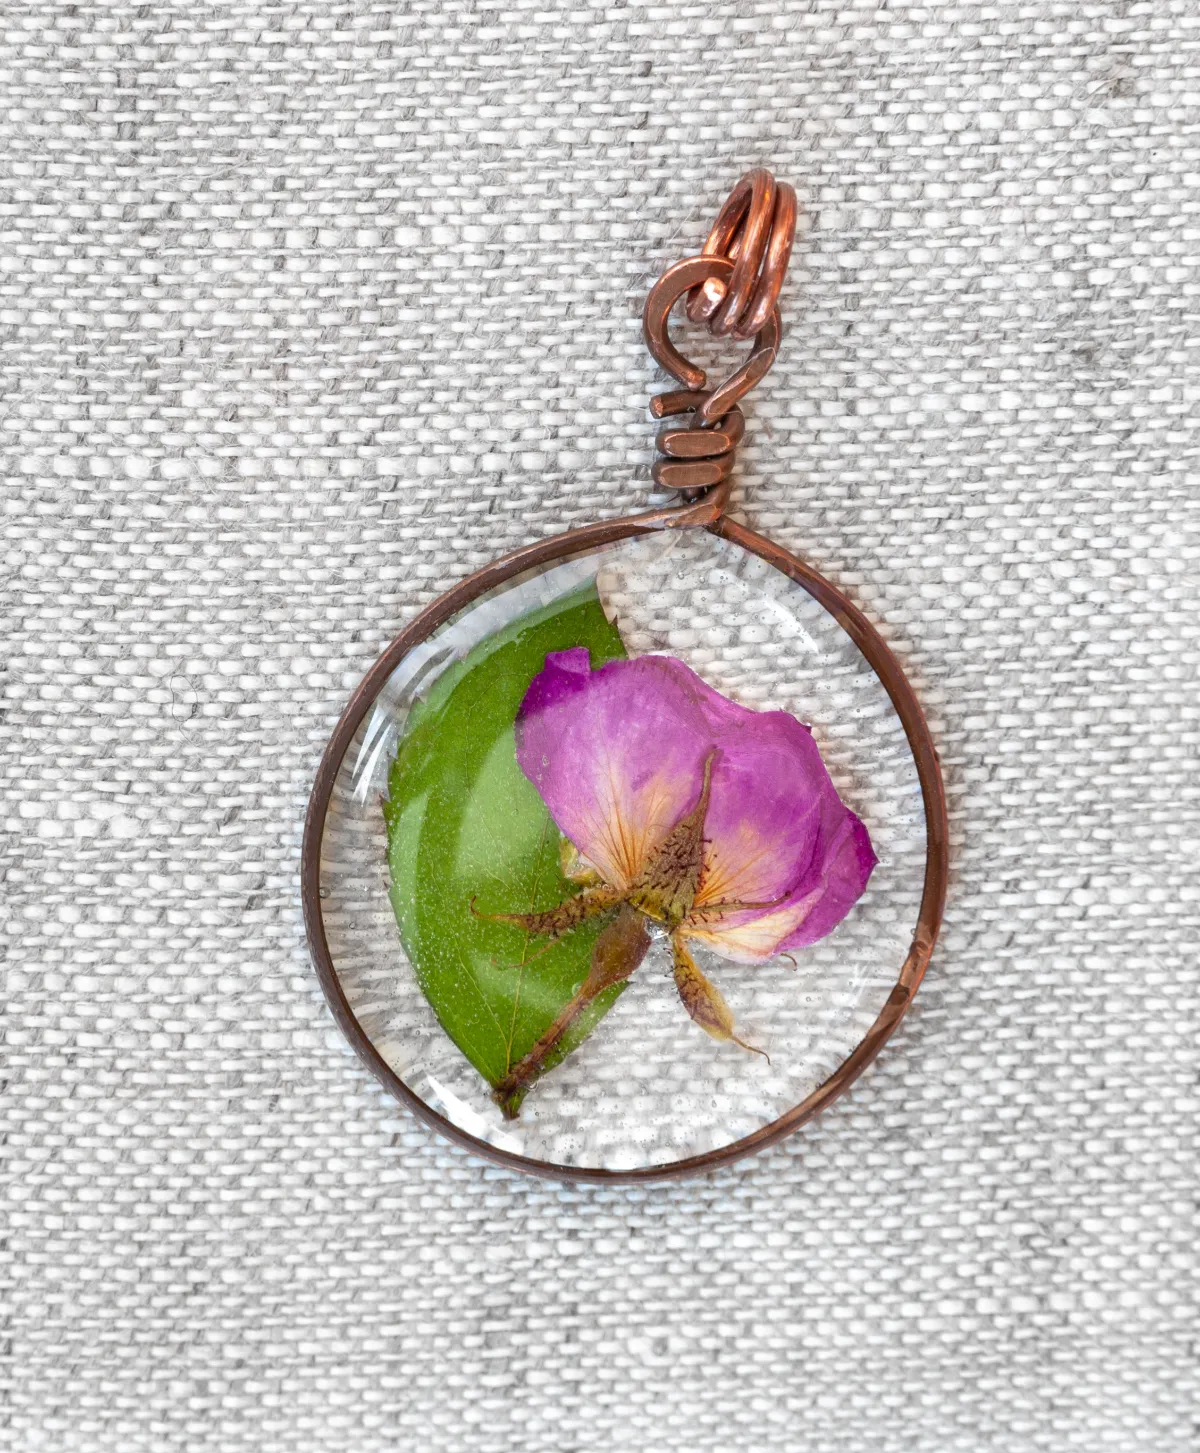
Alumilite’s small-batch resin is great for beginners as an affordable starter kit.
In addition, it does a great job with molds as the brand sells many of their own that work great with their resin formula.
This is an excellent kit for casting flowers.
The amount is best for smaller projects like molds, jewelry, and small flower casts.
Their formula is made to afford strength even to small projects, allowing the delicate petals and leaves of flowers to be preserved nicely.
For the quality you’re getting, the price is quite reasonable.
However, you may have to buy replacement bottles quickly if you’re making a lot of stuff or want to make larger projects.
Casts come out crystal clear with very few bubbles, even for the most miniature of projects.
Best Resin for Casting Figures
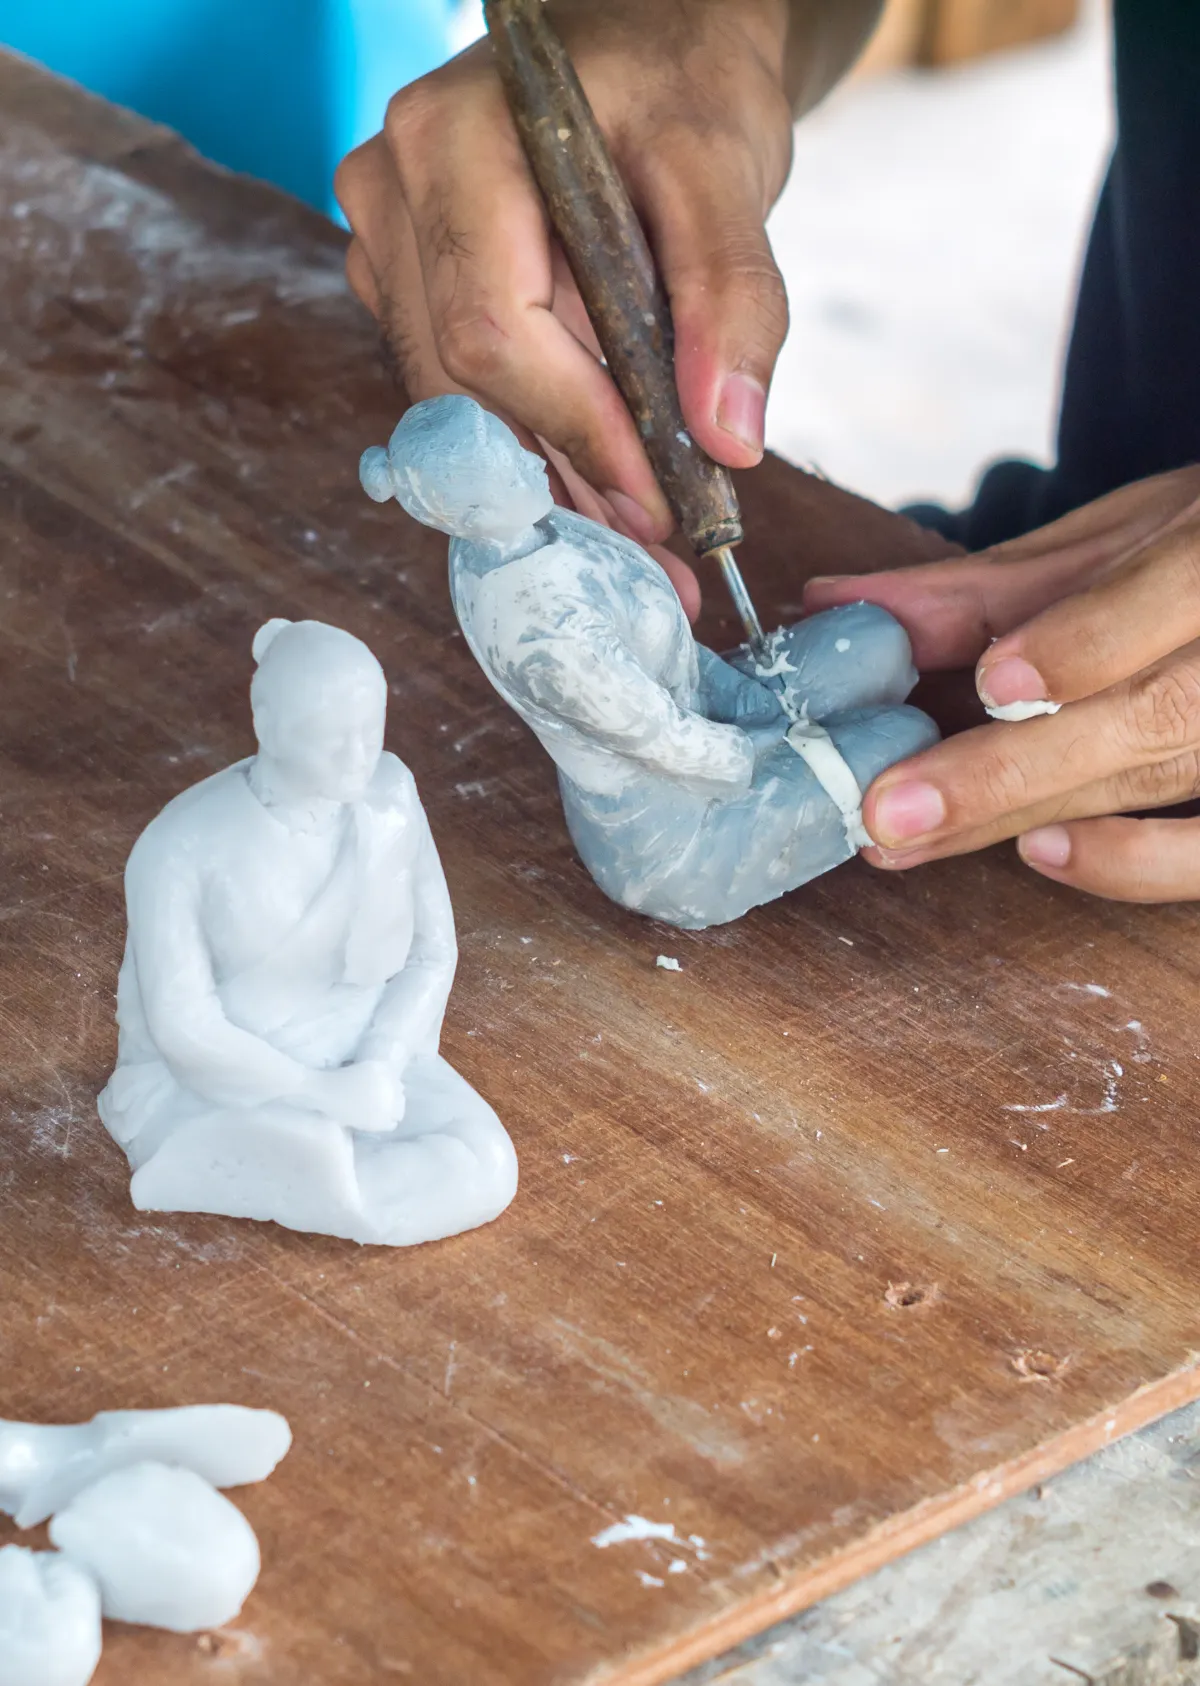
The epoxy resin coating kit from Skogfe is made explicitly with hobby resin casting in mind.
For this reason, it’s both an excellent choice for beginners and excellent for casting figures.
Some hobbyist resin brands are prone to yellowing, but this one is formulated to be ultra clear and yellowing resistant.
After using the hardening agent, the working window is about 40 minutes, allowing you to work the material should you choose after pouring while still casting relatively fast.
The formula is also quite smooth, giving you a dry, level resin free of air bubbles.
Some other formulas require a lot of manual smoothing.
The kit also comes with rubber gloves to keep the irritating epoxy off your skin, wooden stir sticks, and disposable cups for mixing.
You would likely have to buy all of these separately anyway if they didn’t come with the kit.
Unfortunately, the number of kit materials won’t necessarily last you the entire amount of resin, so you may have to restock at some point.
Best Resin for Casting Insects
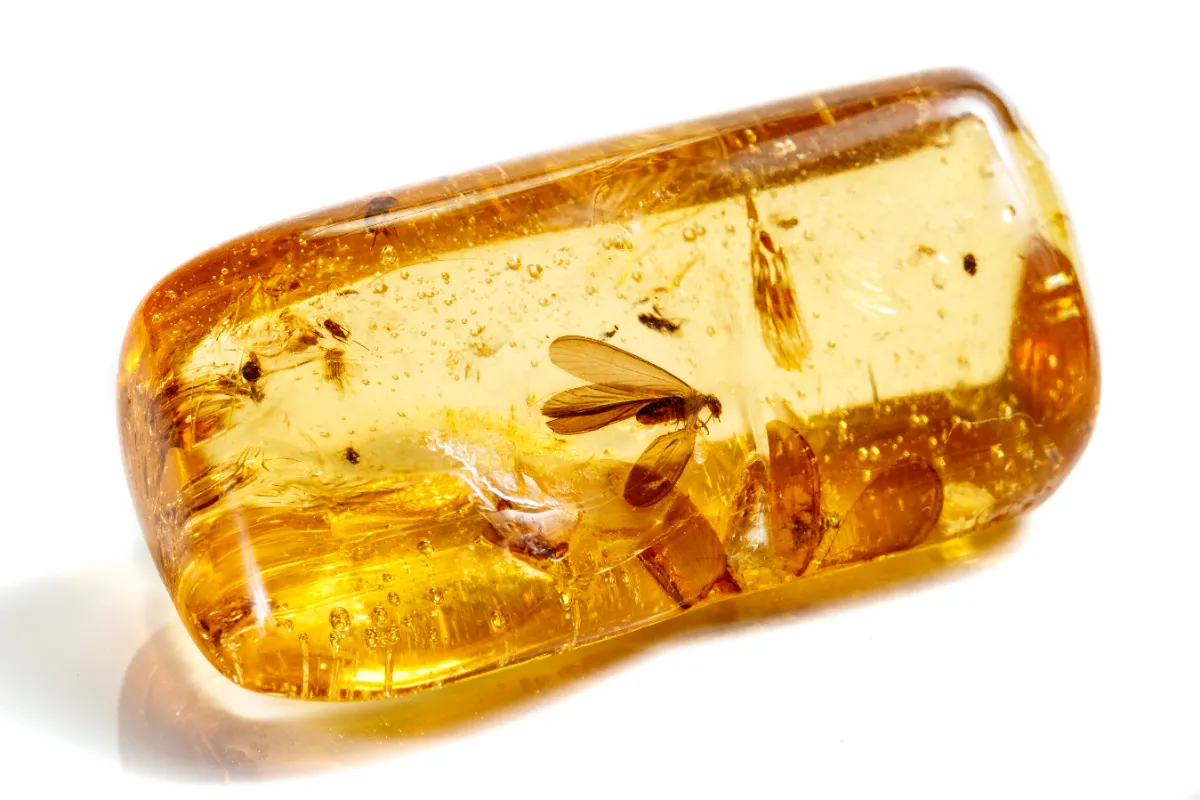
One of the most beginner-friendly epoxy resins on our list, Environmental Technology’s EasyCast is easy to pour and cast.
It comes with a few project ideas, but you can use it for various projects.
Since this one is beginner-friendly and comes in smaller amounts, it’s great for casting flowers, which typically don’t require as much resin as larger projects do.
It’s also great for making jewelry and other small projects.
Unfortunately, it’s far from the best value on our list, as the amount you get is on the small side.
Thus, you should only get this if you are into smaller projects.
The unique environmental formula also requires a long time to cure, up to 24 hours.
Best Resin for Casting Models
Dr Crafty Epoxy Resin Kit is a great starter kit for medium-sized projects if the smaller ones aren’t big enough for you.
It comes with everything you need, including spouts, stirring sticks, spatulas for spreading, and enough formula for a full gallon of resin!
It’s a cheaper resin and a cost-effective way to get a decent amount of epoxy resin in classrooms, workshops, or other group uses.
It’s also great for crowded spaces due to its low odor formula, making it ideal for when you’re working around others.
With a 45-minute working time, you’ll be able to work the resin to your liking.
The kit comes with a helpful instruction manual and will keep for about a year when sealed tight.
One critical difference with this formula is that it is made to be clear but not self-leveling.
This means you’ll have to mix all the bubbles out carefully, but the result is spectacular when you do.
Best Clear Casting Resin

Another one of the larger volume formulas, Bloombee Clear Resin is particularly great as a finishing seal with an absolutely crystal clear finish.
Again, it’s one of the best formulas on our list for its strong yellowing resistance and perfectly see-through transparency.
The kit also comes with stir sticks, gloves, and mixing beakers to make the epoxy.
You’ll want to wash the sticks after each use to keep the resin drying on them.
The odor and working time are average for this one, meaning it is a relatively strong chemical odor and about 45 minutes of working time.
Best Resin Brands for Casting
We’ve selected most of the brands on this list for their high-quality results. Alumilite, Naked Fusion, Art ‘N Glow, and Dr. Crafty are some of the better-known brands, but the others are all good as well.
What’s most important is to pick the brand that is formulated to work for the type of project you are interested in doing.
Next, it’s important that they use high-quality ingredients and have clear instructions.
Where to Buy Resin?
You can buy Epoxy resin at any local craft store, such as Home Depot, Michaels, or Lee Valley.
Some big-box stores also carry it, like Walmart.
However, the selection at a lot of these places will be limited.
Your best bet is to order online if you’re looking for a specific brand of resin for the best price.
There are a lot out there, so you can find the best deal online.
What’s the Difference between Casting Resin and Epoxy Resin?
Choosing the wrong resin can spell disaster for any casting project.
On the other hand, epoxy resin can be used for much bigger projects.
They are most often used for industrial uses like coating and sealing, whereas casting resin is best for molds, figurines, and jewelry.
However, both can work for the applications of the other.
Cure Time
Casting resin takes about 36-48 hours to cure fully, while epoxy resins only take about 12-24 hours.
This is in part due to that difference in viscosity.
In addition, epoxy resin already begins thicker, meaning it is closer to its hardened state.
In terms of gelling, which is the process of moving from a working state into the stages of hardening, epoxy resins will begin to gel as quickly as 20 minutes in.
On the other hand, casting resins can take 18 hours to begin gelling fully.
Because you can pour a lot of casting resin into a fuller cast, the way the center portions dissipate heat to allow the hardening to occur takes longer.
The heat can escape much more easily with coating, allowing for a much faster cure time for most projects using epoxy resin.
Working Time
Completely separate from cure time is the working time.
This is the amount of time you get while the resin is still malleable, allowing you to reshape it as needed for the project.
Once this time has elapsed, you can’t move the material easily anymore and you can no longer easily remove bubbles.
Casting resins cure much slower, giving them similarly long-lasting working times.
On the other hand, coating epoxies only have a working time of 20 minutes on average, making them a little trickier to work with, in that sense.
Viscosity
Casting resins are typically thinner than epoxy resin but can fit into molds.
Casting resin is slower to cure due to this but can fit into molds.
However, when used for coating, it’ll require multiple layers, which is not convenient.
It can also run off the edges of a coating project too easily.
Bubbling
Both epoxy resins and casting resins are vulnerable to bubbles forming within the material as it is being mixed.
Therefore, it is of great importance to reduce the bubbles as much as possible while mixing.
There are two ways the specific formula can help.
Some are self-leveling, meaning they will help get rid of bubbles for you when they are left alone.
Others need to be mixed thoroughly but will leave you with more crystal clear resin once all is said and done.
If you are working with a porous surface such as wood, the resin has an even greater chance of taking on bubbles.
Therefore, you should consider initially pouring a thin sealing coat before building up the rest of the project.
The seal coat will fill in all the tiny holes in the surface of the wood without bubbling up into higher layers of resin.
Encapsulated items should also be sealed before being immersed fully.
Hardness
Flipping things around a bit, one thing coating epoxies are better for is their hardness when fully cured.
Of course, casting resins can change the mix ratio, altering the hardness, but generally, epoxy will be harder overall.
Sometimes, however, it is better to have a more flexible finish.
In the case of a resin inside a container, for example, a more flexible resin can expand and contract within the container nicely, while a harder one could warp the outside container.
You can vary the amount of hardener used to change this flexibility.
However, some resins don’t react well to changing the ratio, so it’ll have to be done on a case-by-case basis.
Lastly, coating epoxies offer better overall scratch protection.
Pour Depth
Depending on the resin, you may be able to pour a whole large object, as some casting resins can do a ‘thick pour’ at several inches in depth.
Like most coating epoxies, other resins can only do ⅛ to ¼ inch per application.
Going deeper than that can affect the reaction.
Overall, this is why casting resins are better for projects such as large molds, figures, and deep encapsulations.
In addition, coating epoxies are getting better for coating applications and seals.
Mix Ratios
Casting resins can use a mix ratio anywhere between 1:1 to 3:1 parts resin to hardener.
Coating epoxies are easier to understand as they almost always use a 1:1 ratio. 1:1 is by far the most convenient ratio, as it allows you to always but the same amount of resin as a hardener and never has the two vary in level.
When you have a ratio like 2:1 or 3:1, you have to pay a lot more attention to how the ratio is mixed. In any case, accurate measurement is always essential.
UV Resistance
Depending on the brand, both casting resin, and epoxy resins can be formulated with UV inhibitors.
Over time, UV radiation from the sun can yellow resins.
This is especially true of thick, standalone projects, which need to stay clear to have the desired glass-like effect, making any yellowing more noticeable.
Coating resins can often be bettering at hiding yellowing because they are often used with wood or dark paint, making the yellowing much less noticeable.
Even for those resins with heavy UV resistance, yellowing is why it is not recommended to make resin projects primarily for outdoor use or with constant exposure to UV radiation.
Heat Resistance
Most casting resins cannot tolerate high heat.
These are meant for DIYers and home use, but there are ones meant for high heat resistance.
These are usually reserved for industrial uses and are quite a bit more expensive than the ones most people would use.
Generally speaking, both epoxy resins and casting resins soften around 120-150 degrees.
This can matter most when considering projects that may have to tolerate high heat, such as countertops, coasters, or others.
How to Cast Resin?
We’ve already learned that epoxy resin is widely used in crafting and is easy to work within ventilated areas.
It comes in two parts: the resin and the hardener.
They must be mixed in a precise ratio given with the instructions for the chemical reaction to work its magic.
Often, people will want pigments and dyes to mix with their resin to create variety in the projects they can make.
Finally, you’ll likely want some molds as well, to give the resin shape and allow you to create a variety of different projects.
Thus, the list of things you’ll want is as follows:
- Casting resin
- Measuring tools
- Mixing bowls
- Molds
- Cooking spray
- A straw
- Embeddable items
Molds
There are a few different options for molds that may interest you for casting.
- Dimensional molds – These are 3D objects and are very common for making small pieces like jewelry and dice. You want to have dimensional molds that can hold the size and shape of the resin you’ll be pouring.
- Latex molds – These are the most flexible molds, allowing for straightforward ‘pop outs’ of the cast once hardened. Latex is a little more delicate to work with, though, and can’t always take every shape or type of resin.
- Plastic molds – These are great for their balance of flexibility and hardness. These are standard for a lot of resin makers.
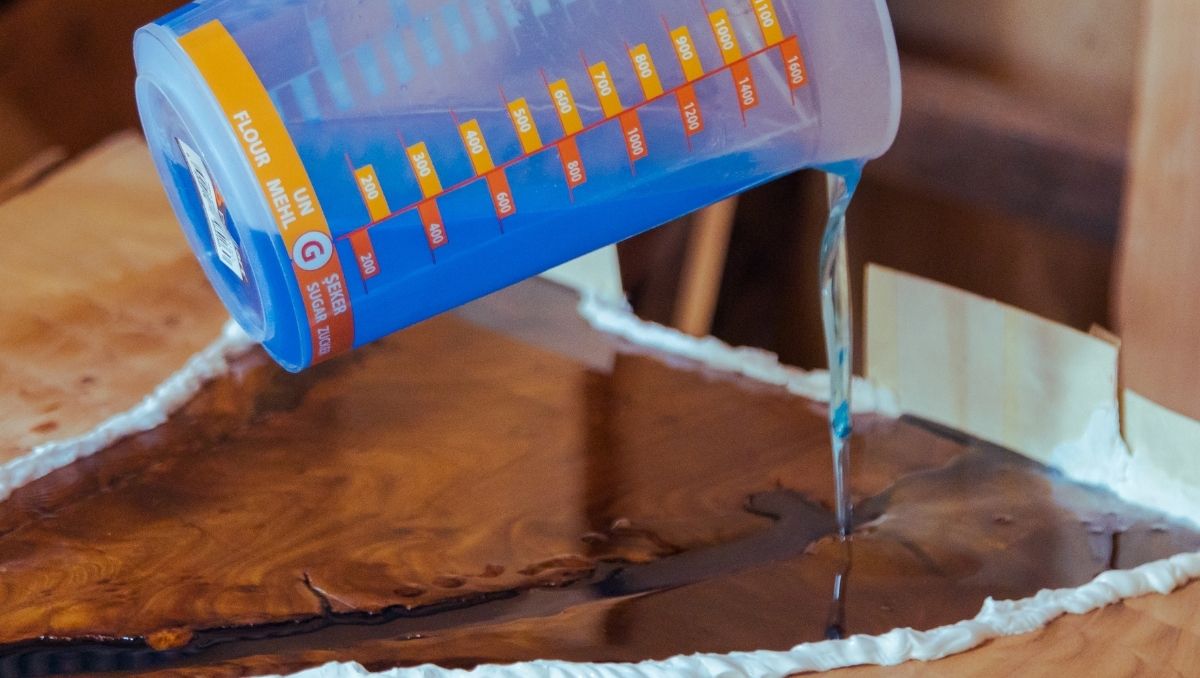
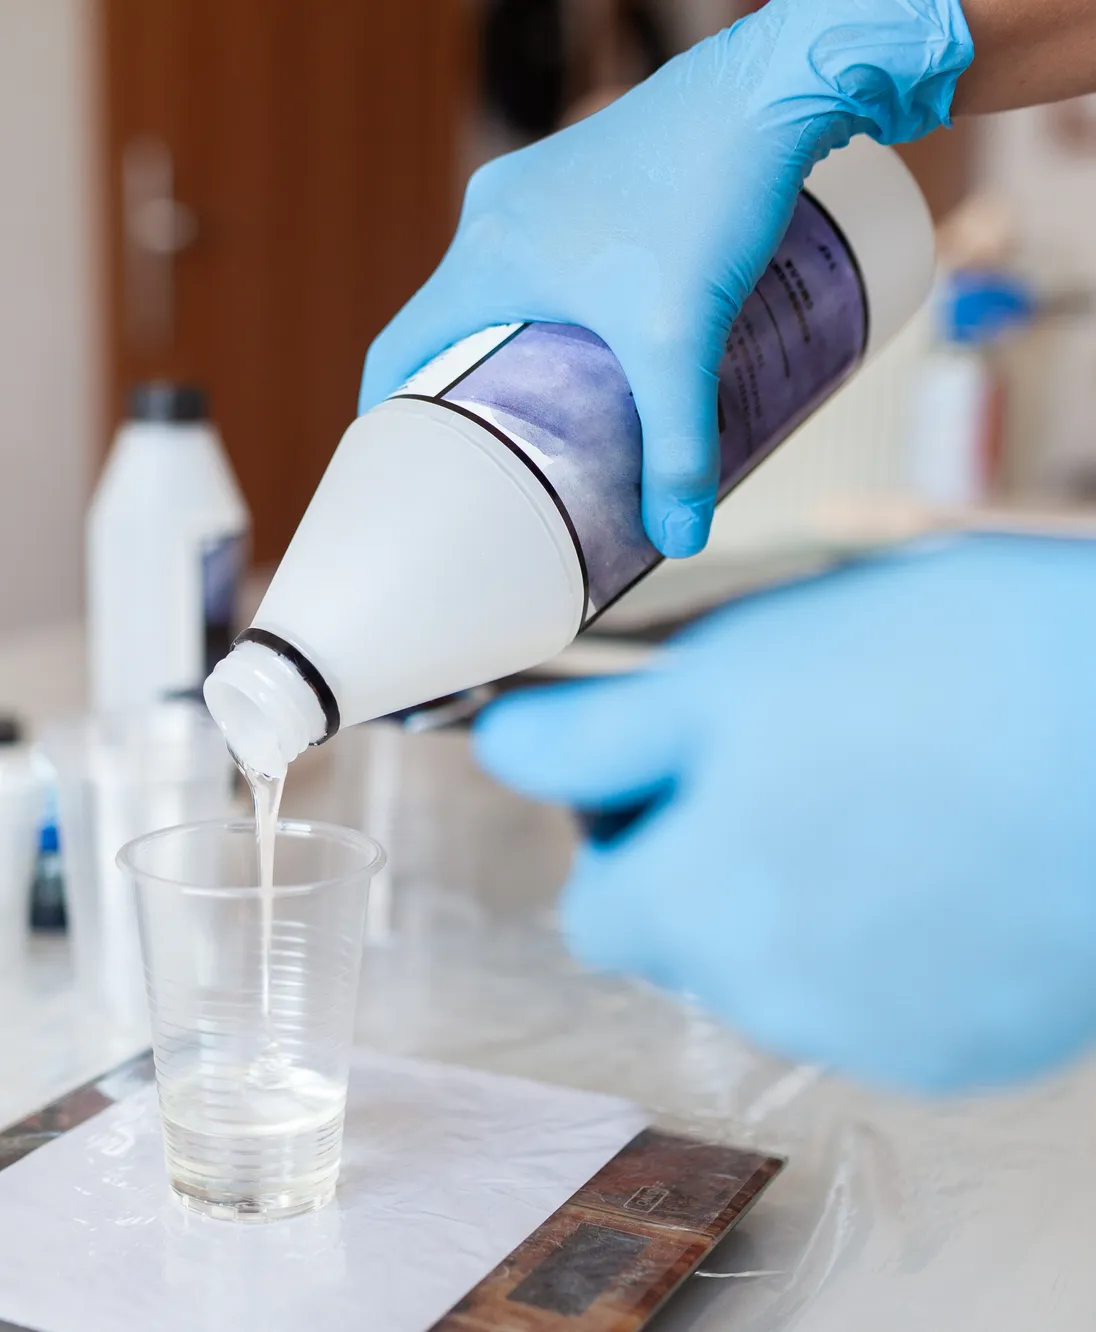
How to Mix the Resin
The most important thing is to follow the instructions on your specific resin kit first and foremost. However, the general outline of the process is as follows:
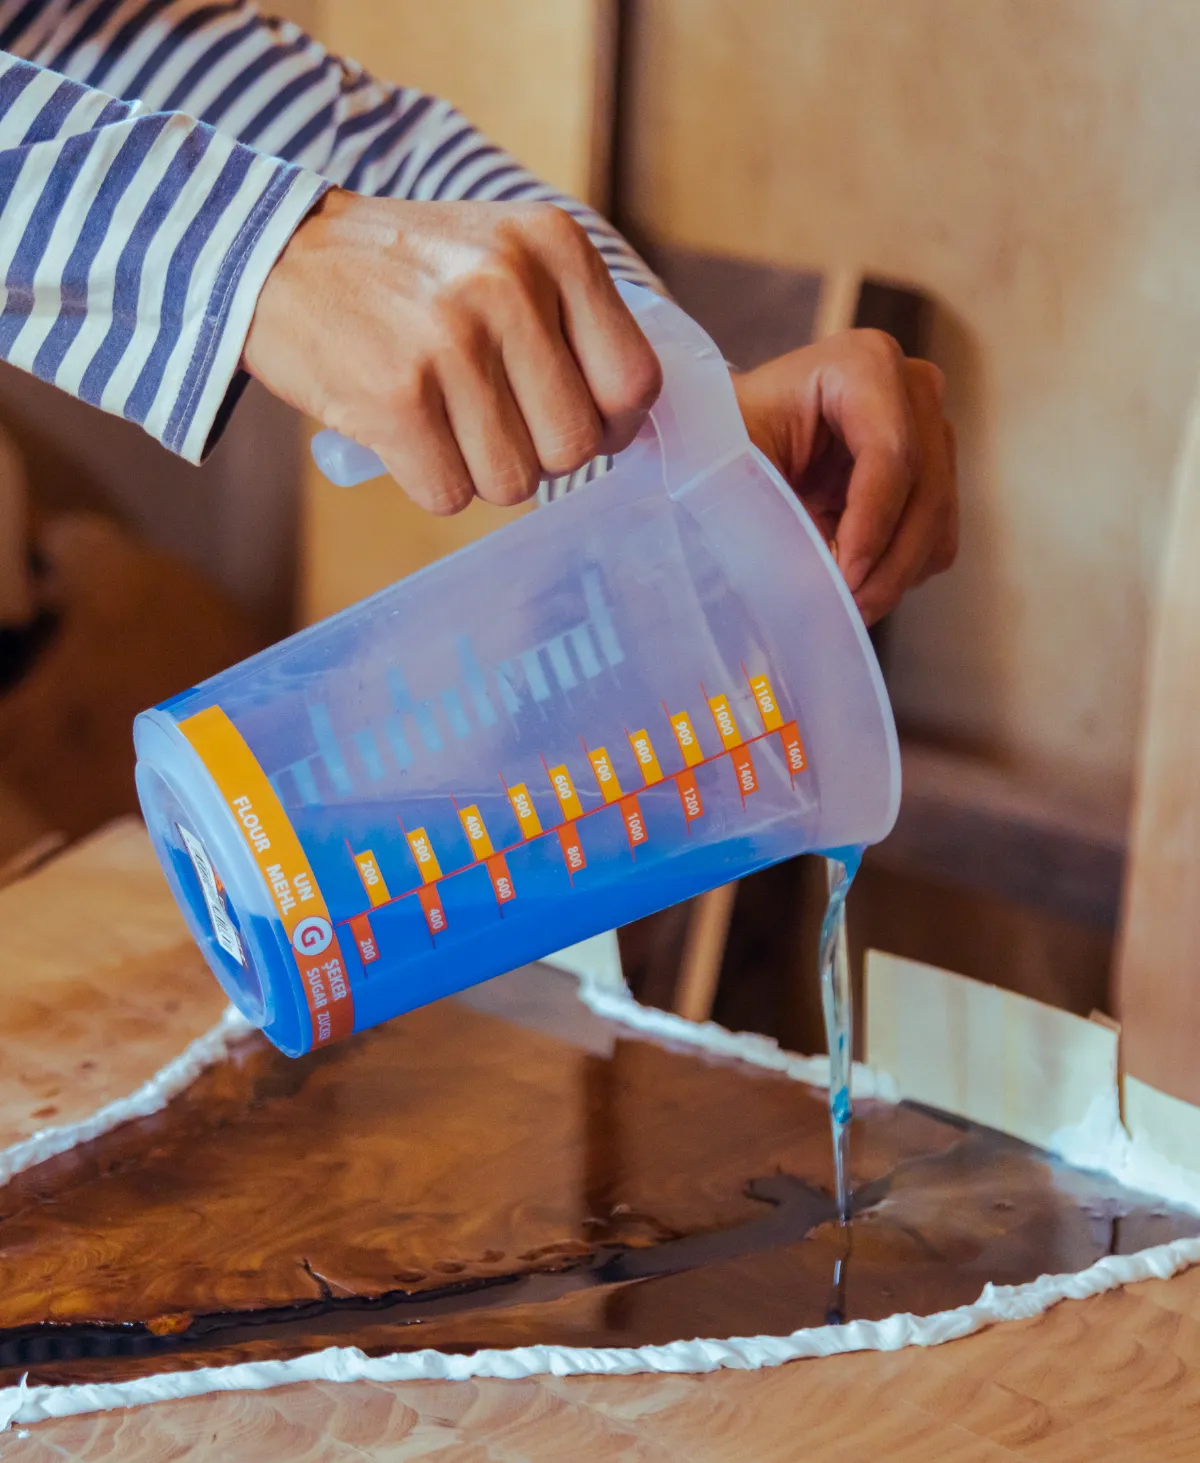
- Measure the two parts, the resin, and the hardener in the ratio the instructions provided.
- You can measure with baking spoons or measuring cups to get the most accurate measurement. Generally, you should avoid eyeballing it.
- Pour the mixture into the appropriate mold.
- Wipe down your measuring tools after each use, with separate tools for each of the resin and the hardener.
- Disposable bowls and stirring sticks work best for the actual mixing container, as you’ll need to discard them after each use. You need to mix to the point where there are no air bubbles, as too much or too little will fill the mixture with them. You can let your resin rest for a few moments before you begin mixing.
- Air bubbles can be tapped out or pulled out using a straw. Larger projects can be helped with a warm, low setting on a hairdryer.
That’s about it for regular resin molds, but there are optional differences depending on the project.
Embedding Items
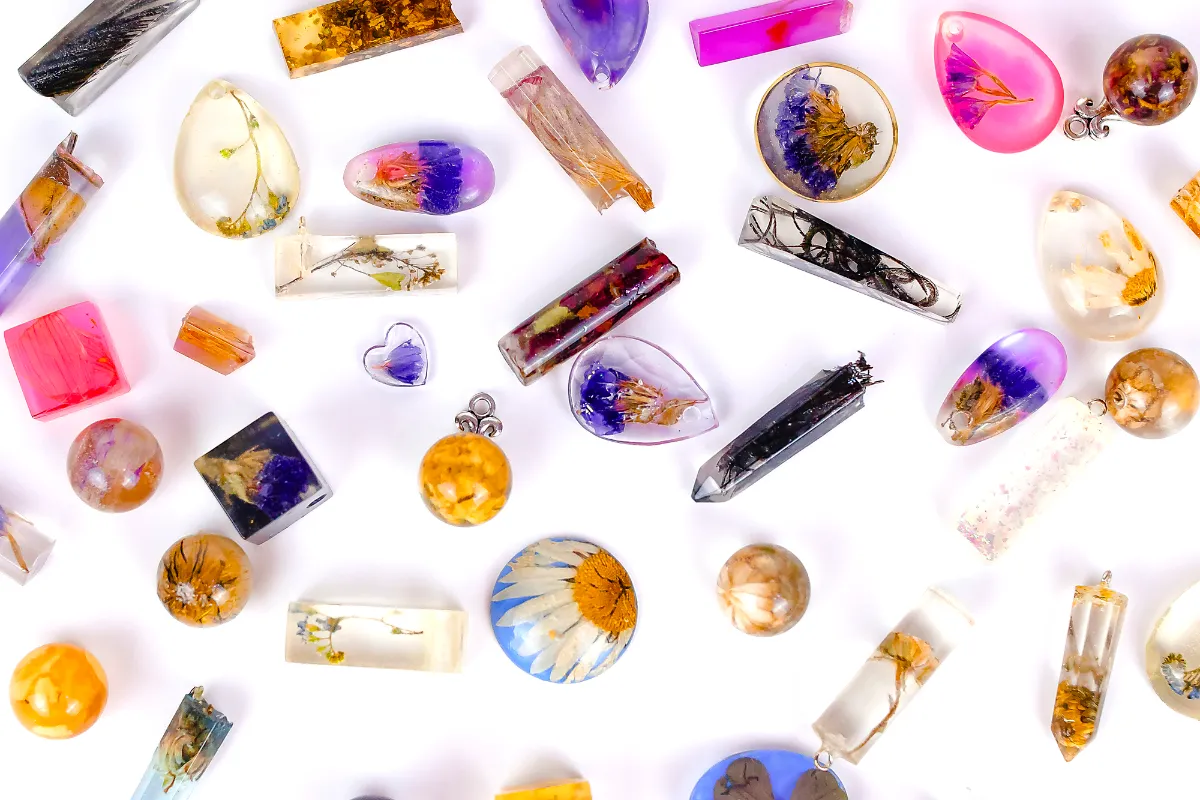
You can embed many different things in resin, including flowers, coins, and toys.
It’s a prevalent use of resin to preserve interesting things and make decorations out of them.
You can also embed photos and images, but be sure to coat the photo with a sealant first, to prevent the ink from running into the resin over time.
You can even use something as easy as clear-drying craft glue for this purpose or spray it with varnish.
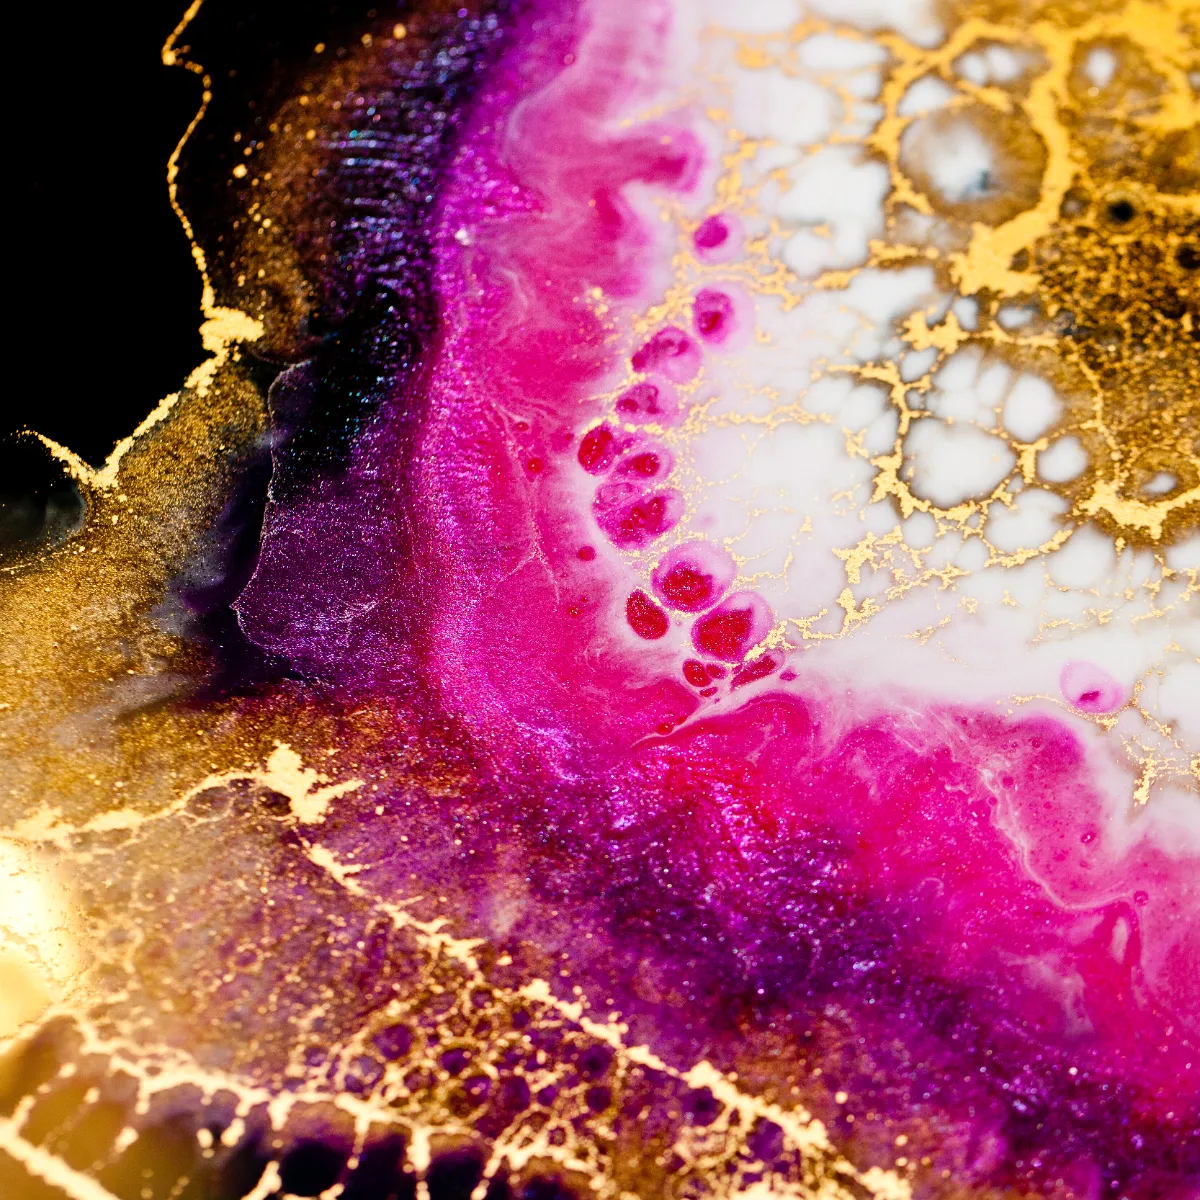
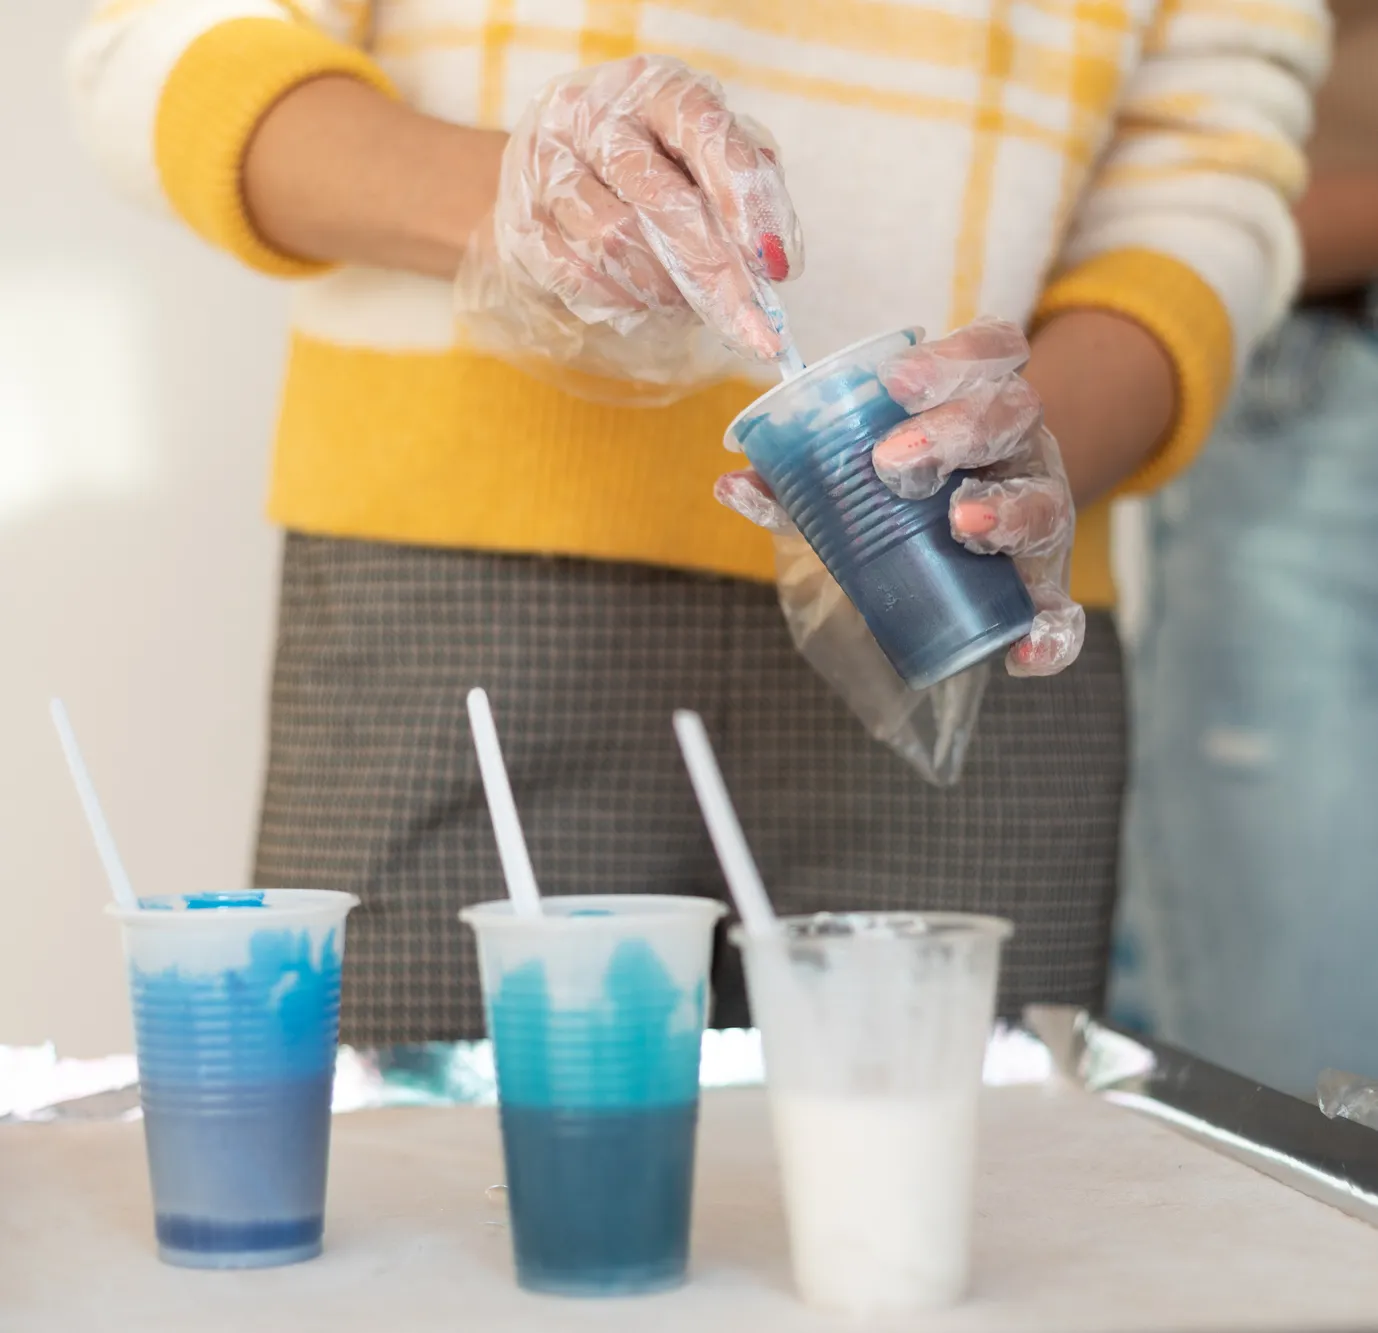
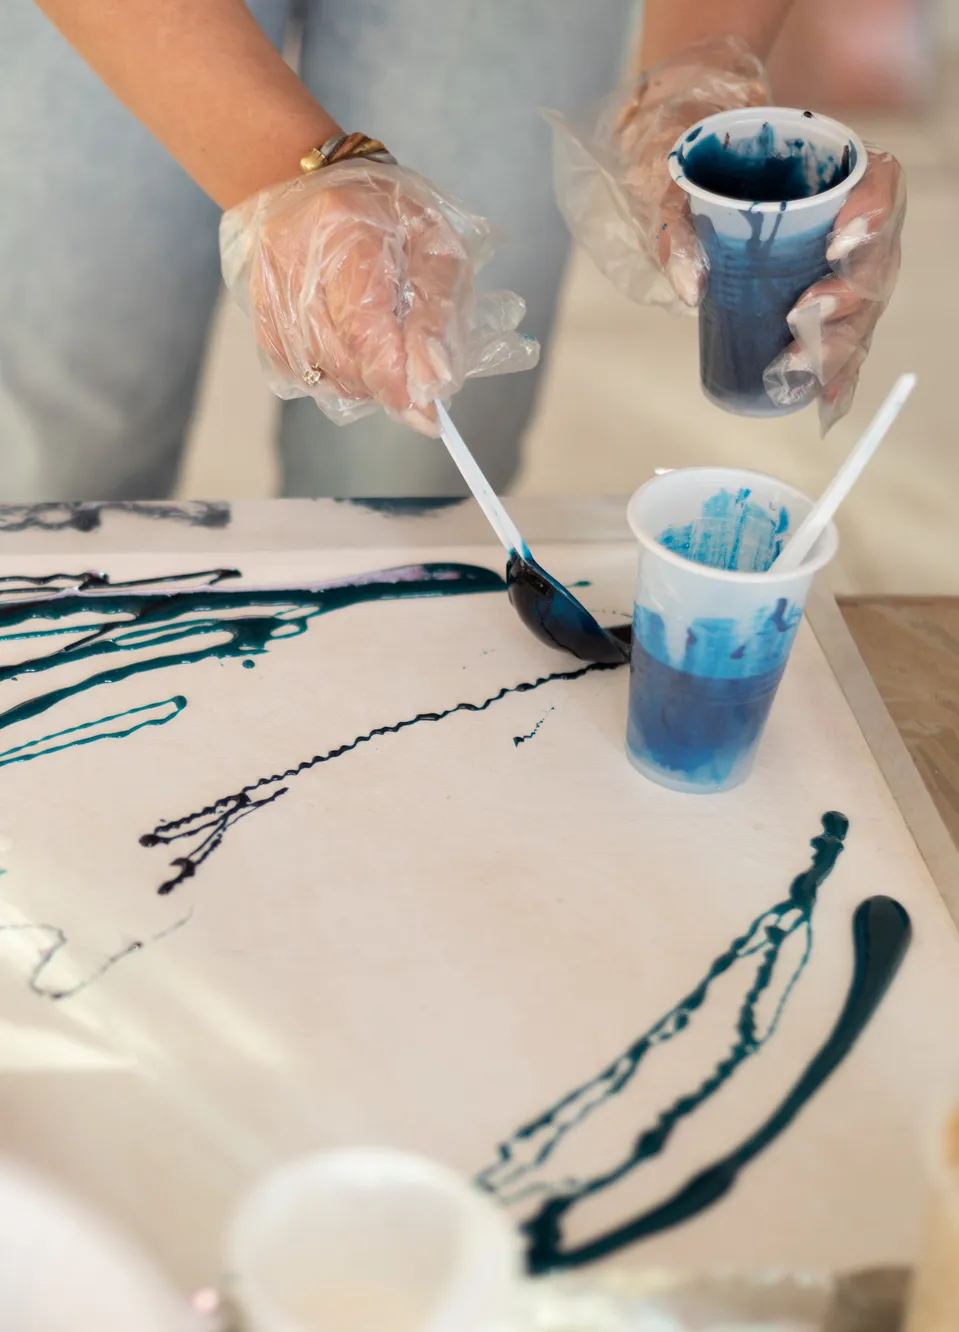
Adding Pigments or Dyes
You can add pigment or dye to your batch during the mixing stage to change its color.
It will remain translucent, but you can get a variety of interesting looks with pigments and other materials like glitter.
The amount of pigment used can increase the curing time, so keep that in mind.
Cleaning Up
If you’ve spilled resin anywhere, you can use an acetone cleaner to remove it before it cures.
For cured resin, you can chip it away with a knife, but it will be very hard to prevent damage.
Getting resin on your hands is also a significant irritant.
You can use acetone to get it off, then wash your hands thoroughly.
Techniques to Cast Resin
Using Molds
One of the best ways to start having fun with resin is to use silicone molds.
These are available in tones of shapes and sizes, but it is probably easiest to start small.
Making little jewelry pieces or dice is a great, simple way to start.
Layer Thickness
Casting resin cures fairly slowly, producing little heat.
You can cast much thicker layers with it, up to 10 centimeters deep.
Always look at the manufacturer’s instructions to see what’s possible with your specific resin.
Heat development is the important issue here, as if the layer is too thick, the chemical reaction can cause it to get so hot it damages the resin, giving it a worse quality in the end.
In addition, more toxic fumes are also emitted if it overheats. Therefore, it’s wise always to wear protective clothing and a mask.
Cure Times
Casting resins can take as long as a week to cure completely for full curing.
Epoxy resin can only be worked for a few minutes to an hour before it begins to gel, but it does cure much faster.
Casting resin can be worked for almost a whole day.
Clear Casting Resin – How to Achieve the Best Transparency
For people looking for perfectly clear resin, you’ll want to use high-quality clear casting resin with a high-quality UV filter.
Always make sure to do the mixing ratio exactly to the instructions.
You can coat the cured resin with an additional varnish for best results.
Conclusion
There’s no one way to pick the best resin or use it.
There are many different projects out there with different resins that will work the best for it.
Take the time to check the curing times, working time, UV protection, self-leveling, and general clarity.
In the end, following the instructions correctly is your best bet to getting the best results.