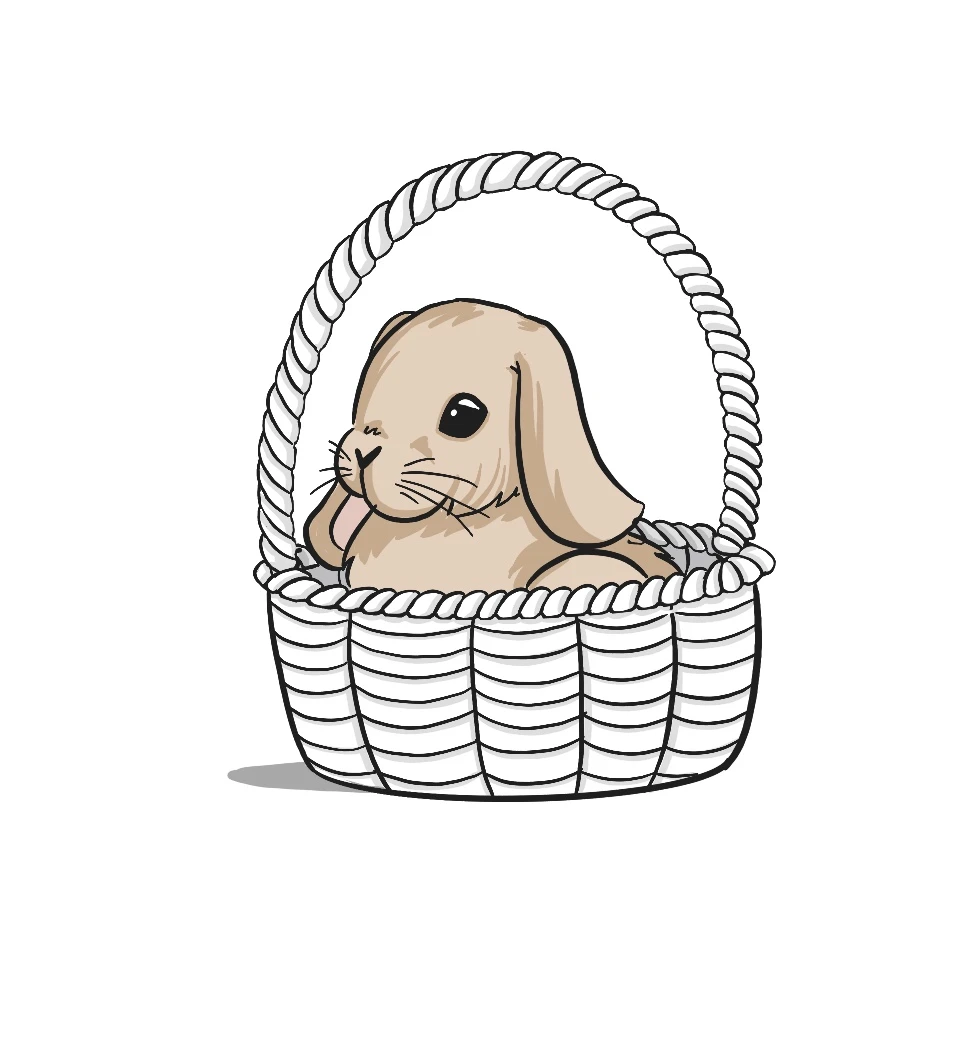
Want to learn how to draw a cute bunny in a basket?
I’ll be showing how to draw a basket and a bunny, so there’s quite a few steps involved, but don’t worry!
Each step comes with step by step images that make this learning to draw a bunny in a basket extremely easy.
Let’s get started!
Drawing Supplies Needed
You can use any drawing supplies to draw a flamingo, but here are the best tools for drawing.
Step 1:
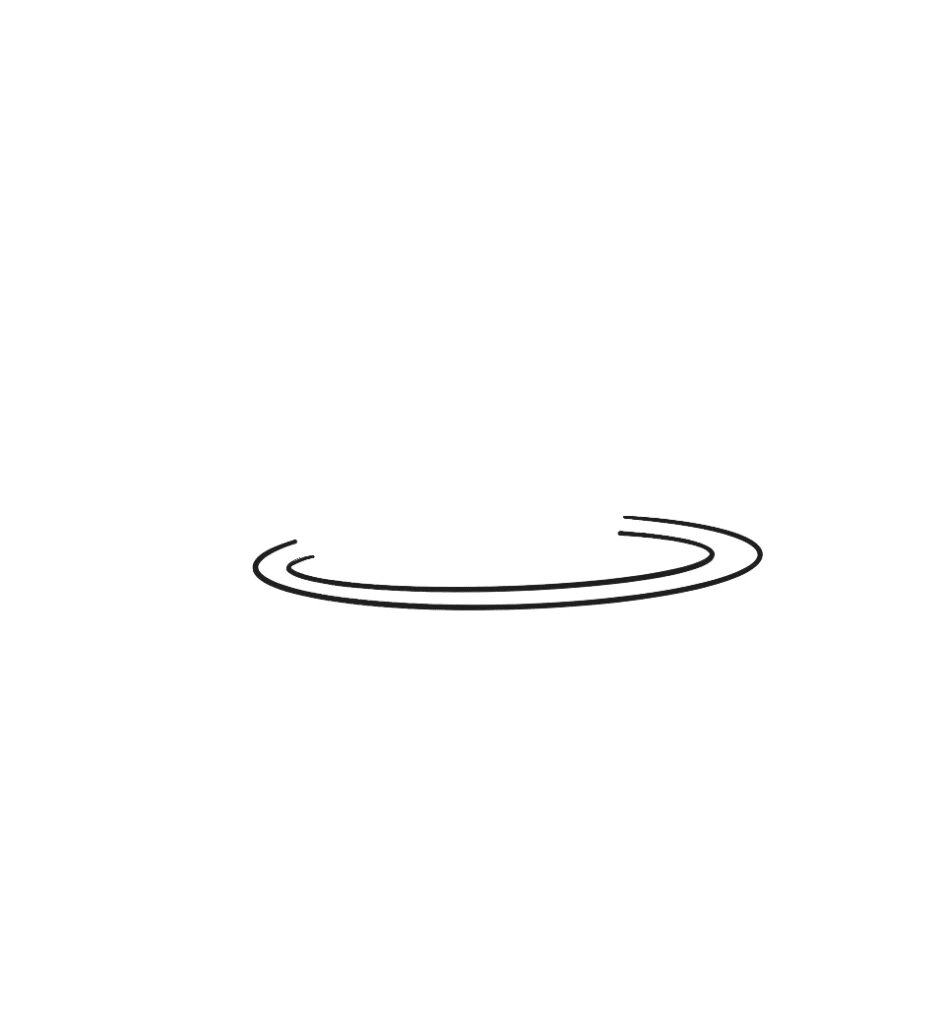
Let’s start with a hula hoop shape, but don’t close it all the way! Leave a gap.
Step 2:
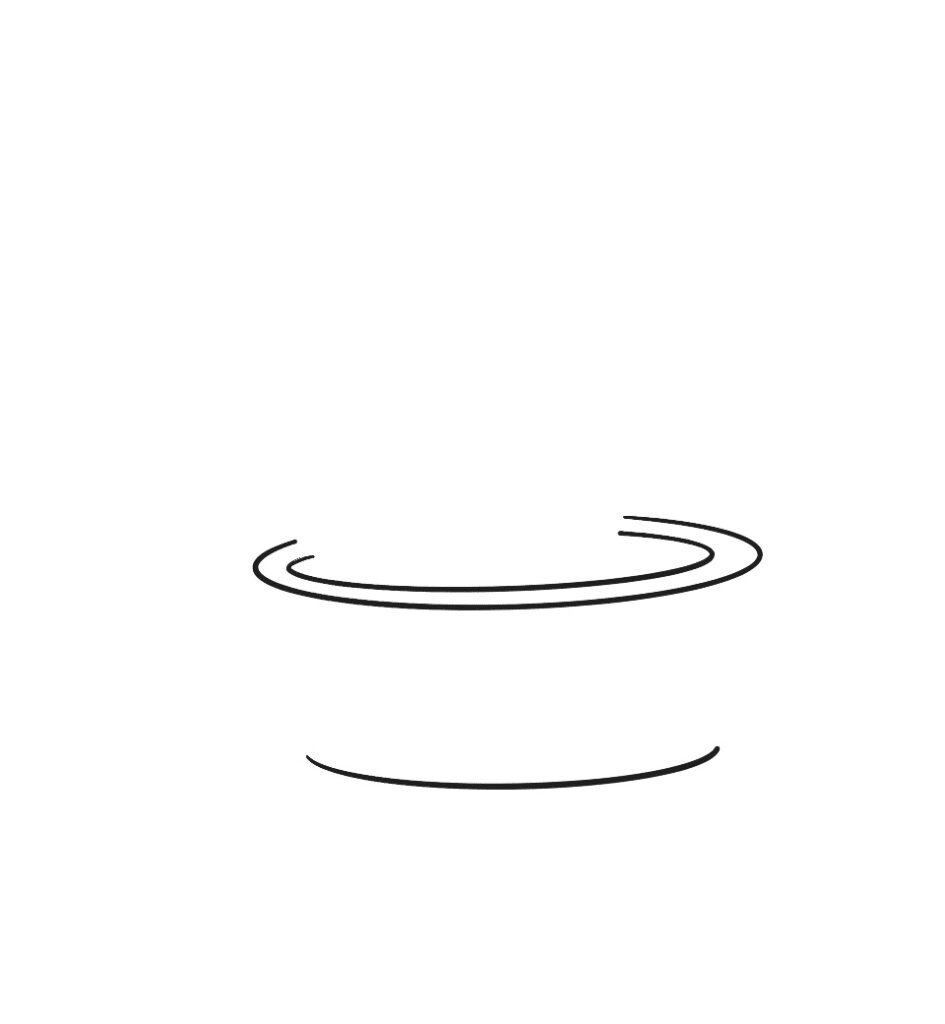
Below the hula hoop let’s make a curved line ending a bit before the edges of the hoop.
Step 3:
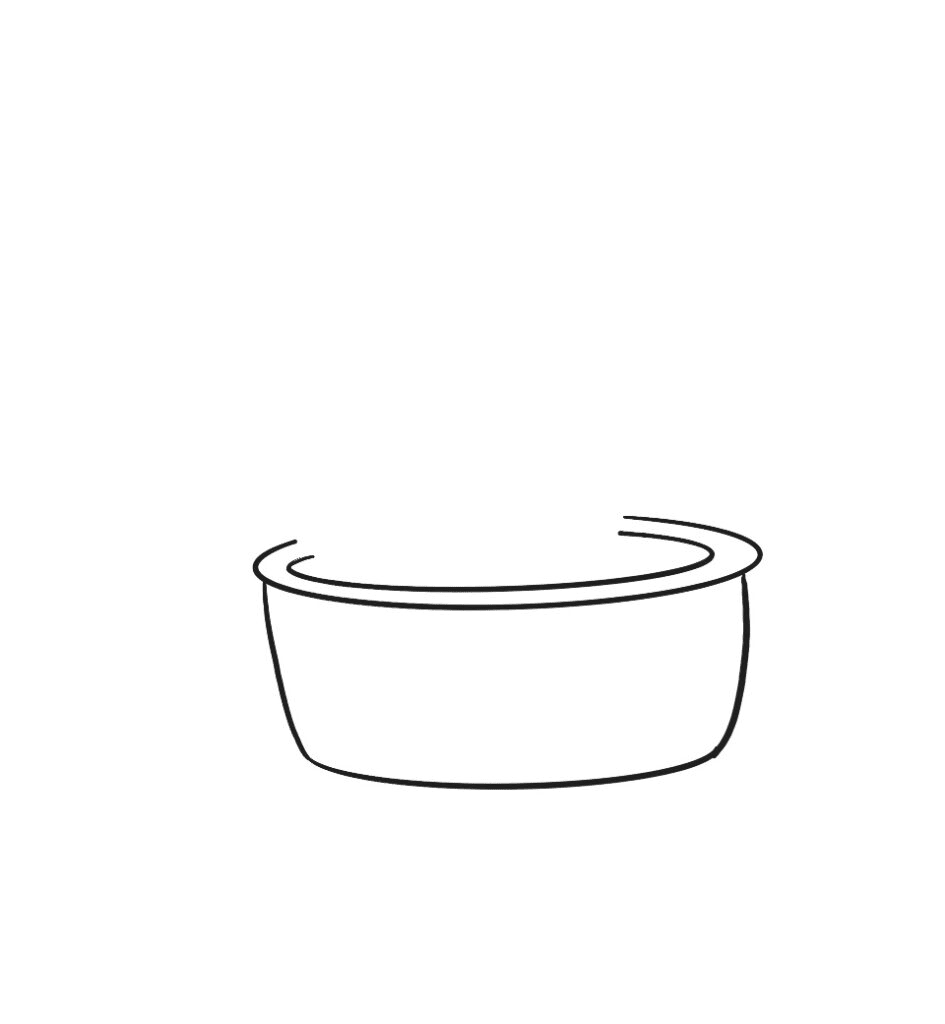
With slightly curved vertical lines meet the bottom line to the hoop.
Step 4:
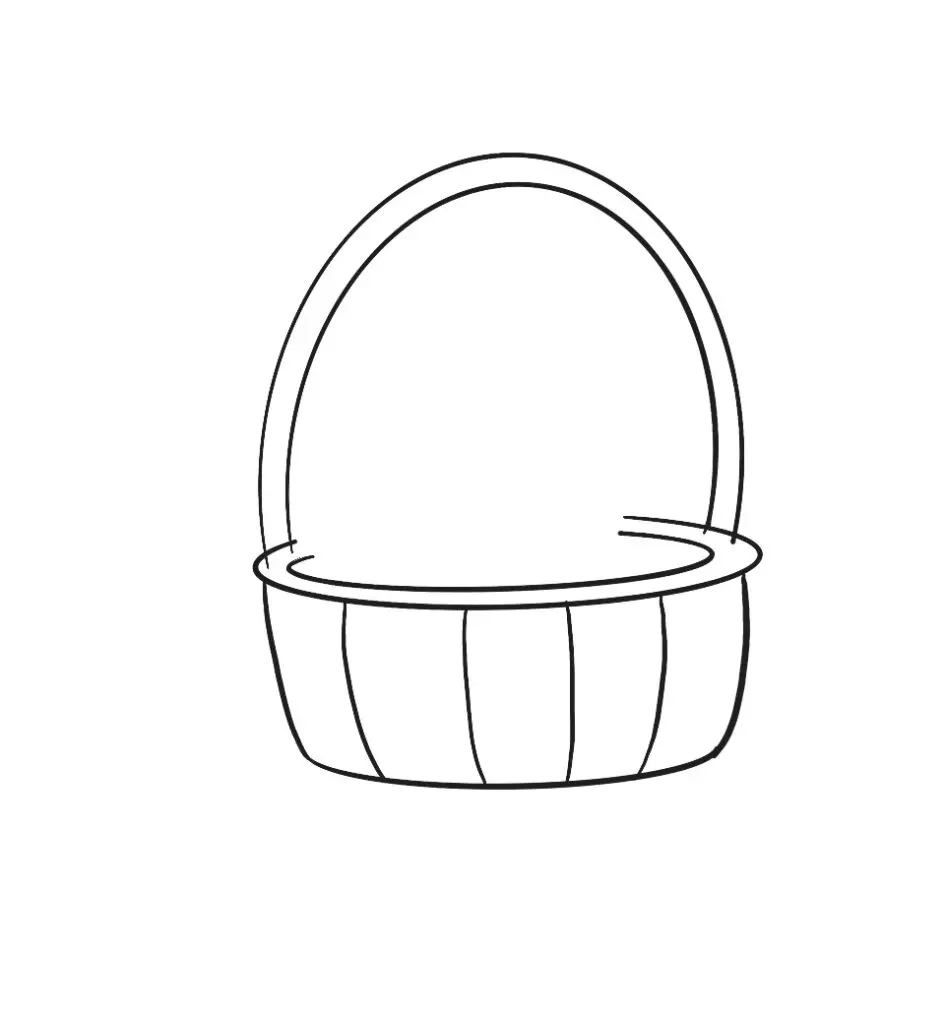
We’re going to create an oval-shaped hula hoop (about 2/3 of it at least) vertically from the edges of the first hoop we made – this will be our handle.
Now on the actual basket itself let’s make some curved lines with the middle as a center point. What does that mean? It means that you should follow that curve of the basket from the middle point.
Step 5:
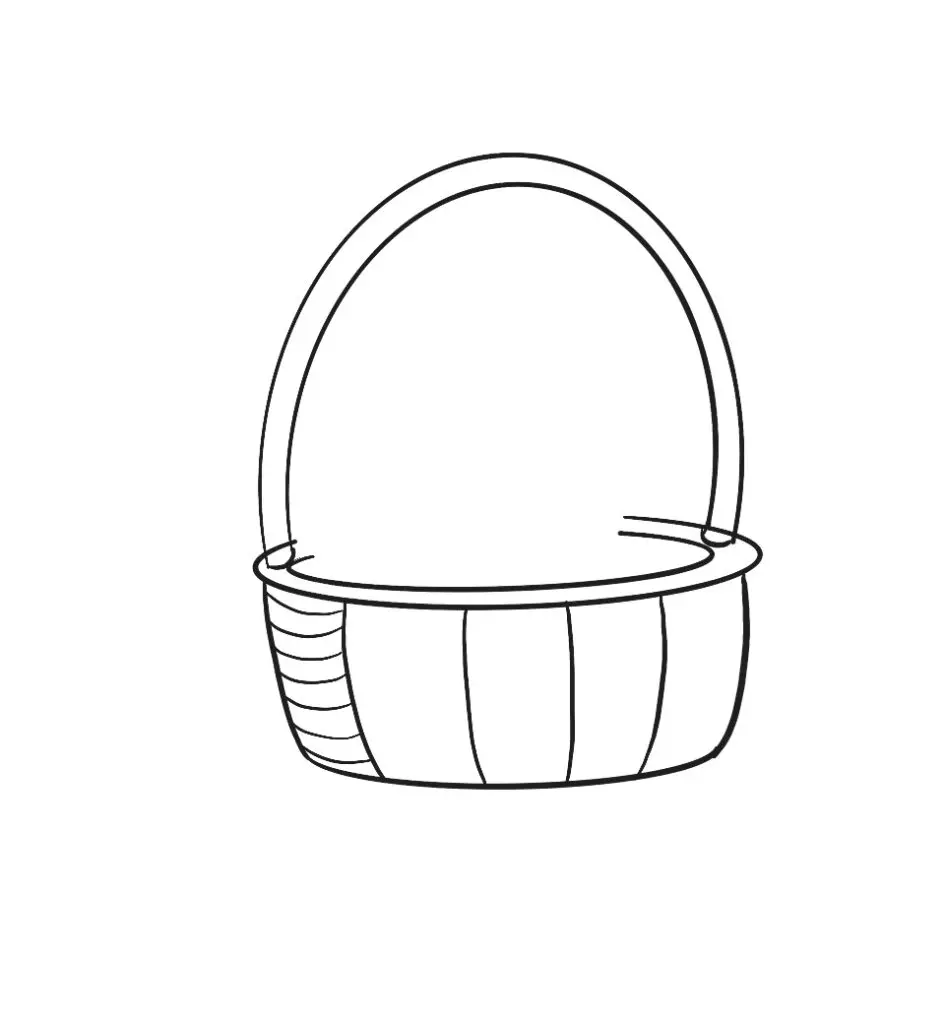
In the furthest left quadrant of the basket we’re going to create curved horizontal lines from edge to edge.
At the same time let’s close off the open ends of the handle.
Step 6:
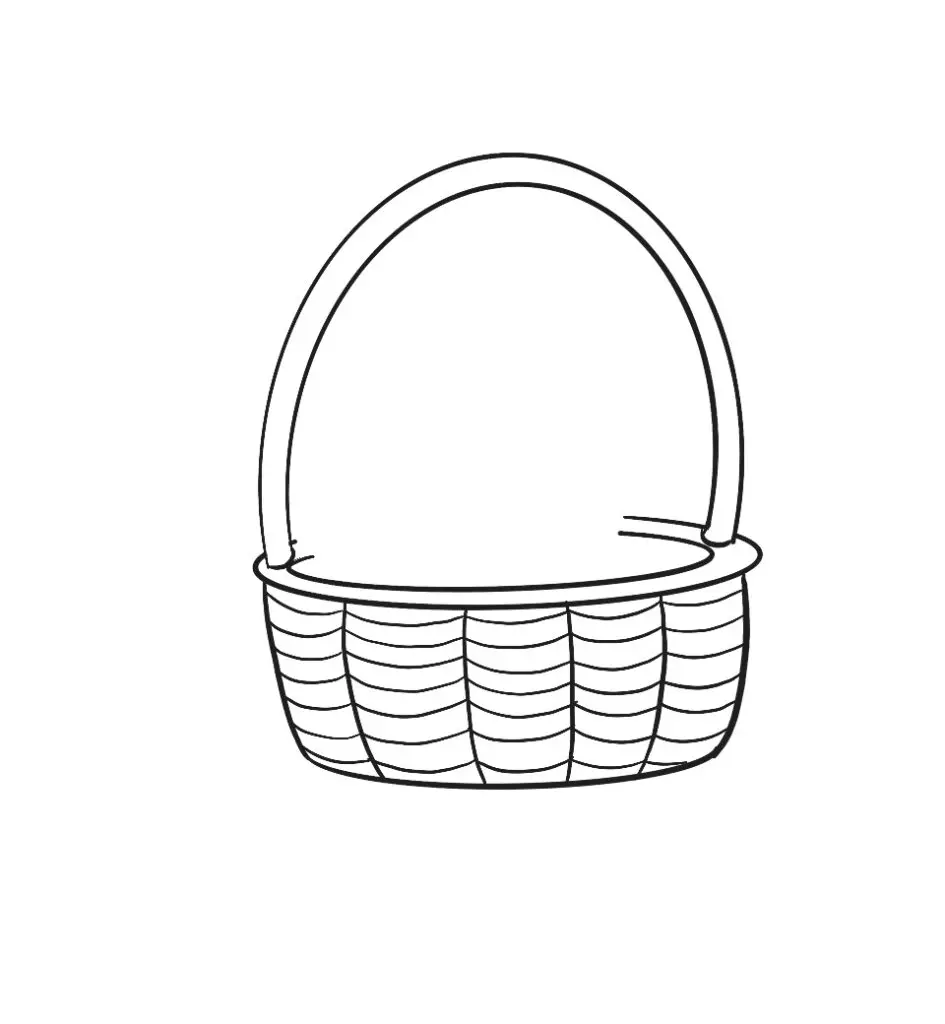
Continue those horizontal lines from the furthest left quadrant across each quadrant. On the handle, erase all overlapping lines.
Step 7:
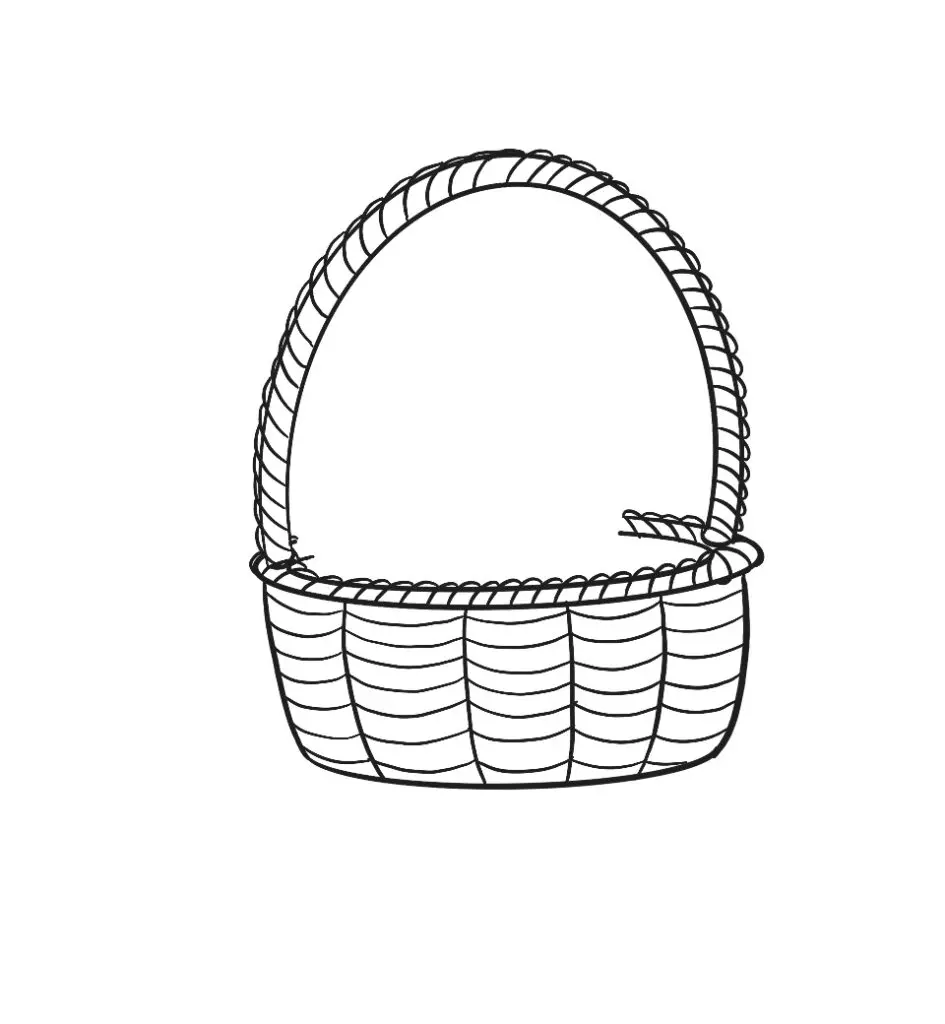
Around the rim of the basket and the handle, we’re going to make a braid-like shape with half-U shape lines. Go all around the rim and handle it!
Step 8:
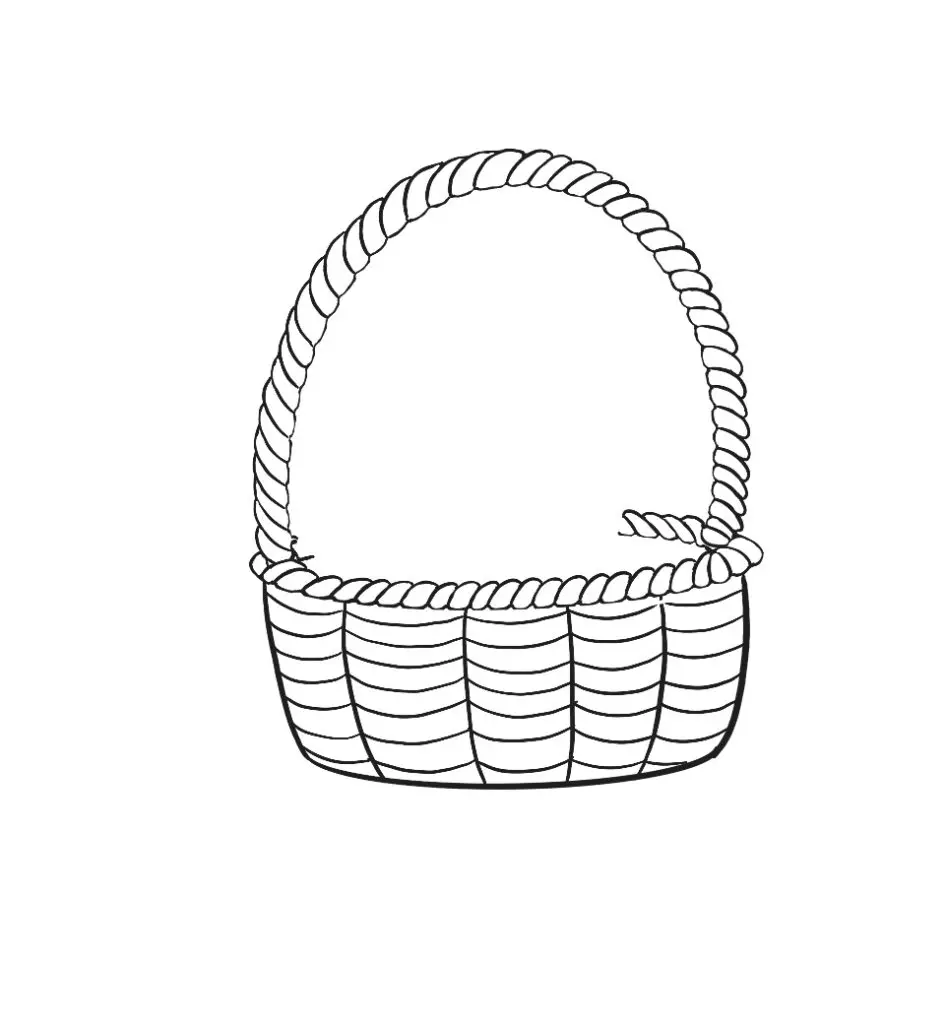
Erase ALL those overlapping lines!
Step 9:
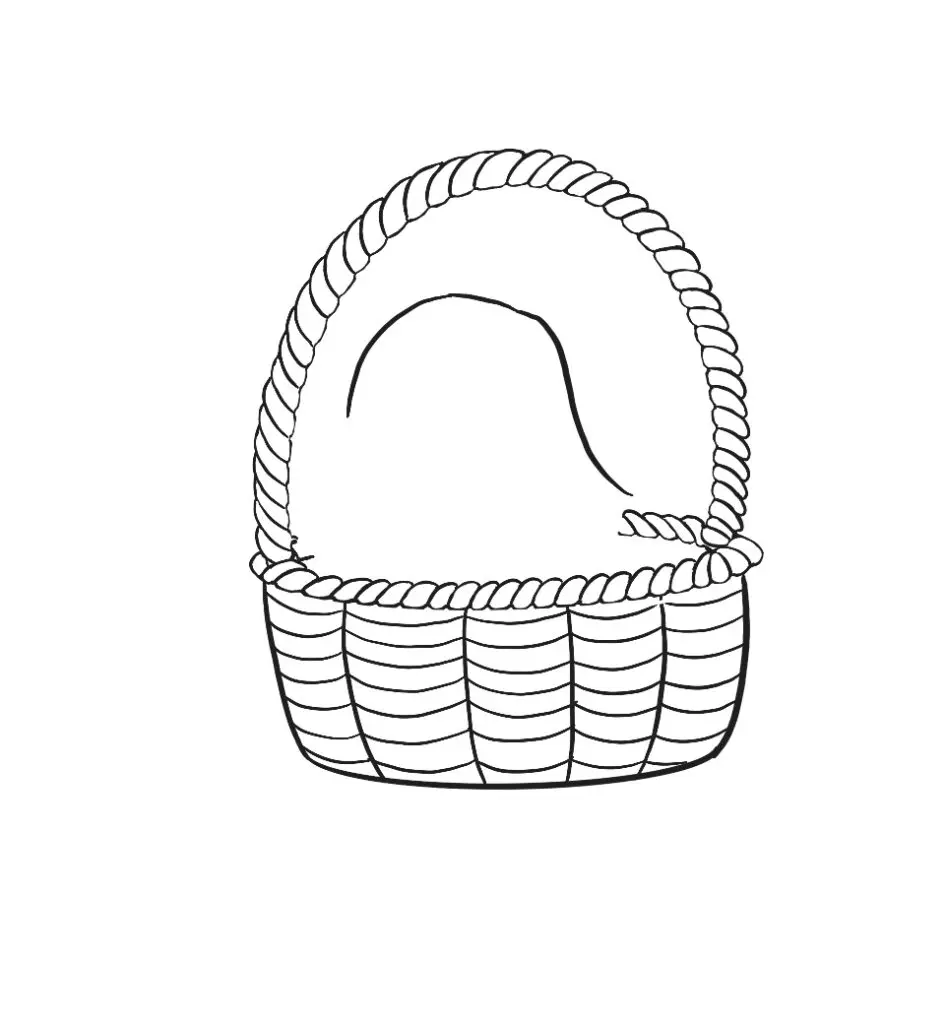
Now onto the bunny. Create a shape somewhat like a very wide question mark without the dot at the end going horizontally across the space between the handle and basket.
Step 10:
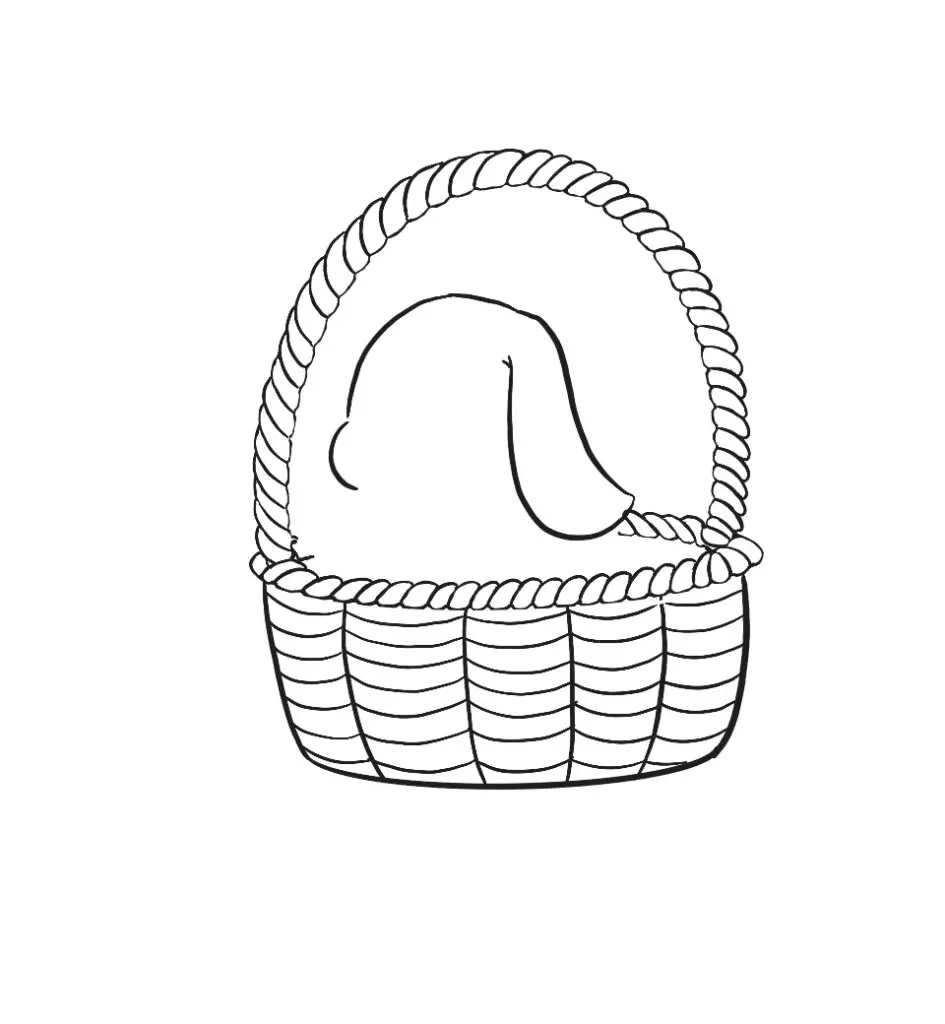
On the right side create a small half-moon shape and with the longer downward line curve it upwards making sure the bottom is wider than the top.
Step 11:
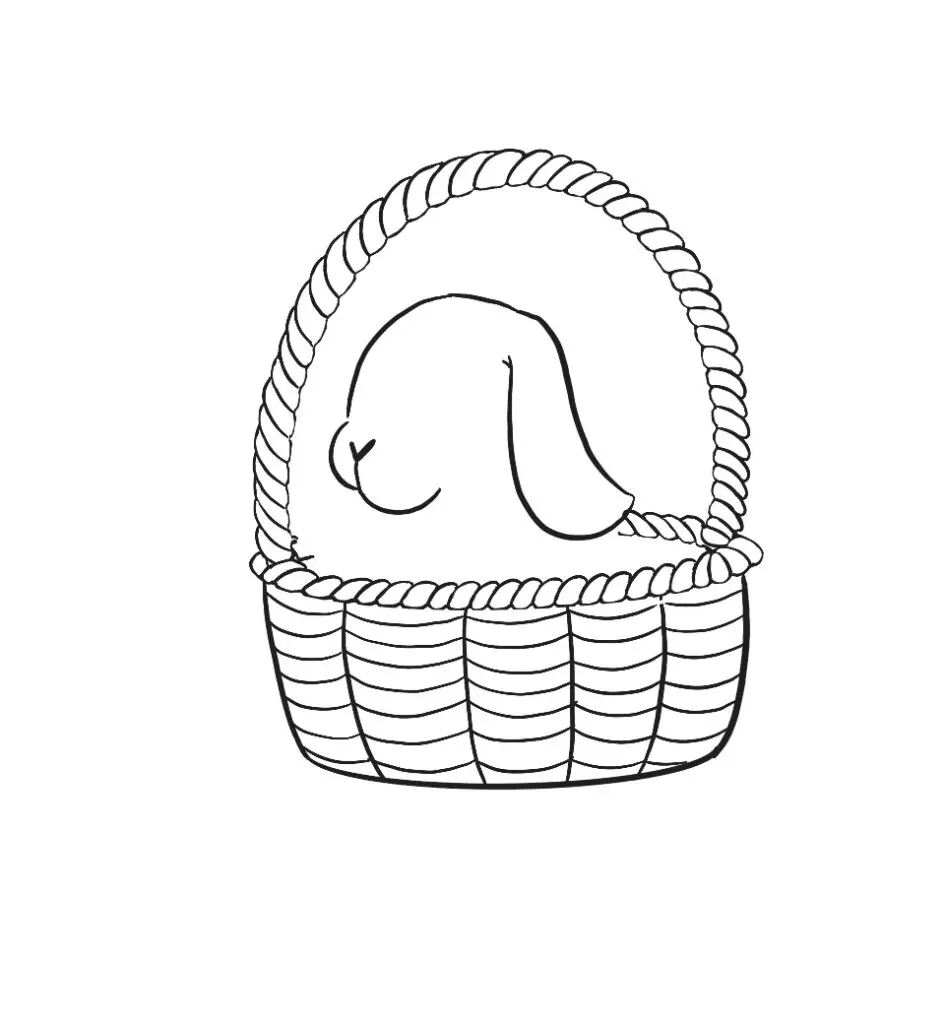
Create another crescent moon shape next to the first one and extend inward a bit. Where that little bit of line extends inwards to create a heart shape with the right side thicker than the left.
Step 12:
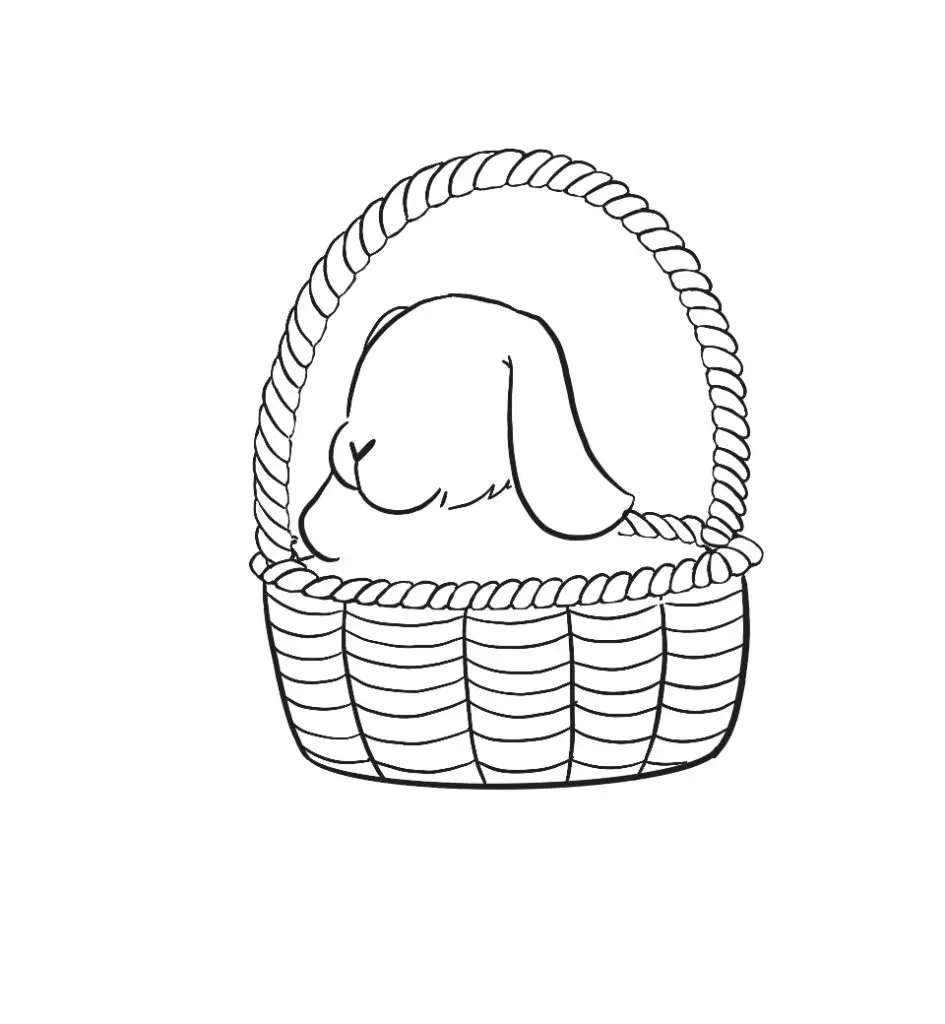
Now we’re going to close off the head with some quick strokes in curved triangles to mimic fur!
How about that other ear? Create a VERY thin curved line at the left side of the head. Then under the left-most part of the snout, we’re going to make a soft, rounded L shape
Step 13:
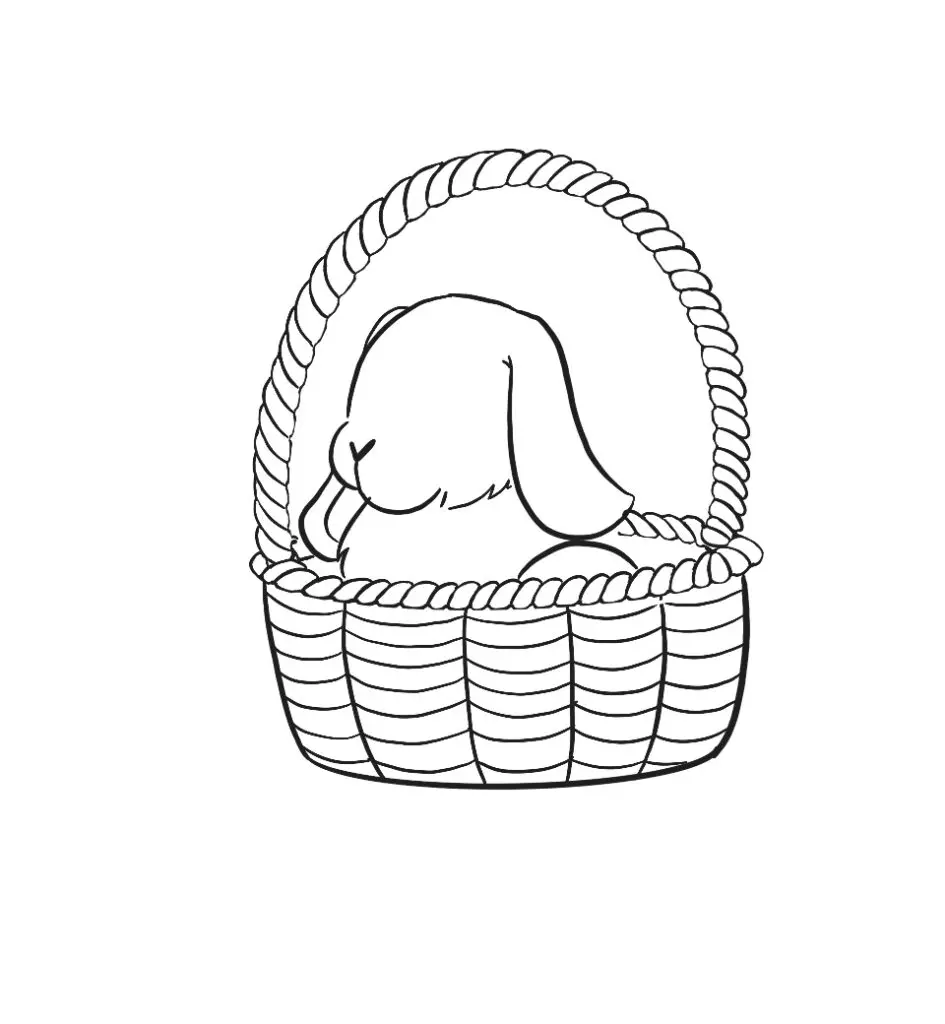
On that ear, we just started let’s make a matching line that we used on the base but much smaller to show the inside of the ear.
Now for the body. Matching those fur lines from before we’re going to close off the space between the head and the basket rim with one or two of those going downward. Finally, on this step create a partial circle shape right below the right ear.
Step 14:
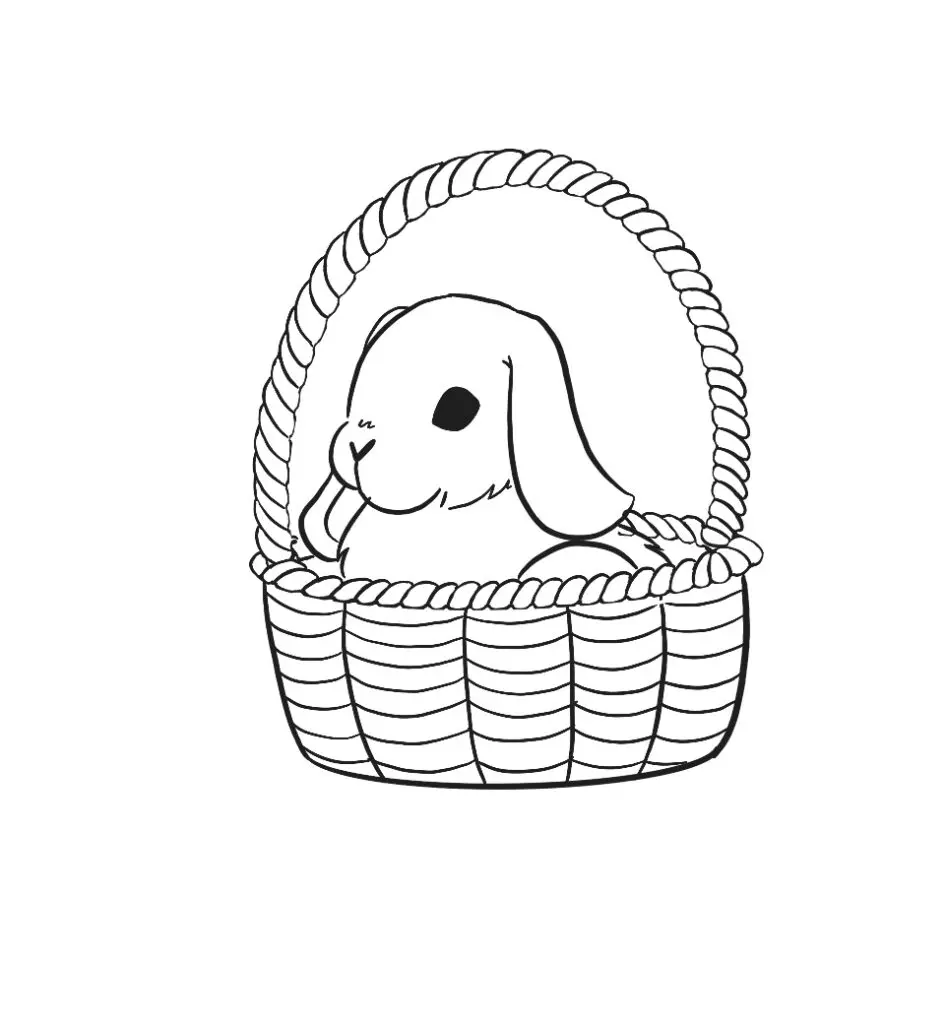
behind that rounded line we just made we’re going to add just a few more fur lines right behind it. Now, let’s add a black almond shape around 2/3 of the way between the nose and the ear. Finally on this step, add a tiny squiggly above the nose to show some depth.
Step 15:
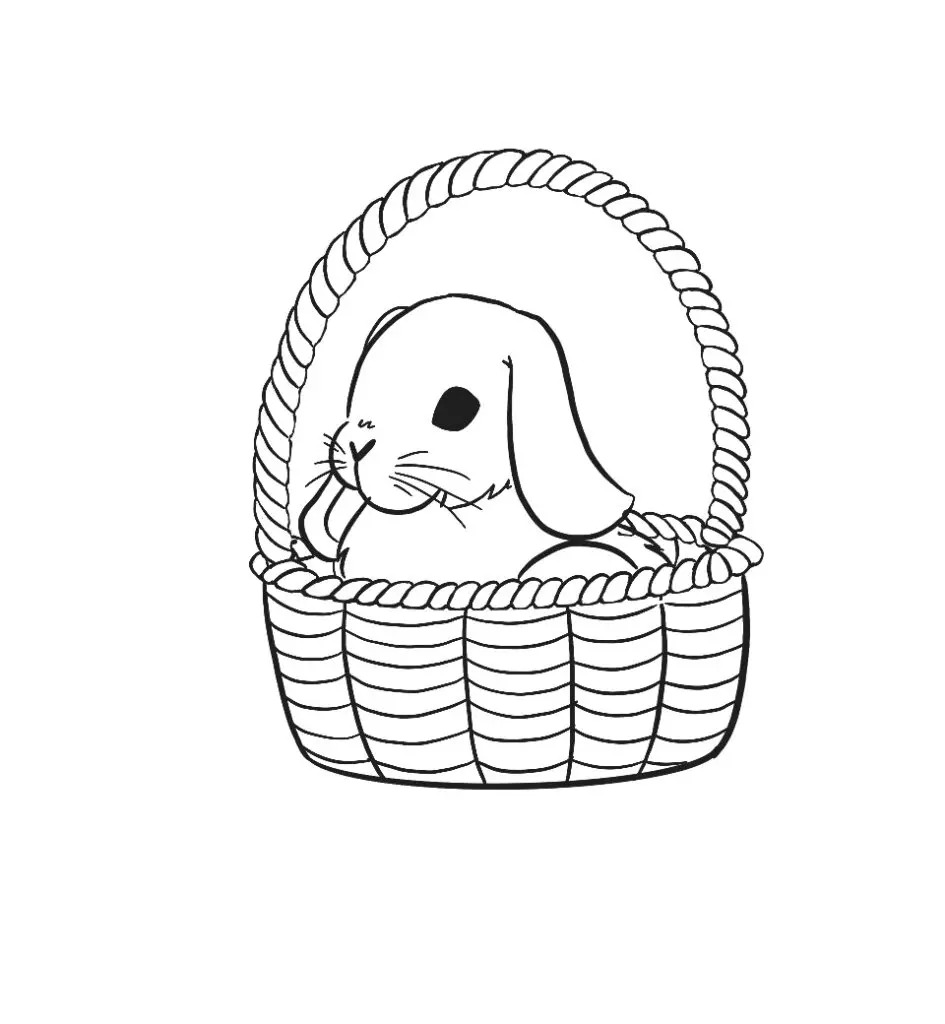
One either side of the nose, in the large space of the snout, add a few thin strokes for the whiskers. Make sure none of these lines are perfectly straight!
Step 16:
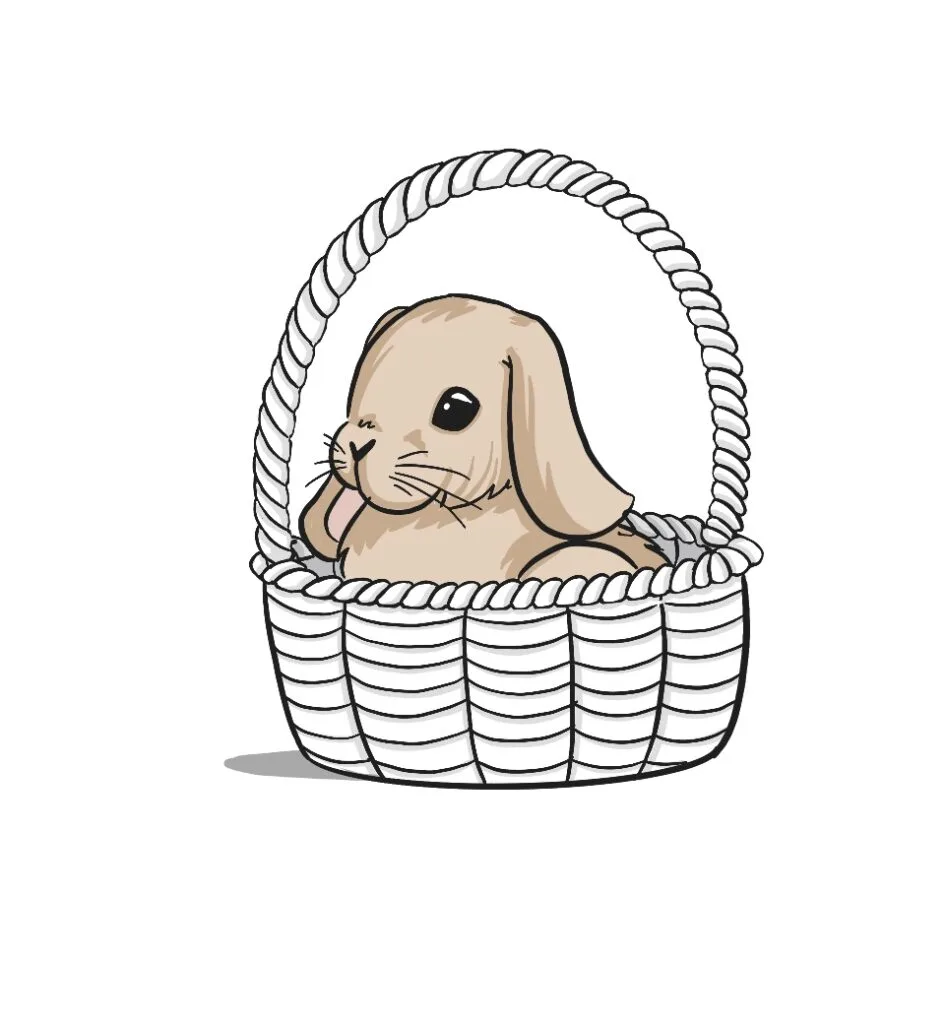
Now just color in your drawing however you’d like!
Related topics to help draw cute animals:
- How to Draw a Cute Bunny (12 Easy Steps)
- How to Draw Dogs – Easy Step by Step Tutorial for Cute Dogs
- Easy Step by Step to Drawing a Small Bird
- How to Draw a Frog (Step by Step with Pictures)
- How to Draw a Deer (Easy Step by Step with Pictures)
Thank you Carolyn for this amazing step-by-step process. You can view her social @ClazDesign if you enjoyed her illustrations. Check out her shop where she has amazing illustrations.
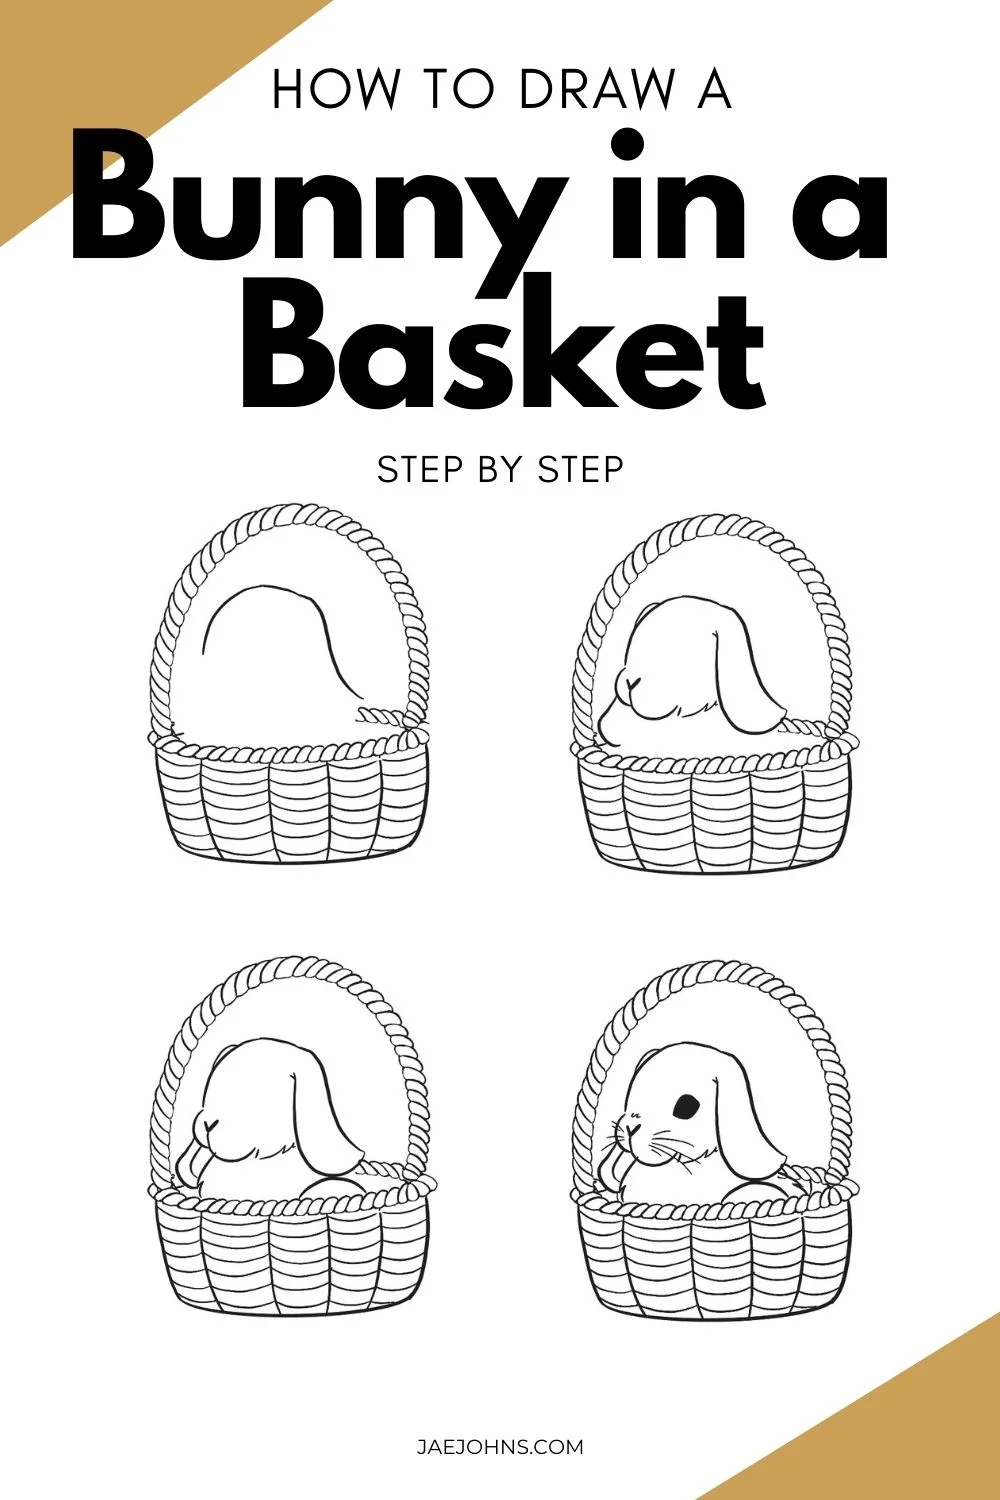
How to Draw a Bunny in a Basket Printable Guide
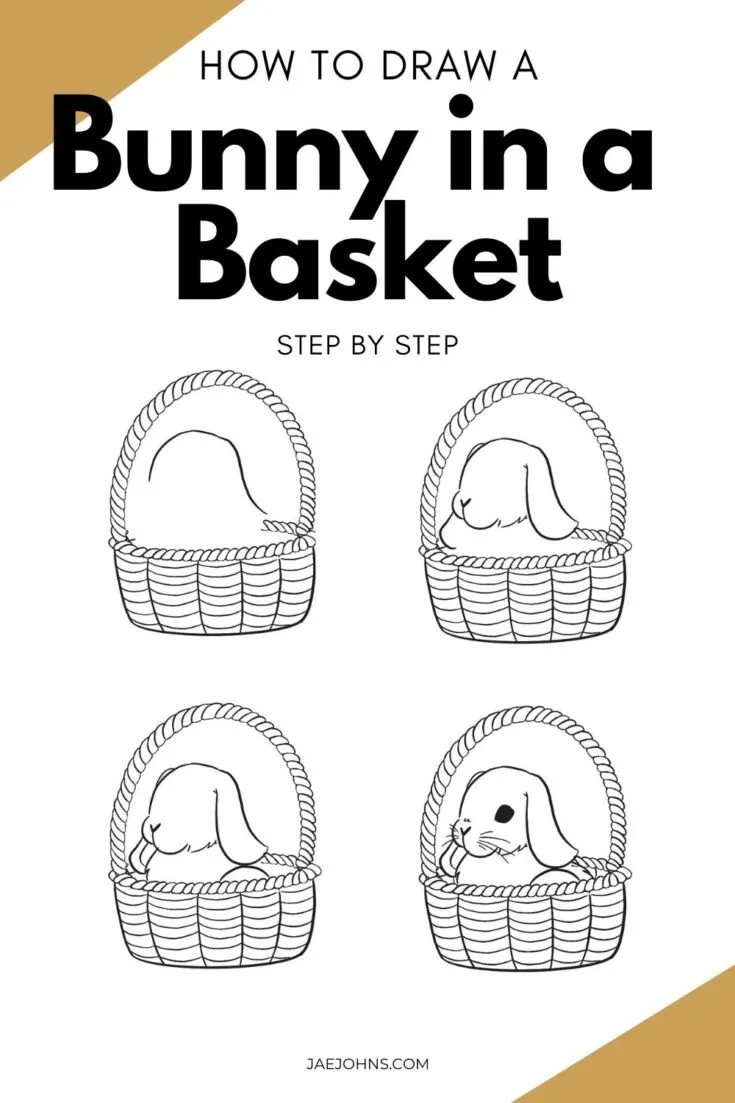
How to draw a Bunny in a Basket.
Materials
- Pencil
- Paper
- Or tablet and stylus
Tools
- Pencil
- Paper
- Or tablet and stylus
Instructions
- Step 1:
Let's start with a hula hoop shape, but don't close it all the way! Leave a gap.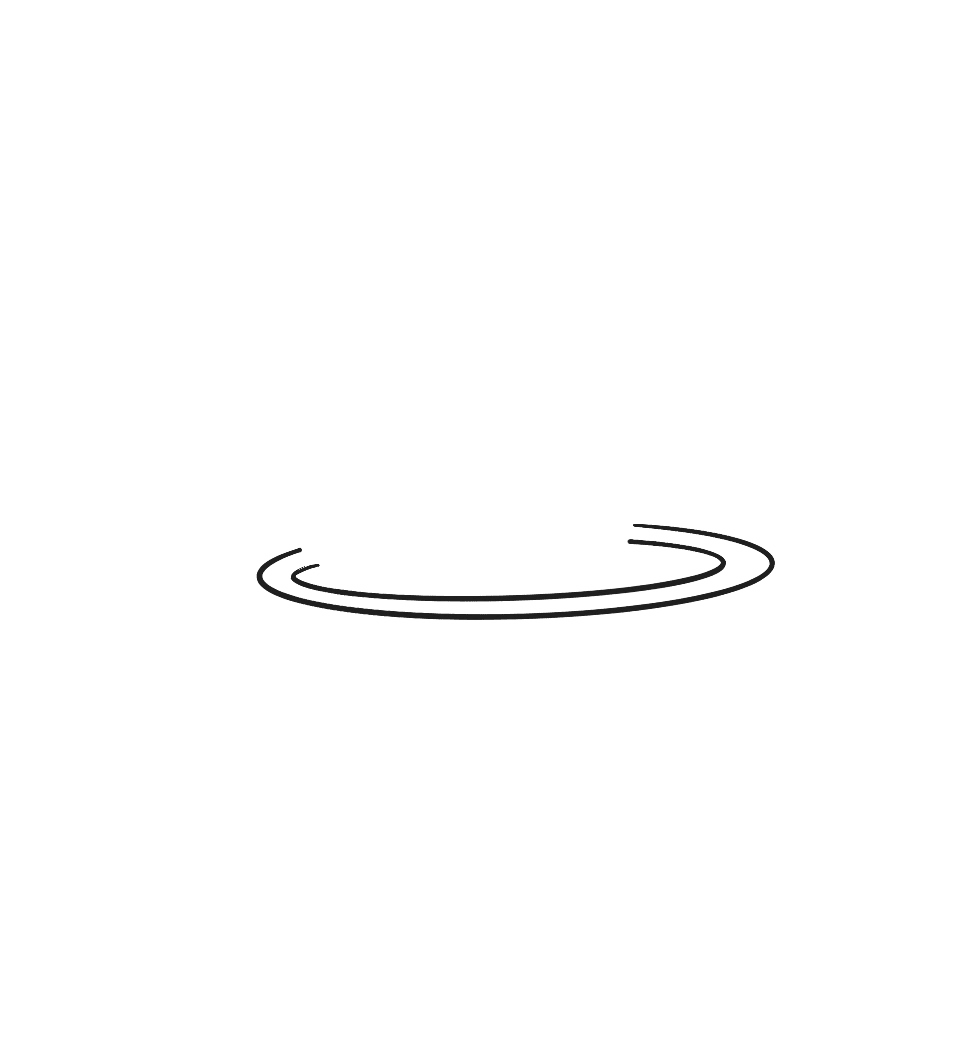
- Step 2:
Below the hula hoop let's make a curved line ending a bit before the edges of the hoop.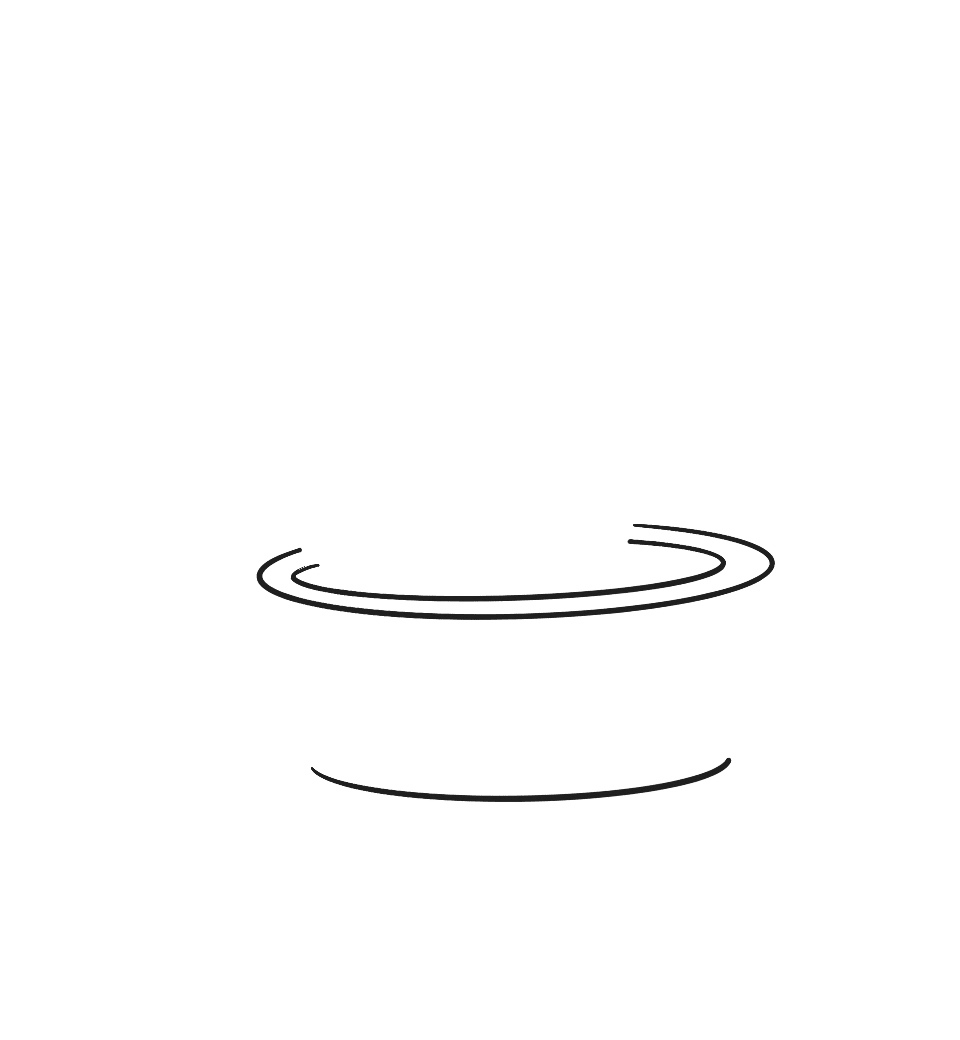
- Step 3:
With slightly curved vertical lines meet the bottom line to the hoop.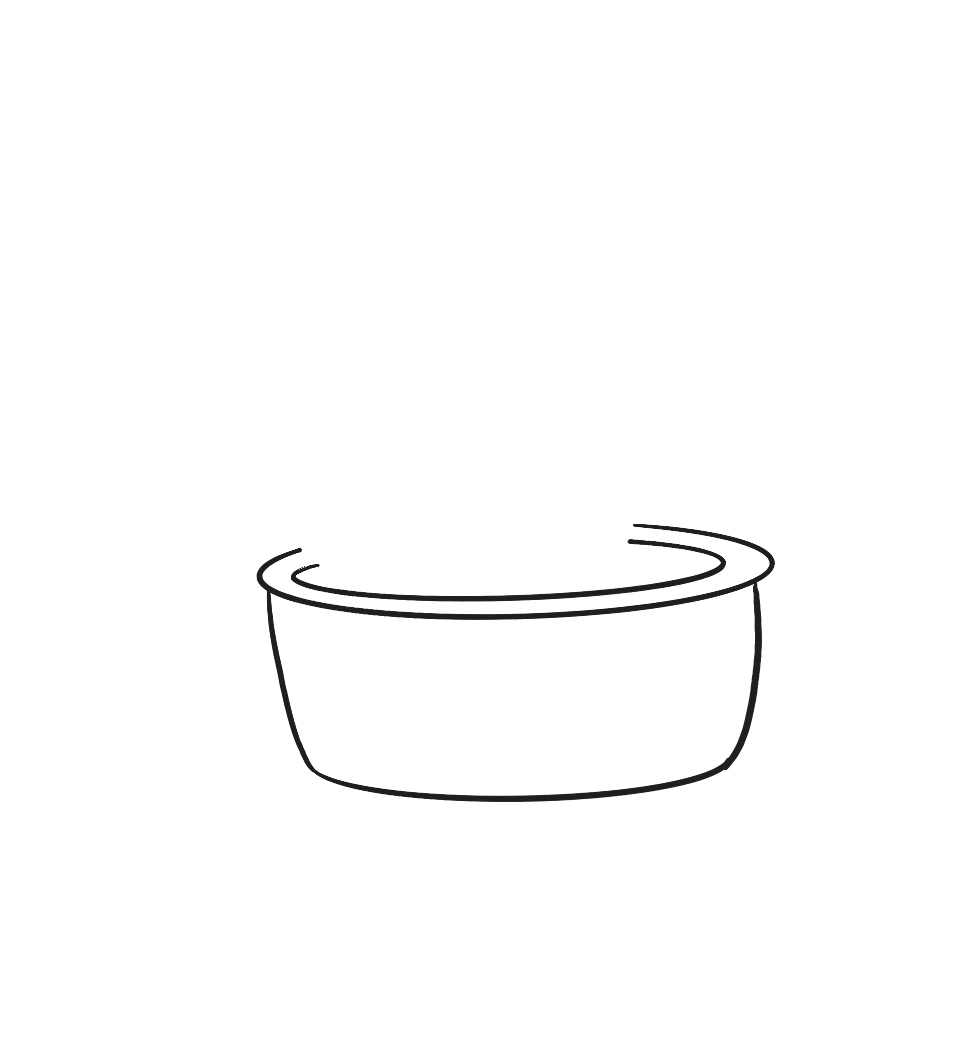
- Step 4:
We're going to create an oval-shaped hula hoop (about 2/3 of it at least) vertically from the edges of the first hoop we made - this will be our handle.
Now on the actual basket itself let's make some curved lines with the middle as a center point. What does that mean? It means that you should follow that curve of the basket from the middle point.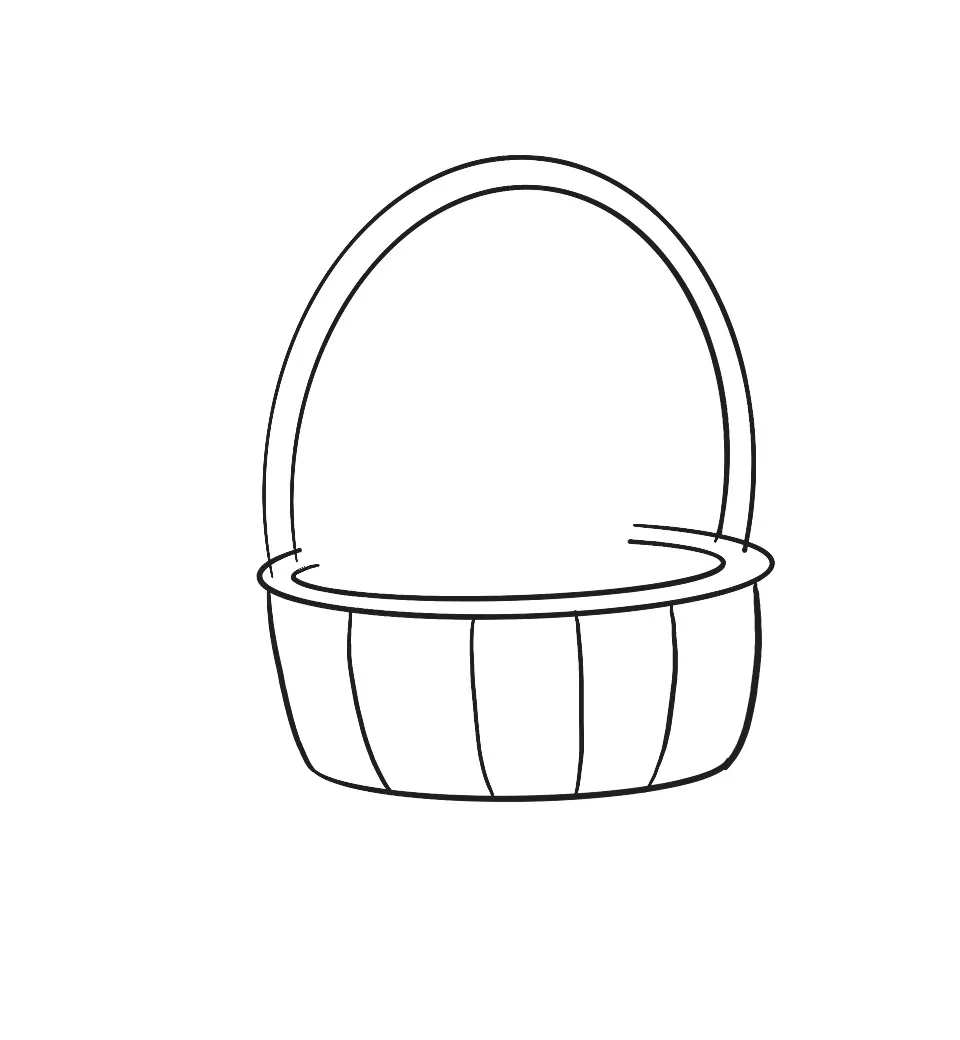
- Step 5:
In the furthest left quadrant of the basket, we're going to create curved horizontal lines from edge to edge.
At the same time let's close off the open ends of the handle.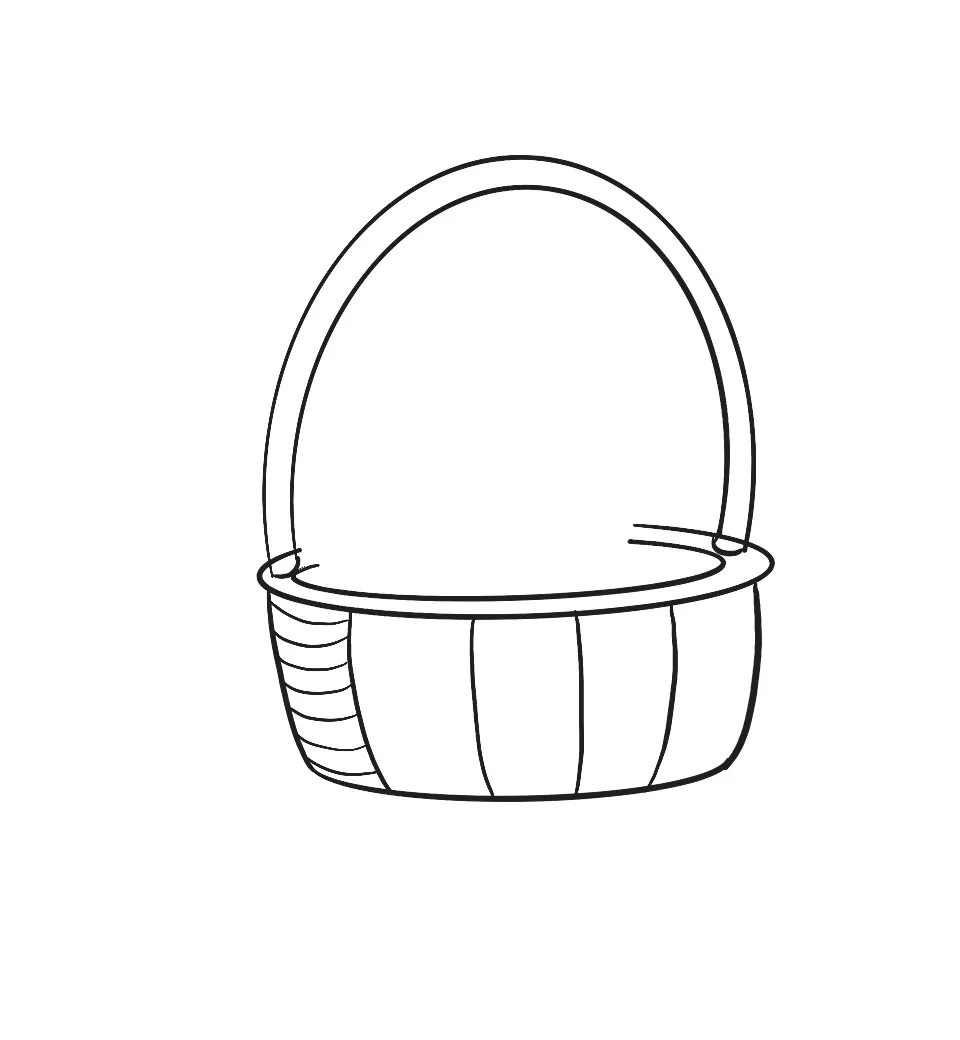
- Step 6:
Continue those horizontal lines from the furthest left quadrant across each quadrant. On the handle, erase all overlapping lines.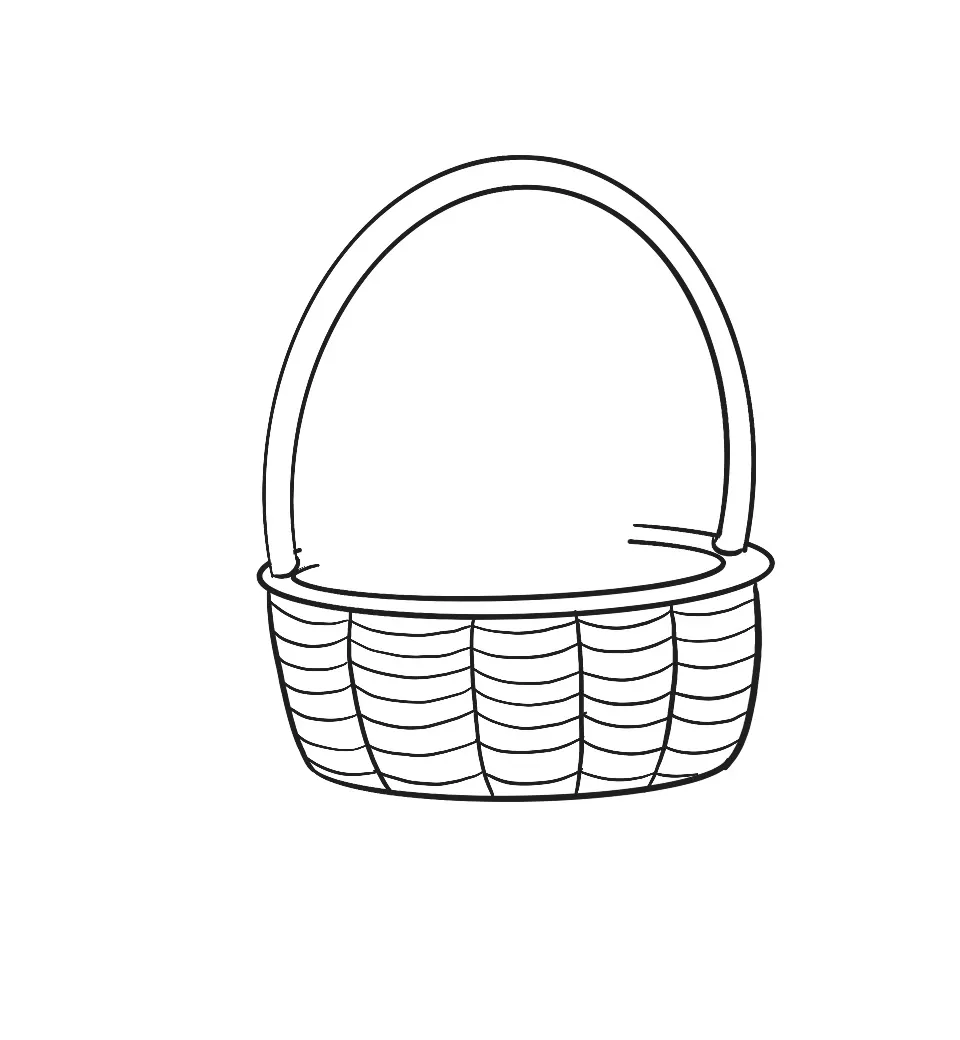
- Step 7:
Around the rim of the basket and the handle, we're going to make a braid-like shape with half-U shape lines. Go all around the rim and handle it!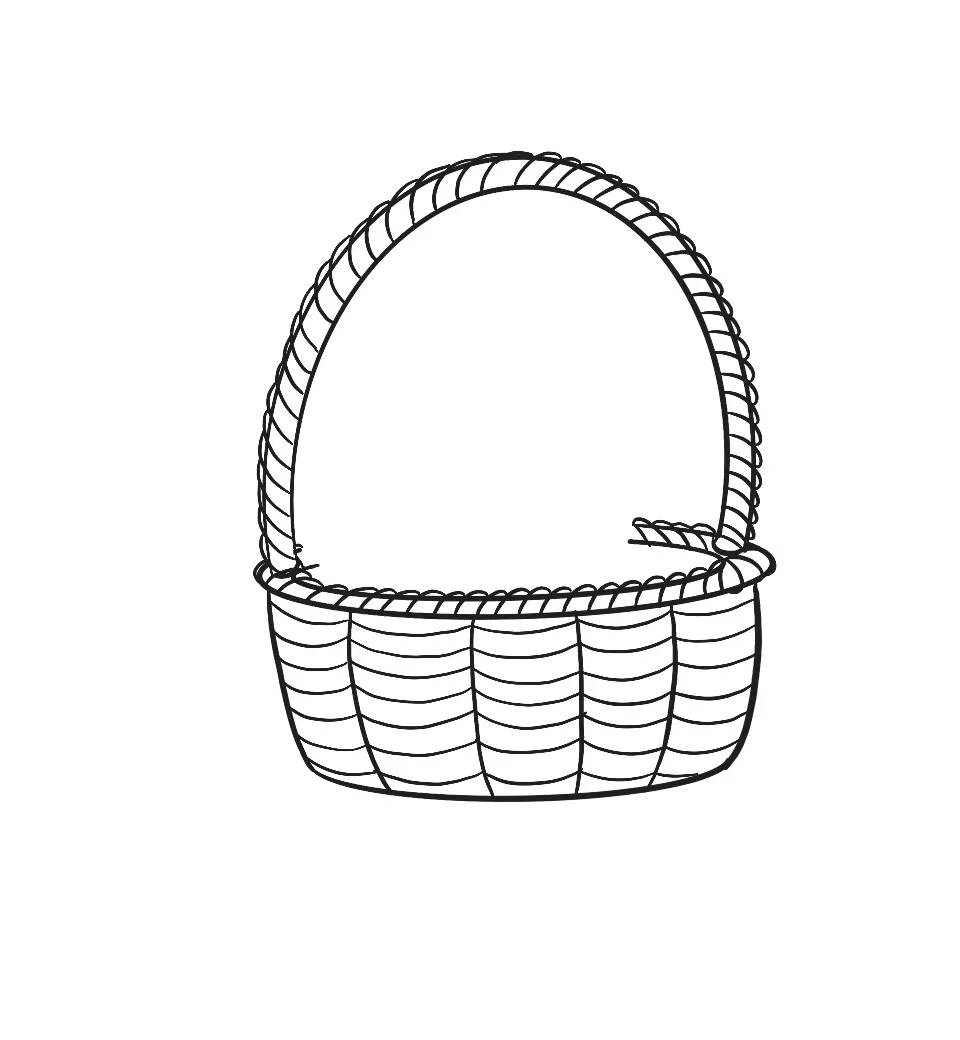
- Step 8:
Erase ALL those overlapping lines!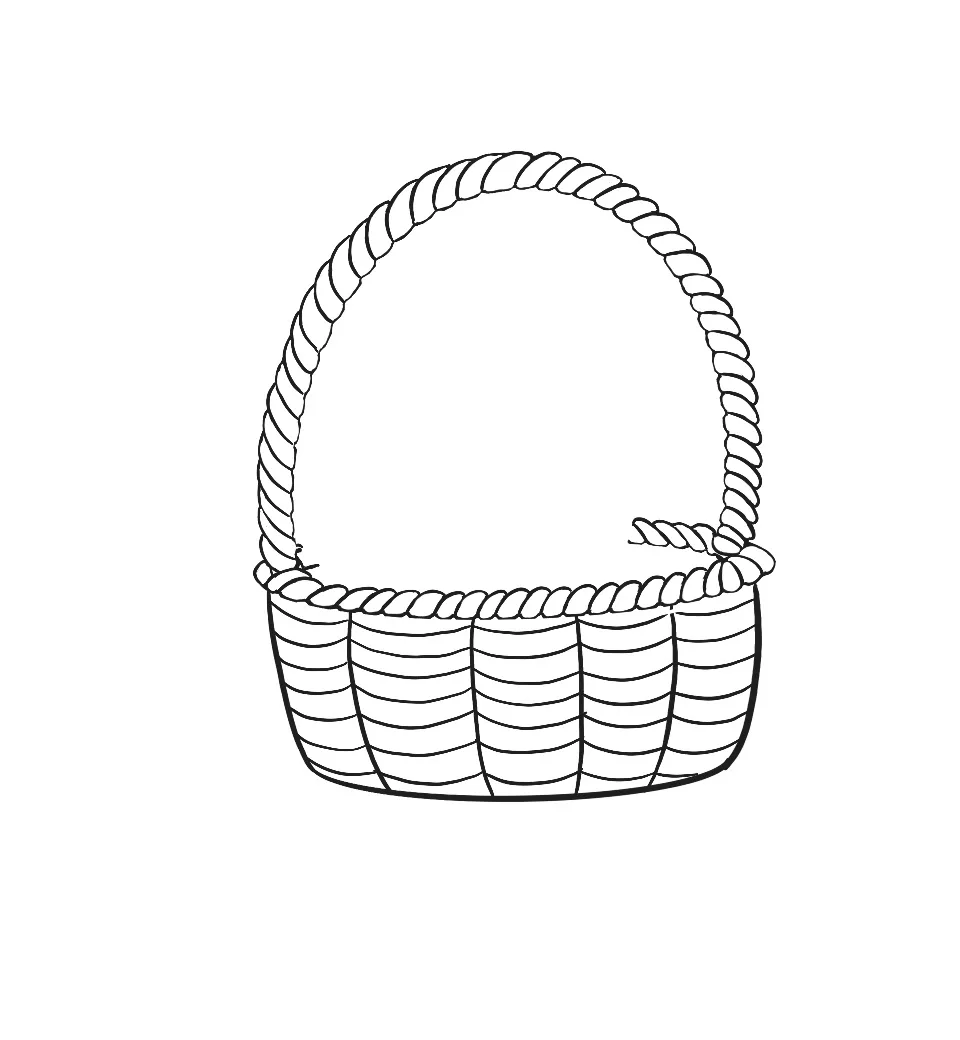
- Step 9:
Now onto the bunny. Create a shape somewhat like a very wide question mark without the dot at the end going horizontally across the space between the handle and basket.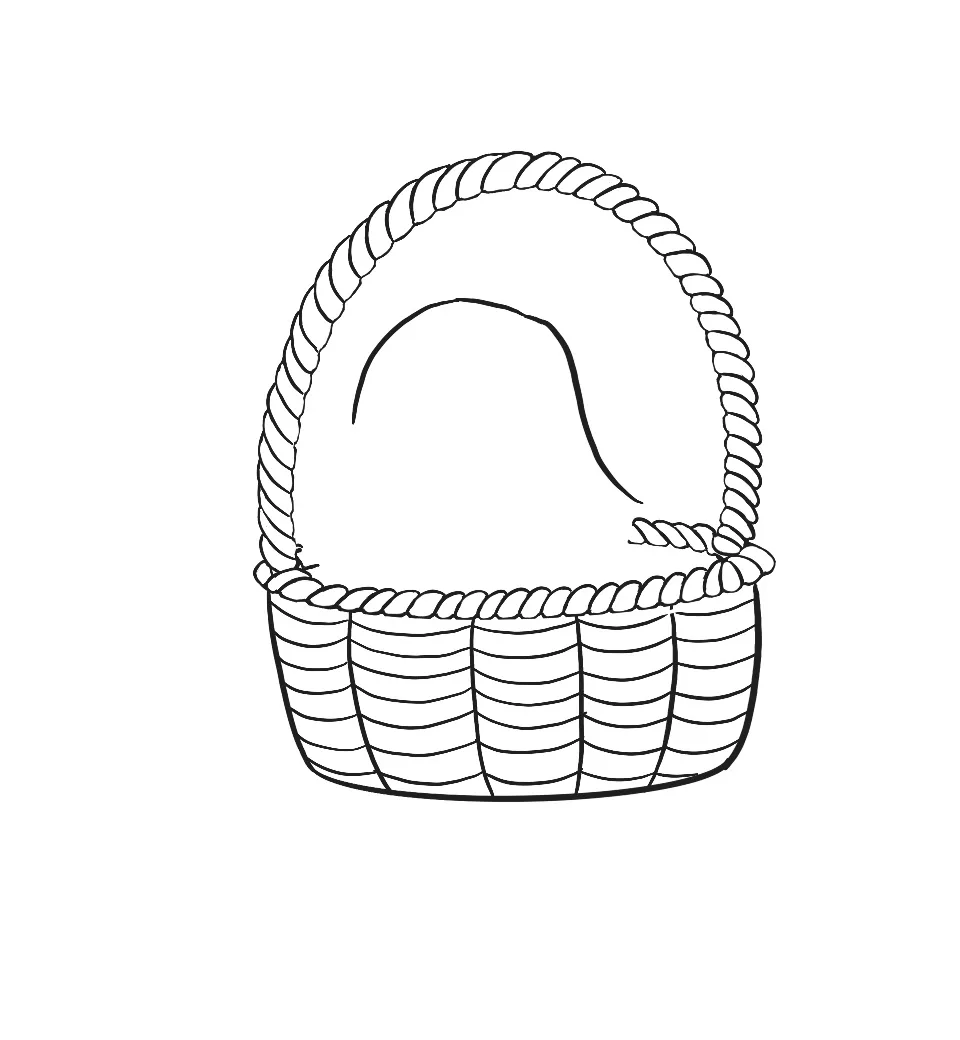
- Step 10:
On the right side create a small half-moon shape and with the longer downward line curve it upwards making sure the bottom is wider than the top.
- Step 11:
Create another crescent moon shape next to the first one and extend inward a bit. Where that little bit of line extends inwards to create a heart shape with the right side thicker than the left.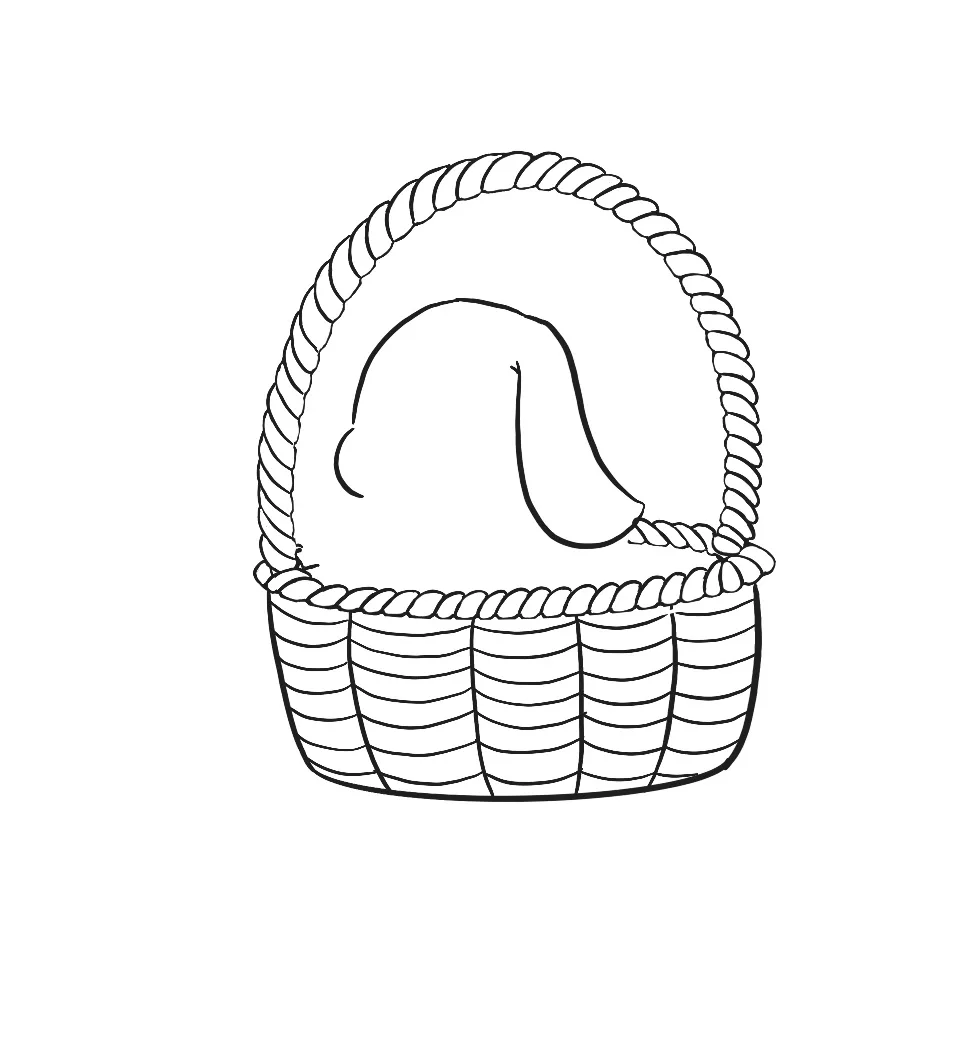
- Step 12:
Now we're going to close off the head with some quick strokes in curved triangles to mimic fur!
How about that other ear? Create a VERY thin curved line at the left side of the head. Then under the left-most part of the snout, we're going to make a soft, rounded L shape.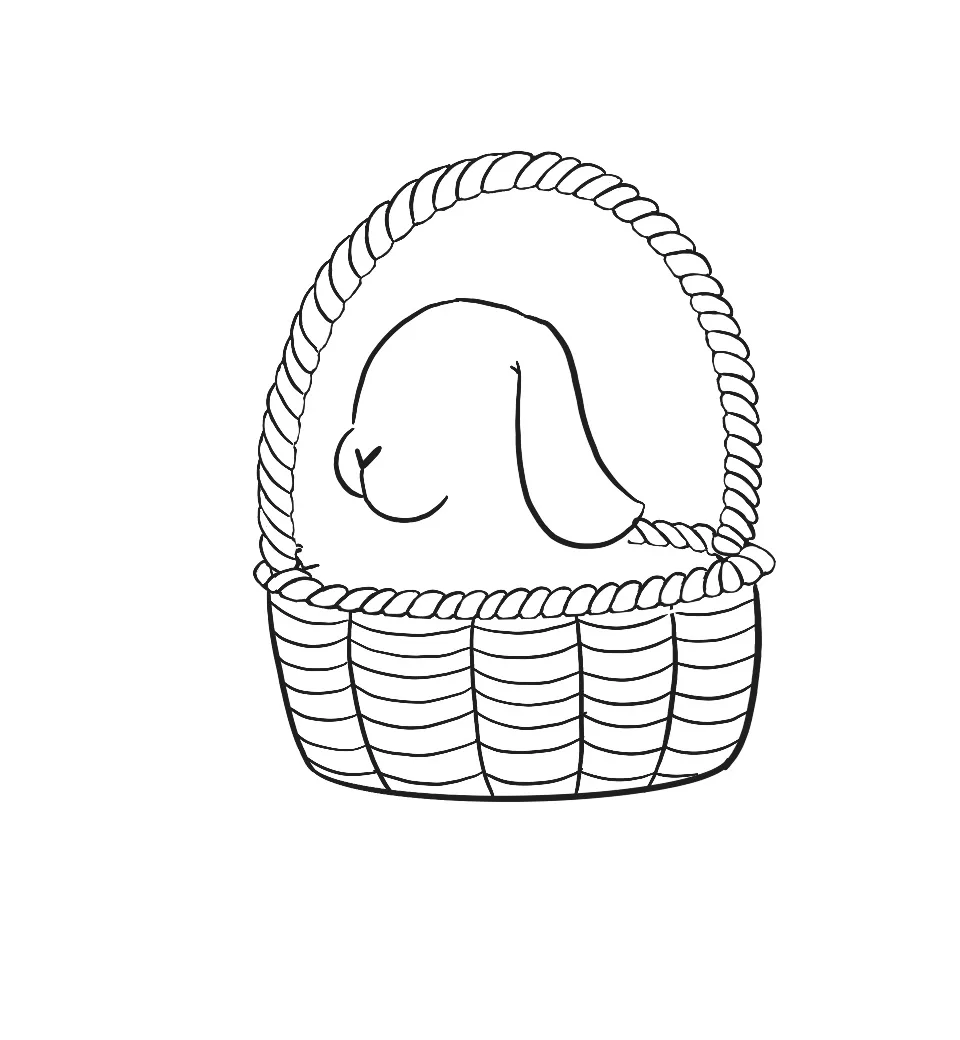
- Step 13:
On that ear, we just started let's make a matching line that we used on the base but much smaller to show the inside of the ear.
Now for the body. Matching those fur lines from before we're going to close off the space between the head and the basket rim with one or two of those going downward. Finally, on this step create a partial circle shape right below the right ear.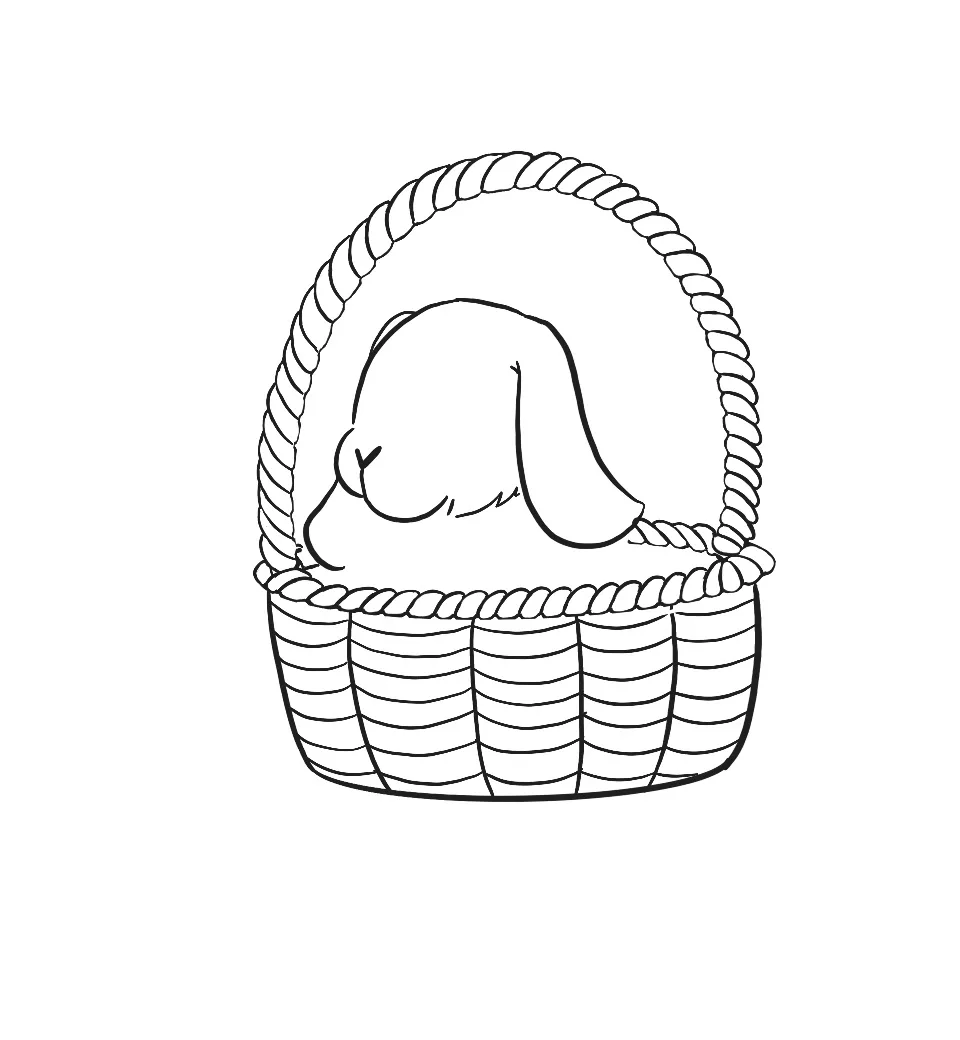
- Step 14:
Behind that rounded line, we just made we're going to add just a few more fur lines right behind it. Now, let's add a black almond shape around 2/3 of the way between the nose and the ear. Finally, on this step, add a tiny squiggly above the nose to show some depth.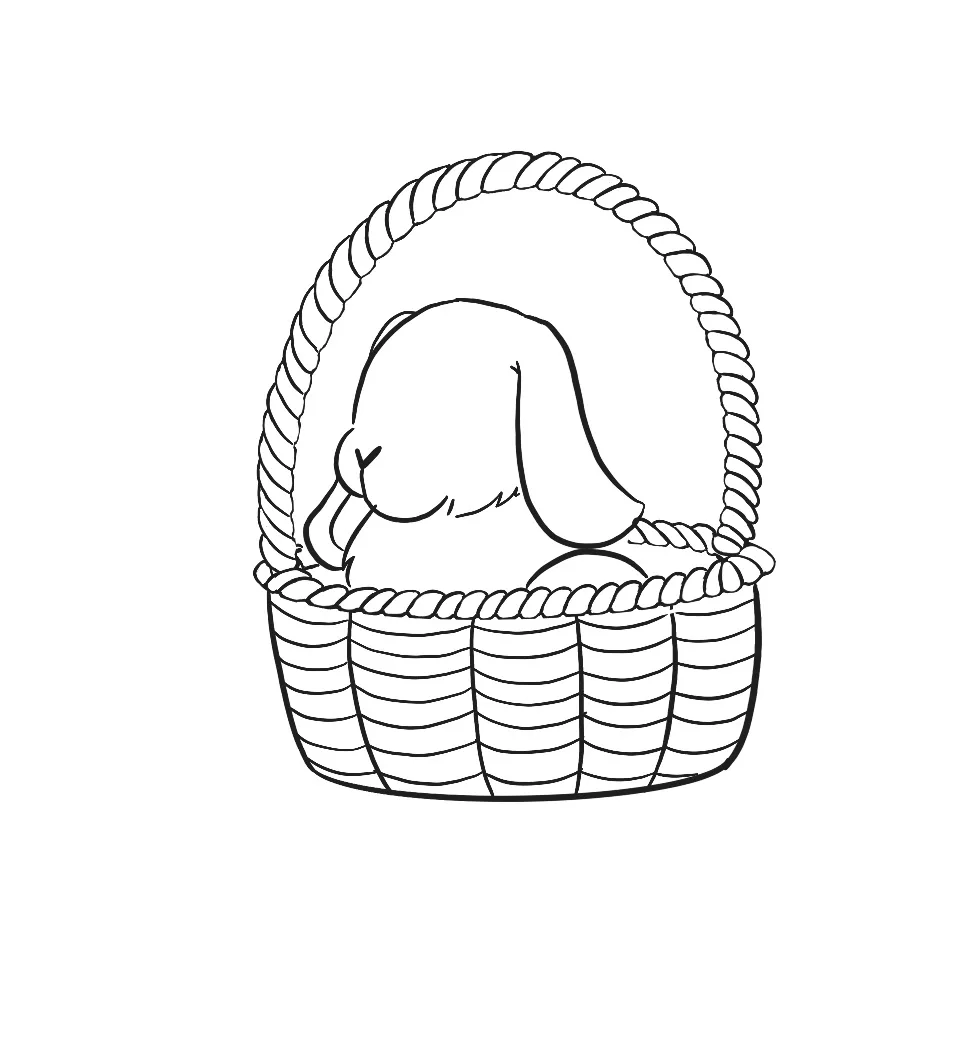
- Step 15:
On either side of the nose, in the large space of the snout, add a few thin strokes for the whiskers. Make sure none of these lines are perfectly straight!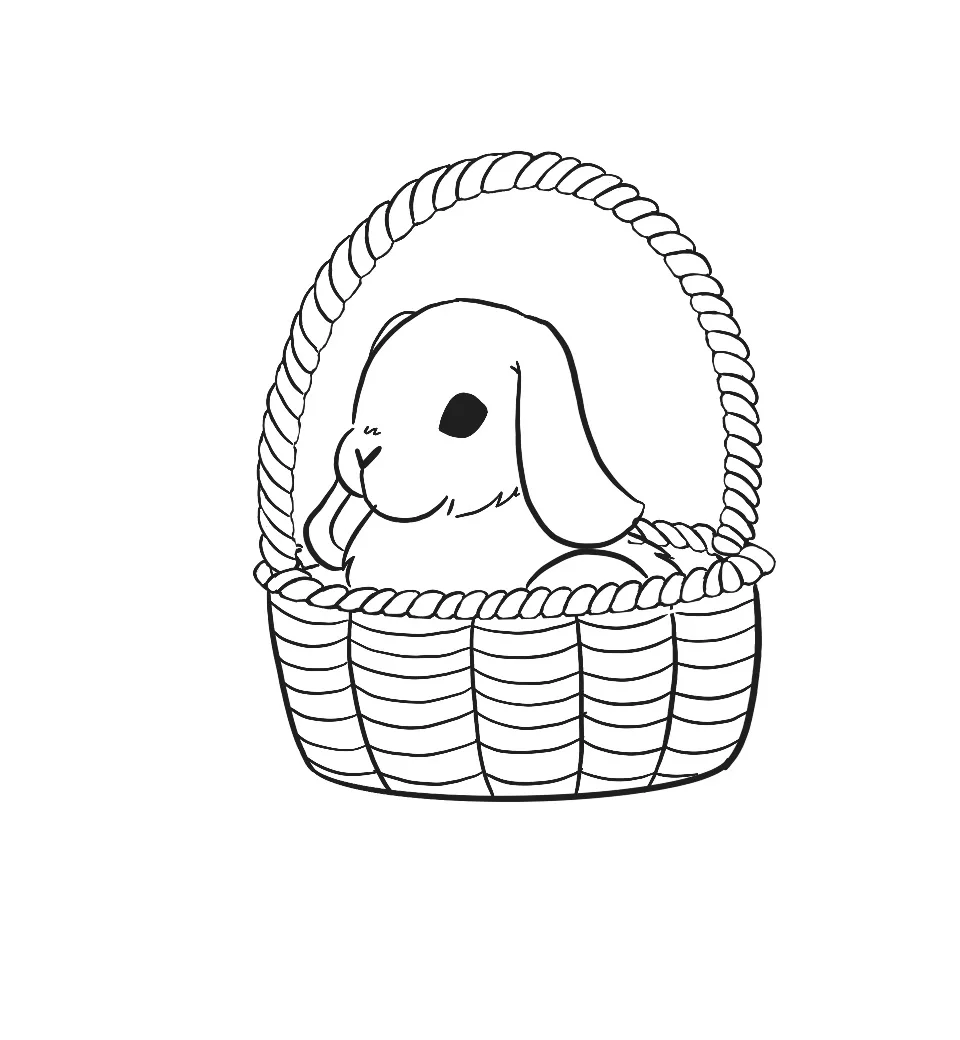
- Step 16:
Now just color in your drawing however you'd like!