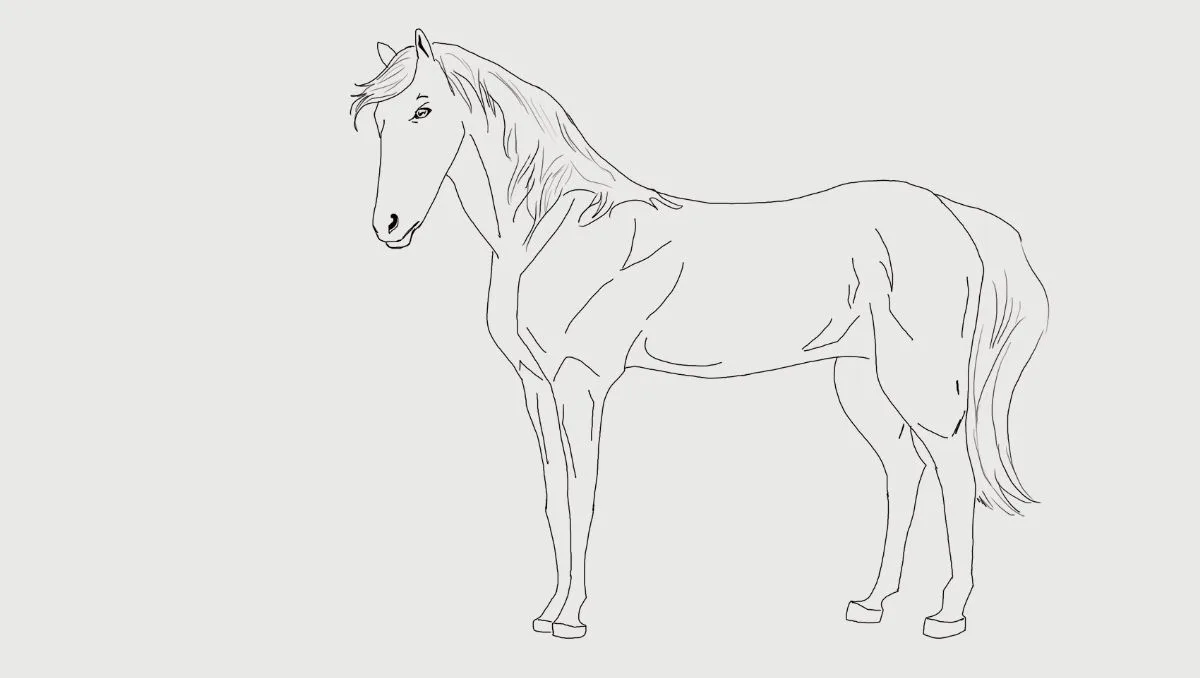
Unleash your ability to draw a horse with this easy step-by-step process.
Step 1

Draw 5 oval shapes. 3 of the ovals should be drawn in a group. These shapes represent the horse’s body.
The other 2 ovals are towards the left of the body and are for the horse’s head and nose.
It’s always important to start with simple shapes.
You don’t have to be perfect. We can always tweak things later.
Step 2

Draw lines from the body downward. Use ovals for the joints in the horse’s legs.
Then draw a curved line from the oval that represents the horse’s head to the first oval in the group of 3 ovals that are for its body.
Step 3

Draw lines that connect the ovals together.
Add ears on top of the head. Draw hoofs on the bottom of the legs. We’ll also add a curved line on top of the horse’s neck to represent its hair.
Remember the basic shapes we drew before serve as a guide.
Step 4

Now that we have most of the horse sketched, we’ll start adding some details within the horse’s body.
We’ll add the eyes, nostrils, and some definitions of the body. The lines in the horse’s body help show the curved surface of the horse.
Step 5

We’ll erase the basic shapes we used to help us draw the horse.
Step 6

Lastly, we’ll draw the horse’s hair, tail, and darken the eyes and nostrils.

