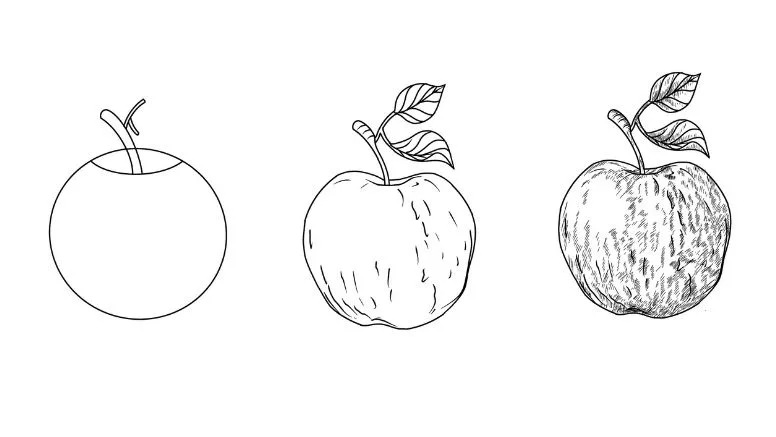
Did you know you can learn how to draw an apple with shading in 5 easy steps? Yes, drawing an apple is quite simple.
With these step by step pictures, you’ll be able to draw an apple with shading in no time. These simple 5 images will show you how!
Let’s get started!
Drawing Supplies Needed
All you need is something to draw with and something to draw on. Click on the following link if you want to know what are the best tools for drawing.
Step 1: Draw a basic circle shape for the apple

First make a circle shape and give a small bud above it.
Step 2: Sketch out a new line for the apple
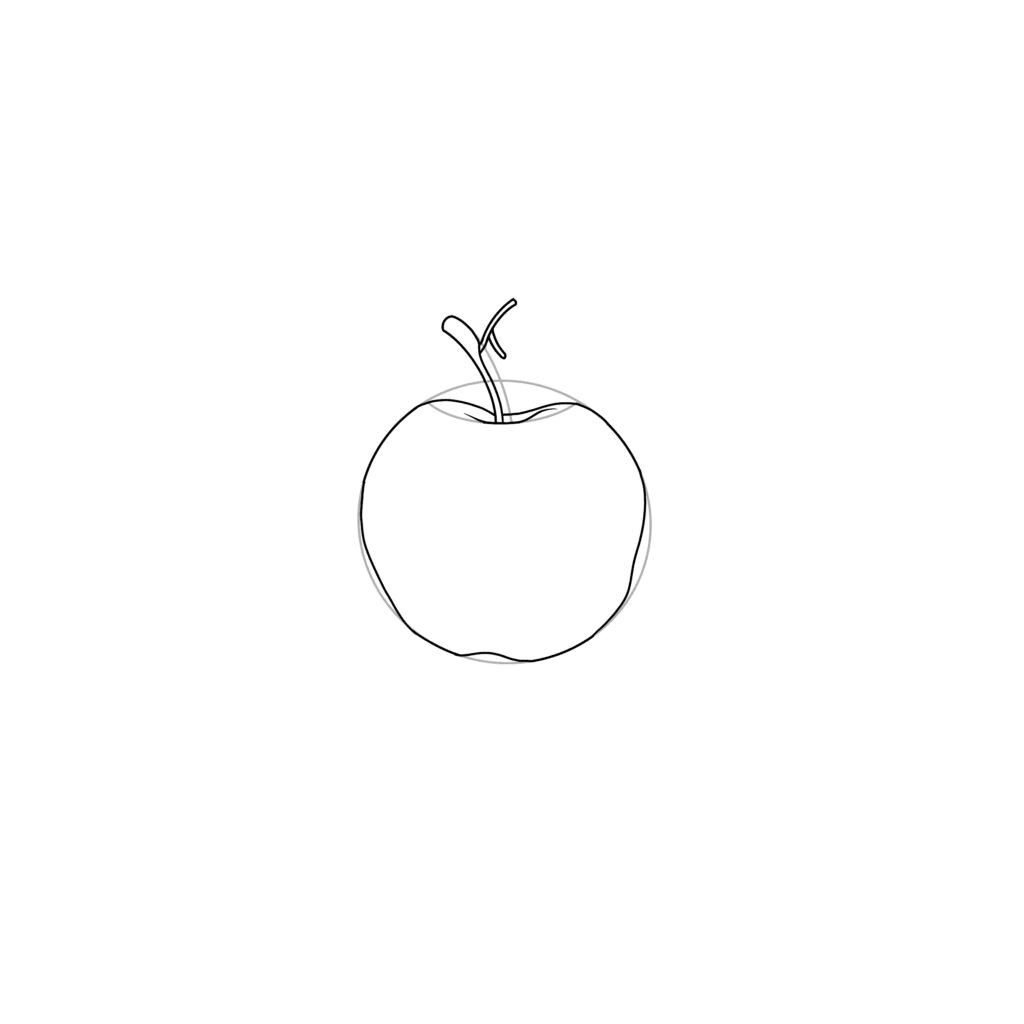
Then delete the outline and then give it a line by forming the body of the apple.
Step 3: Draw leaves and apple stem
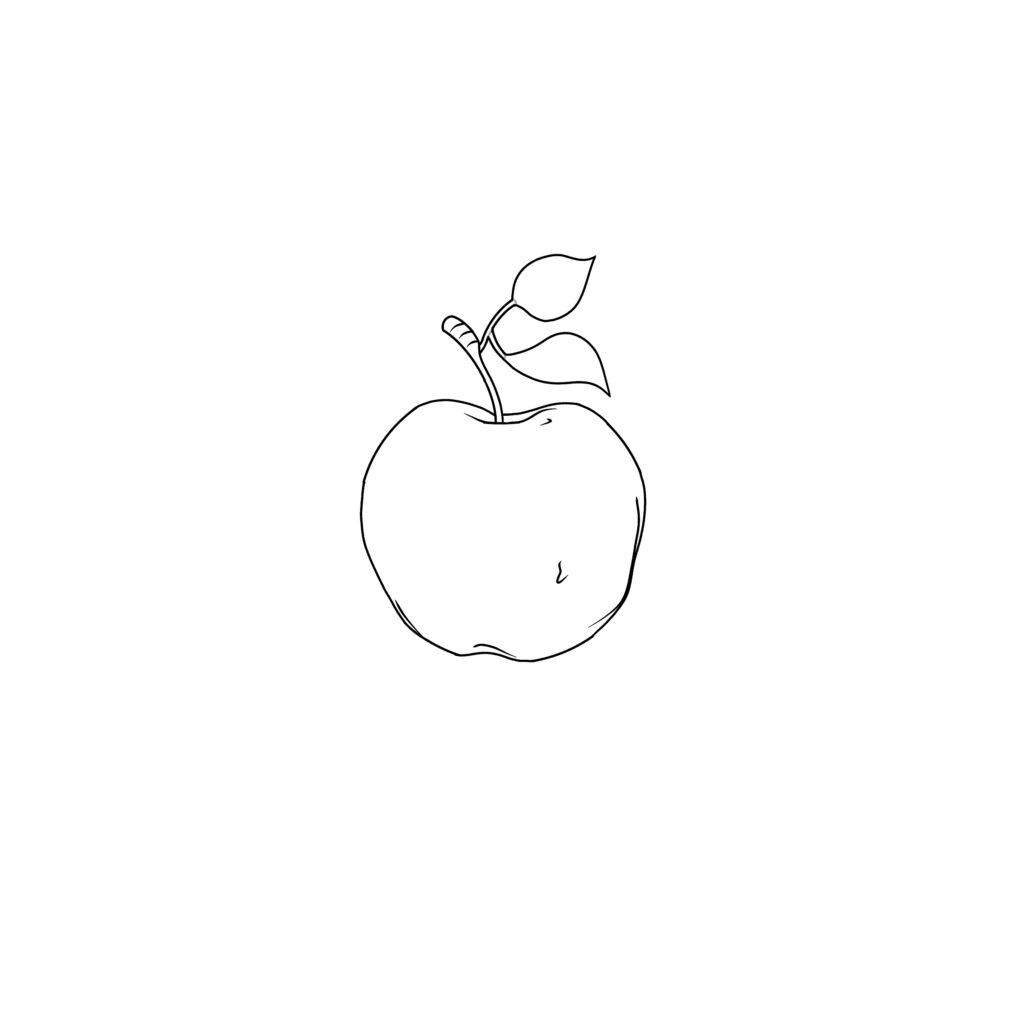
Next, erase the tip line of the bud then add two leaves on top.
Step 4: Draw details on the large areas on the apple
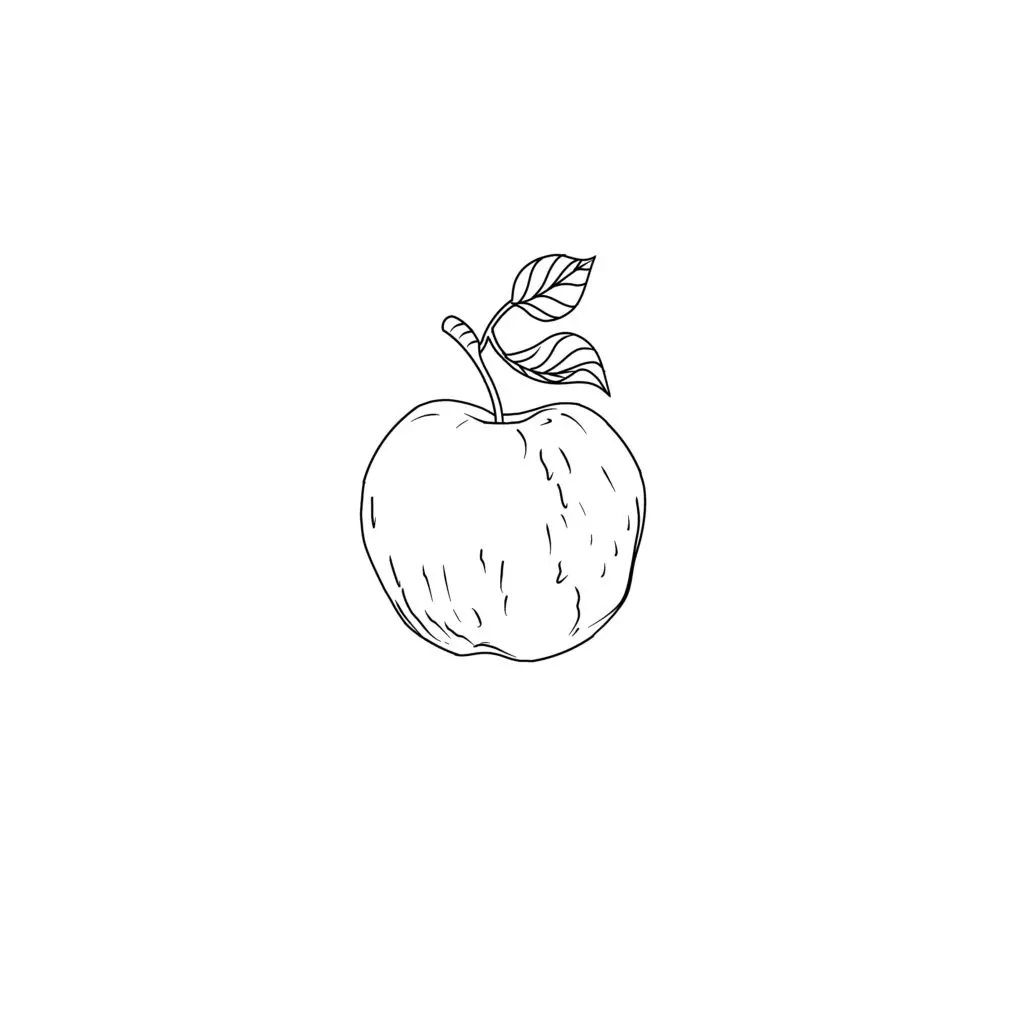
Give small details on the apple peel then give the leaf segments.
Step 5: Draw shading on all parts of the apple
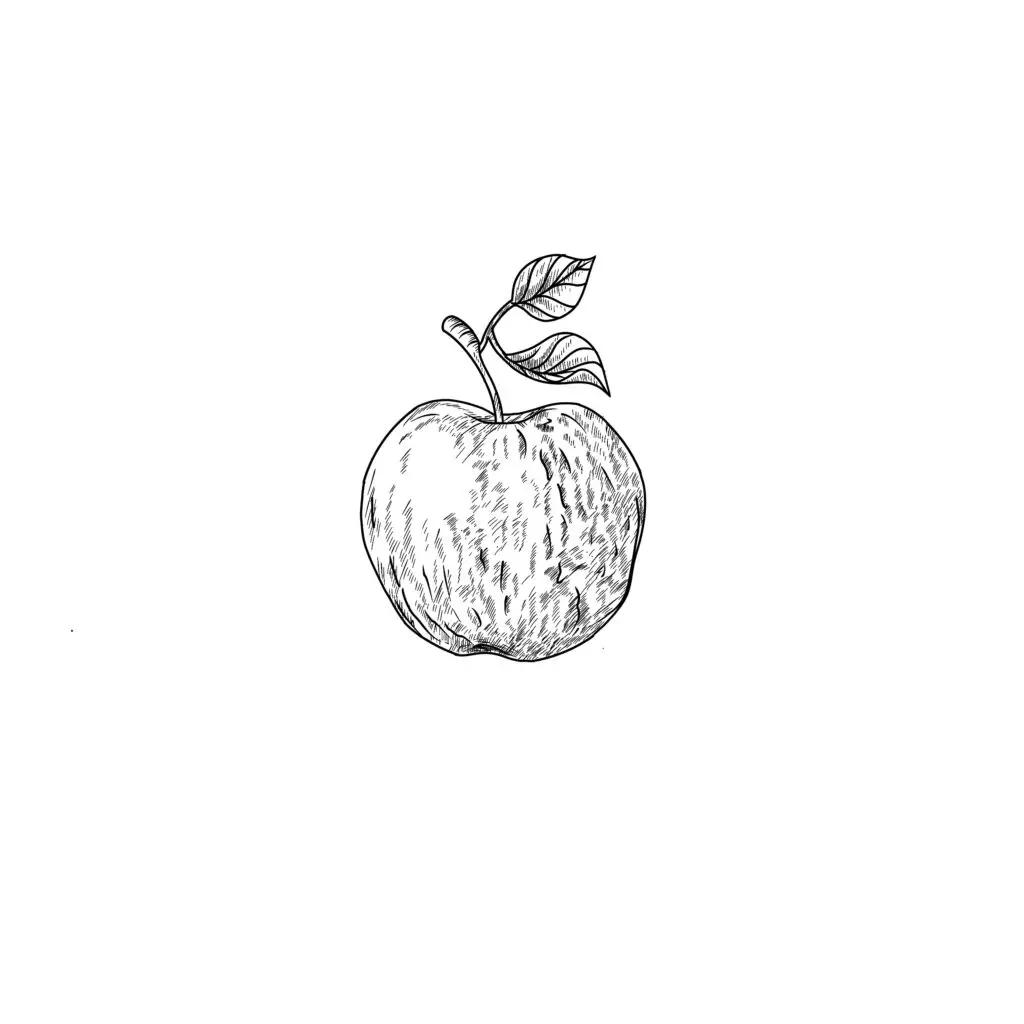
Then give shading in all parts, such as the fruit and leaves.
As you can see, all it takes is 5 steps in order to draw an apple with some shading. Notice how we started drawing the apple with a basic circle shape and then continued to adjust it and add details.
Other related topics to help you draw:

How to Draw an Apple with Shading Printable Guide
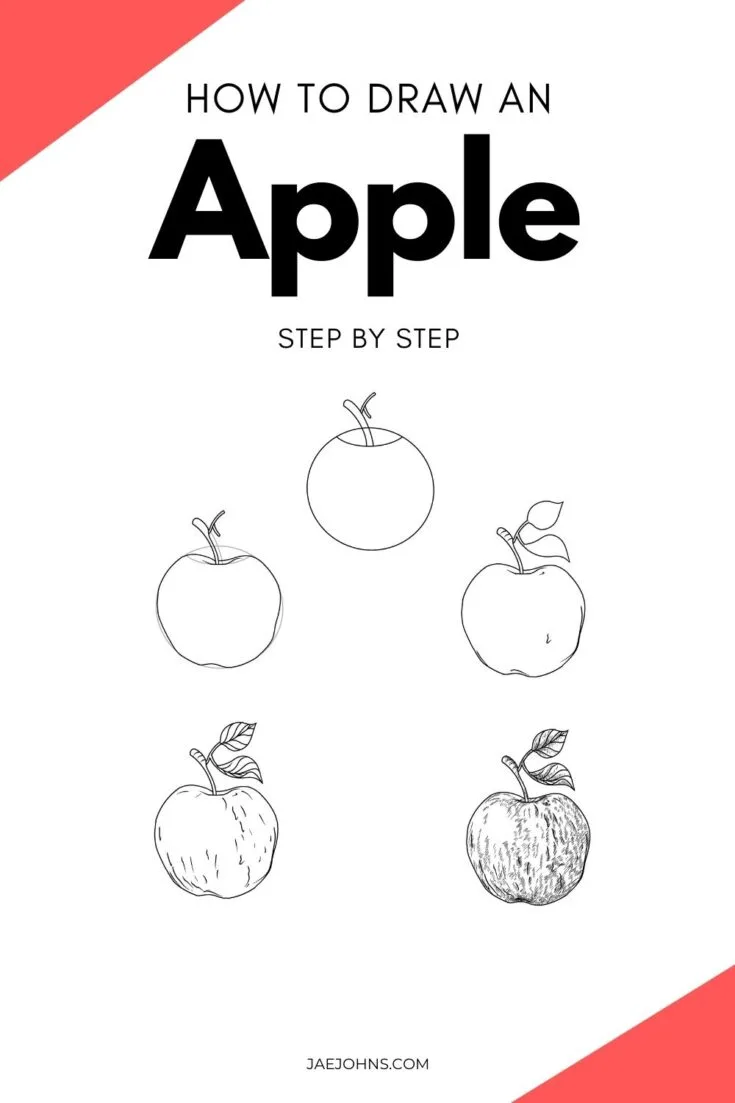
Step-by-step instructions on how to draw an apple with shading
Materials
- Pencil
- Paper
- Or tablet and stylus
Tools
- Pencil
- Paper
- Or tablet and stylus
Instructions
- Step 1: Draw a basic circle shape for the apple
First, make a circle shape and give a small bud above it.
- Step 2: Sketch out a new line for the apple
Then delete the outline and then give it a line by forming the body of the apple.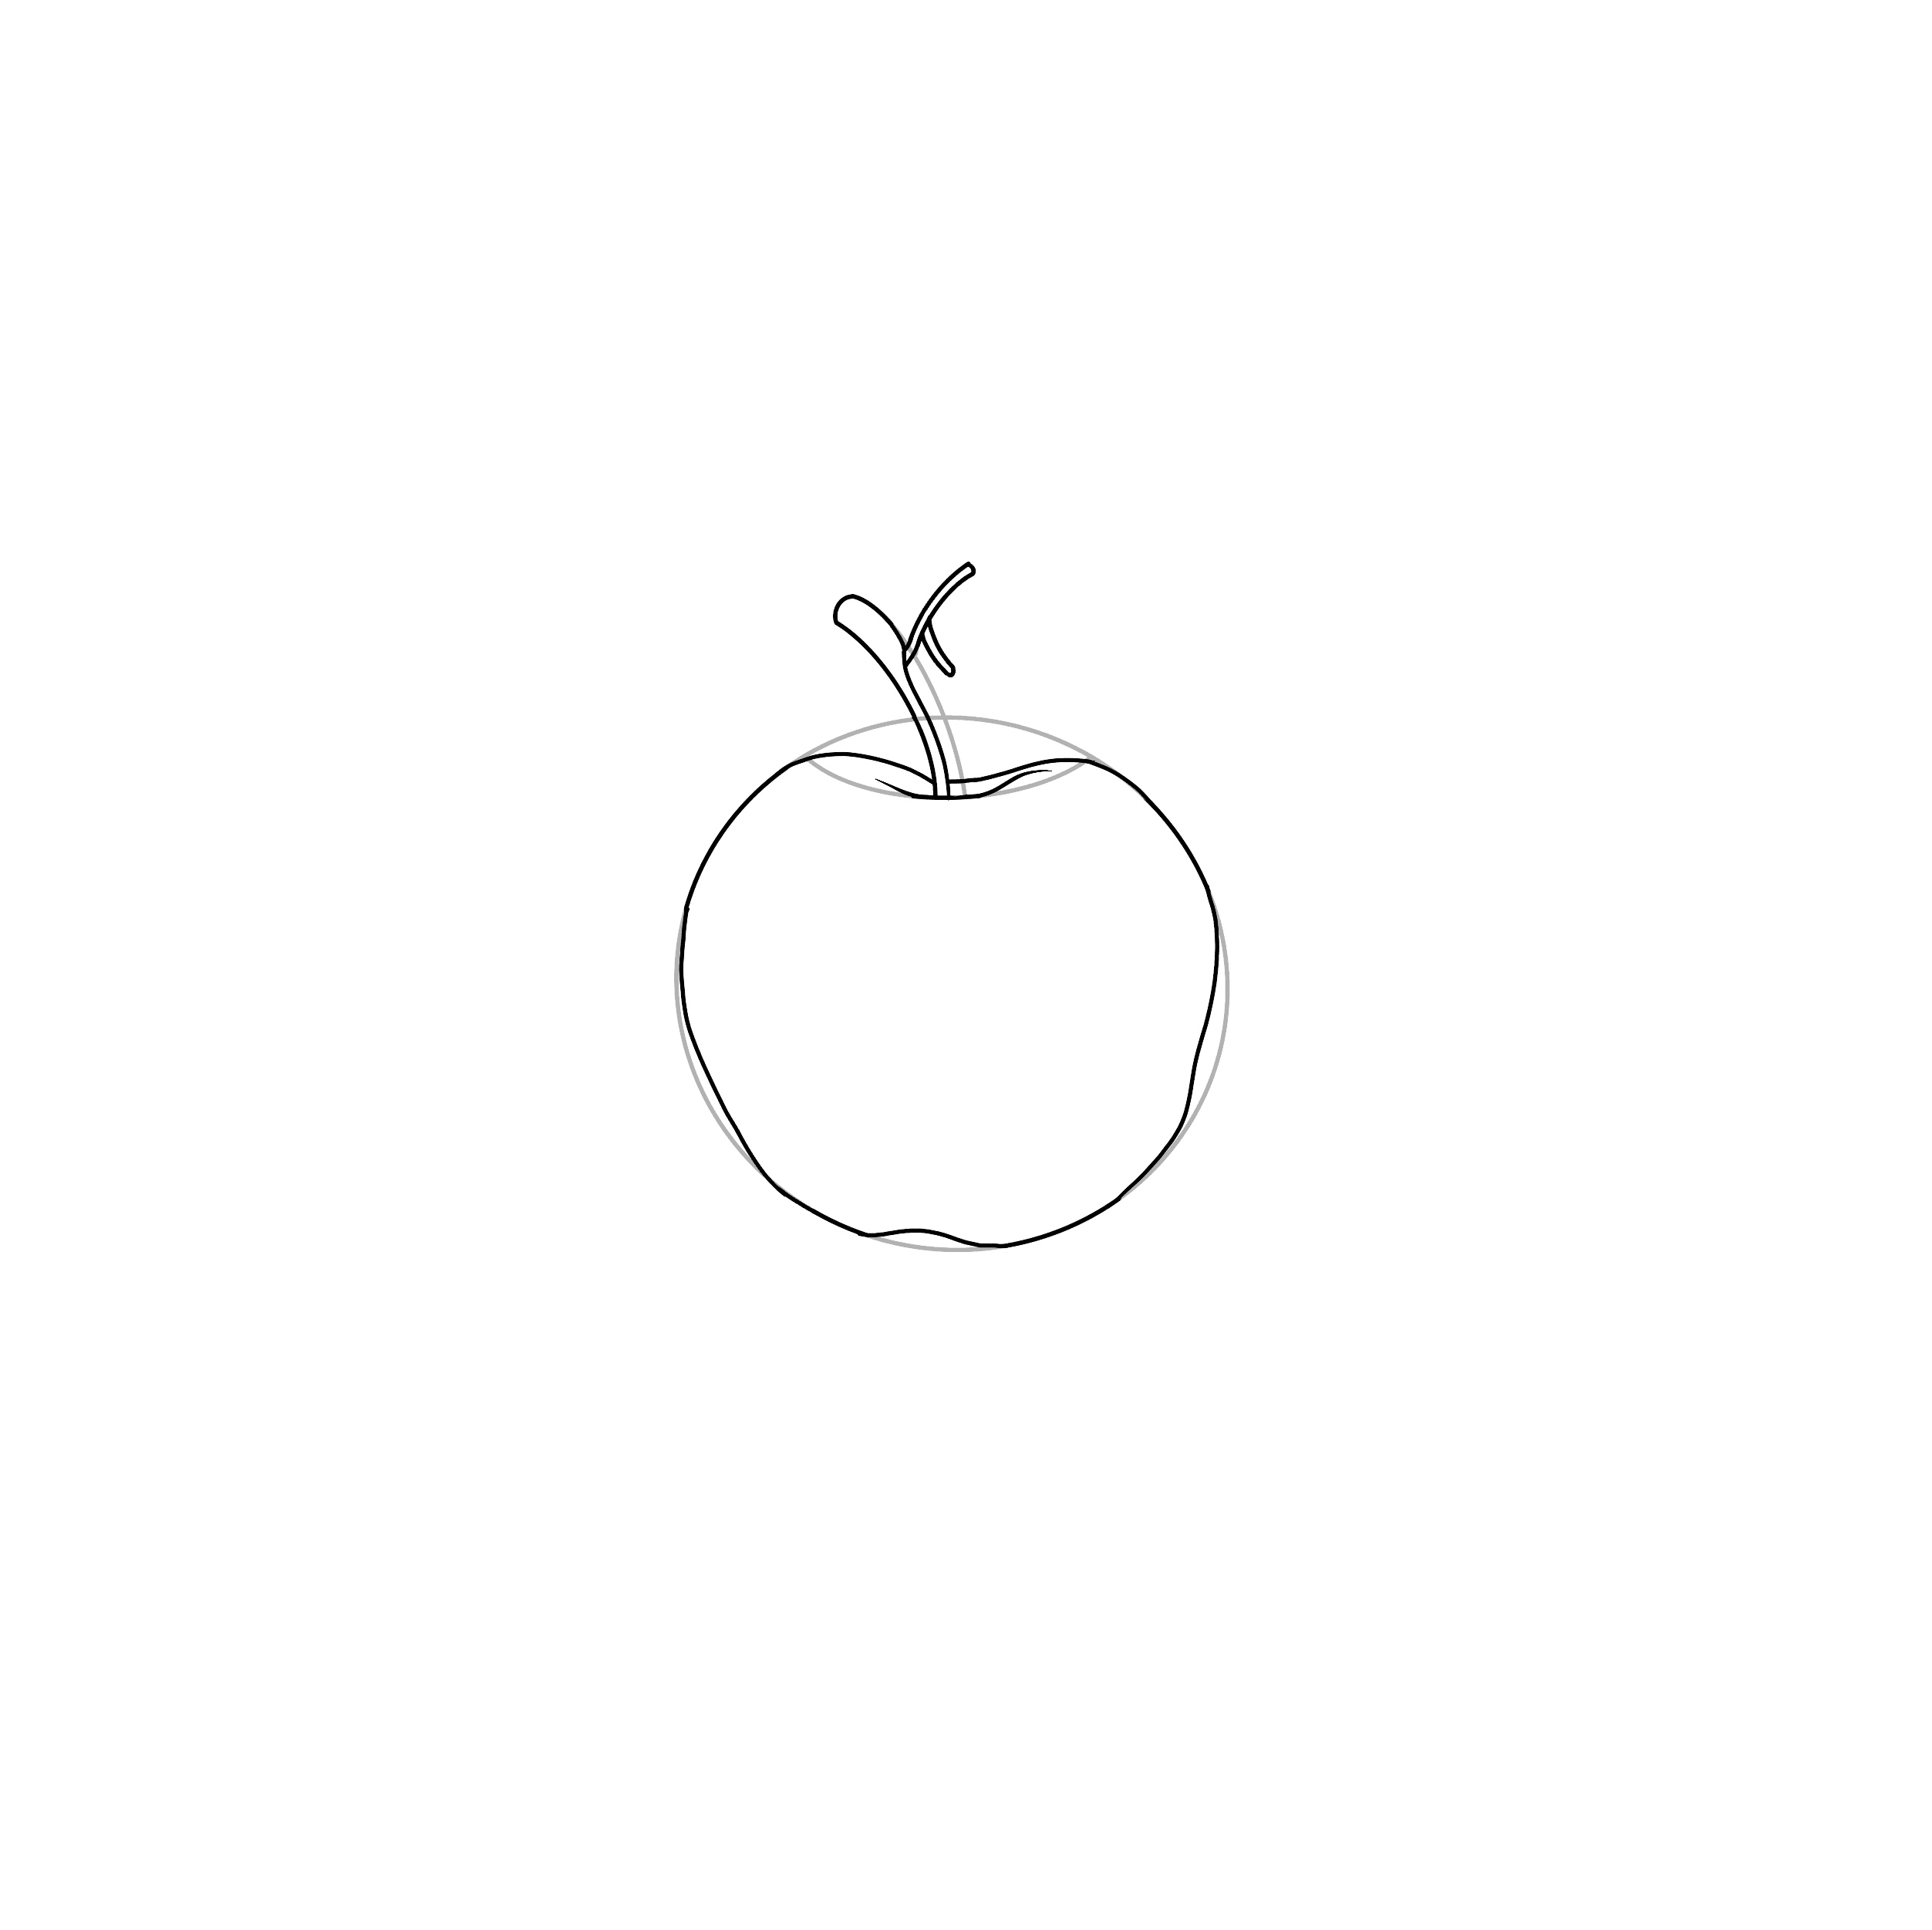
- Step 3: Draw leaves and apple stem
Next, erase the tip line of the bud then add two leaves on top.
- Step 4: Draw details on the large areas on the apple
Give small details on the apple peel then give the leaf segments.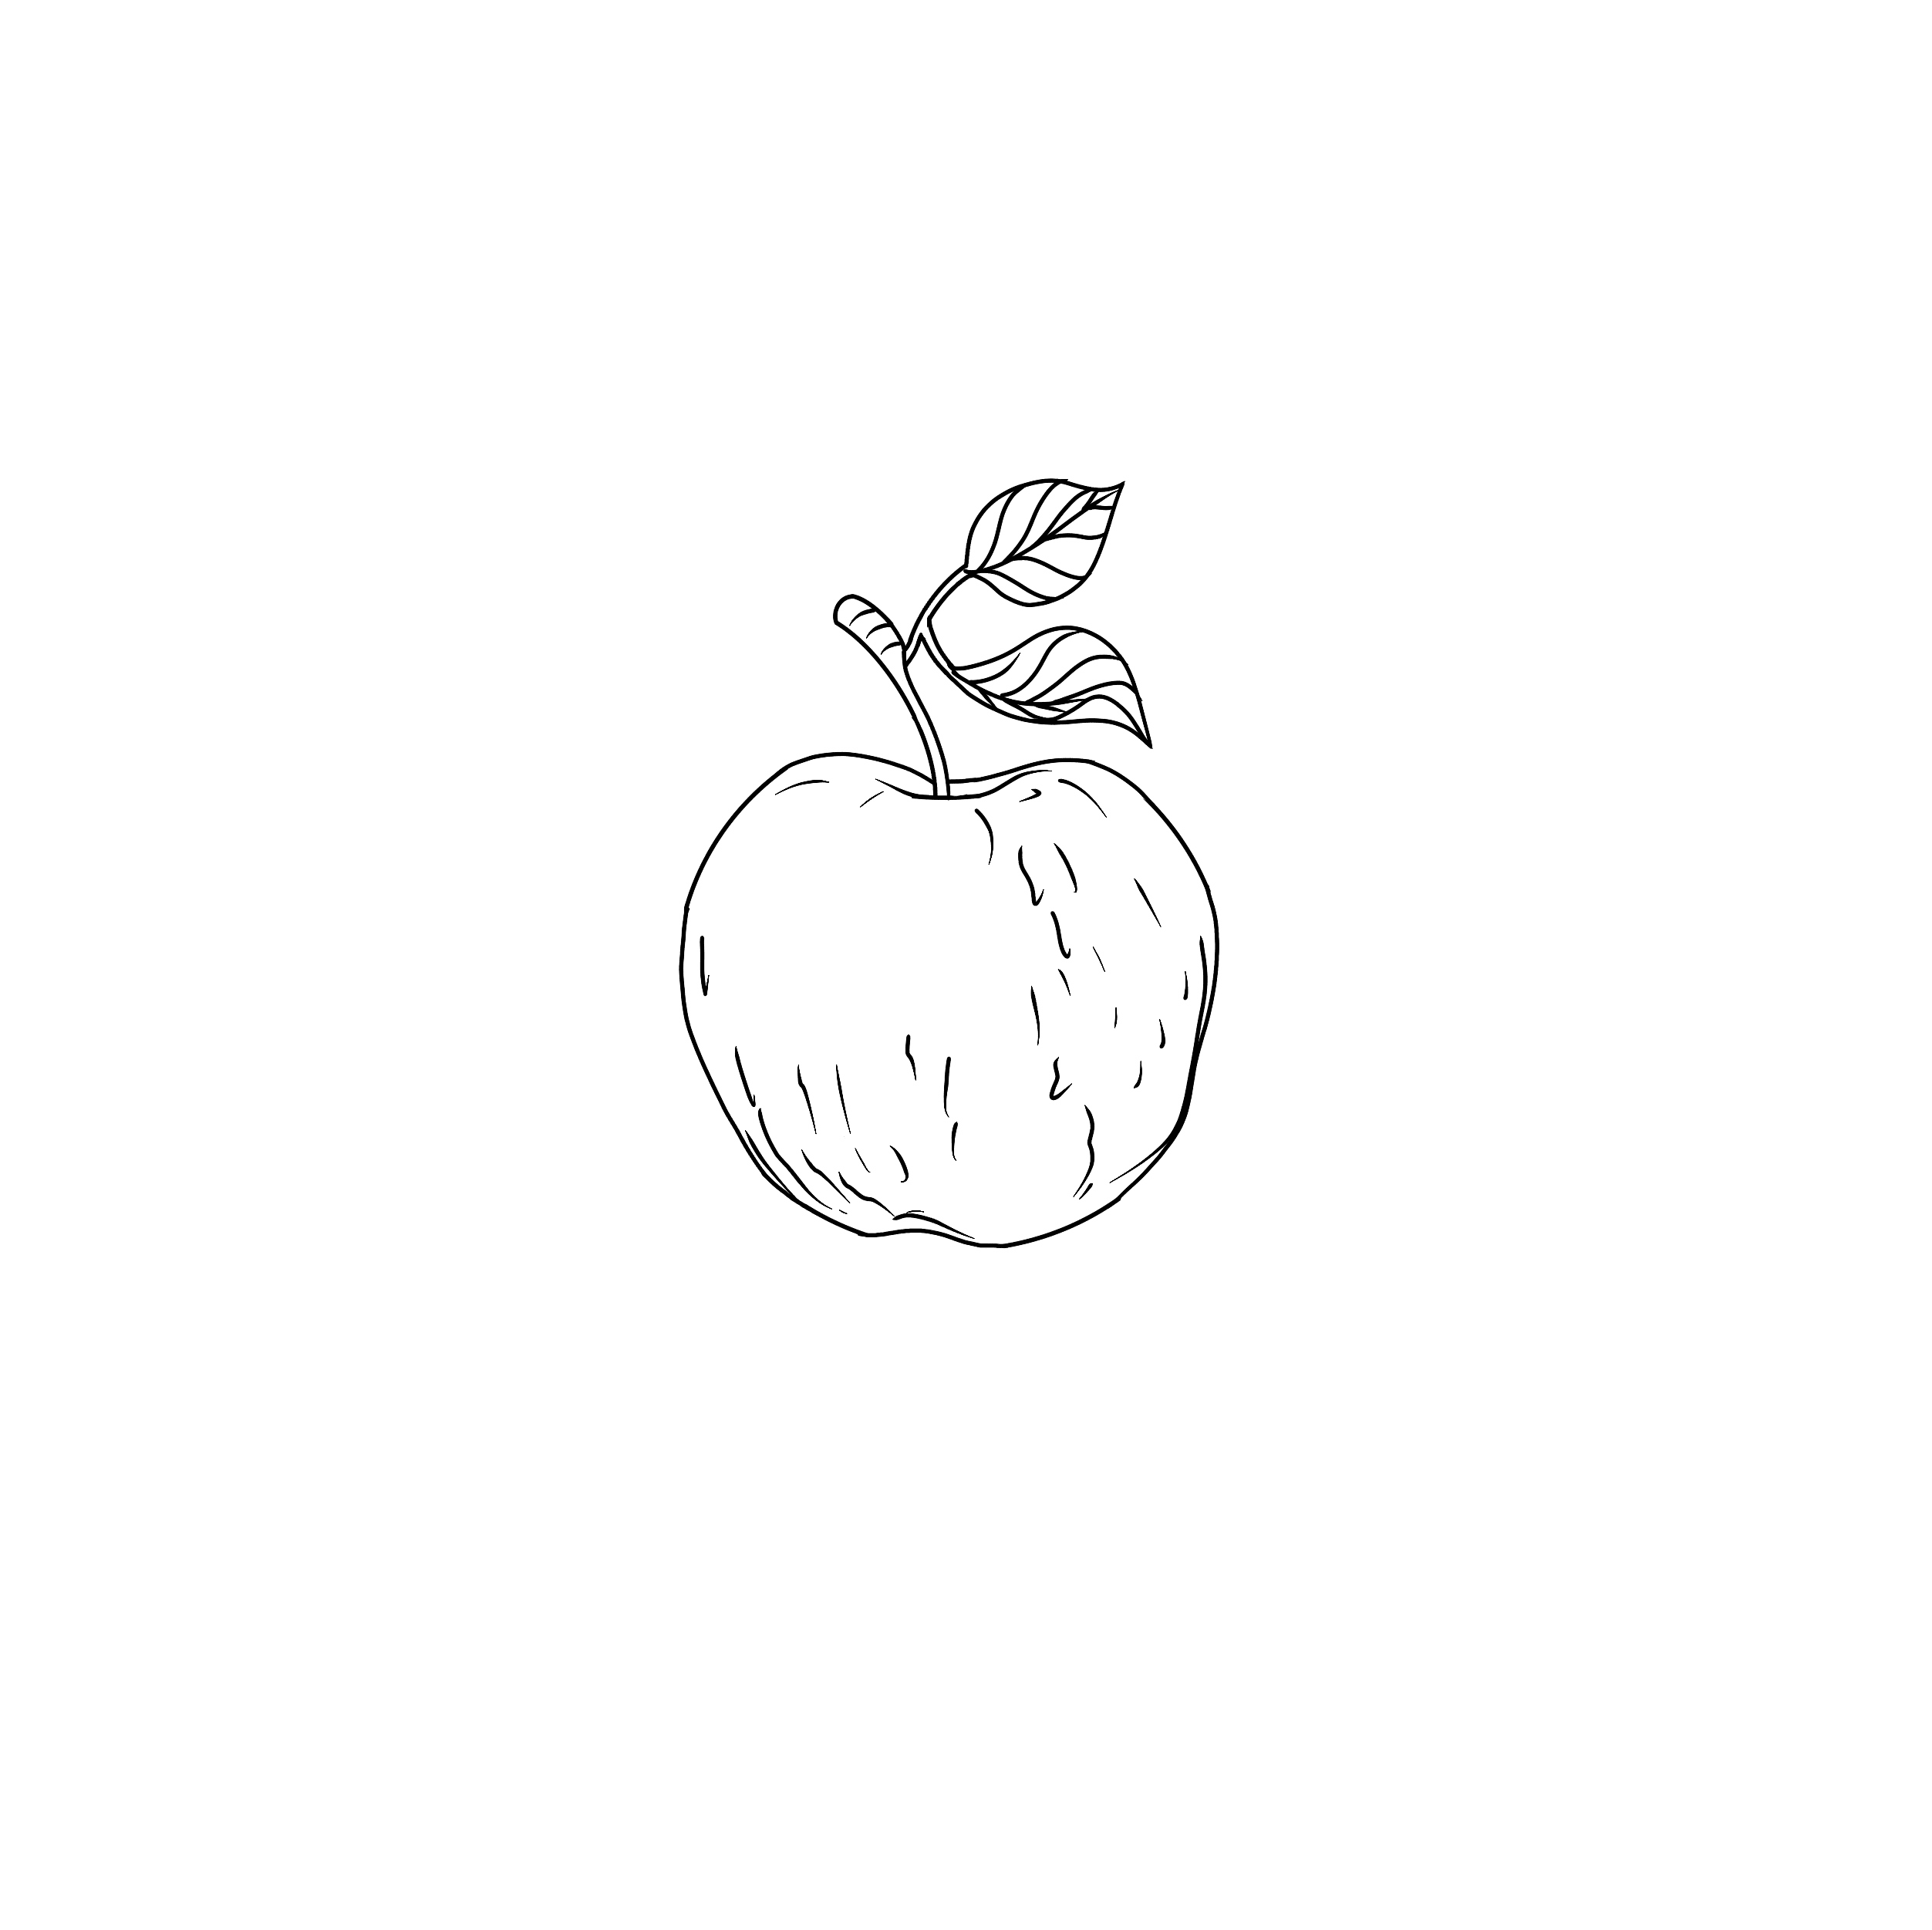
- Step 5: Draw shading on all parts of the apple
Then give shading in all parts, such as the fruit and leaves.

