
Unleash your skills to draw an owl by following this step-by-step guide.
Step 1


Start by drawing two simple shapes. A circle for the owl’s head and an oval that is narrow at the bottom for the owl’s body.
Whenever you start to draw anything, always keep it simple and draw things as basic shapes.
Step 2


Draw ears on top of its head. Next, we’ll draw the brow line and the owl’s beak will come out of that.
Then, we’ll draw the owl’s legs. We’ll draw rectangular shapes with the bottom of the rectangle curving upward.
Step 3


Draw zigzag lines inside the owl’s ears. This represents fur inside the ears.
Next, draw two circles for the owl’s eyes and two lines on each side of the head. These lines are curved lines that look like a parenthesis.
After that, draw the owl’s feet and claws.
Then, draw a cape-like object that comes down to the owl’s feet.
Step 4


Draw eyelashes on the owl’s eyes and zigzag lines near the beak. The zigzag lines will give the impression of fur on the owl’s face.
Draw curved lines on the side of the owl’s body. This will be the owl’s wing.
Add some zigzag lines on the bottom of the owl’s body where we drew a cape-like object from the previous step.
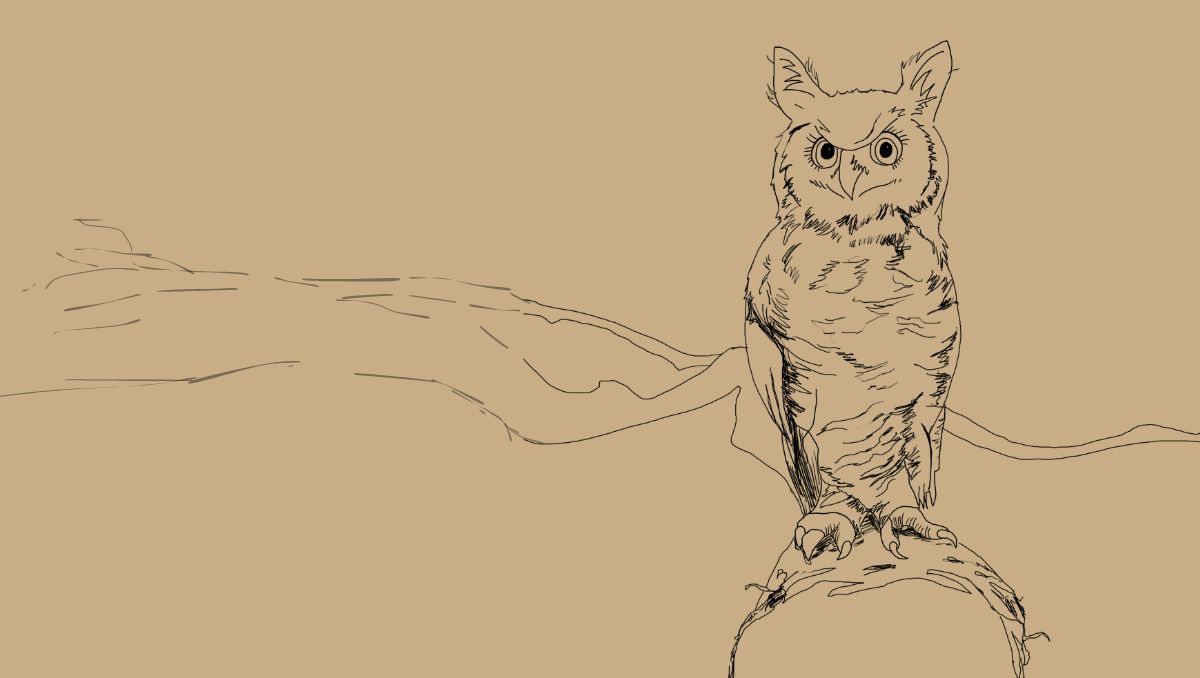
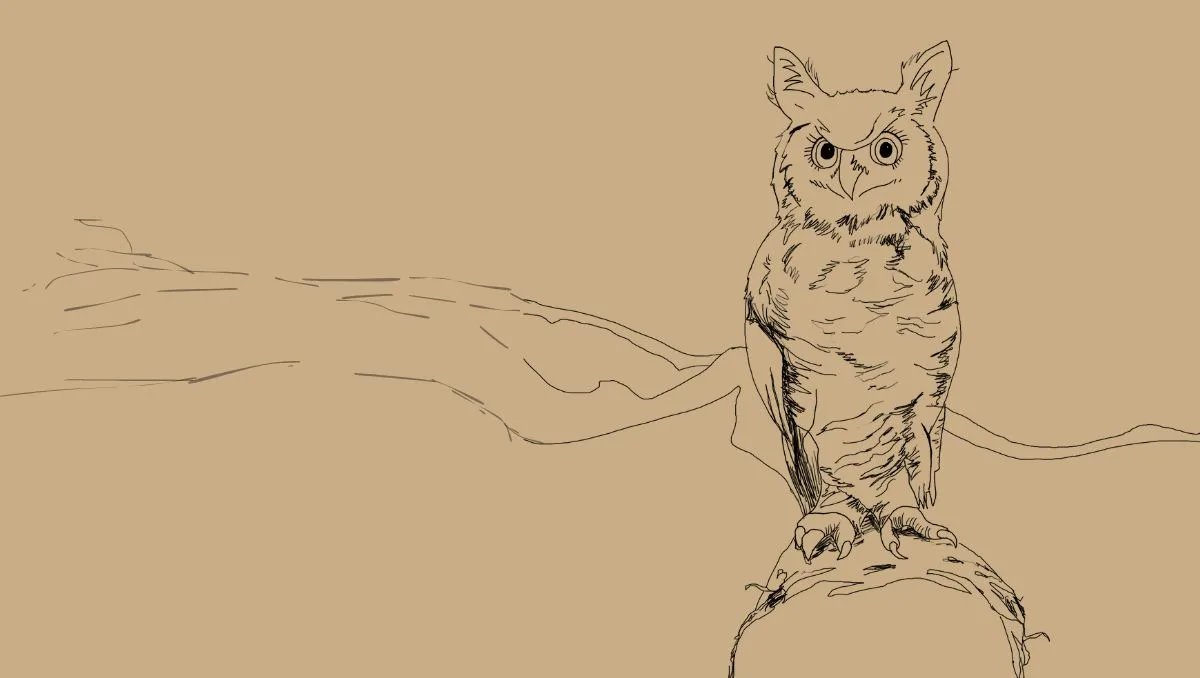
Step 5


We’ll finish up by adding fur details to the body. The owl’s body is like a cylindrical object. The sides of a cylinder are darker, so let’s darken the fur area on the sides to help the owl feel it has a curved surface.
This owl is on a tree branch, but drawing a tree branch is optional.