

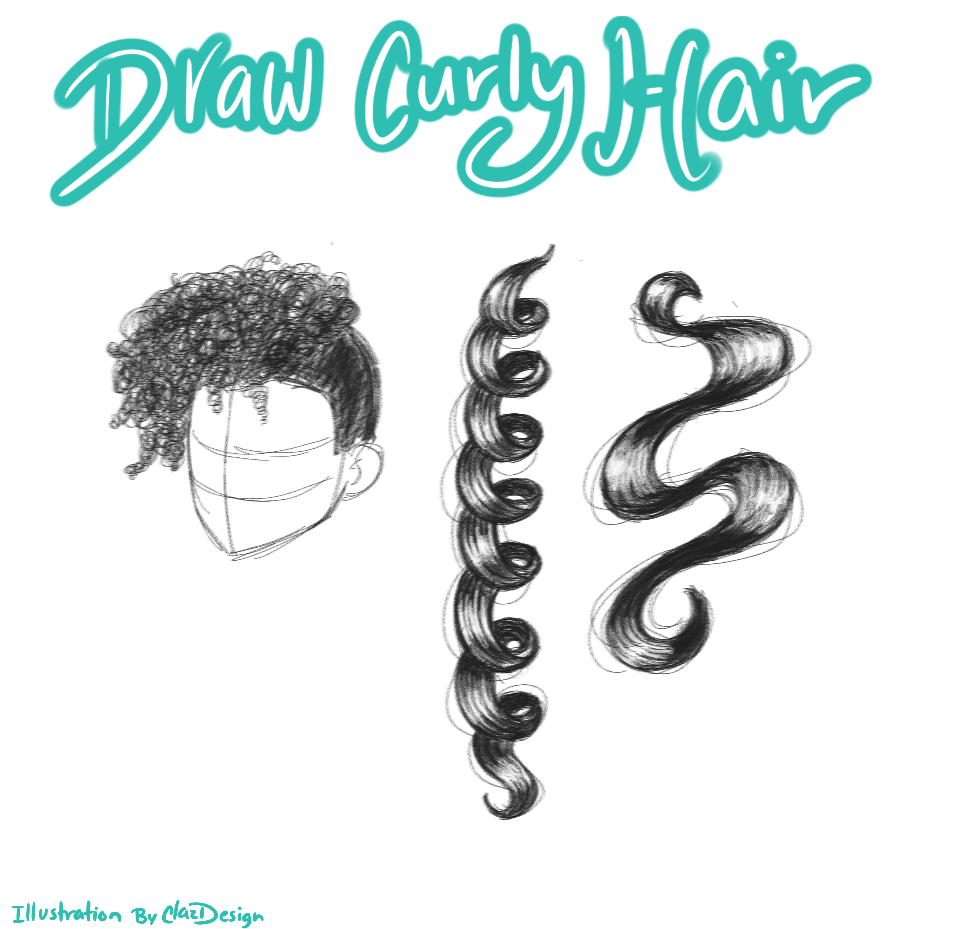
You can easily learn how to draw curly hair.
There are different types of curly hair, and you can help give your characters a diverse and lifelike feeling by adding some style to their hair!
Whether you want to know how to draw curly hair that has loose curls or curly hair that has lots of coils to them, it’s quite easy.
Keep reading if you want to know how to draw curly hair like a master!
How to Draw Wavy Curls
Before we start, you want to make to use the right tools for drawing.
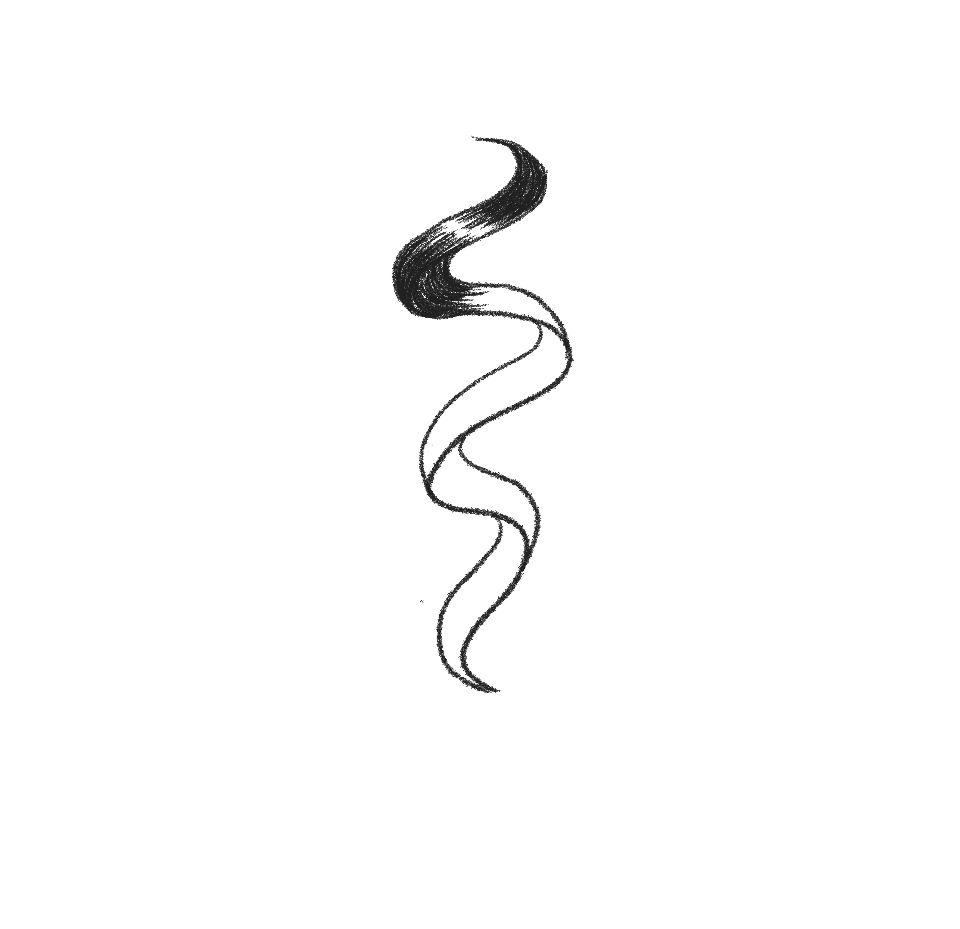
Step 1: Sketch wavy curl line
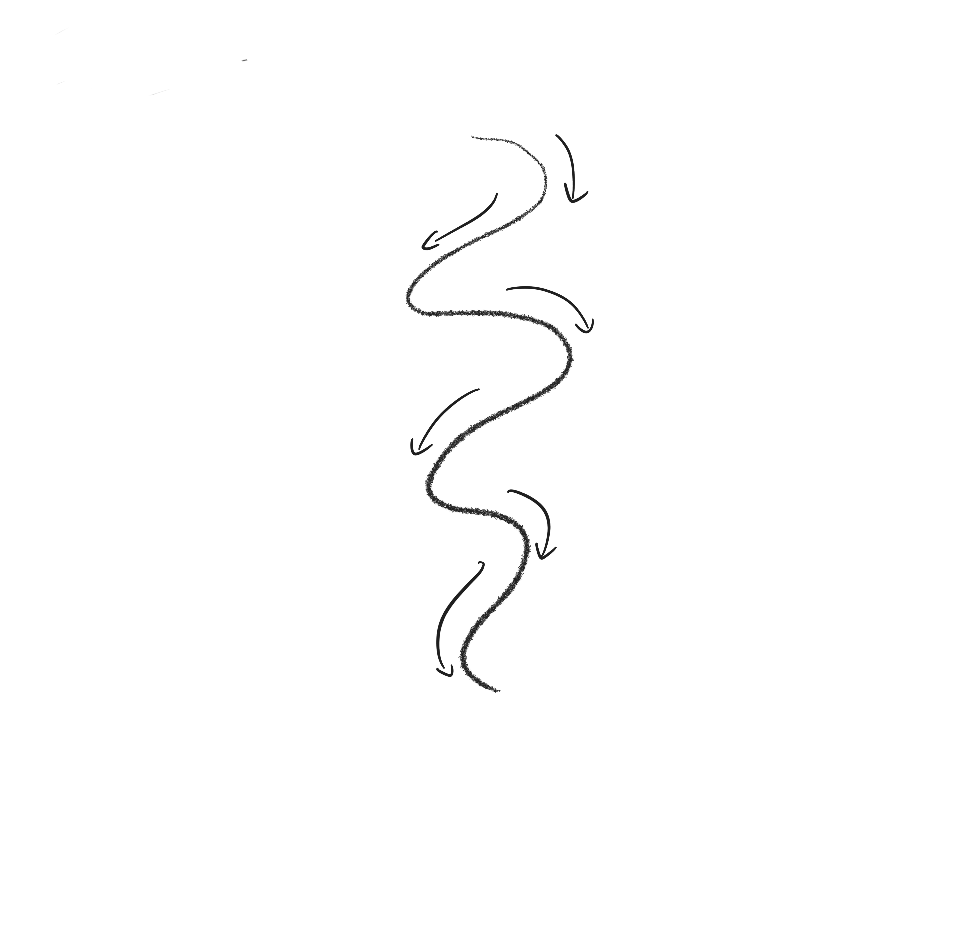

There are three types of curls but the theory is similar for each.
Start with a curvy line going downwards on the page.
Step 2: Draw another line


Following the curve we will use the ribbon technique to add another line on the areas we want to be the hair facing outwards, this will be the hair on top.
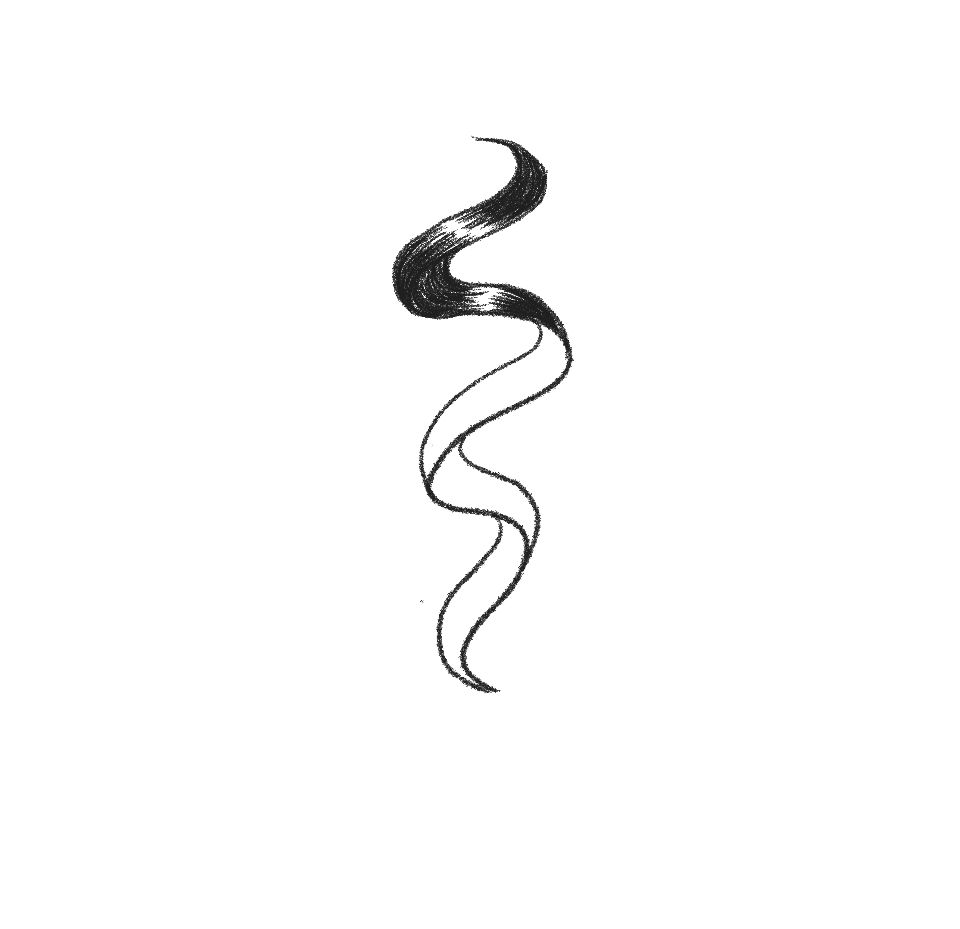
Step 3: Draw another wavy curl line to make hair look like a ribbon
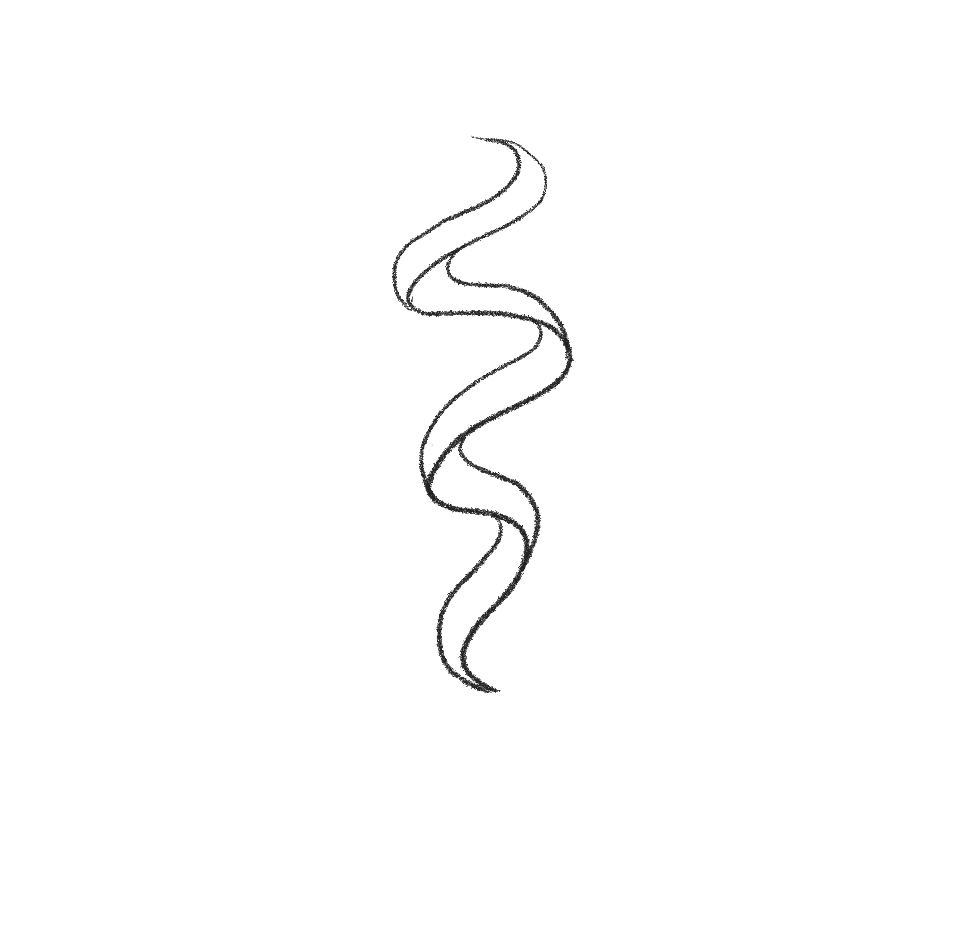

Using the same theory as the previous step we will then go over with another line on the hair facing inwards.
Your strand should look like ribbon does when folded over itself.
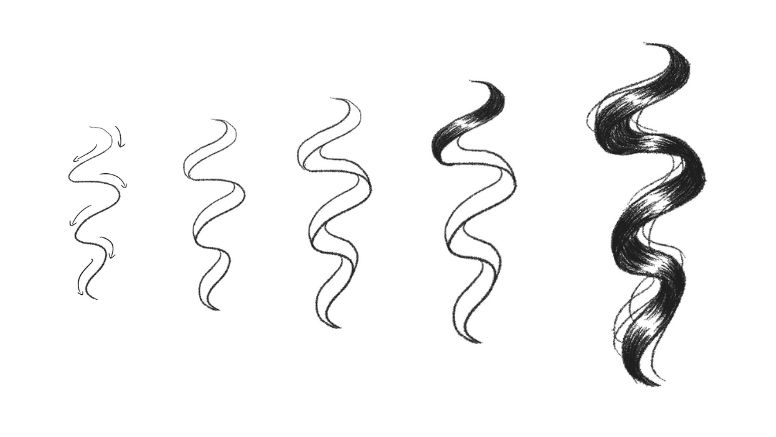
Step 4: Add shading


Consider your light source when deciding where your hair shine will be.
Once you are decided use quick strokes following the direction of the hair to layout your shading leaving an asymmetric gap for the shine.
Keep the top and bottom areas darker, this is where the hair is twisting.
Step 5: Continue drawing shading


Repeat these lines on the under hair and all the sections following until you finish the strand
Step 6: Draw loose hair strands
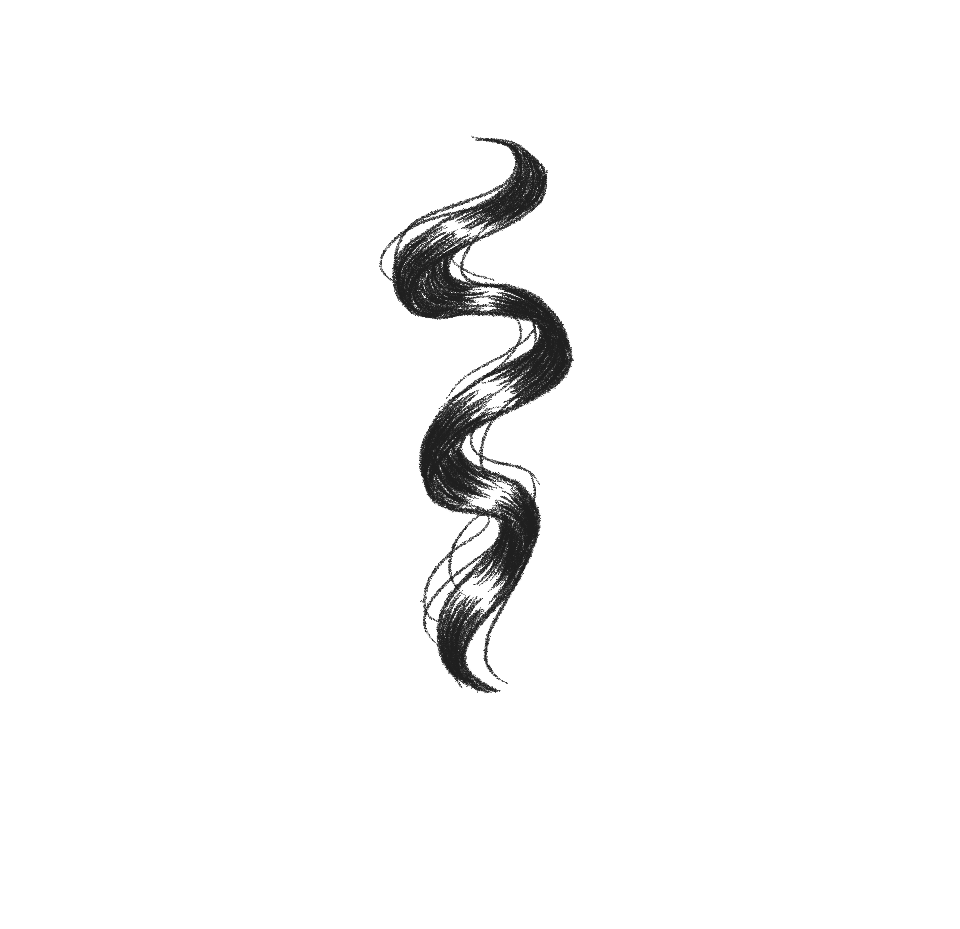

Add some loose hairs around the curl to make it more natural!
We will use this same technique for tighter coils!
How to Draw Curly Hair in Coils
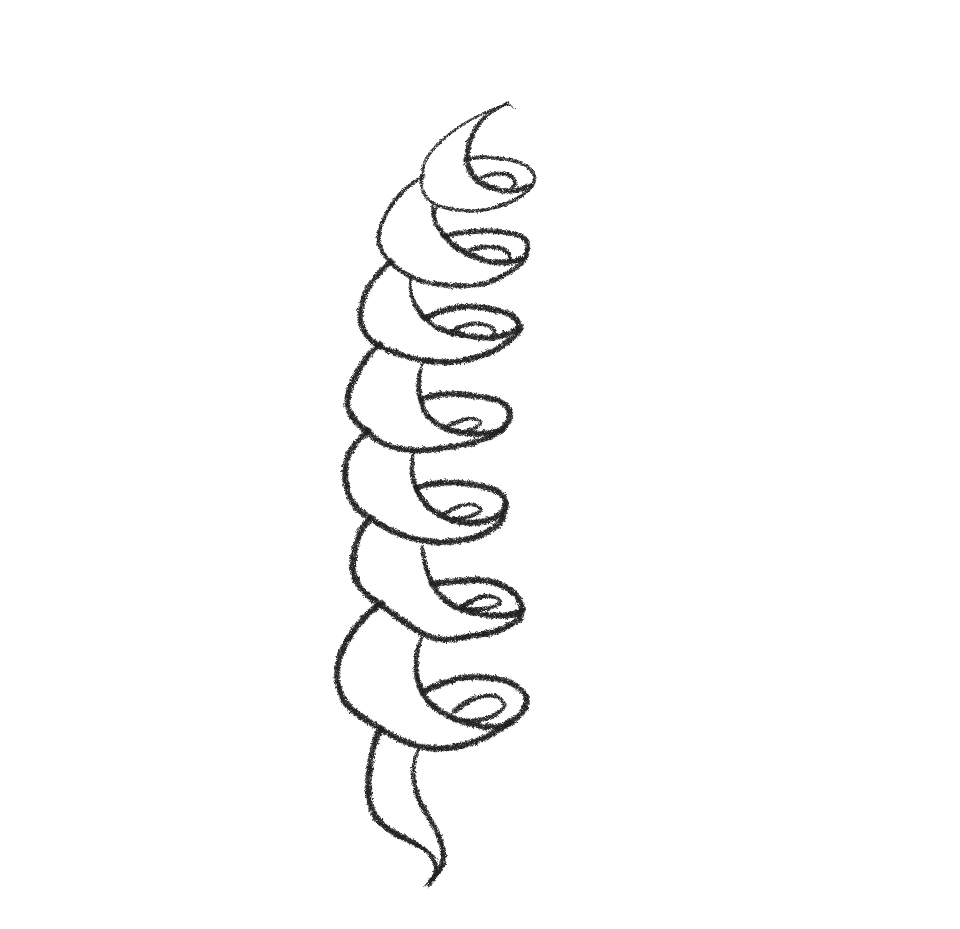
Step 1: Sketch line that looks like coil


With tighter coils, you will want to start smaller at the top and grow larger towards the bottom of the strand.
Step 2: Draw another coil strand

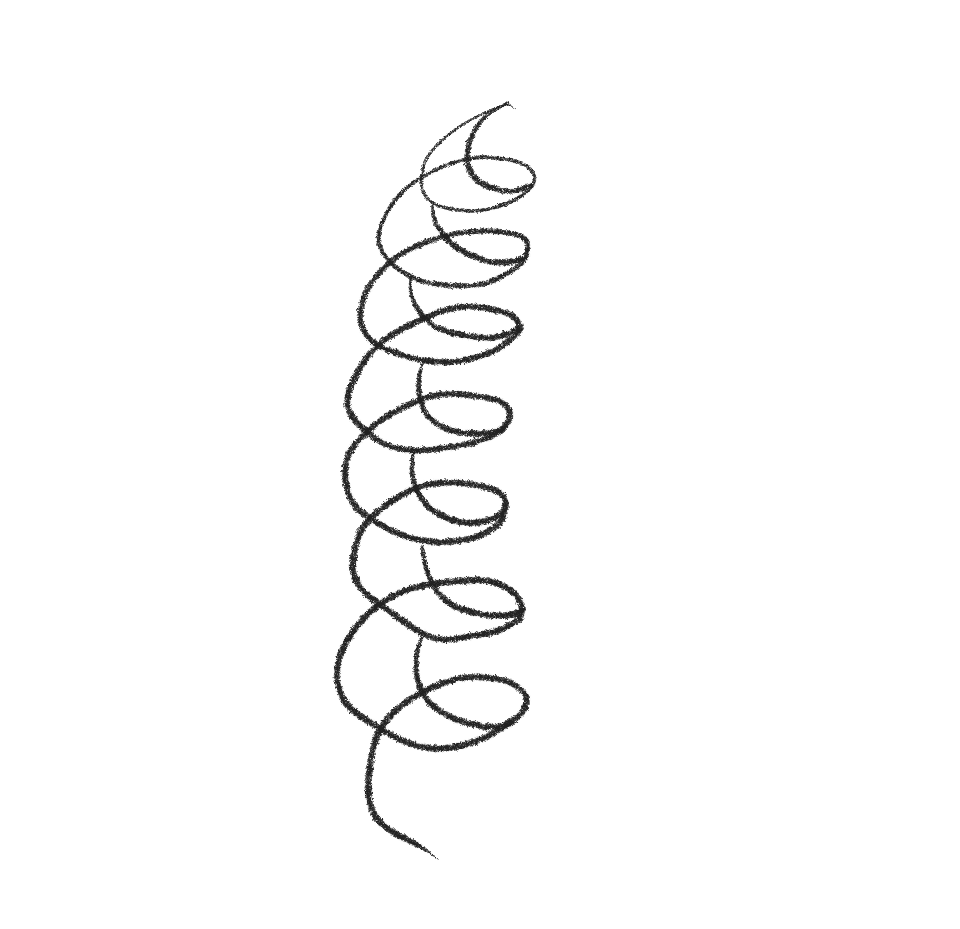
Much like the previous strand, we will be adding another line to carve out the outer-facing curl.
Keep in mind the volume of your curl where it turns and makes sure that area has a larger gap.
Think crescent moon shape.
Step 3: Draw end curl to strand


The under hair should be a continuation of the curl.
Think of how a ribbon would fold over itself and follow that same idea with the curl.
Step 4: Erase inner lines within curls

For this curl, there will be no shine on the inner edges, and when we create the shading you will want to keep the area where it folds in mind.
So outline that as the space between your two crescent moons and keep that your darkest spot.
In addition to that keep in mind that you have hair overlapping so where they overlap you will want to make the shading darker.
Step 5: Add shading


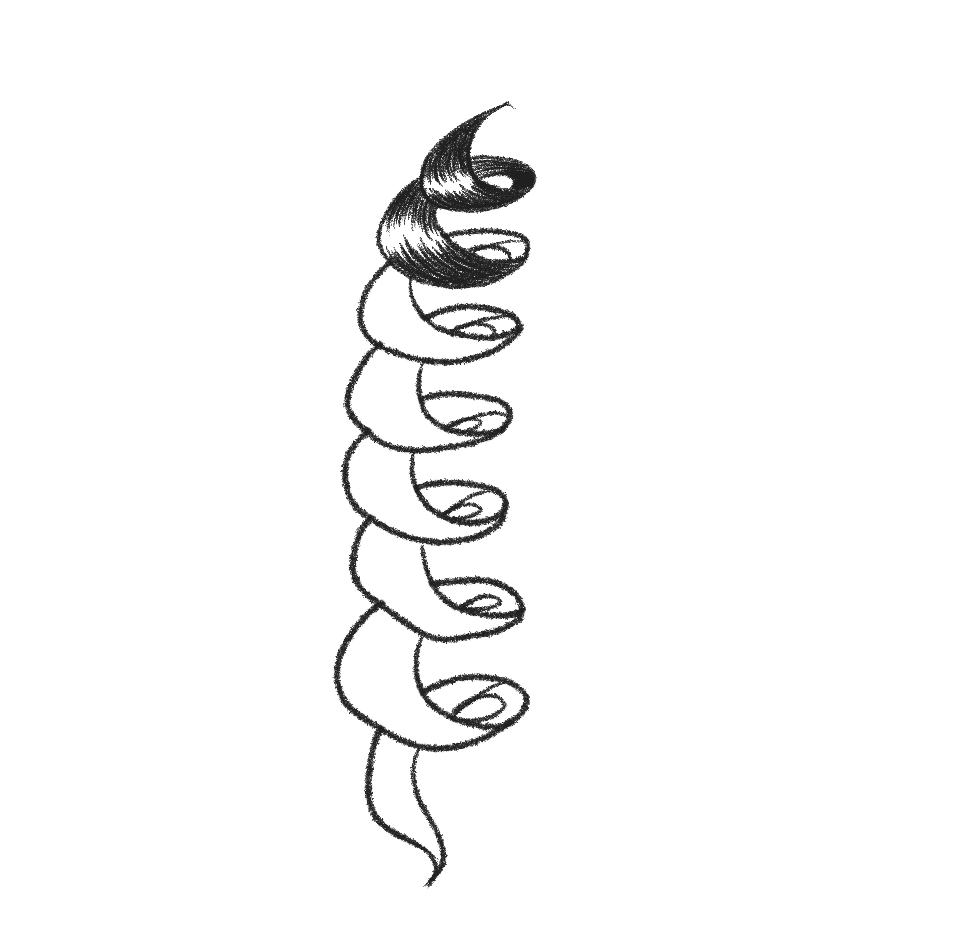
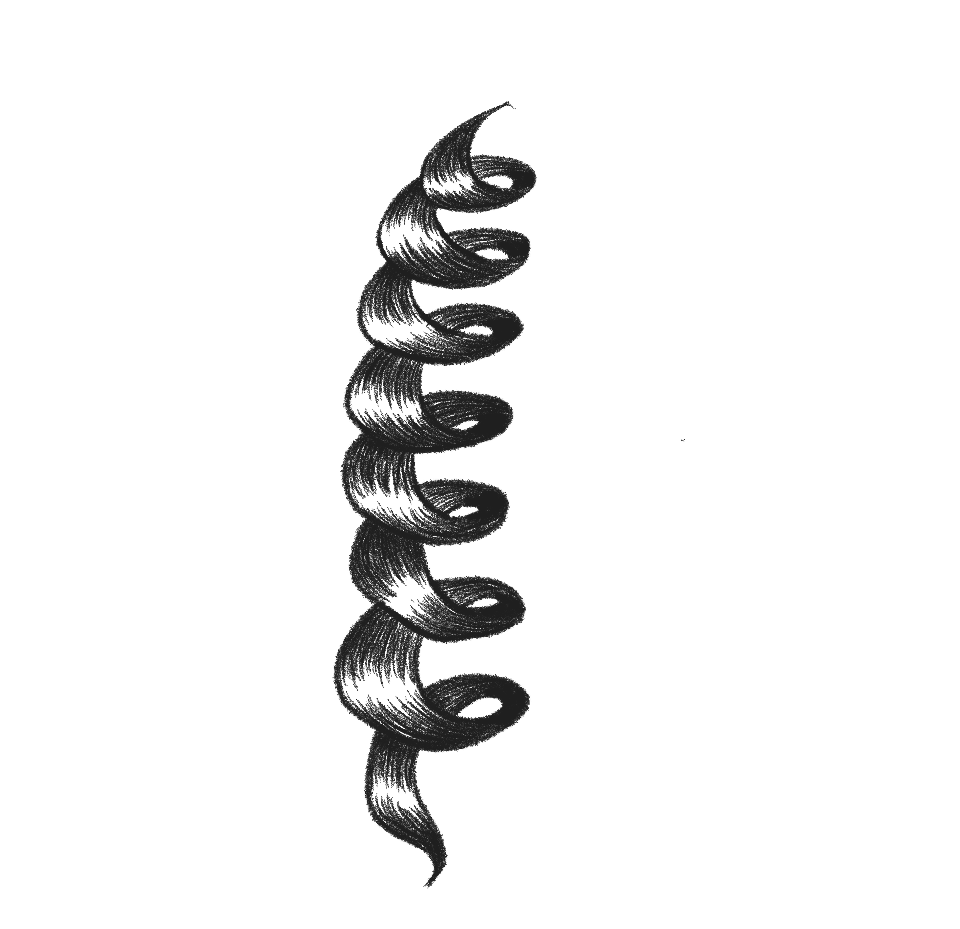

Continue with the shading in step 4 for each curl
Finally: Draw loose strands as final touch
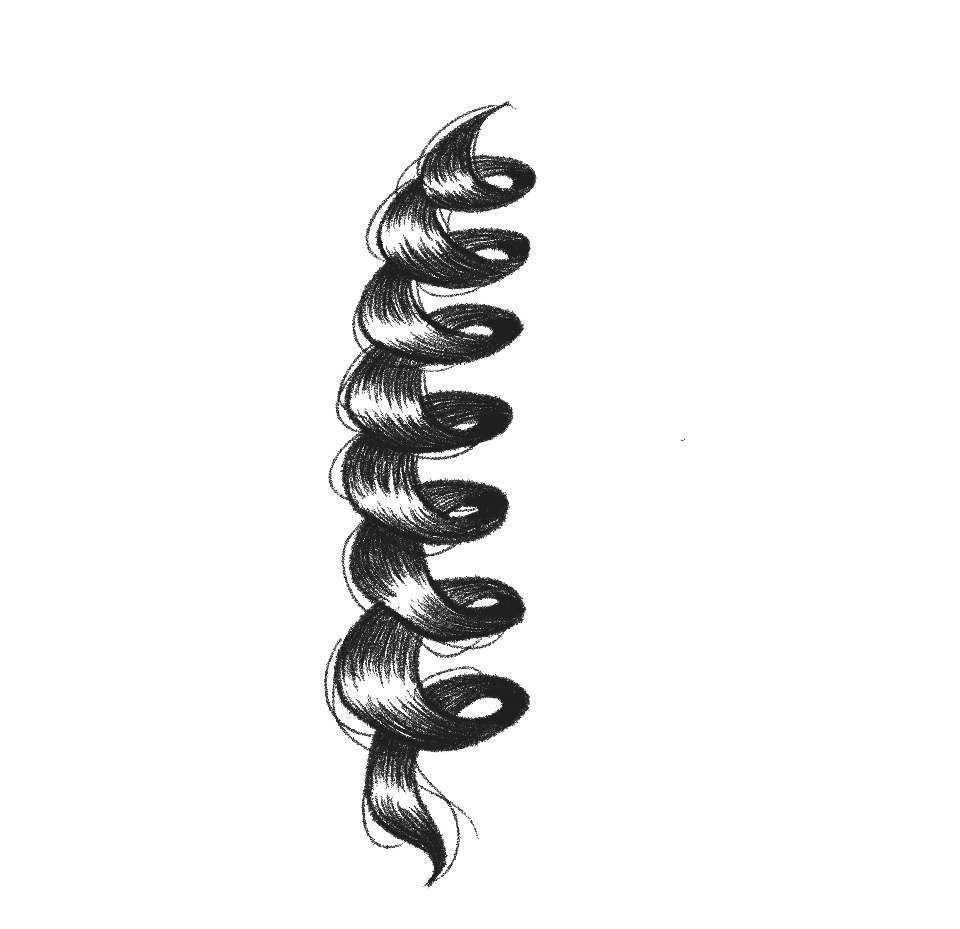

Add some stray hairs to create a more natural look.
How to Draw Tight Curls on Female Head
Step 1: Sketch head


Draw your head and map out your hairline, keep in mind where you want the part to be and what direction the hair will flow towards.
Step 2: Use previous hair drawing methods and draw on top of head


Using varying types of coil motions with your brush you will follow the flow of the hair you set in the first step to fill in the coils.
Keep them larger and denser to the scalp, flowing looser towards the ends.
You can use a fair few types of coils, but always keep in mind your hairline and the direction of the hair
Conclusion
After reading this you are sure to know how to draw curly hair and the different types of curly hair.
You’ll be able to give your characters some style and a fresh look by incorporating these curly hairstyles into your illustrations!
I’d like to thank Carolyn for sharing her process.
Be sure to check out her social @ClazDesign if you enjoyed her illustrations.
She also has some amazing prints and illustrations available in her shop.
How to Draw Curly Hair Printable Guide


Step-by-step instructions on how to draw curly hair.
Materials
- Pencil
- Paper
- Or tablet and stylus
Tools
- Pencil
- Paper
- Or tablet and stylus
Instructions
- Step 1: Sketch wavy curl line There are three types of curls but the theory is similar for each. Start with a curvy line going downwards on the page.
- Step 2: Draw another line. Following the curve we will use the ribbon technique to add another line on the areas we want to be the hair facing outwards, this will be the hair on top.
- Step 3: Draw another wavy curl line to make hair look like a ribbon. Using the same theory as the previous step we will then go over with another line on the hair facing inwards. Your strand should look like ribbon does when folded over itself.
- Step 4: Add shading. Consider your light source when deciding where your hair shine will be. Once you are decided use quick strokes following the direction of the hair to layout your shading leaving an asymmetric gap for the shine. Keep the top and bottom areas darker, this is where the hair is twisting.
- Step 5: Continue drawing shading. Repeat these lines on the under hair and all the sections following until you finish the strand.
- Step 6: Draw loose hair strands. Add some loose hairs around the curl to make it more natural!