
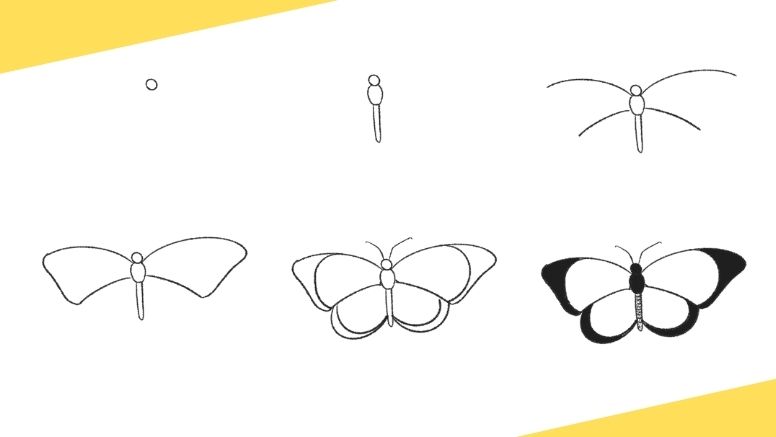

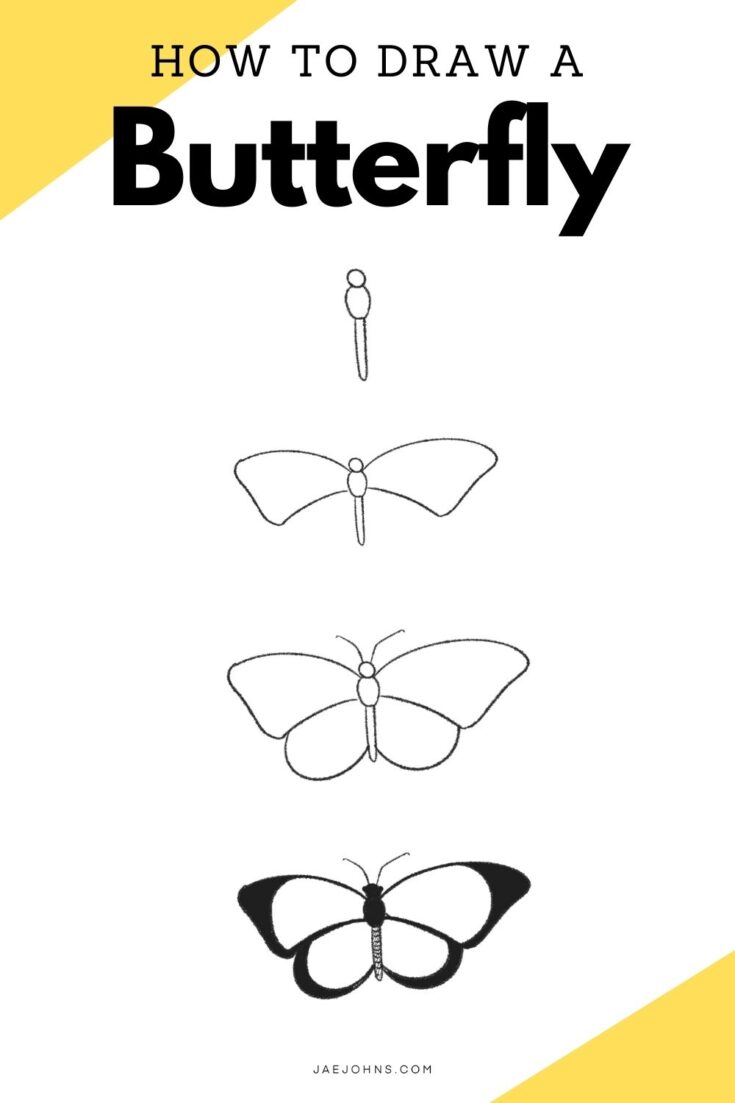
Here’s a step-by-step tutorial to learn how to draw a butterfly.
Learning how to draw a butterfly is easy and with this visual step-by-step you’ll be able to draw a butterfly and in less than 10 minutes.
Thanks to @ClazDesign for this step-by-step tutorial.
[lwptoc]

What drawing supplies do you need to draw a butterfly
The drawing supplies you need to draw a butterfly are a pencil and paper.
I recommend clicking on the following link if you want the best tools for drawing.
Step 1: Draw butterfly head
Start with a small circle as the head


Step 2: Draw butterfly body
From the bottom of the circle create a shape resembling a match stick.
This is going to be the body of the butterfly, but make sure to end it in a rounded point, not a square one!


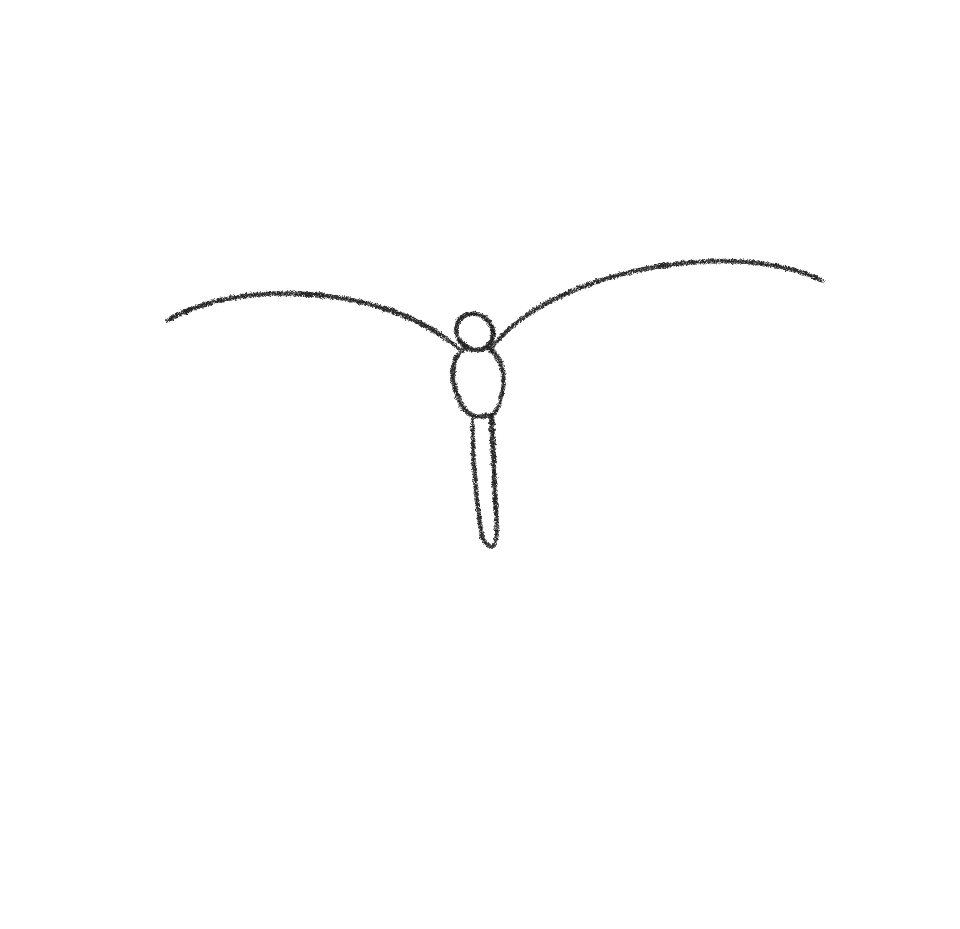
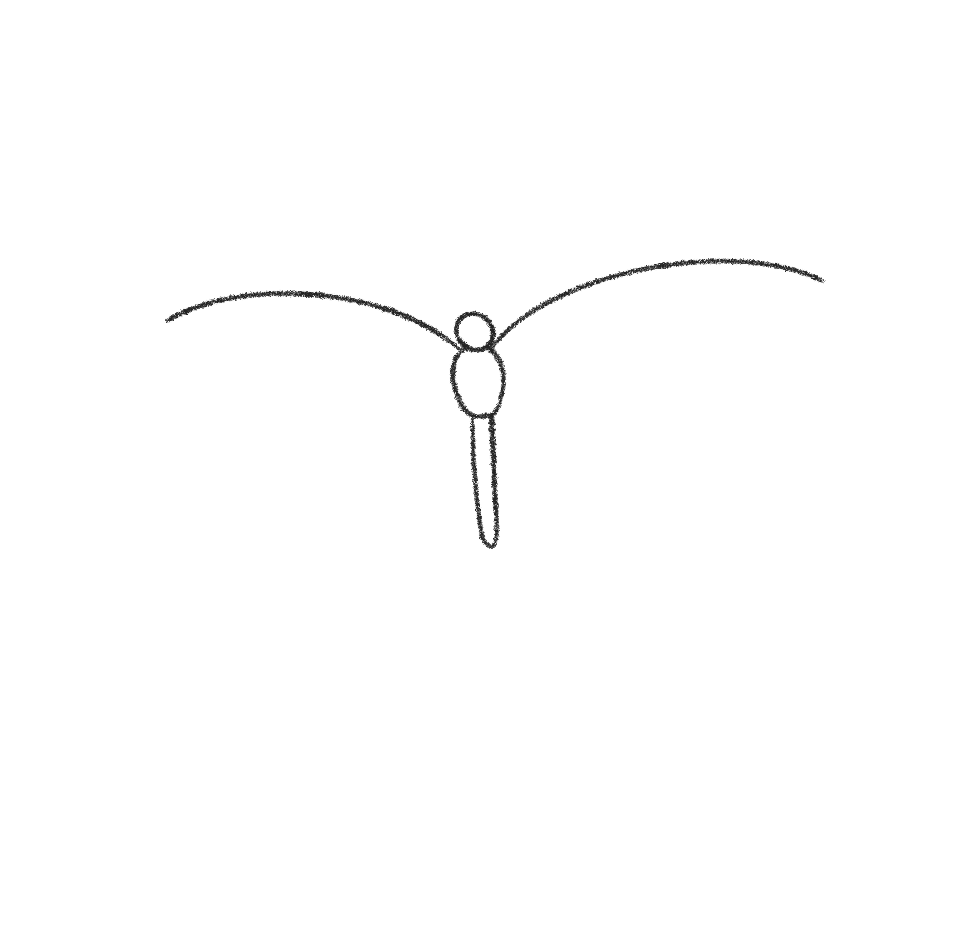
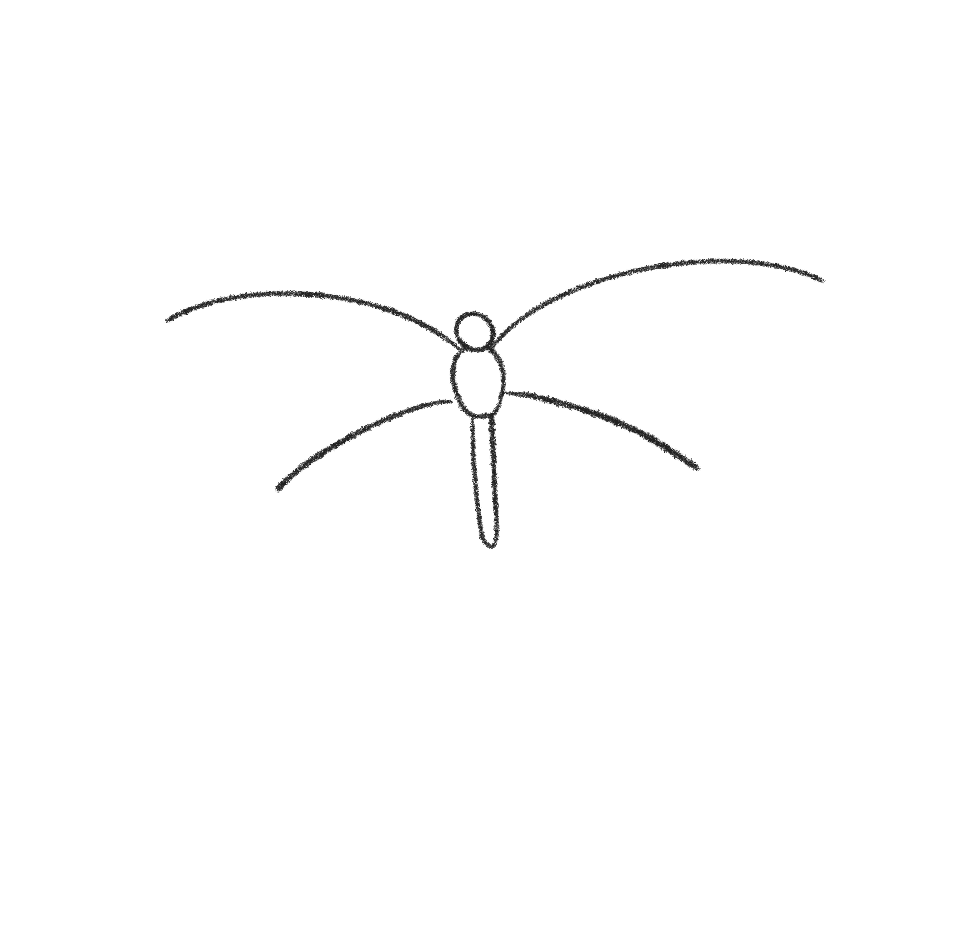
Step 3: Start adding butterfly wings
From the point where the head meets the top of the match stick, we’re going to create two long arcs outwards, like two hills.
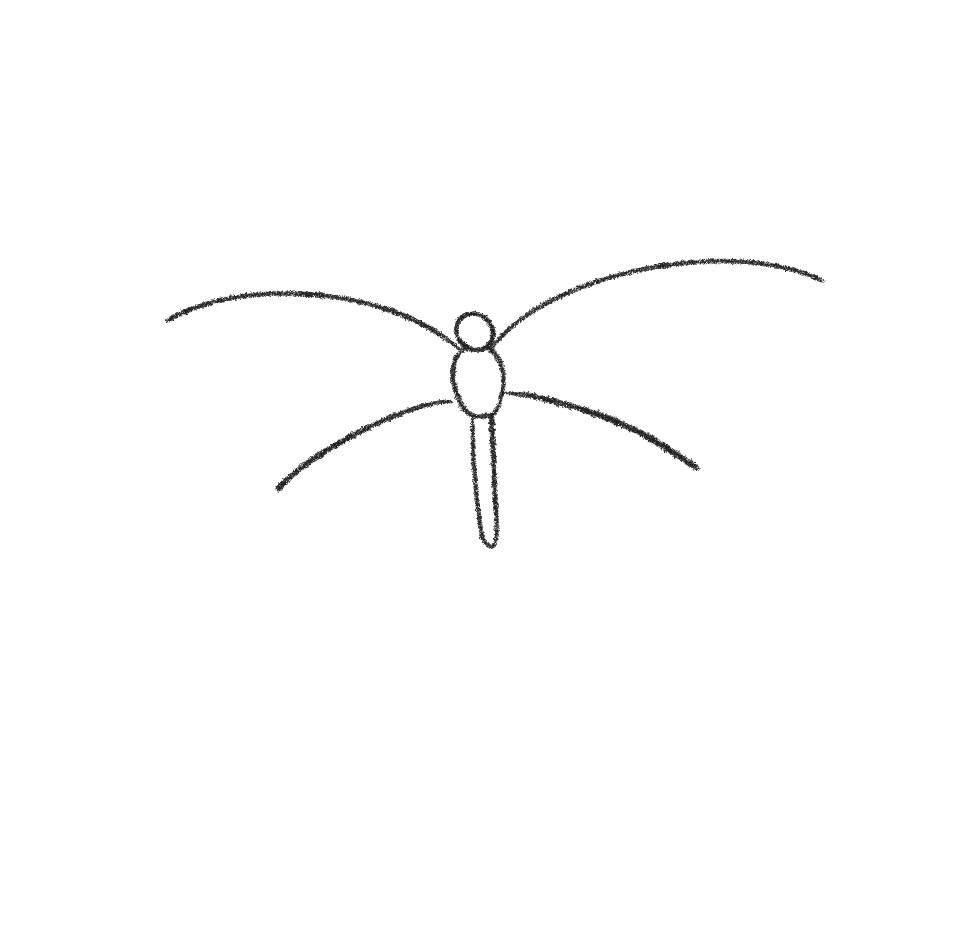
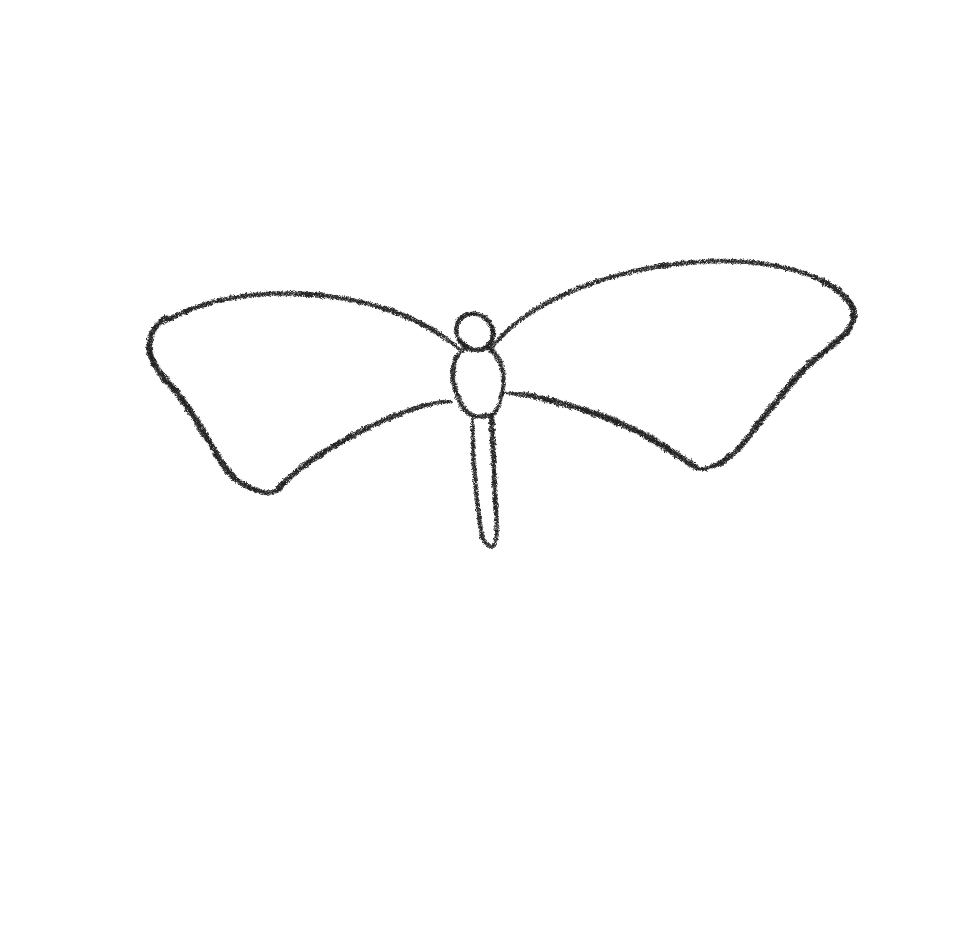
Step 4: Create small arcs for the lower part of the wings
Below the two arcs, we’ll create smaller arcs, but make them much shorter than the first pair of arcs.
This is going to guide the top wing shape in the next step.
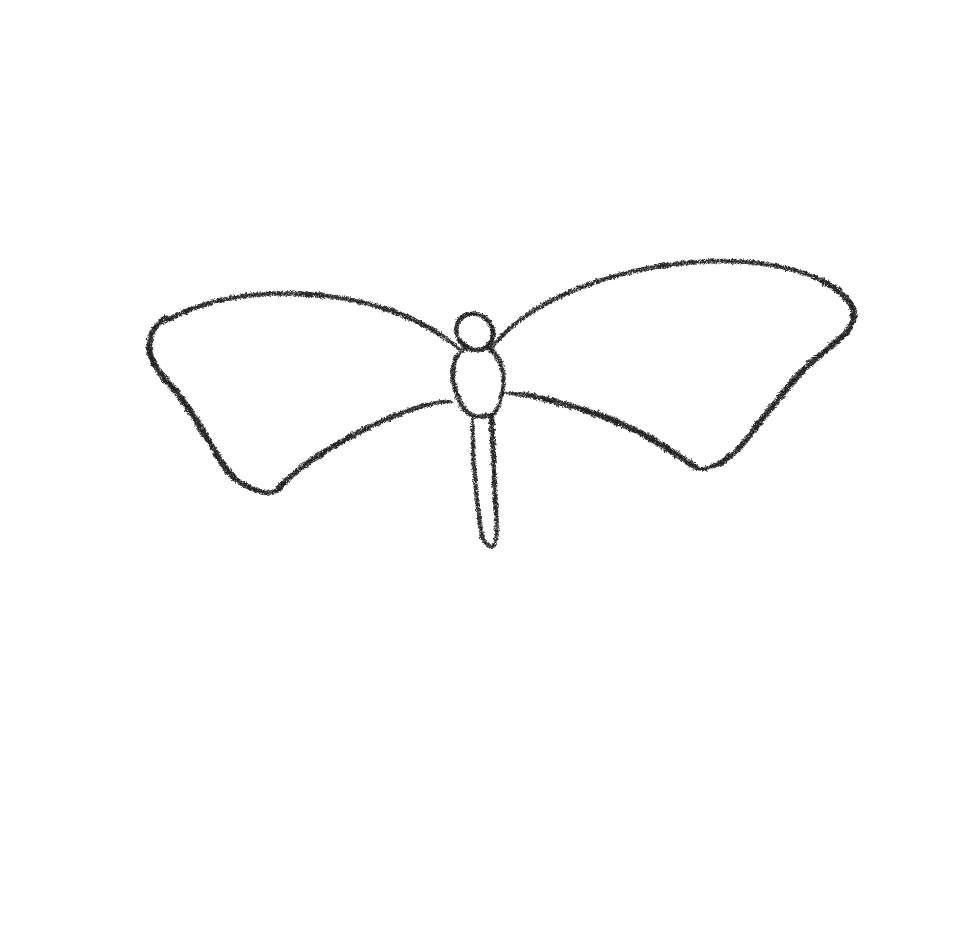
Step 5: Complete top butterfly wings
let’s connect those arcs!
Think of a bowtie when you make these connections, we want the top wings to resemble a bowtie slightly.
Nothing should be a sharp point at this stage!
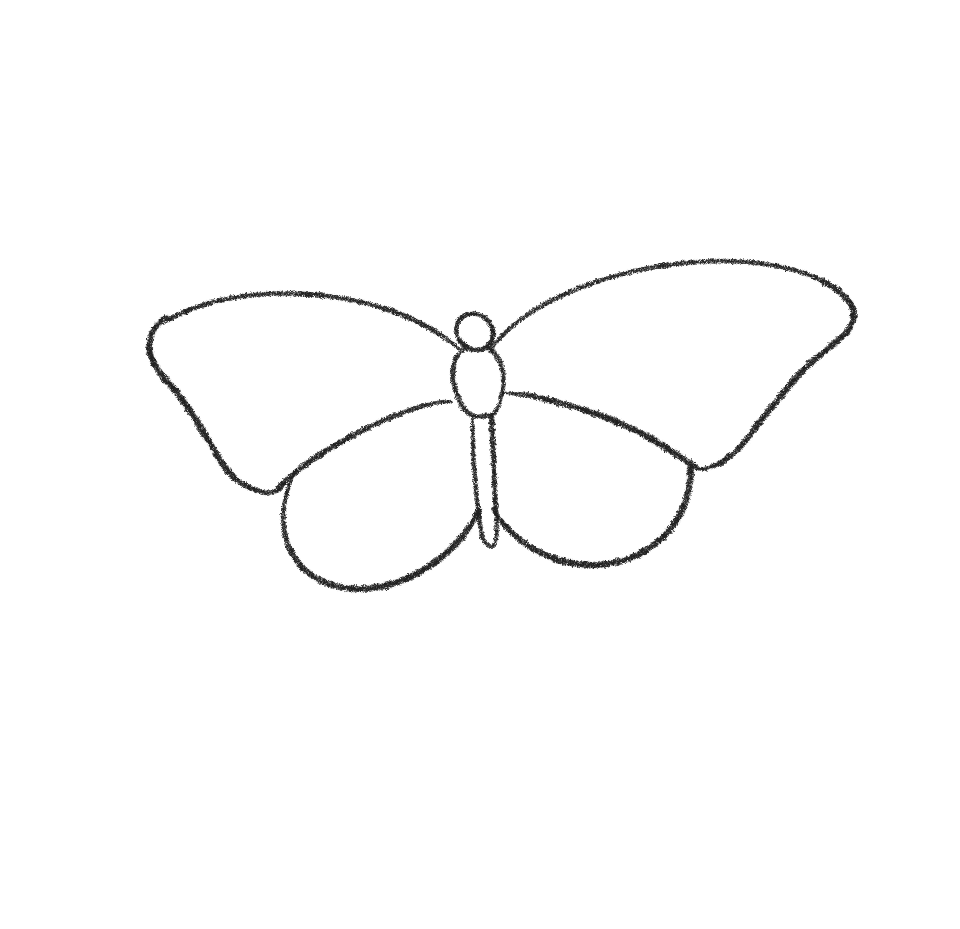
Step 6: Draw the bottom butterfly wings
Draw two half ovals below the bowtie ending at just above the matchstick’s endpoint.
These are your bottom wings!
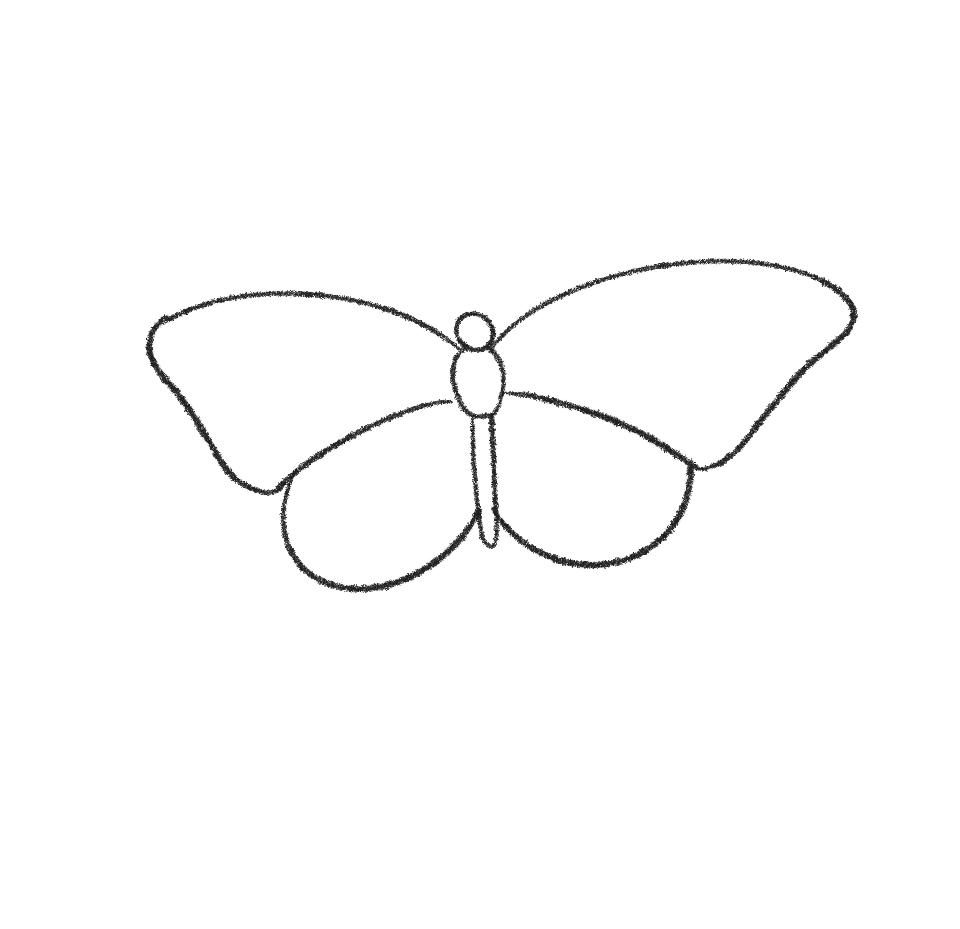
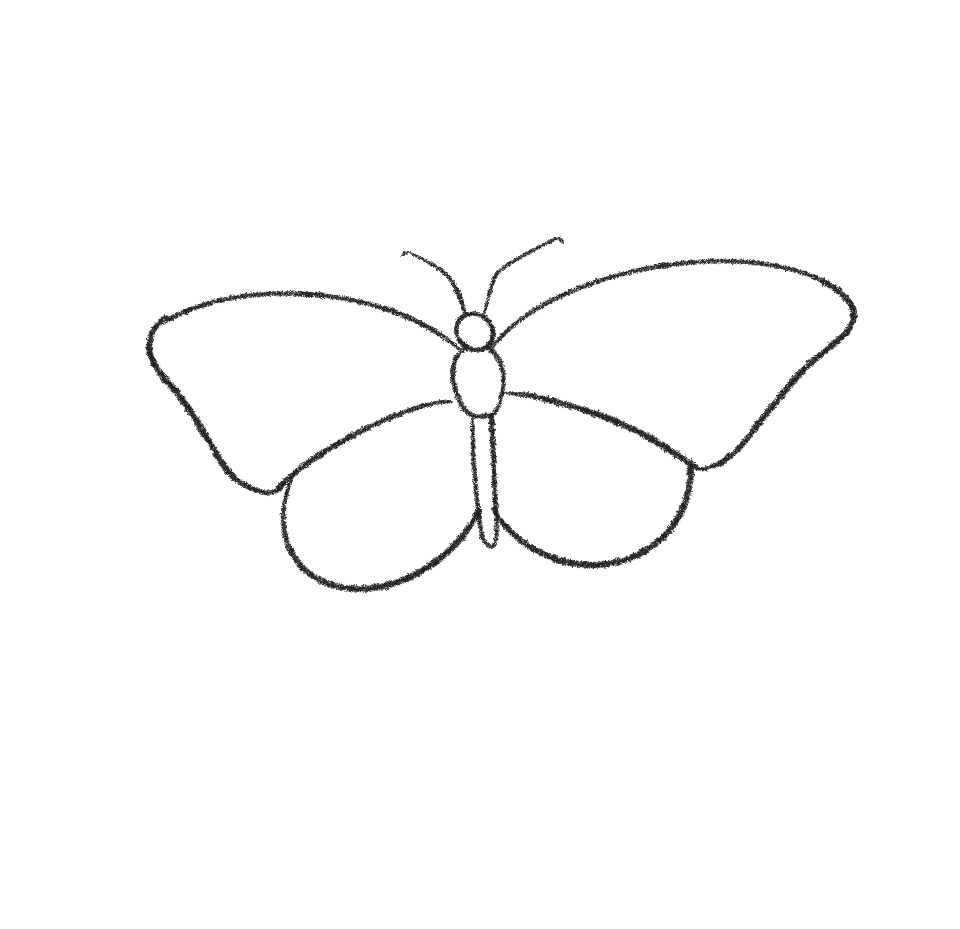
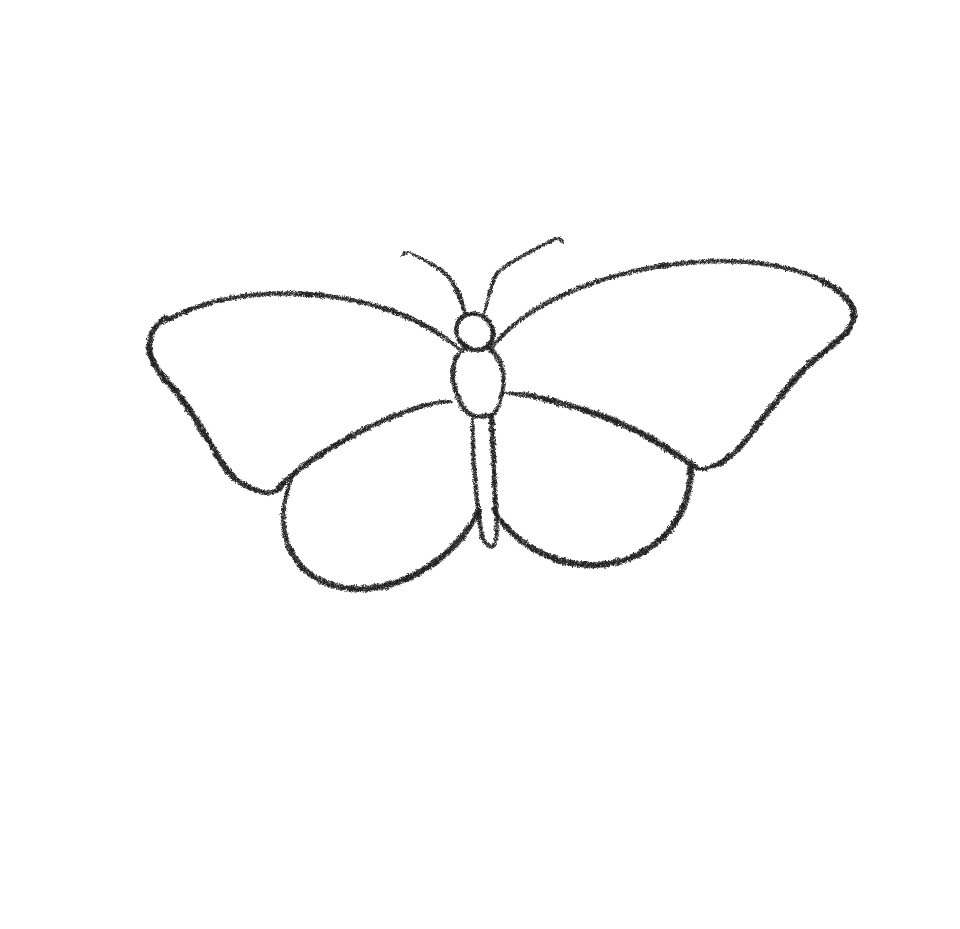
Step 7: Draw butterfly antennas
Going back up to the head, draw two arcing lines out from the top of the circle, and end them in a little squared offline (very small!) these are our antennae!
Step 8: Start adding butterfly wing patterns
We’re going to map out some markings now.
Look at your bowtie and find the upper corner.
We want where we outline the markings to be wider here and thinner at the bottom edge.
Make an arc from the bottom of the bowtie shape to the top, but bring the end of your arc in towards the head.
On the bottom wings make your arcs so the back of the wings has a crescent moon kind of shape!


Step 9: Fill in butterfly wing patterns
Fill in those shapes and add a bit of thickness to the bottom of the bowtie where the two sets of wings meet.
Then fill in your head and top of your matchstick.
For the bottom of the matchstick add some sectioned lines and cross-hatch for a bit of shading.


Step 10: Finish by adding minor details to the butterfly
Finally, add two little dots on either side of the top circle for the eyes, and from here you can color your butterfly wings any color you want and even add more patterns to it!
Get as detailed as you like and make your butterfly totally unique!


Other Topics to Help You Draw:
- How to Draw a Rose (7 Easy Steps)
- How to Draw Realistic Trees Like a Pro
- 11 Things to Avoid in Learning How to Draw One-Point Perspective
- How to Draw Dogs Easy Step by Step Tutorial for Cute Dogs
- 9+ Things to Avoid When Learning How to Draw a Car
I’d like to thank Carolyn for sharing her process.
Be sure to check out her social @ClazDesign if you enjoyed her illustrations.
She also has some amazing prints and illustrations available in her shop.
How to Draw a Butterfly Printable Guide

Step-by-step instructions on how to draw a butterfly.
Materials
- Pencil
- Paper
- Or tablet and stylus
Tools
- Pencil
- Paper
- Or tablet and stylus
Instructions
- Step 1: Draw butterfly head. Start with a small circle as the head
- Step 2: Draw butterfly body. From the bottom of the circle create a shape resembling a match stick. This is going to be the body of the butterfly, but make sure to end it in a rounded point, not a square one!
- Step 3: Start adding butterfly wings. From the point where the head meets the top of the match stick, we're going to create two long arcs outwards, like two hills.
- Step 4: Create small arcs for the lower part of the wings. Below the two arcs, we'll create smaller arcs, but make them much shorter than the first pair of arcs. This is going to guide the top wing shape in the next step.
- Step 5: Complete top butterfly wings. Let's connect those arcs! Think of a bowtie when you make these connections, we want the top wings to resemble a bowtie slightly. Nothing should be a sharp point at this stage!
- Step 6: Draw the bottom butterfly wings. Draw two half ovals below the bowtie ending at just above the matchstick's endpoint. These are your bottom wings!
- Step 7: Draw butterfly antennas. Going back up to the head, draw two arcing lines out from the top of the circle, and end them in a little squared offline (very small!) these are our antennae!
- Step 8: Start adding butterfly wing patterns. We're going to map out some markings now. Look at your bowtie and find the upper corner. We want where we outline the markings to be wider here and thinner at the bottom edge. Make an arc from the bottom of the bowtie shape to the top, but bring the end of your arc in towards the head. On the bottom wings make your arcs so the back of the wings has a crescent moon kind of shape!
- Step 9: Fill in butterfly wing patterns. Fill in those shapes and add a bit of thickness to the bottom of the bowtie where the two sets of wings meet. Then fill in your head and top of your matchstick. For the bottom of the matchstick add some sectioned lines and cross-hatch for a bit of shading.
- Step 10: Finish by adding minor details to the butterfly. Finally, add two little dots on either side of the top circle for the eyes, and from here you can color your butterfly wings any color you want and even add more patterns to it! Get as detailed as you like and make your butterfly totally unique!