In this tutorial, you’ll learn how to draw a realistic daisy in a few quick steps.
In this drawing guide, you’ll see that the steps are incredibly easy.
They are so easys that anyone can do it, as long as you follow along.
Let’s get started!
Drawing Supplies Needed
You can use any drawing supplies to draw a daisy, but here are the best tools for drawing.
Step 1

Start with a circle.
Step 2

At the top of the circle, we’re going to make an elongated oval shape.
Step 3

Now place a slightly curved line through the oval, this will be the style of petals we use.
Step 4

Now, repeat that shape all around the circle, but don’t pack them too closely together!
Step 5
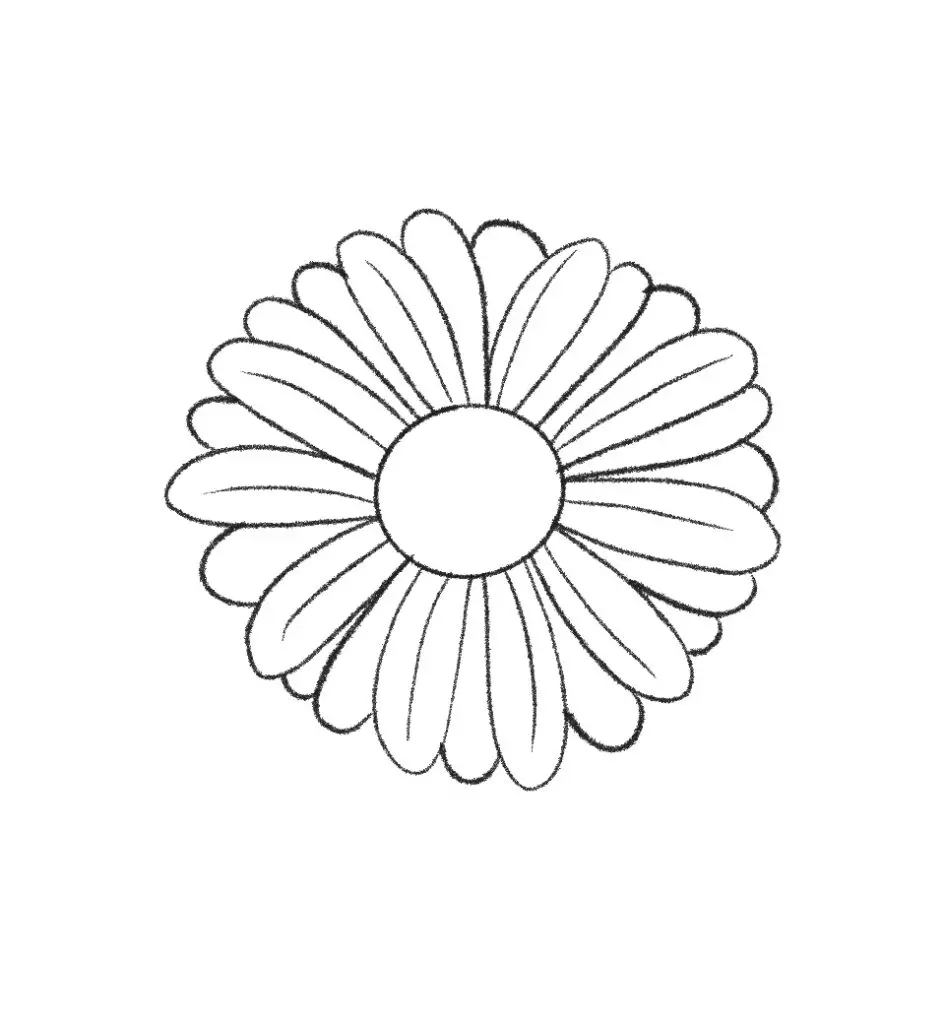
In the spaces between the first layer of petals, we’re going to add the next layer by filling the gaps with curved arcing lines.
Step 6
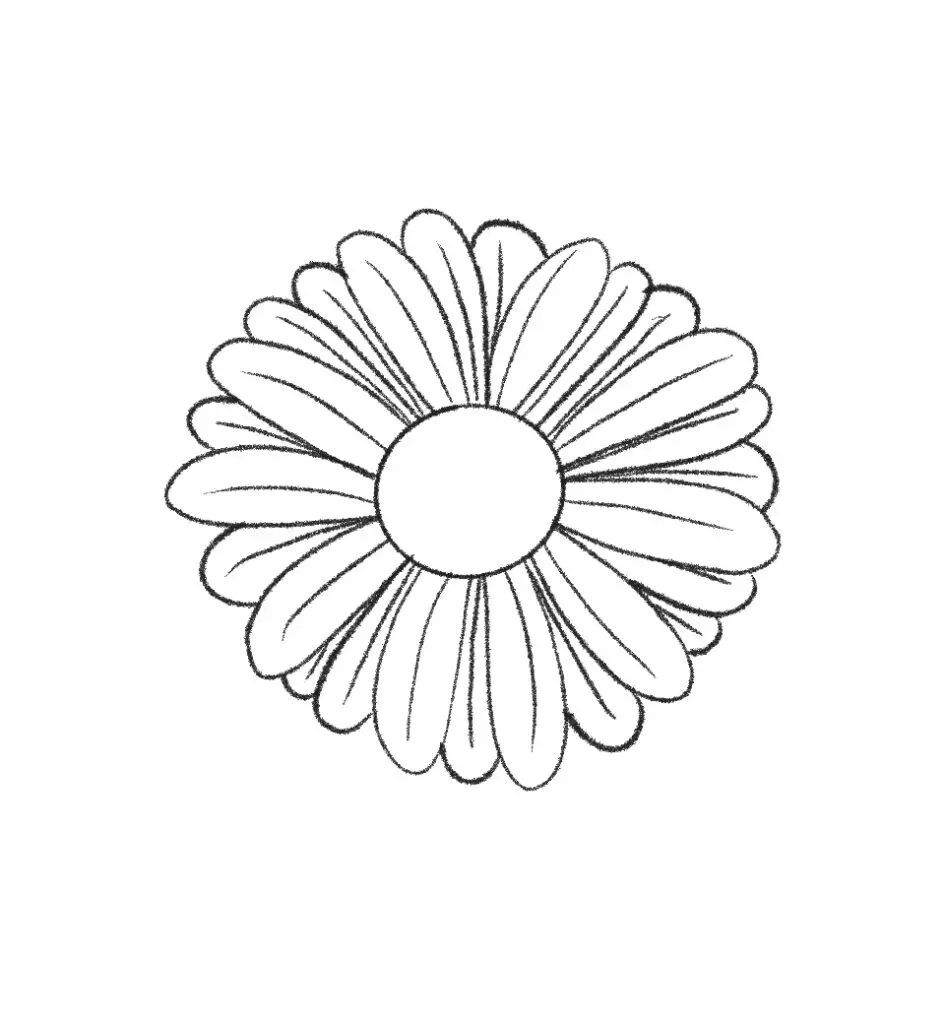
Add the lines to the second layer of petals.
Step 7

In the middle of the circle make a much smaller circle.
Step 8

Make a ring circled around the first circle.
Step 9

Repeat those rings of circles getting smaller as you move outwards to the edges.
Step 10

Now, pick a corner between two petals and draw a line downward with a slight bend.
Step 11

Repeat that same line a bit offset from the first one to create the stem.
Step 12

Color in the stem, middle circle, and edges of the petals on the second layer to make your daisy have depth!
Other related topics to help you draw a flower:
- Step by Step to Draw a Daffodil in Minutes
- How to Draw a Rose (7 Easy Steps)
- 8 Tips to Create Simple Flower Drawings (For Beginners)
In very few steps, you can see that you have a sketch of a simple daisy. It’s easy to do and results in an amazing-looking flower.
Thank you Carolyn for this amazing step-by-step process. You can view her social @ClazDesign if you enjoyed her illustrations. Check out her shop where she has amazing illustrations.

How to Draw a Realistic Daisy Printable Guide
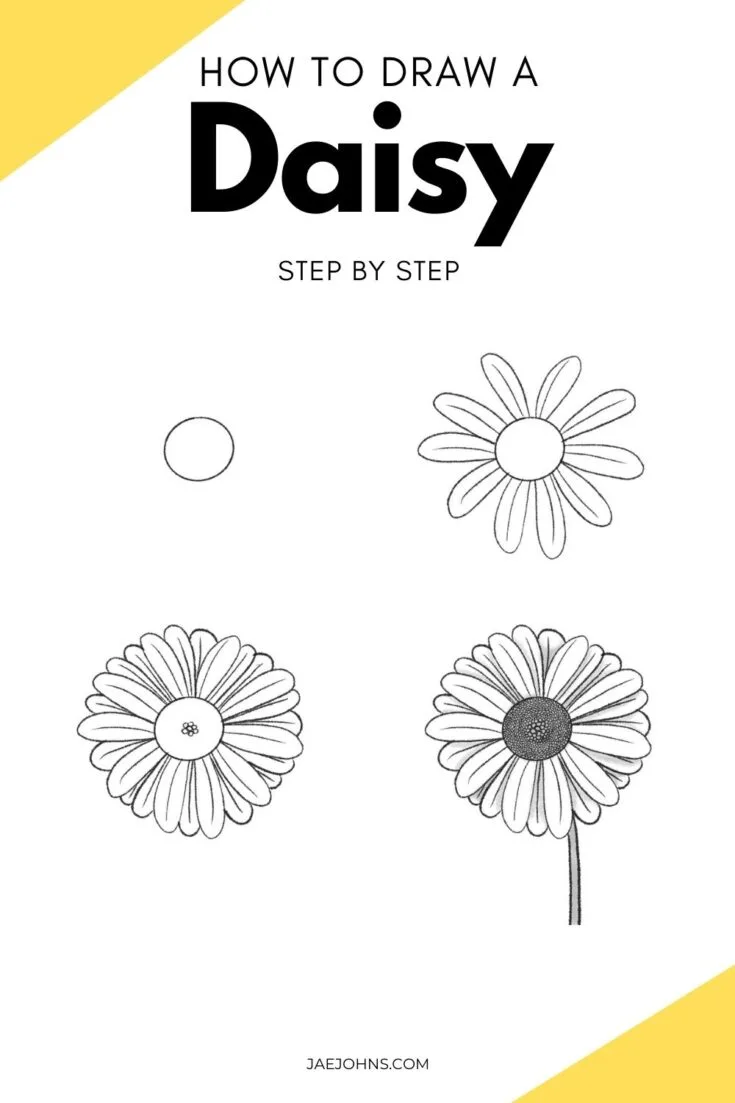
Step-by-step instructions on how to draw a daisy.
Materials
- Pencil
- Paper
- Or tablet and stylus
Tools
- Pencil
- Paper
- Or tablet and stylus
Instructions
- Step 1
Start with a circle
- Step 2
At the top of the circle, we're going to make an elongated oval shape
- Step 3
Now place a slightly curved line through the oval, this will be the style of petals we use.
- Step 4
Now, repeat that shape all around the circle, but don't pack them too closely together!
- Step 5
In the spaces between the first layer of petals, we're going to add the next layer by filling the gaps with curved arcing lines.
- Step 6
Add the lines to the second layer of petals.
- Step 7
In the middle of the circle make a much smaller circle.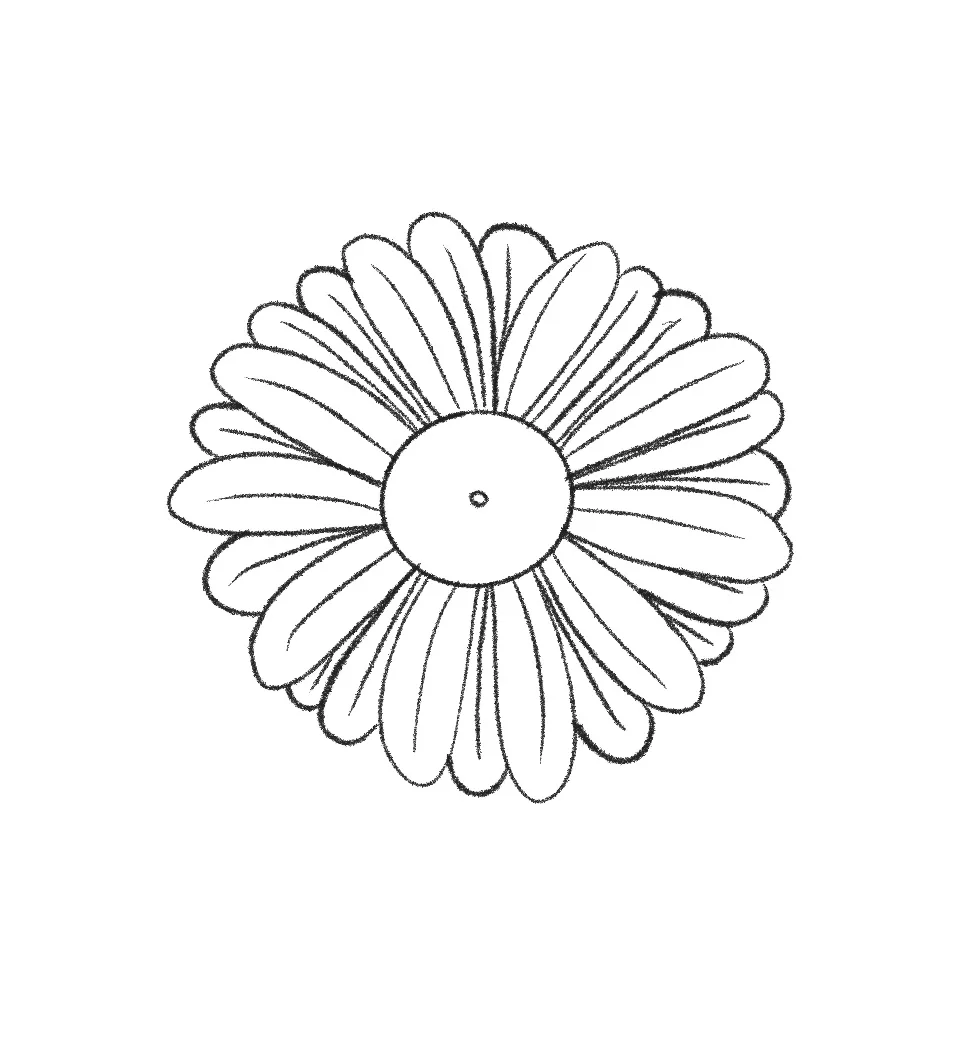
- Step 8
Make a ring circled around the first circle.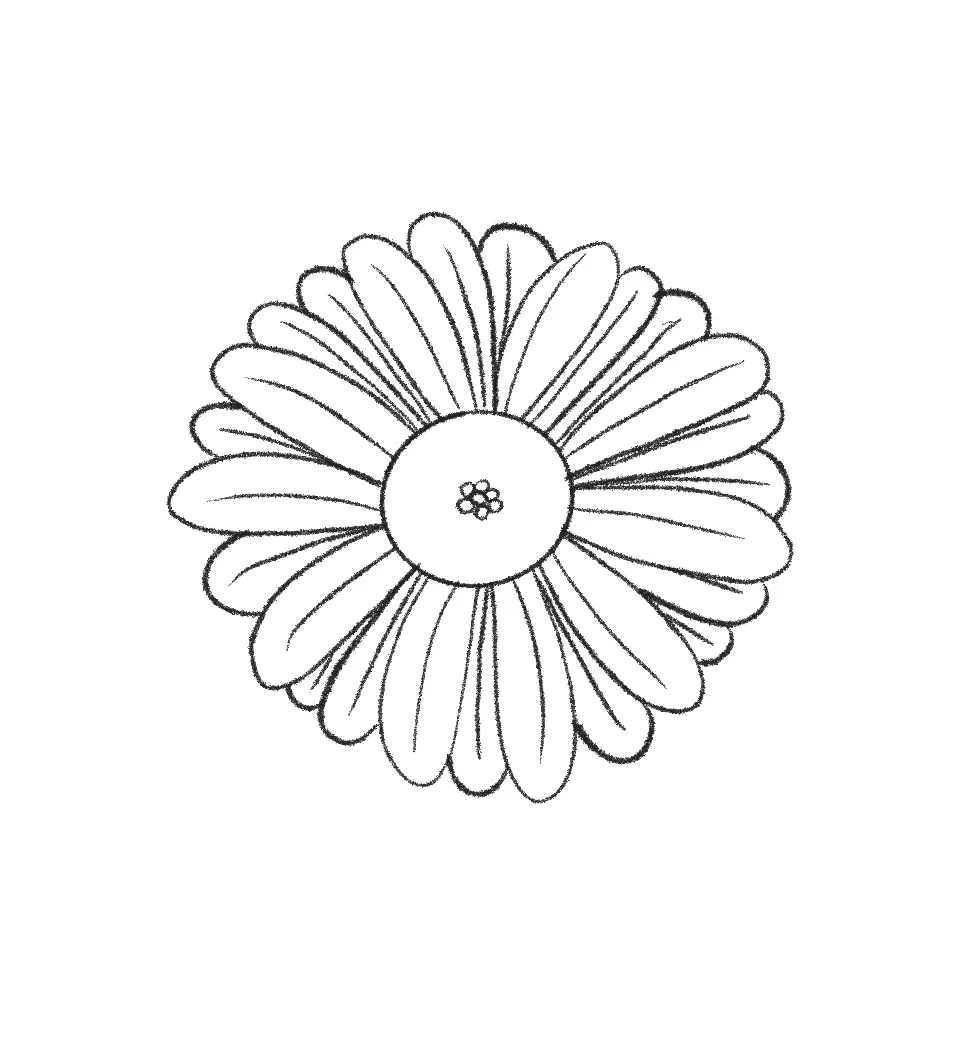
- Step 9
Repeat those rings of circles getting smaller as you move outwards to the edges.
- Step 10
Now, pick a corner between two petals and draw a line downward with a slight bend.
- Step 11
Repeat that same line a bit offset from the first one to create the stem.
- Step 12
Color in the stem, middle circle, and edges of the petals on the second layer to make your daisy have depth!

