

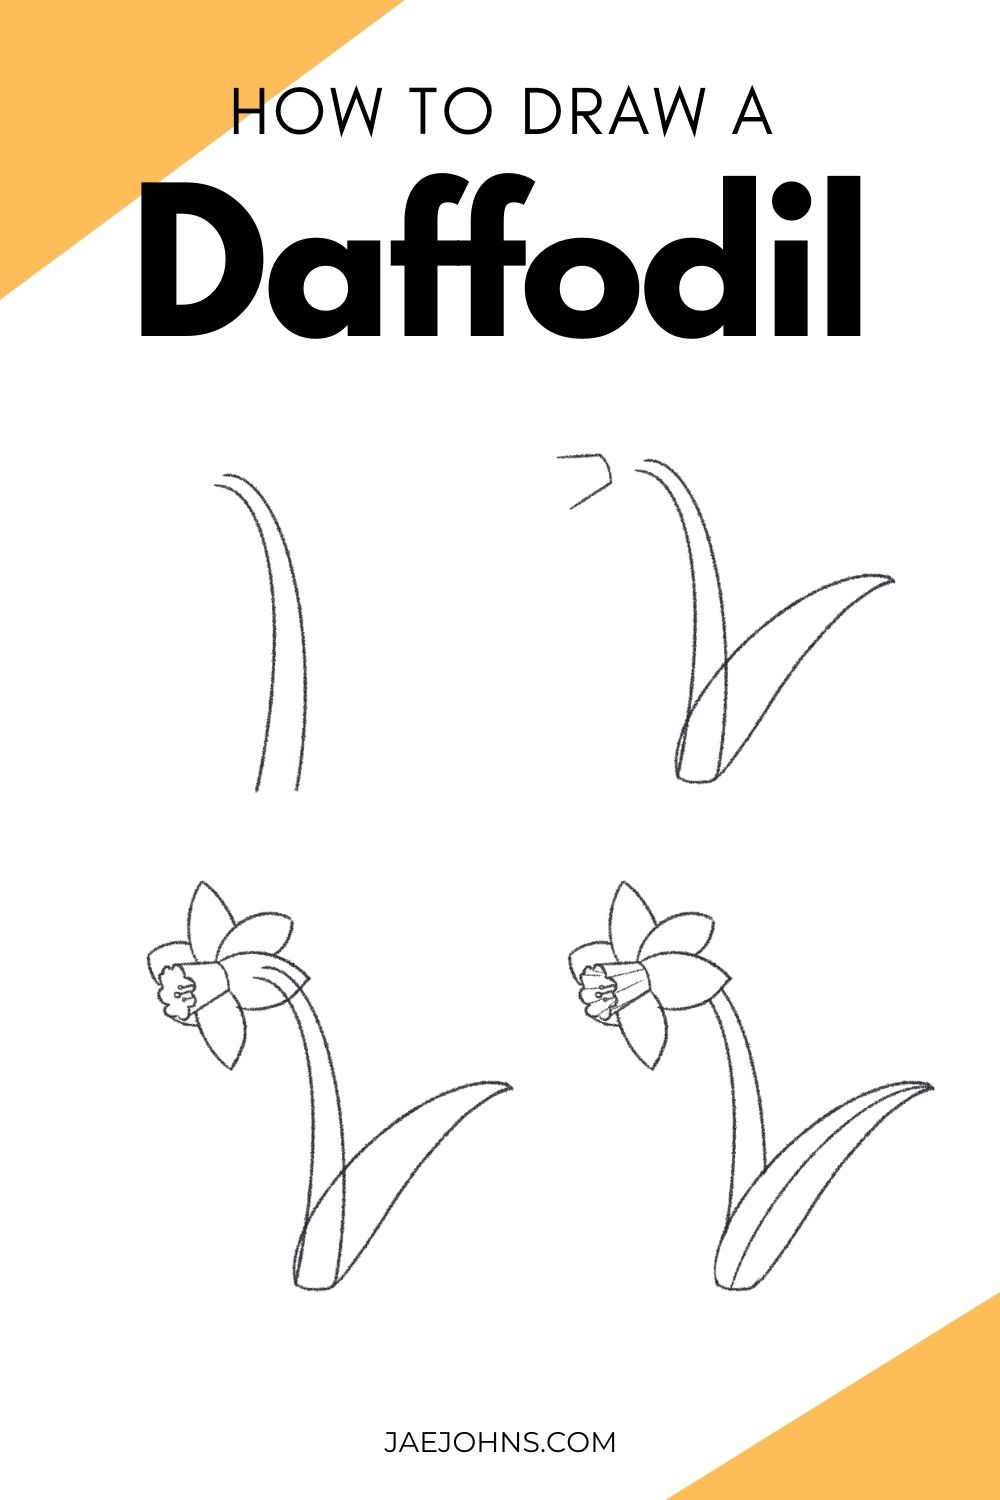
Do you want to learn how to draw a daffodil?
I’m going to share an easy step-by-step process to help you draw this flower brought to you by my illustrator friend, Carolyn.
Anybody will be able to become a pro at drawing this simple flower in a matter of minutes. Let’s get to it!
Other related topics to help you draw:
- How to Draw a Butterfly (10 Easy Steps)
- How to Draw a Rose (7 Easy Steps)
- How to Draw a Cute Bunny (12 Easy Steps)
- How to Draw Curly Hair Like a Master
- How to Draw Realistic Trees Like a Pro
- How to Draw a Dragon (Step by Step with Pictures)
What you need:
- Pencil
- Paper
You can do this with any pencil or paper, but I highly recommend getting the right drawing tools. These tools are made especially for drawing.
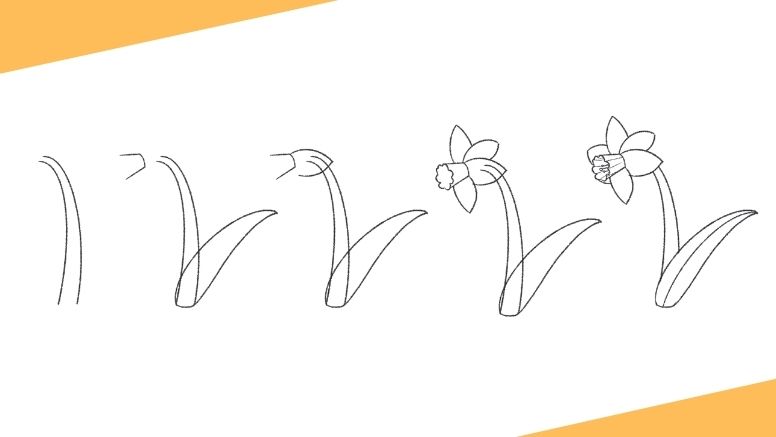
Step 1:


Start with a downward curved line, more curved at the top than the bottom
Step 2:


Make a second matching curved line a little below the first one to create the outlines of the stem
Step 3:


Connect the two at the bottom with a rounded line
Step 4:


From the inner corner of the stem create a large curved line facing away from the outer side of the stem towards the right of your paper.
Step 5:


Make another curve, with a bit of a smaller curve at the connecting point (facing the right side of your paper) from the other side of the stem. This is your leaf!
Step 6:


Now we’re going to make the inner blossom. Create a bucket without a top line, and turn it on its side facing the other side of the page as the leaf.
Step 7:


From the top edge of the bucket-shape create an eye shape facing outwards to start making your petals. Be sure not to close it all the way, as daffodil petals overlap!
Step 8:


Create another of these shapes on top of the first one!
Step 9:


Now create a third one below where you ended the first one, this is where they overlap!
Step 10:


Continuing in this pattern, create the next petal and then stop – before we move on to the final petals we need to finish up the inner blossom!
Step 11:


Create another simple flower shape at the front of the open bucket shape. To make it easier, start with an oval closing the space, and then make little curve lines and erase the overlap!
Step 12:


Now back to the petals. Keep the perspective of our flower in mind! The petals further away from us will be covered by the inner blossom, so we won’t see as much of it, and they’ll look wider.
Step 13:

Now with the perspective in mind make just a small curved line to close the open space at the base of the inner blossom as the only part of the final petal we will see. Now we’re going to move on to details
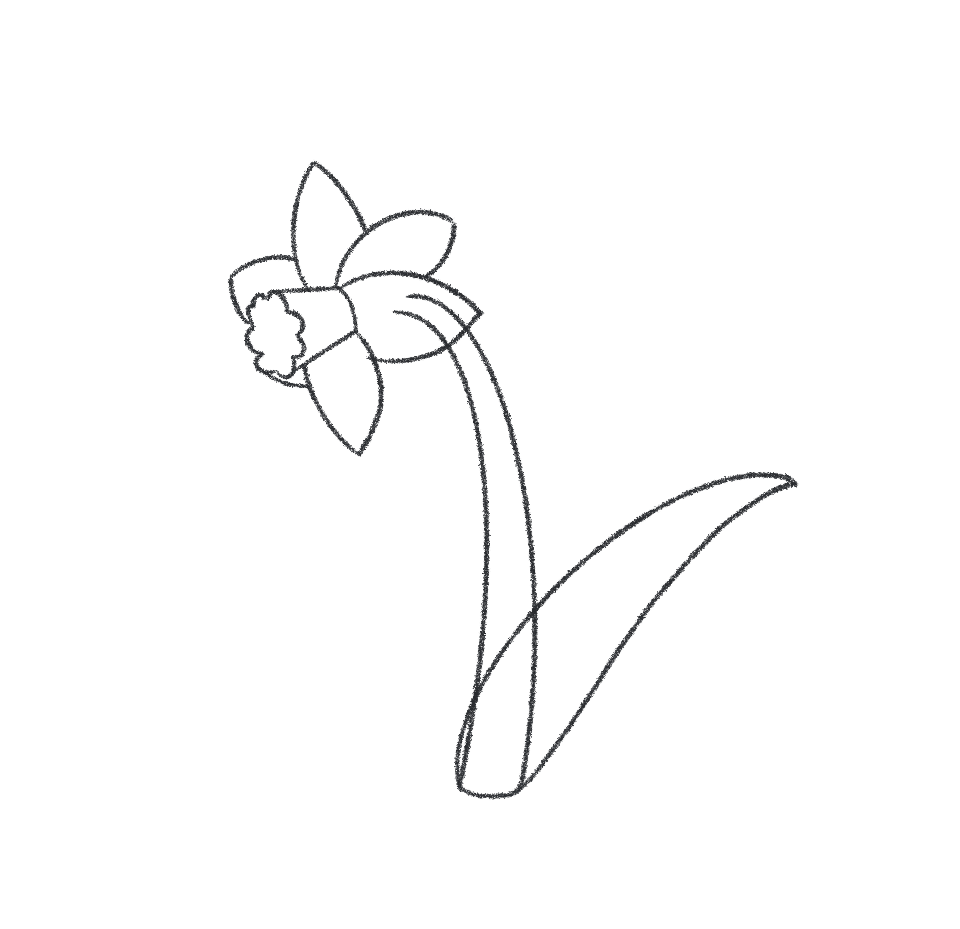
Step 14:
Create 3 little matchstick shapes at the center of the inner blossom. Make the middle one slightly larger and longer than the two on the side of them.
Step 15:

In the spaces where the half circles meet in a point, create a thin line going towards the base of the inner blossom shape. This gives our inner blossom some structure!
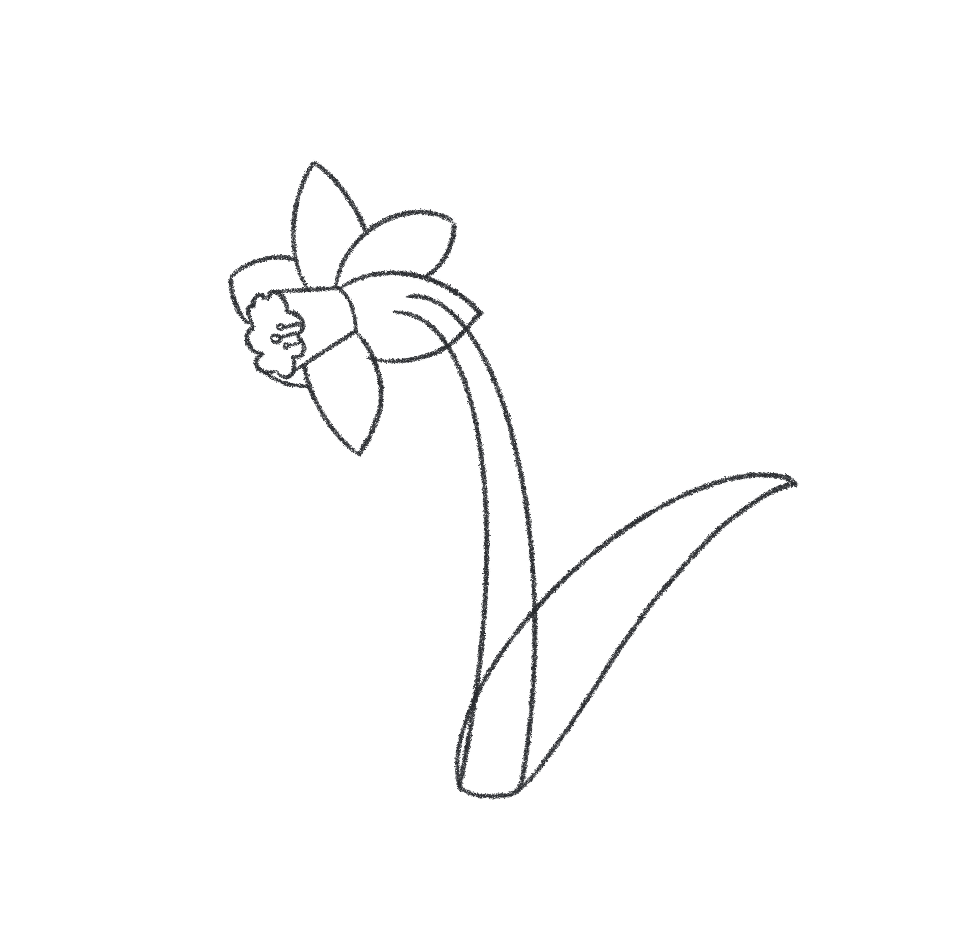
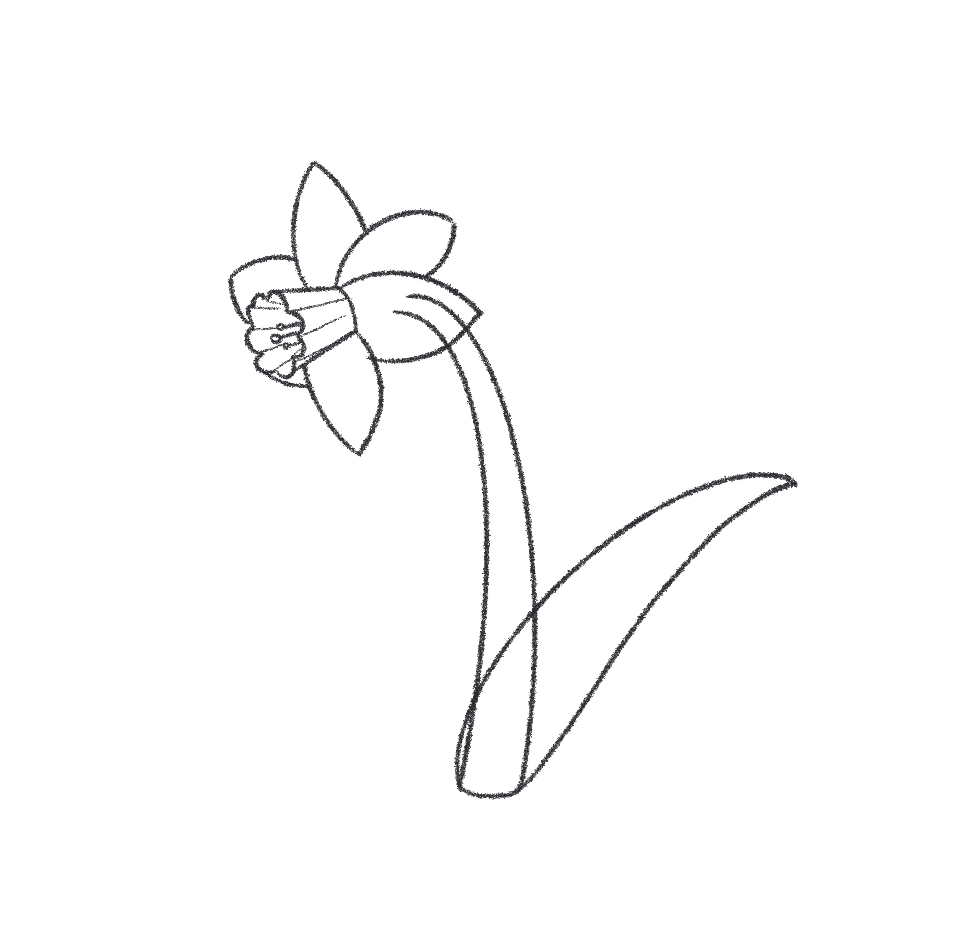
Step 16:

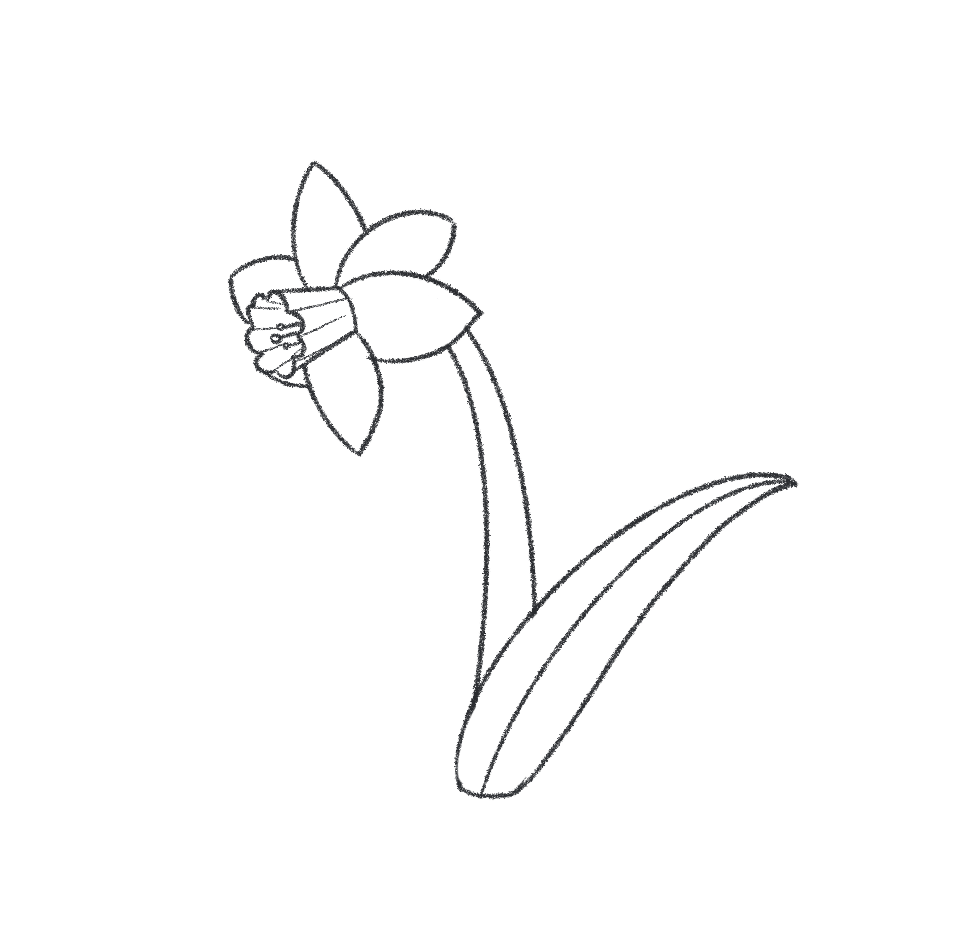
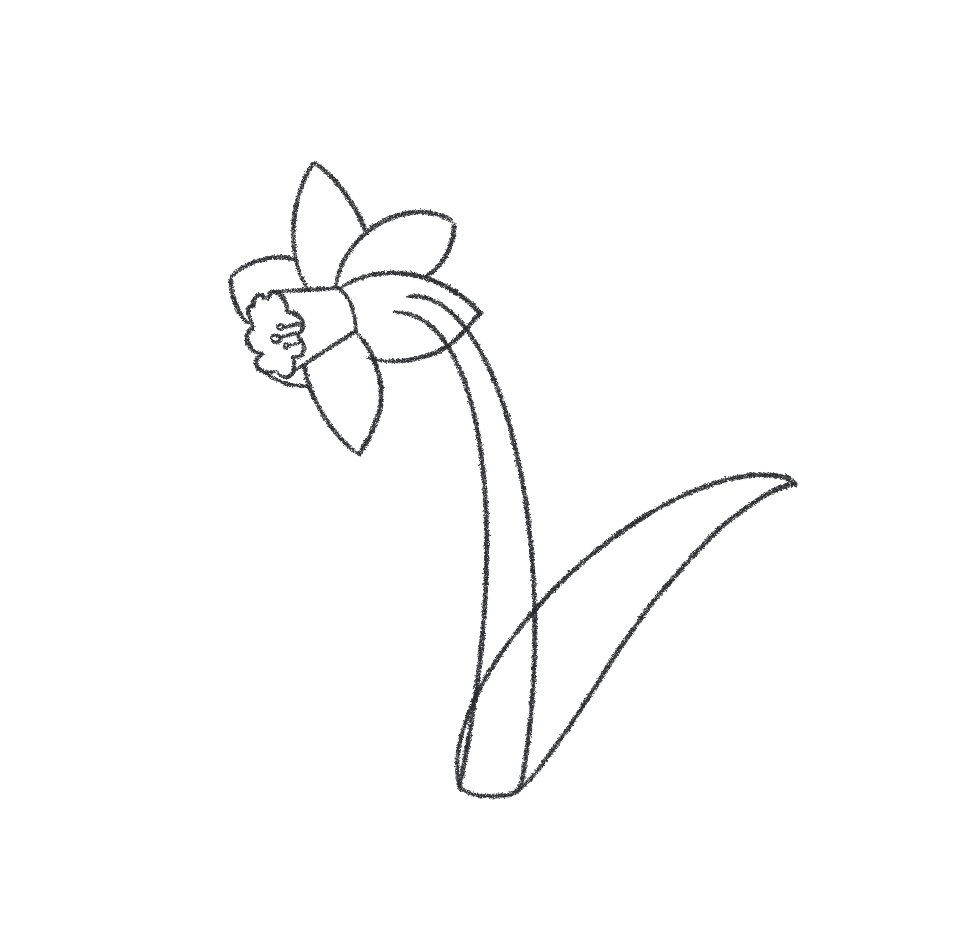
Erase the overlapping lines on your shapes and add the stem to the leaf. BAM! You’re done!
This step-by-step tutorial on how to draw a daffodil is shared by Carolyn. I’d like to thank Carolyn for sharing her process. If you want to see more of her illustrations, you can visit @ClazDesign. You can also visit her shop, which has some amazing prints.