
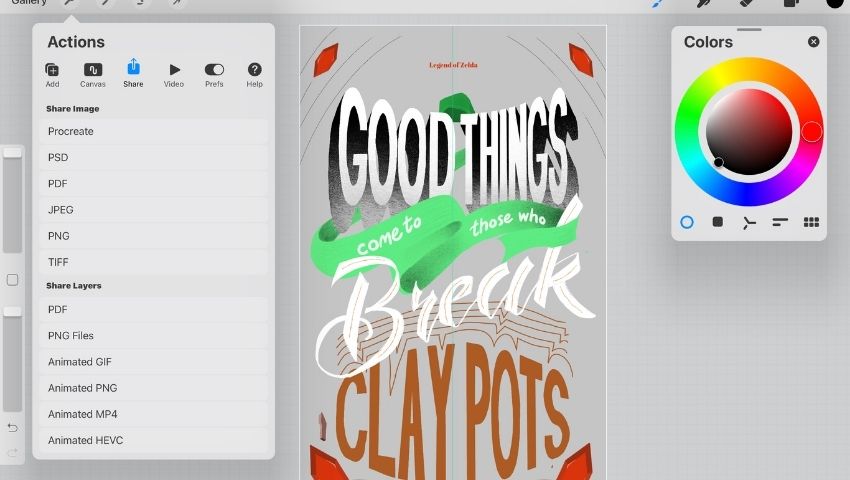
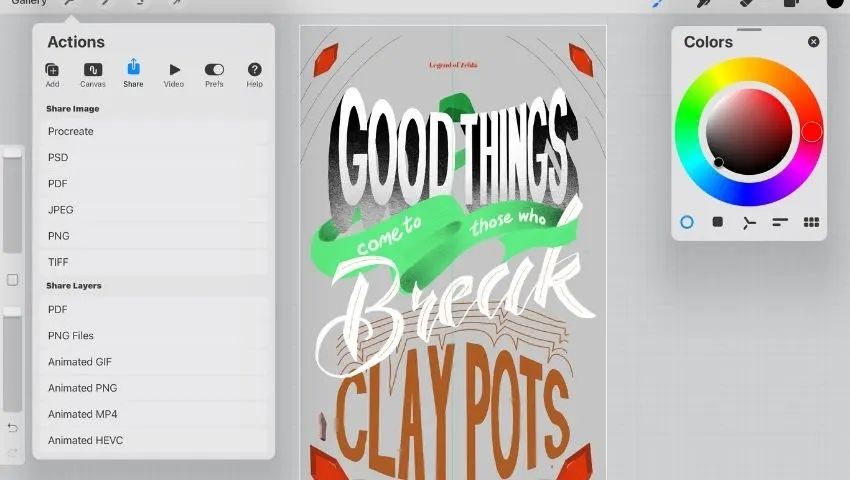
Have you been wondering if the recent updates in the Procreate app have made Procreate export vector files?
This has been the concern of most designs as it enhances the application’s compatibility with the other designing tools and software.
But the simple answer is, no, Procreate vector files are still not something that is part of this application. However, a few hacks available through which you can get the Procreate vector files editor version.
So, if you want to know more details about the vectors and SVG file versions from Procreate, you can read further and find all the hacks associated with it.
Why do you need the vector files?
As the newbie who isn’t much into the other tools, you might be wondering that Procreate works perfectly well, so why is everyone looking for the vector version.
If this is you, then let me share a few reasons highlighting the importance of vector files for a designer.
- You can scale this image to any size without any issue of blurriness
- Allows you to save as SVG image
- Vector files are good for creating products
Why doesn’t the app offer Procreate vector files?
The main reason you won’t find the Procreate vector files generator within the app is its inherent coding.
By default, this application works on a pixel-based system.
Thus, anything you create in the app develops on the pixel principles, thus eliminating the possibility of conversion to the point-based system (which is what vector files demand).
So, because of the default coding of the application, vector files seem impossible to generate.
Does it convert all imported files to a pixel-based system?
Yes, no matter if you create a file in Procreate or import it in the application for any reason, the result you’ll get would be pixel-based.
This means that it cannot be converted to a vector file from within the application.
Even after the export of the file, this issue will remain as such.
Is there a possibility of getting the perfect image in vector format?
No, you cannot get a perfect image in the vector format no matter which tool you utilize or what hack you use.
This is even truer in the case of gradients, intricate patterns, and other complex technologies.
So, if you want to convert your artwork in Procreate to vector art, I highly recommend that you should focus on simpler designs and element use so you can get a perfect image in the vector form too.
What’s the hack for converting the Procreate files to the vector files?
Here’s the hack through which you can get the Procreate vector files generator.
Luckily, you have two options so that you can select one based on your case and requirements.
Use Illustrator toolbox:
This one is a bit difficult to get the required file from the Procreate vector files generator.
You can keep the Procreate file as the base and use the toolbox to generate the required file.
Go for the live trace option:
You can live trace the Procreate file and get the vector version.
This would probably be done in the Black and White version, and you’ll have to adjust it later.
Here’s the complete process:
You’ll have to transfer your Procreate file to Illustrator.
So you can save your file as. Png or .jpg and transfer your artwork from your iPad to your computer.
Use any method like emailing or Airdropping that seems convenient for you.
- Open your file in Illustrator and start the tracing option. Go to windows and then Click Image Trace.
- Use the Image Trace tool for the creation of the image of the vector art. Multiple option features are available, which you can select to get an image as close to the vector art as you want.
- Once you are done with the image trace, you’ll have to expand the traced version. This process will allow you to get rid of the unwanted pieces that fit in the artwork anymore.
- But to do that, don’t forget to ungroup before you make any changes, as it will delete your entire work rather than the extra points.
- Clean up your artwork by making minor adjustments, and your vector art image is good to go.
For me these solutions have proved to be a great help in designing vector art, I wish they can make your work easier too.
Are SVG File conversions possible in Procreate?
Unfortunately, no.
You’ll need the Procreate vector files to get the SVG Version.
So, again converting into vector art will be your primary solution.
But is there a solution to use Vector Art in Procreate?
Yes, I have a hack for this too. You can follow the below steps:
- To get it done, you’ll have to export vector images into a transparent PNG image. Make sure to use a solid color.
- Import it into the image folders in your photos. You’ll have it with you.
- There is a second method too.
- Instead of using solid colors, transport it to a white background.
- Make a custom brush, and you’ll have your vector art available for you to be used anywhere irrespective of the Photo Album.
Other related topics:
- Best iPad for Procreate that Professionals Use
- Use Procreate without Apple Pencil (What You Oughta Know)
- 60 of the Best Free Procreate Brushes
- 34 Procreate Artists Speak Out: “One Procreate Tip I Wish I Knew Before Using It”
- 18 Must-Know Procreate Tips for Beginners
- How to Use the Procreate Animation Tool
Vectorizing Procreate Drawings with Illustrator
Procreate has become a popular choice among digital artists for its ease of use, accessibility, and powerful features.
While Procreate allows you to create amazing drawings and illustrations, you might want to take your art further by vectorizing and colorizing it in Adobe Illustrator.
Vector graphics offer numerous benefits, including infinite scalability without loss of quality, smaller file sizes, and the ability to edit individual elements.
Adobe Illustrator is the industry-standard software for creating and editing vector graphics, making it the perfect tool for this task.
Preparing Your Procreate Artwork
Before you begin vectorizing your Procreate drawing, make sure it’s ready for the process:
- Clean up your sketch: Erase any stray lines or unwanted marks to ensure a cleaner vector conversion.
- Separate elements: Place each element of your drawing on a separate layer to make editing easier in Illustrator.
- Export as a high-resolution image: Export your Procreate drawing as a high-resolution PNG or JPEG to preserve the quality during the import process.
Importing Your Artwork into Adobe Illustrator
- Open Adobe Illustrator and create a new document with the same dimensions as your Procreate canvas.
- Go to File > Place and select the exported Procreate image.
- Position the image on the artboard and lock the layer by clicking the padlock icon in the Layers panel.
Reworking Your Procreate Drawing into Vector Art
- Create a new layer above your imported Procreate image.
- Select the Pen Tool (P) or the Pencil Tool (N) and start tracing over your drawing. Use the Direct Selection Tool (A) to adjust anchor points and handles for precise curves.
- For more complex shapes, use the Shape Builder Tool (Shift + M) to combine or subtract overlapping shapes.
Colorizing Your Vector Art
- Select the vector shapes you want to colorize using the Selection Tool (V).
- Open the Color panel (Window > Color) and choose your desired color using the sliders or enter the color values (RGB or CMYK) directly.
- For more advanced colorization, use the Gradient panel (Window > Gradient) to apply linear or radial gradients to your vector shapes.
- Experiment with Blend Modes and Opacity settings in the Transparency panel (Window > Transparency) to create unique color combinations and visual effects.
Adding the Finishing Touches
- Add depth and dimension to your vector art with the Appearance panel (Window > Appearance). Apply multiple strokes, fills, and effects to your shapes.
- Use the Width Tool (Shift + W) to create variable-width strokes for a more organic, hand-drawn look.
- Enhance your illustration with patterns and textures using the Swatches panel (Window > Swatches) or create your own custom patterns.
- Organize your artwork by grouping related elements (Object > Group) and arranging them in the Layers panel.
Exporting Your Final Vector Illustration
- Make sure all elements are finalized and proofread your work for any errors.
- Save your Illustrator file (File > Save) in case you need to make changes later.
- Export your artwork for use in various formats:
- For digital use (websites, social media), export as a PNG or JPEG (File > Export > Export As).
- For print, export as a PDF (File > Save As) to preserve vector quality and color profiles.
- For further editing in other applications, export as an SVG (File > Export > Export As) to maintain the vector format.
Now you have a fully vectorized and colorized illustration, ready for any application.
With the powerful tools available in Adobe Illustrator, you can elevate your Procreate drawings and create stunning vector art that stands out.
Keep experimenting and refining your skills to unlock your full potential as a digital artist.
Summing up:
Although Procreate vector files editor isn’t something you’ll find in the application, you can definitely utilize the hacks to get your artwork into the vector format.
The process is a bit longer and not only “save to the desired format” type, but it will do. Won’t it?
You can also use Adobe Illustrator to convert Procreate files into vectors.

Procreate Vector FAQ
How do you save a Procreate file as a vector?
To save a Procreate file as a vector, first export your artwork as a high-resolution PNG or JPEG image.
Then, import the image into Adobe Illustrator, retrace the drawing using vector tools, and save the resulting vector art as an SVG, PDF, or AI file, depending on your needs.
Can I convert a raster image to a vector image Procreate?
Procreate does not natively support converting raster images to vector images.
To convert a raster image created in Procreate to a vector image, export it as a high-resolution file, import it into a vector editing software like Adobe Illustrator, and then use the software’s tools to trace and create a vector version of the artwork.